
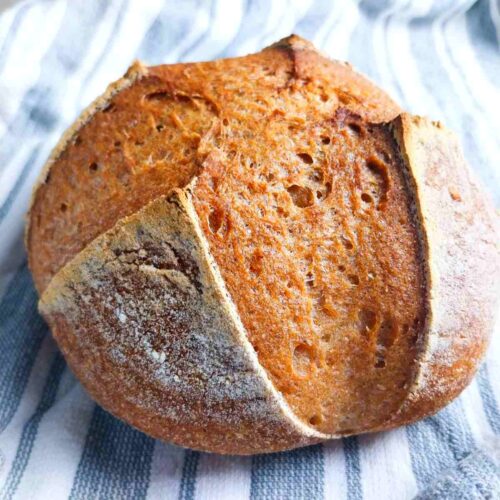
After years of experimenting with gluten-free sourdough bread, I'm thrilled to share my ultimate recipe: a large loaf with a fluffy crumb and a soft crust! It is a same-day recipe with only one round of fermentation. For burgers with the same texture, see my recent gluten-free slider bun recipe!
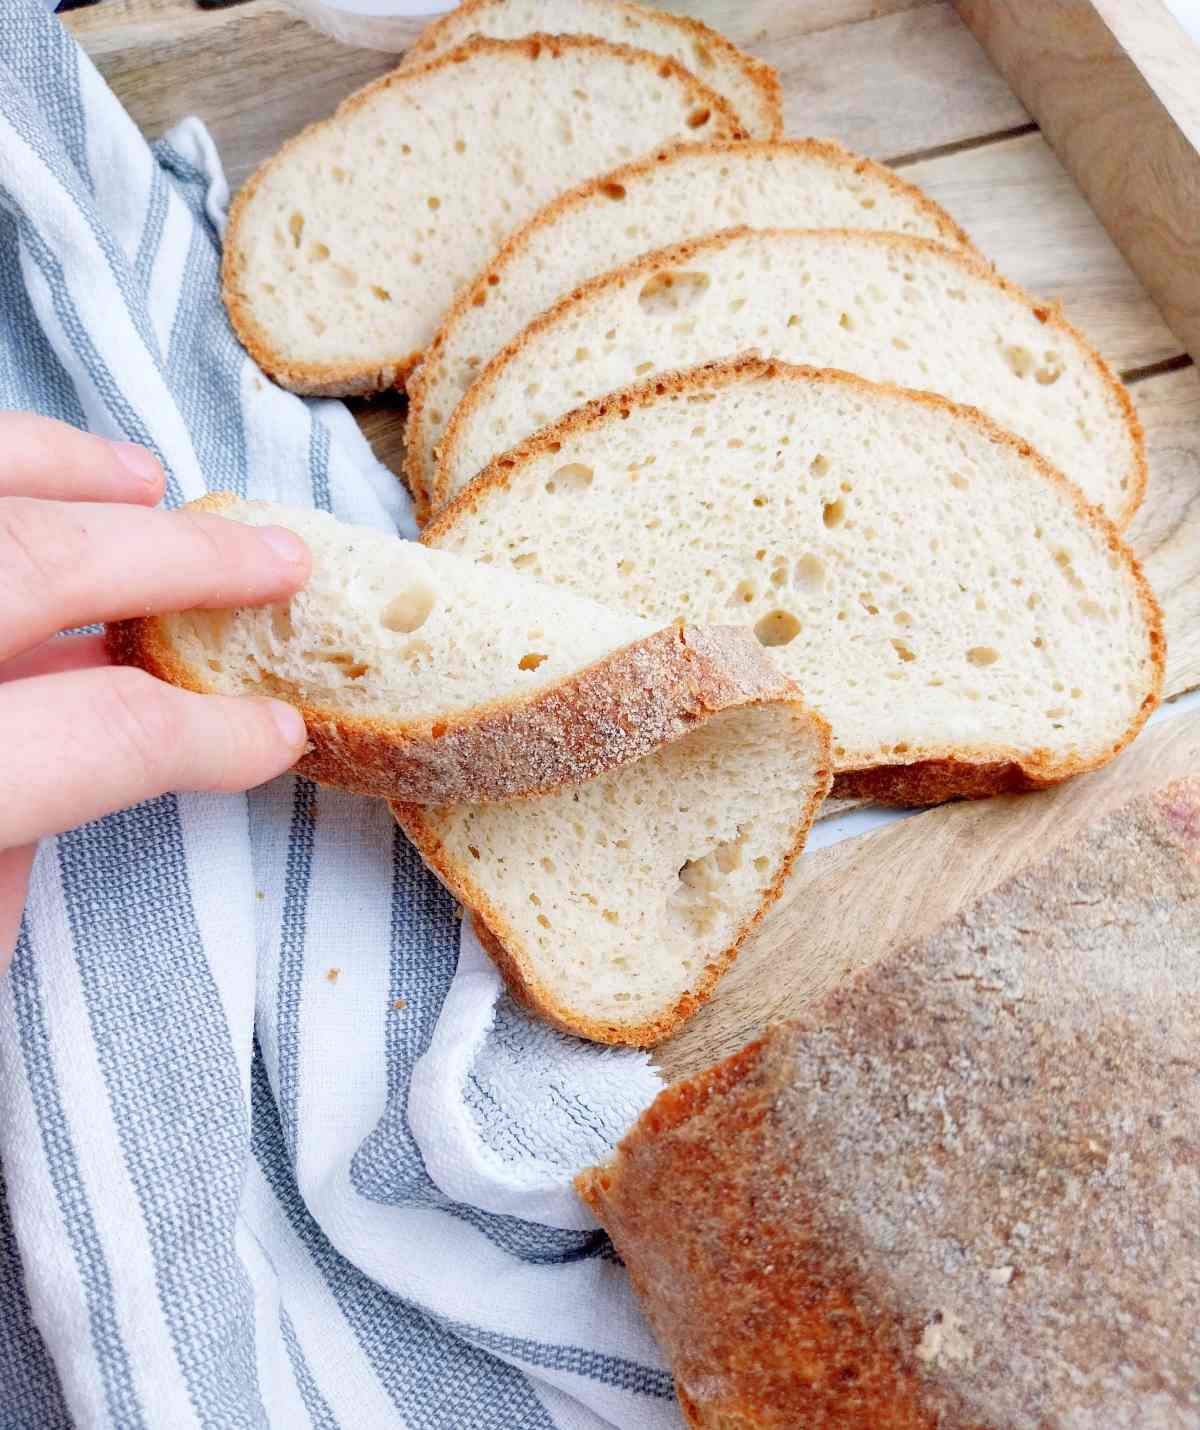
This is my 8th sourdough bread recipe on this blog and is the best one yet! For the longest time, I created vegan recipes with pretty much only flour, water, and salt like these sourdough baguettes, sourdough bagels, and fermented soft pretzels but recently I've discovered the power of eggs and dairy in gluten-free bread.
I love how they create a soft and fluffy texture in sourdough dinner rolls, squishy fermented hamburger buns, and, of course, this large loaf of fluffy sourdough bread. These ingredients enrich the dough and assist in creating the perfect structure and texture!
However, if you have to have vegan bread, I've got you! Here is my vegan sourdough recipe that is easy to make and has an airy crumb.
Jump to:
Reader review
Finally, a sourdough bread which is super easy, very tasty with healthy ingredients! I'm still in awe of how beautiful my loaf looks. Thank you for sharing your recipe and accompanying instructions/tips.
- Paulla
⭐⭐⭐⭐⭐
What is gluten-free sourdough?
Gluten-free sourdough is made without store-bought yeast, using a homemade gluten-free starter to naturally leaven the dough and impart a sour flavor.
A starter is essentially made with flour and water over a couple of weeks. I like using my brown rice starter in most recipes but a sorghum starter, millet flour starter, buckwheat, and teff starters are also great for gluten-free sourdough baking.
Regular wheat sourdough is not gluten-free and should not be eaten by celiacs. The fermentation process doesn't get rid of all gluten, thus celiacs need to use gluten-free flour and starter to make bread.
Gluten-free sourdough is traditionally baked in a Dutch oven, though it can also be made in a bread pan, which may alter the texture and make the bread denser.
Helpful tools
A digital kitchen scale is highly recommended for all of my gluten-free recipes for the best results! Volume measurements are not always consistent.
A Dutch oven is necessary to make this recipe perfectly. However, you can use a cast iron skillet or pizza stone with a dish of water in the bottom of the oven to create steam. If you don't have cast iron, bake the loaf on a baking sheet with parchment and add a dish with water to the bottom of the oven.
Banneton baskets are not necessary but they allow the dough to breathe and create a nice shape and pattern. You can use a mixing bowl lined with a kitchen towel instead.
An electric mixer is highly recommended for mixing the dough to create a smooth texture. You can, however, mix the dough by hand or with a wooden spoon.
A bread lame or a sharp razor are helpful to score the dough without pressing it down too much.
A cooling rack is extremely helpful for cooling down the bread. You need to make sure there is airflow on all sides of the loaf!
The best flour for sourdough
Buckwheat, millet, brown rice, sorghum, and teff are hands down the best flour types for gluten-free sourdough. However, you need to add starches (tapioca, arrowroot, potato, or cornstarch) to avoid a heavy and dense loaf.
I do, however, have sourdough recipes without starches:
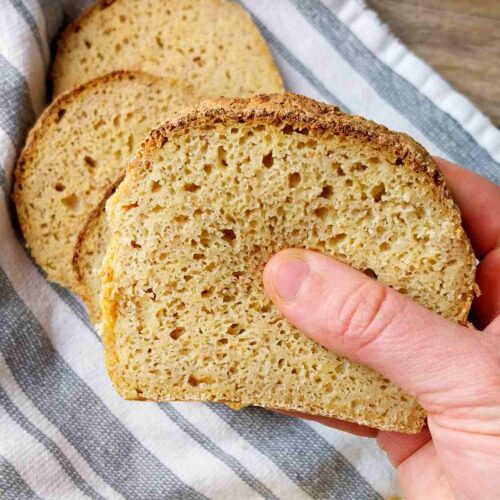
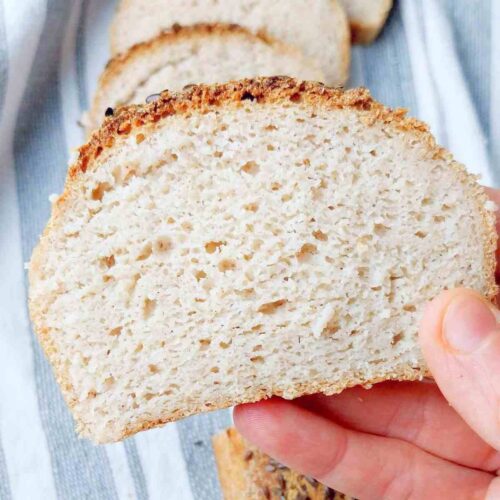
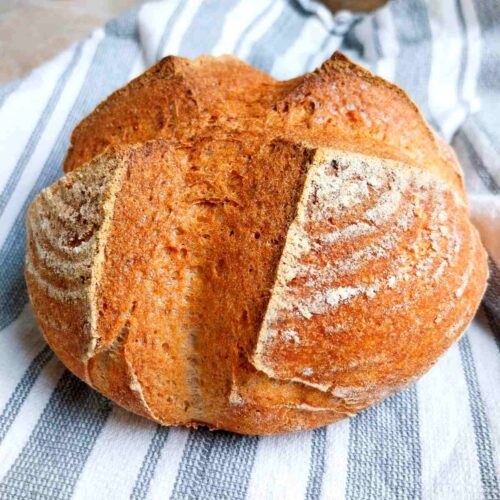
Here you can find a vegan sourdough recipe and a sourdough with buckwheat:

Almond and coconut flours are very low in carbs, so they are not the best choice for a sourdough loaf.
Ingredients & substitutes
See the recipe card for quantities.

- Gluten-free sourdough starter - you need an active starter at least 2 weeks old and fed in the last 24 hours. You can use any type of starter (sorghum starter, millet, buckwheat, brown rice, teff, etc.) If you don't have one, learn how to make a starter at home!
An active starter is a starter that has been fed in the last 24 hours and bubbles up consistently after feedings. Almond, coconut, and potato flakes starters are not strong enough for bread!
- Sorghum flour - adds protein, nutrition, and substance to the bread. You can use brown rice flour instead.
- Tapioca starch - adds chewiness, flexibility, and softness to the crumb. You can use arrowroot starch instead
- Potato starch - balances out the chewiness of tapioca and adds lightness to the loaf. Cornstarch can be used instead.
- Xanthan gum - adds softness and fluffiness to the crumb, you can use guar gum instead. Don't leave this ingredient out!
- Psyllium husk - retains moisture, contributes to the bread-like texture, and helps hold the structure of the bread together. Unfortunately, none of the psyllium alternatives will work in this recipe!
Psyllium husk and xanthan gum are often used in combination to create a soft and fluffy crumb and keep the structure of baked goods strong.
- Eggs - contribute to the soft crust, add protein, and aid in holding the structure of the bread. I haven't tested this recipe with vegan egg substitutes.
- Oil - contributes to the soft crust, the texture of the crumb, and the overall flavor. Sunflower, coconut, or any other neutral oil can be used.
- Milk - softens the crumb and adds flavor. Use plant-based milk for a dairy-free version.
- Baking powder - assist the oven spring during baking. Don't substitute with baking soda.
- Sugar - feeds the starter bacteria. You can use honey/maple syrup instead or leave this ingredient out.
Variations
- Cheddar jalapeno sourdough - add about 60g cheddar and 40g jalapenos to the dough.
- Cinnamon raisin loaf - add ¼ cup of brown sugar, ½ cup of raisins, and 1-2 tablespoon of cinnamon.
- Chocolate sourdough - add ¼ cup brown sugar, ¼ cup cocoa powder, and chocolate chips to taste.
Step-by-step instructions
Step 1
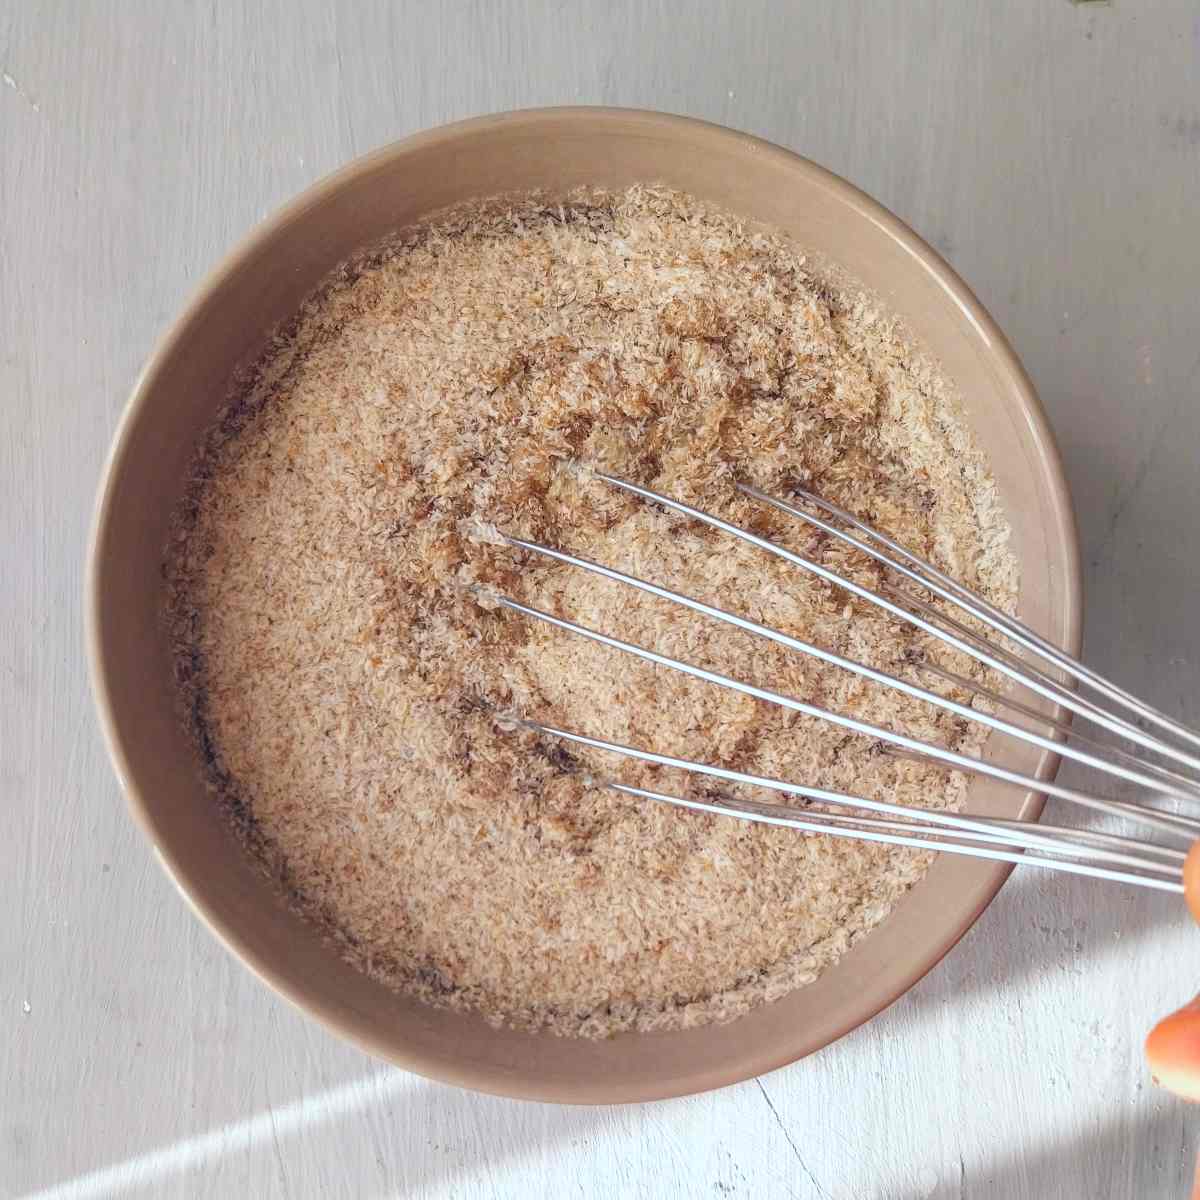
Add water and psyllium husk to a medium-sized bowl and whisk to incorporate.
Set the bowl aside to let the psyllium gel form (2 min).
Step 2

In a large mixing bowl combine all of the dry ingredients including sugar and whisk thoroughly to incorporate.
Step 3

Finally, add all the wet and dry ingredients together and mix using an electric mixer with dough hooks.
I recommend mixing for at least 5 minutes to ensure a smoother dough.
Alternatively, you can mix with hands or a wooden spoon but the loaf might turn out less smooth on the top.
The dough will be very sticky but don't add any extra flour to it!
Step 4
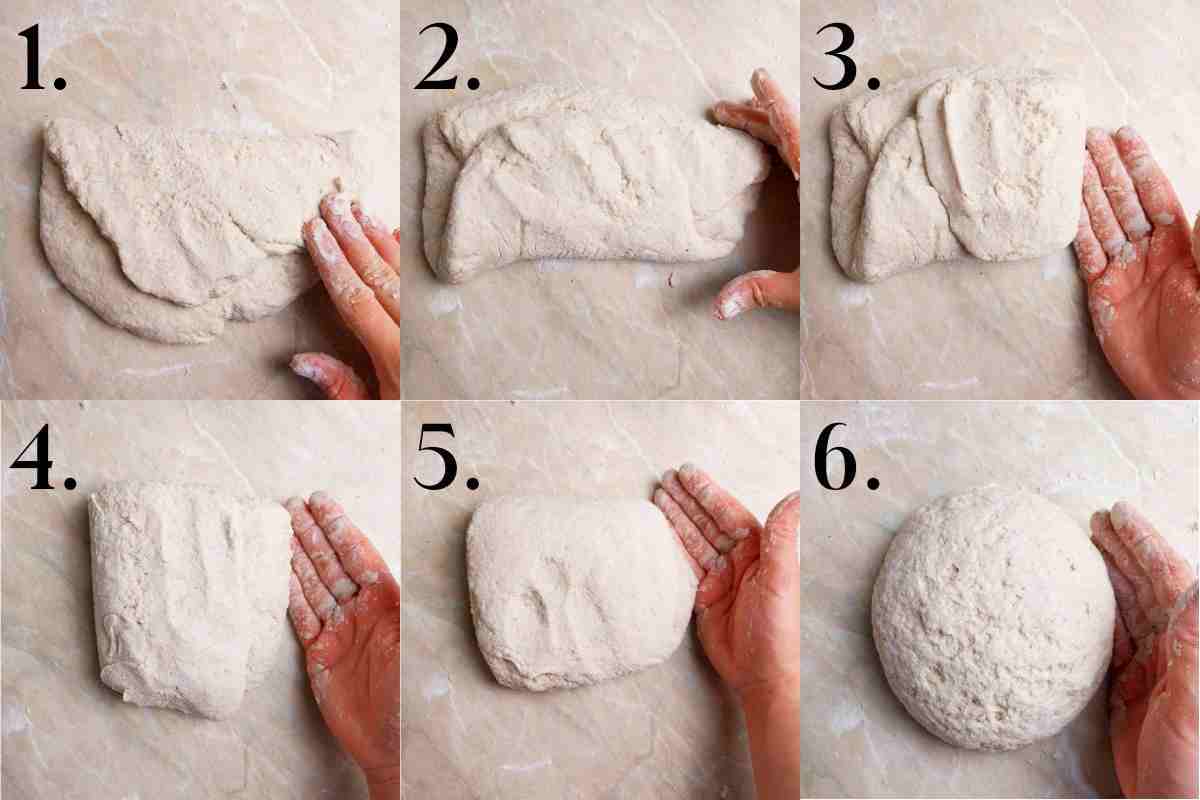
Turn the dough onto a floured working surface and shape into a ball. Grease your hands with some oil to prevent sticking or use extra flour for dusting.
I like my bread in a batard shape better but you can bake it as a boule, too.
You don't need to stretch and fold gluten-free bread because there is no gluten to be developed!
Step 3

Dust a banneton basket with flour or use a mixing bowl lined with a dusted kitchen towel.
Turn the dough inside down into the basket/bowl and press it in to create a flat surface.
Cover the dough and leave to proof for 5-7 hours or overnight (12-18h) in the refrigerator.
I recommend proofing at about 75F/24C for the best results. Alternatively, you can place the dough in the oven with the light on. The poke test, unfortunately, doesn't work with gluten-free sourdough.
Step 4

The dough will puff up some but it won't double in size, that is okay!
Carefully turn the dough over onto a piece of parchment paper and score. Scoring means cutting the top of the dough with a sharp razor to create a pattern and aid the oven spring.
Oven spring is the rising process during the first part of baking.
Then, gently lower the parchment with the loaf into a cold Dutch oven, close the lid, and transfer to a cold oven.
Start preheating the oven to 450F/230C and once preheated, start the timer for 40 minutes.
After the first 40 minutes, take the lid off the Dutch oven, lower the temperature to 350F/175C, and bake for an additional 30 minutes.
Starting with a cold oven is not common but it works just as great!
Once the bread is done, transfer it to a cooling rack and let it sit until no longer warm to the touch. Slice with a serrated knife and enjoy!

Storage
- The bread will keep for 3-4 days at room temperature in a bread box or a textile bag. But I prefer to freeze my bread because sometimes it will get moldy in a bread box.
- To freeze, slice the bread and line the slices with parchment paper to prevent sticking, then transfer them to a freezer bag. Keep for 3-4 months.
- To defrost, simply pop the slices into a microwave for a couple of minutes!
Expert tips
- Score the dough deep (0.5-1in/1-2cm) if making one cut and do shallow cuts if creating a more elaborate pattern.
- Place a couple of foil rings in the bottom of your Dutch oven to prevent bread from burning.

- Proof the bread overnight for a more sour flavor.
Troubleshooting
- Large hole between the top crust and the crumb - this is a sure sign of overproofing. Next time bake the bread a bit sooner!
- Dense crumb could be due to underproofing, using a different type of flour, or substituting ingredients.
- Gumminess happens when you underbake or underproof your bread. It also might happen if you play around with ingredients and don't follow the recipe exactly.
- The bottom of the bread burns - refer to the section above to see how I solve that issue in my Dutch oven.
Baking timeline
Room temperature proofing:
- Feed your starter the night before (the later the better).
- 8 am - mix & proof the dough.
- 1-2 pm - bake according to instructions.
Overnight proofing:
- Feed your starter in the morning when you wake up.
- Mix the dough before going to sleep or in the late afternoon.
- Ferment the dough overnight in the refrigerator for 12-18 hours and bake in the morning according to instructions.
FAQ
I don't recommend the sandwich loaf pan because it generally makes the crumb denser. If you don't have a Dutch oven, simply bake the bread on a sheet pan. For bread machine check out these gluten-free bread machine recipes!
If your starter is at least 2 weeks old and consistently bubbles after feedings, you can start baking with it. The starter doesn't need to double in volume to be ready for baking!
Get my new gluten-free sourdough recipes eBook
The top 32 recipes of 2026!

Soft & Fluffy Gluten-Free Sourdough Bread
Equipment
- A Dutch oven, a cast iron skillet, pizza stone, or baking sheet could be used instead but not recommended.
- A kitchen scale, highly recommended
- A banneton basket, optional
- A razor or bread lame
Ingredients
Psyllium gel
- 20 grams whole psyllium husks or use 18g if using powder
- 260 grams water, room temperature
Dry ingredients
- 130 grams tapioca starch, or arrowroot starch
- 100 grams potato starch, or cornstarch
- 170 grams sorghum flour, brown rice, millet, or oat flour can be used istead.
- 15 grams sugar or honey/maple syrup
- 7 grams xanthan gum, or guar gum. Don't leave it out, this ingredient is crucial!
- 8 grams baking powder, NOT baking soda
- 12 grams sea salt
Wet ingredients
- 120 grams milk, use plant-based for dairy-free
- 2 large-medium eggs, room temperature
- 50 grams sunflower oil, or any other neutral vegetable or seed oil
- 60 grams gluten-free sourdough starter, active, not from the fridge
SAVE THIS RECIPE!💌
Instructions
- Add water and psyllium husk to a medium-sized bowl and whisk to incorporate.Set the bowl aside to let the psyllium gel form (2 min).20 grams whole psyllium husks, 260 grams water,
- In a large mixing bowl combine all of the dry ingredients including sugar and whisk thoroughly to incorporate.130 grams tapioca starch, , 100 grams potato starch,, 170 grams sorghum flour,, 15 grams sugar, 7 grams xanthan gum, , 8 grams baking powder,, 12 grams sea salt
- Finally, add all the wet and dry ingredients together and mix using an electric mixer with dough hooks.120 grams milk, , 2 large-medium eggs,, 50 grams sunflower oil,, 60 grams gluten-free sourdough starter,
- I recommend mixing for at least 5 minutes to ensure a smoother dough. Alternatively, you can mix with hands or a wooden spoon but the loaf might turn out less smooth on the top.The dough will be very sticky but don't add any extra flour to it!
- Turn the dough onto a floured working surface and shape into a ball. Grease your hands with some oil to prevent sticking or use extra flour for dusting.I like my bread in a batard shape better but you can bake it as a boule, too.
- Dust a banneton basket with flour or use a mixing bowl lined with a dusted kitchen towel.Turn the dough inside down into the basket/bowl and press it in to create a flat surface. Cover the dough and leave to proof for 5-7 hours or overnight (12-18h) in the refrigerator.I recommend proofing at about 75F/24C for the best results. Alternatively, you can place the dough in the oven with the light on. The poke test, unfortunately, doesn't work with gluten-free sourdough.
- The dough will puff up some but it won't double in size, that is okay!Carefully turn the dough over onto a piece of parchment paper and score. Scoring means cutting the top of the dough with a sharp razor to create a pattern and aid the oven spring.
- Then, gently lower the parchment with the loaf into a cold Dutch oven, close the lid, and transfer to a cold oven.Start preheating the oven to 450F/230C and once preheated, start the timer for 40 minutes. After the first 40 minutes, take the lid off the Dutch oven, lower the temperature to 350F/175C, and bake for an additional 30 minutes.
- Once the bread is done, transfer it to a cooling rack and let it sit until no longer warm to the touch. Slice with a serrated knife and enjoy!
Notes
-
- The bread will keep for 3-4 days at room temperature in a bread box or a textile bag. But I prefer to freeze my bread because sometimes it will get moldy in a bread box.
-
- To freeze, slice the bread and line the slices with parchment paper to prevent sticking, then transfer them to a freezer bag. Keep for 3-4 months.
-
- To defrost, simply pop the slices into a microwave for a couple of minutes!
-
- Score the dough deep (0.5-1in/1-2cm) if making one cut and do shallow cuts if creating a more elaborate pattern.
-
- Place a couple of foil rings in the bottom of your Dutch oven to prevent bread from burning.
-
- Large hole between the top crust and the crumb - this is a sure sign of overproofing. Next time bake the bread a bit sooner!
-
- Dense crumb could be due to underproofing, using a different type of flour, or substituting ingredients.
-
- Gumminess happens when you underbake or underproof your bread. It also might happen if you play around with ingredients and don't follow the recipe exactly.
-
- The bottom of the bread burns - refer to the section above to see how I solve that issue in my Dutch oven.
-
- Feed your starter the night before (the later the better).
-
- 8 am - mix & proof the dough.
-
- 1-2 pm - bake according to instructions.
-
- Feed your starter in the morning when you wake up.
-
- Mix the dough before going to sleep or in the late afternoon.
-
- Ferment the dough overnight in the refrigerator for 12-18 hours and bake in the morning according to instructions.


Gabby says
Hi! I love the bread!! I didn’t know if I was able to separate the loaf into two smaller loaves? Or if you’ve tried that? Or any tips or tricks in doing that? If so, what the cooking times for that would be?
Natasha Levai says
Hi Gabby! Yes, absolutely! You can separate the dough into two smaller loaves. Bake time will decrease a bit, let's say same for the first part, but half the time for the second part. See how that works and go from there!
Amber says
Hello! When baking with a cast iron skillet and adding a bowl of water in the oven, you can bake it without a lid correct? Bake for the 40 min at 450 and then 30 min at 350 - all uncovered?
Natasha Levai says
Hi Amber! Yes, this sounds right!
Nancy says
A little help,please.Made this again today but it deflated once I took it out of the oven?
Thanks in advance
Natasha Levai says
Hi Nancy! The bread will deflate some after baking. As long as it doesn't create gumminess, there is not much you can do about it!
Leah Nosack Phillips says
Best Gluten Free Sourdough recipe i've found and I'm not searching anymore this is the one!
DebB says
Natasha, this recipe is fabulous! I made a loaf today using brown rice. I substituted konjac for the psyllium. This is truly the most wonderful loaf of sourdough I have made in many years! Thank you for this Winner!
Jescee says
Do I have to wait for it to cool before slicing?
Natasha Levai says
Yes, absolutely! It is true for all gluten-free bread.
Jenn says
Hi! I love this recipe but keep getting a few large holes. It’s definitely not the proofing time because I have tried tons of variations. Could it be the xanthum gun or baking powder - should I use less? It’s just a couple small pockets of holes that are just a little too big. Thanks!
Natasha Levai says
Hi Jenn! To avoid large pockets I recommend using a cast iron bread pan with a lid that will push the bread together and not allow it to rise above certain point! This is what I use for my loaves and they all come out perfectly even and square, great for sandwiches!
Rachel says
Best GF bread I’ve had! Thank you for sharing!
Rachel says
Just confirming that the 40 min timer starts when the oven reaches 450 and not when I turn the oven on. Thanks!
Natasha Levai says
Hi Rachel, yes, you start the timer once the oven has reached 450F! Glad you liked the bread!
Sarah says
Hi, if I'm using a 1:1 flour that already contains gum, would I still use the same amount of grams as just the flours? Or do I need to add the grams from the starches to the total amount of flour I need to add?
Natasha Levai says
Hi Sarah! I can't guarantee the same results with a 1:1 flour. The general rule of thumb is to go by consistency. Try adding as much flour as indicated in the recipe and then see whether you need to add more.
Corina Turner says
After the sourdough ferments in the fridge overnight, do I take it straight from the fridge into the dutch oven or do I let it sit out for a while and then bake?
Thanks!
Natasha Levai says
Hi Corina! You can bake straight from the fridge!
Heather Elliott says
Hi Natasha! Love this bread. The texture is unreal and what GF dreams are made of. I only wish it had more of a sourdough flavor. Think I could increase the amount of starter and just substitute with less flour/milk/water?
Sage says
I have been following the recipe exactly and somehow there’s a little bit of gumminess in the loaf every time, usually towards the center and bottom of the loaf. Any recommendations for how to adjust the baking time or anything else to make it not gummy at all?
Natasha Levai says
Hi Sage! I would recommend reducing the liquids by 50g. See if that helps!
Sage says
This worked perfectly! What would you recommend to avoid gumminess when doing inclusions like Kalamata olives that add a little extra liquid? I tried doing an extra 5g less of liquid ingredients but find I’m having the same issue as before but with the inclusions now
Natasha Levai says
Hi Sage! Try using even less water, decrease the water content by 30g and see if it helps!
Mandi says
I suggest using less salt (like a teaspoon instead of 3)
using closer to 1/2 cup of starter
and apparently not all psyllium husk brands are created equal... I use moonee naturals... it makes it a dough rather than a batter like some others do.It also doesn't discolor it.
I also use just slightly more honey.
I also found using a ceramic casserole dish that is 4 inch tall and 8.5 inch wide will not burn it and raises the bread better. (no tinfoil at bottom needed). if you do use cast iron, I suggest using a bread sling so the whole bottom of the bread doesn't have in with the tin foil.
Cassie says
I’ve tried four gluten free sourdough recipes and this is only one that tastes good! Even though mine comes out a little gummy it’s really good toasted.
Natasha Levai says
Hi Cassie! So happy you liked the bread! If it comes out gummy, reduce the liquids by 20-30 grams at a time and see how it improves the texture.
Mandi says
I suggest the following for better bread:
using moonee naturals psyllium husk... it does not change the color and it makes the bread a dough rather than a batter
using only 1 teaspoon of salt
using closer to 1/2 cup of starter
using slightly more honey
use a ceramic casserole dish with lid that is 8.5 inches and 4 inch tall. it will not need tinfoil to not burn. if you use cast iron, I suggest using a bread sling so the tinfoil doesn't have in the bottom of the bread as much.
Hannah says
Hi Natasha,
I love your recipes, and this one is my favorite. I have a question. I added 1/2 cup kalamata olives sliced (with liquid squeezed out with paper towels) and 3 garlic cloves chopped, and the bottom of the bread caves in. I added baking time 50 minutes @450 and 50 minutes @350. I did an overnight ferment for 15 hours in the fridge. I use a trivet in the bottom of my cast iron dutch oven so the bottom doesn't burn.
Any idea why the bottom is caving in?
Still tastes amazing! Thank you!
Hannah says
Also I'm using a 5 quart cast iron oven, if it helps to know that.
Katie says
What size Dutch oven do you recommend cooking this recipe in?
Natasha Levai says
6qrt is a good size!
Dana says
We just made the bread. Followed the recipe exactly. Texture and taste were great but the color of the bread is gray and not very appetizing looking. What happened please??
Natasha Levai says
Hi Dana! The color of the bread depends on the flour types you used and psyllium husk. If you use whole psyllium it shouldn't affect the color. Certain flour types have different tones, which can affect how the bread looks!
Belinda says
I chanced upon your recipe while searching for a gluten free sourdough sandwich bread recipe. I tried it out and finally succeeded in baking a fluffy sandwich loaf with this recipe (after failing miserably with other recipes). Thank you so much for your recipe!
Caroline Johnson says
Hello! Thank you so much for this recipe! I’m new to GF sourdough, but I’m struggling to get a good rise from the loaf during the baking process! The loaf rises when proofing and then deflates during baking! Any suggestions? Thank you!
Natasha Levai says
Hi Caroline! Is the bread gummy? The loaf tends to rise a lot during baking and deflate some afterwards, that is normal. If it deflates so much that it becomes gummy, that might be a sign of overproofing (leaving the bread out to rise for too long).
Caroline Johnson says
Hello! The most recent I baked wasn’t gummy! Great success! I reduced the water as your notes suggested! I would say it is most dense than your photos in the recipe though! I wonder if it is my starter? My starter is a few months old, but maybe I need to wake it up more from the fridge (more than 24 hours)? This recipe is still so delicious and I love the taste! This is more of a baker error/newbie error vs. your delicious recipe!