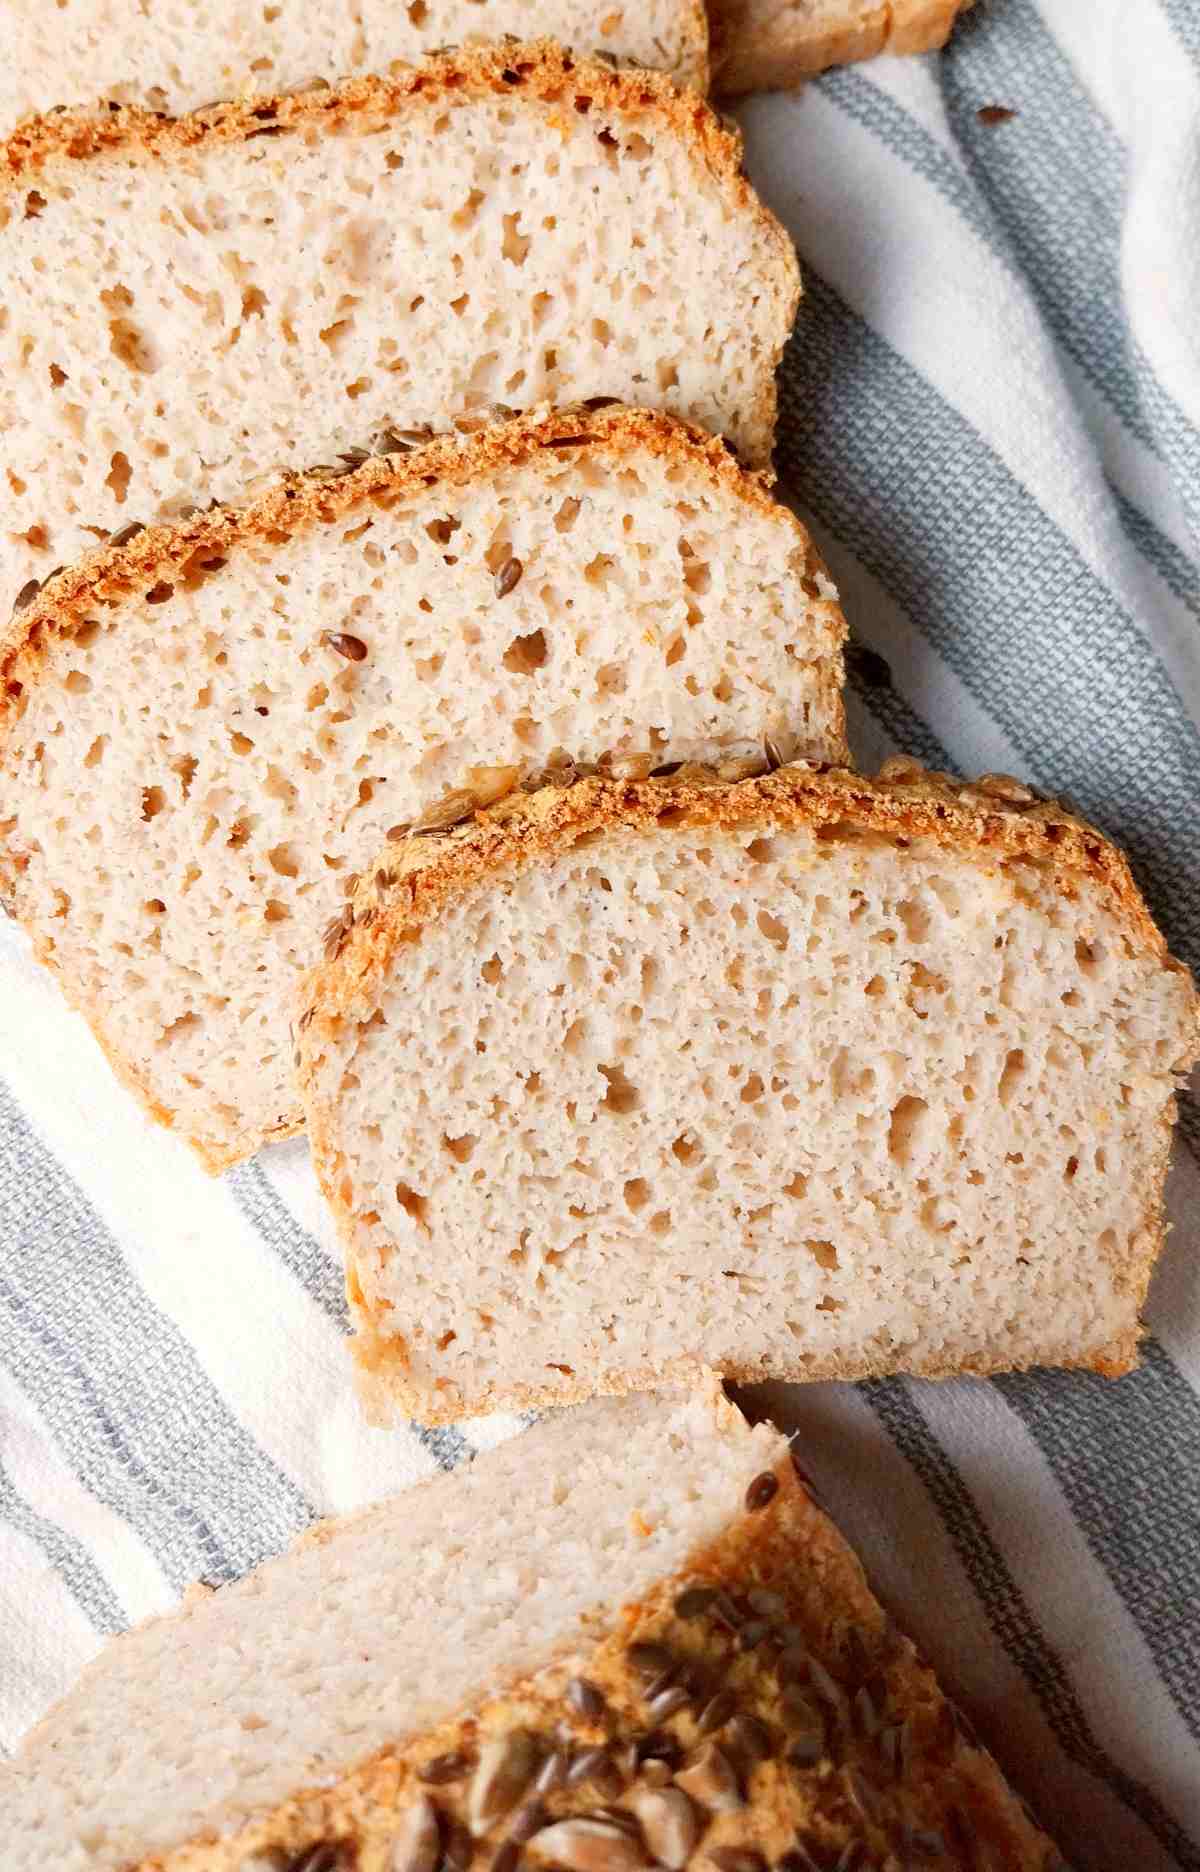
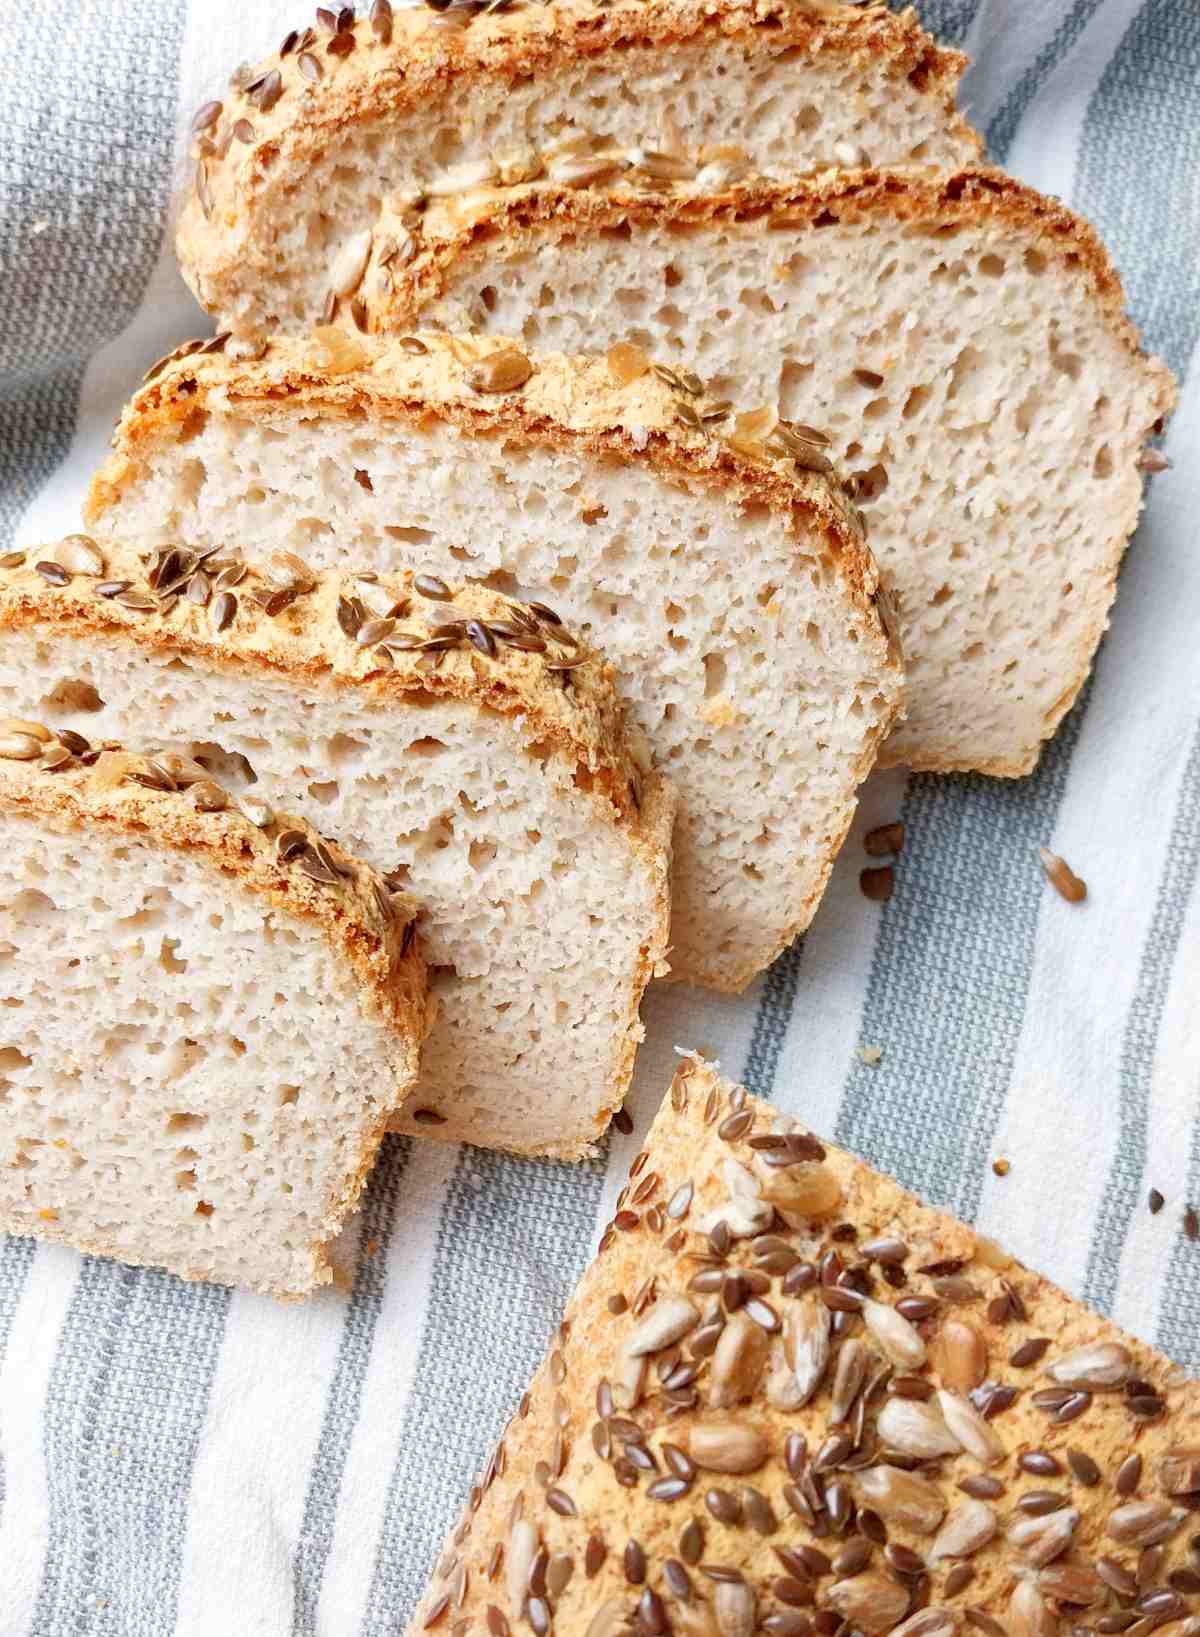
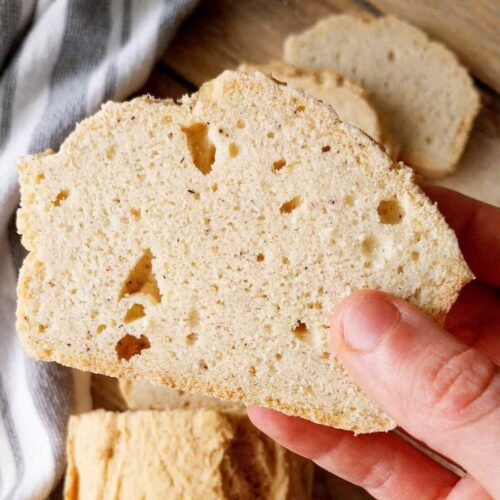
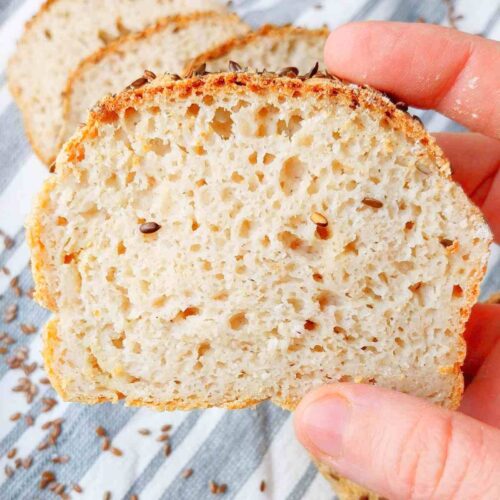
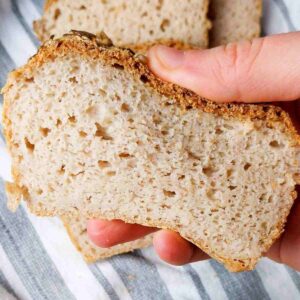
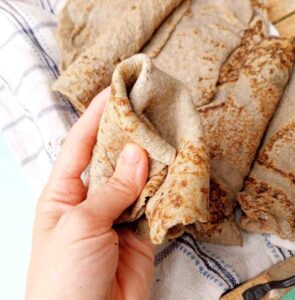
This easy Sorghum Flour Bread is soft and flavorful, perfect for sandwiches and toast! It is naturally vegan, dairy-free, and xanthan gum-free, which makes it perfect for celiacs and gluten intolerant people! The flavor of sorghum is fantastic and works great in bread like this one or my sorghum sourdough.
This recipe was in part inspired by my 100% millet bread, which readers love! This sorghum bread further inspired my 100% brown rice loaf that bakes up perfectly airy and soft.
Jump to:
Ingredients for Sorghum Bread
For measurements, see the recipe card at the end of the post or use the "Jump to Recipe" button at the beginning of the post!

- Sorghum flour - make sure it is not millet flour. Sometimes, those two are confused for each other, but they aren't the same. Millet flour is yellow (see bajra roti), while sorghum flour is white-ish grey (see jowar roti).
- Psyllium husk - serves as a binding agent that replaces gluten and creates elasticity in the dough. I highly recommend using whole husks (not psyllium husk powder) for this recipe, as they hydrate quickly and are generally easier to work with.
- Yeast - I recommend using yeast that doesn't require activating (instant yeast or fresh yeast). Active dry yeast will need to be activated before use.
Substitutes
Psyllium husk - I don't recommend using psyllium husk substitutes, but if you absolutely can't have psyllium husk, try making my Konjac bread instead.
Sugar - use honey, coconut sugar, or maple syrup.
How to Make Sorghum Bread

Step 1. In a medium-sized mixing bowl, add the water and psyllium husks and whisk to incorporate. Set aside for a couple minutes to let the gel set.

Step 2. Combine the flour, sugar, salt, instant yeast, and baking powder in a large mixing bowl and stir to combine.

Step 3. Add the psyllium gel and oil to the dry ingredients and mix the dough. You can use an electric mixer with dough hooks or a wooden spoon, or simply mix by hand.
The longer you mix, the smoother the loaf will end up. For best results, mix with an electric mixer for 5 to 10 minutes.

Step 4. Line a 9x5in metal loaf pan with parchment paper and transfer the dough to it. Note: don't use a glass baking pan, or the loaf will stay raw on the bottom. I recommend aluminum, cast iron, or ceramic pans!
Smooth the top out with a silicone spatula and cover the pan with a kitchen towel. Leave the dough to rise for 1-2 hours until it comes up to the pan's rim. 75F/24C is the best proofing temperature for bread.
Don't let the bread rise too much above the pan, or it will collapse during baking!
Step 5. Start preheating the oven to 350F/175C about 20 minutes before the dough is done rising.
If you want to add seeds, brush the top of the loaf with whisked egg and sprinkle the seeds on top. This will prevent them from falling off the loaf after baking!
Bake the bread for 1h 45m, then take it out and let the loaf sit in the pan for 5-10 minutes. Then, remove the loaf from the pan and transfer it to a cooling rack. Only slice the sorghum bread once it has cooled down completely (4-5 hours). Enjoy!
Expert tips
- Don't add extra flour to the dough, even if it seems wet.
- Don't open the oven while the bread is baking to prevent collapsing.
- Wait for the bread to cool down completely before slicing, or it will end up gummy.
- Don't use glass pans.
- Don't use the convection setting on your oven.
- Use a digital kitchen scale to measure the ingredients by weight because measuring by volume using cups might not always give you the same results.
Common Questions
Millet flour has a tendency to develop a bitter flavor if left out too long, in which case, sorghum bread will taste better. Otherwise, it comes down to personal preference! I like the sorghum flavor in sweet bakes like this gluten-free Easter bread or sorghum cookies.
No, sorghum and buckwheat are two different types of grains/seeds. They differ in color, flavor, and nutritional build-up. For reference, see my buckwheat flour bread and buckwheat flour flatbread!
Yes, sorghum flour bread will rise if mixed with yeast. Make sure you use instant yeast because active dry yeast needs activating before use. Alternatively you can use baking powder and soda for leavening. Note that if the dough is too dry, sorghum flour will have a harder time rising!
Storing and freezing
You can store this bread at room temperature for 3-4 days. Store it in a bread box or bread bag to prevent it from drying out!
You can keep the bread in the fridge for up to 5 days. Make sure it is sealed in a plastic bag or a container.
If you know you won't eat the bread within 3-4 days, I recommend freezing it.
To freeze:
- Slice the bread with a bread knife;
- Arrange the slices on a tray or a piece of parchment and freeze for 30 min.;
- Transfer the slices into a freezer-safe bag or container for up to 3 months.
- Alternatively, you can simply place a piece of parchment in between each slice and freeze the loaf this way.
To defrost, simply place a slice or two in the microwave for 30-60 seconds!
More Gluten-Free Bread Recipes You Will Love!


Get my new
Gluten-Free Bread Recipes eBook
The top 26 recipes of 2026! Includes a bonus conversion chart for gluten-free flour.
Easy 100% Sorghum Bread (Gluten-Free)
Ingredients
Wet Ingredients
- 26 grams whole psyllium husk, not powder
- 600 grams water, warm or room temperature, not hot
- 20 grams oil any neutral vegetable or seed oil will work
Dry Ingredients
- 7 grams instant yeast
- 450 grams sorghum flour
- 15 grams sugar, honey or maple syrup can be used instead
- 1 teaspoon baking powder
- 10-12 grams salt
For topping
- seeds of choice (sesame seeds, linseeds, sunflower seeds, etc.)
SAVE THIS RECIPE!💌
Instructions
- In a medium-sized mixing bowl, add the water and psyllium husks and whisk to incorporate. Set aside for a couple minutes to let the gel set.600 grams water,, 26 grams whole psyllium husk,
- Combine the flour, sugar, salt, instant yeast, and baking powder in a large mixing bowl and stir to combine.7 grams instant yeast, 450 grams sorghum flour, 15 grams sugar,, 1 tsp baking powder, 10-12 grams salt
- Add the psyllium gel and oil to the dry ingredients and mix the dough. You can use an electric mixer with dough hooks or a wooden spoon, or simply mix by hand.The longer you mix, the smoother the loaf will end up. For best results, mix with an electric mixer for 5 to 10 minutes.20 grams oil
- Line a 9x5in metal loaf pan with parchment paper and transfer the dough to it. Note: don't use a glass baking pan, or the loaf will stay raw on the bottom. I recommend aluminum, cast iron, or ceramic pans!Smooth the top out with a silicone spatula and cover the pan with a kitchen towel. Leave the dough to rise for 1-2 hours until it comes up to the pan's rim. 75F/24C is the best proofing temperature for bread. Don't let the bread rise too much above the pan, or it will collapse during baking!
- Start preheating the oven to 350F/175C about 20 minutes before the dough is done rising.If you want to add seeds, brush the top of the loaf with whisked egg and sprinkle the seeds on top. This will prevent them from falling off the loaf after baking!Bake the bread for 1h 45m, then take it out and let the loaf sit in the pan for 5-10 minutes. Then, remove the loaf from the pan and transfer it to a cooling rack. Only slice the sorghum bread once it has cooled down completely (4-5 hours). Enjoy!seeds of choice (sesame seeds, linseeds, sunflower seeds, etc.)
Notes
-
- Don't add extra flour to the dough, even if it seems wet.
-
- Don't open the oven while the bread is baking.
-
- Wait for the bread to cool down completely before slicing or it will end up gummy.
-
- Don't use glass pans.
-
- Don't use the convection setting on your oven.
-
- Use a digital kitchen scale to measure the ingredients by weight because measuring by volume using cups might not always give you the same results.

Clive says
Excellent recipe- the addition of the oil is so important to bind everything. Never had a poor loaf- I even forgot the bread was being left to rise once for five hours and it was ok!
Kata Pap says
Thanks for this recipe! It's a great lectin free option for bread. I baked it twice, perfect both times. For some reason mine needed only like 40 mins to rise, and after baking for 50 mins I took it out of the oven, it seemed done. And it really was.
It's a very enjoyable bread, not as crumbly and dry as my usual lectin free bread, which is a mix of sorghum, millet, tapioka, flexseed.
Alessia says
I used a digital scale and followed the instructions but the dough turned out hard and crumbly. It also didn’t rise at all. End result was very dense but the taste was good. Would like to figure out what went wrong.
Natasha Levai says
Hi Alessia! Maybe you need to add more moisture? Did you use whole psyllium husks?
Lisa says
Do you have a recipe that combines sorghum and buckwheat?
Natasha Levai says
Hi Lisa! If you would like to add some sorghum, you can simply replace part of buckwheat with sorghum flour. You can also use some starch instead of buckwheat flour if you want a fluffier crumb. You could do 30% tapioca starch, 40% buckwheat flour, and 30% sorghum flour. You might need to remove some of the water in the recipe since different flours absorb liquids differently! Let me know if this works for you.
SH says
How would I do this recipe in a bread machine? Thanks
KF says
Hi. Interested in this recipe, but I'm curious if it can be made with psyllium powder. The country I'll be in only has the powder, not the husks.
Natasha Levai says
Yes, this recipe can be made with psyllium powder. Powder tends to create clumps when mixed with water, so I recommend using cold water for psyllium gel if using powder, because cold water prevents clump formation. The general rule for powder is to use 85% of the whole husks amount!
Mark E. Haller says
Have you tried mixing the psyllium powder in the dry ingredients? I've done a fair amount of sorghum but usually blended with rice and other flours. This recipe is a much longer bake. I'm intrigued. Plus, I've never done well with psyllium gels.
Natasha Levai says
If you mix psyllium in with the dry ingredients, you will have to wait much longer for the dough to thicken and hold shape, that is why we generally will add psyllium husks to water to speed up the process. Yes, adding starches and other flours will make for an airier bread! This specific recipe is for those who are specifically looking to make a bread with ONLY sorghum flour. I have recipes that include more flour types as well!