These soft and fluffy gluten-free sourdough hot cross buns are a great addition to the Easter table! They are soft, slightly sweet, and taste great with butter and homemade plum jam. Make sure to check out this citrusy Easter Tsoureki recipe and this traditional Eastern European Paska recipe!
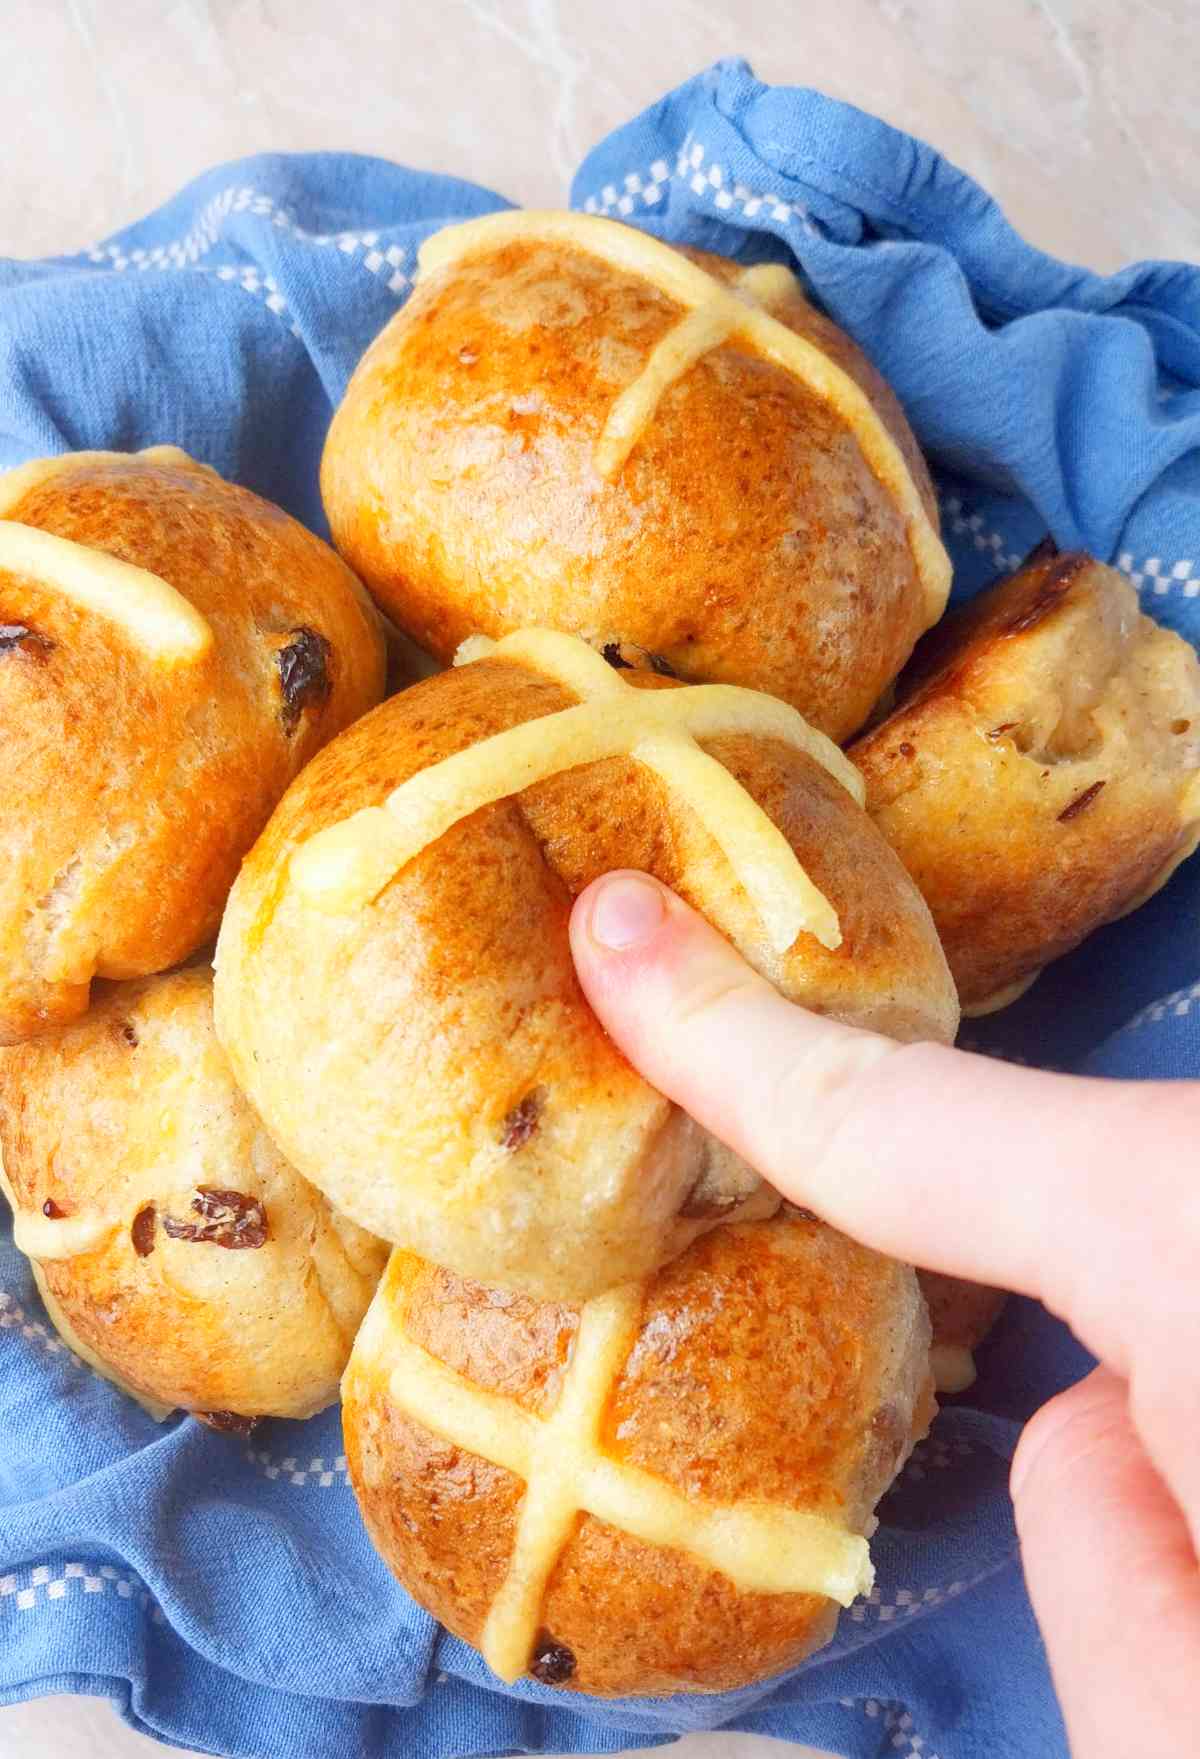
These Easter buns were in large inspired by the Loopy Whisk's gluten-free hot cross buns! They are a variation of the soft gluten-free sourdough dinner rolls.
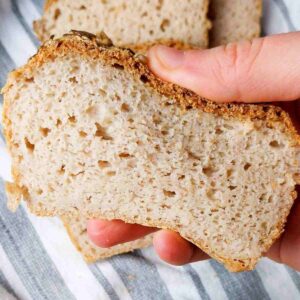
Tonight was the 3rd time I've made these rolls, and I am in love! This recipe makes such delicious, fluffy rolls that are not even close to your typical gluten-free option. Thank you! Kelli
These buns have a unique flavor thanks to the natural fermentation done by the wild yeast in the sourdough starter. If you don't have a starter yet, here is how to make one with millet flour!
Jump to:
Ingredients
Exact measurements are at the bottom of the post in the Recipe Card!
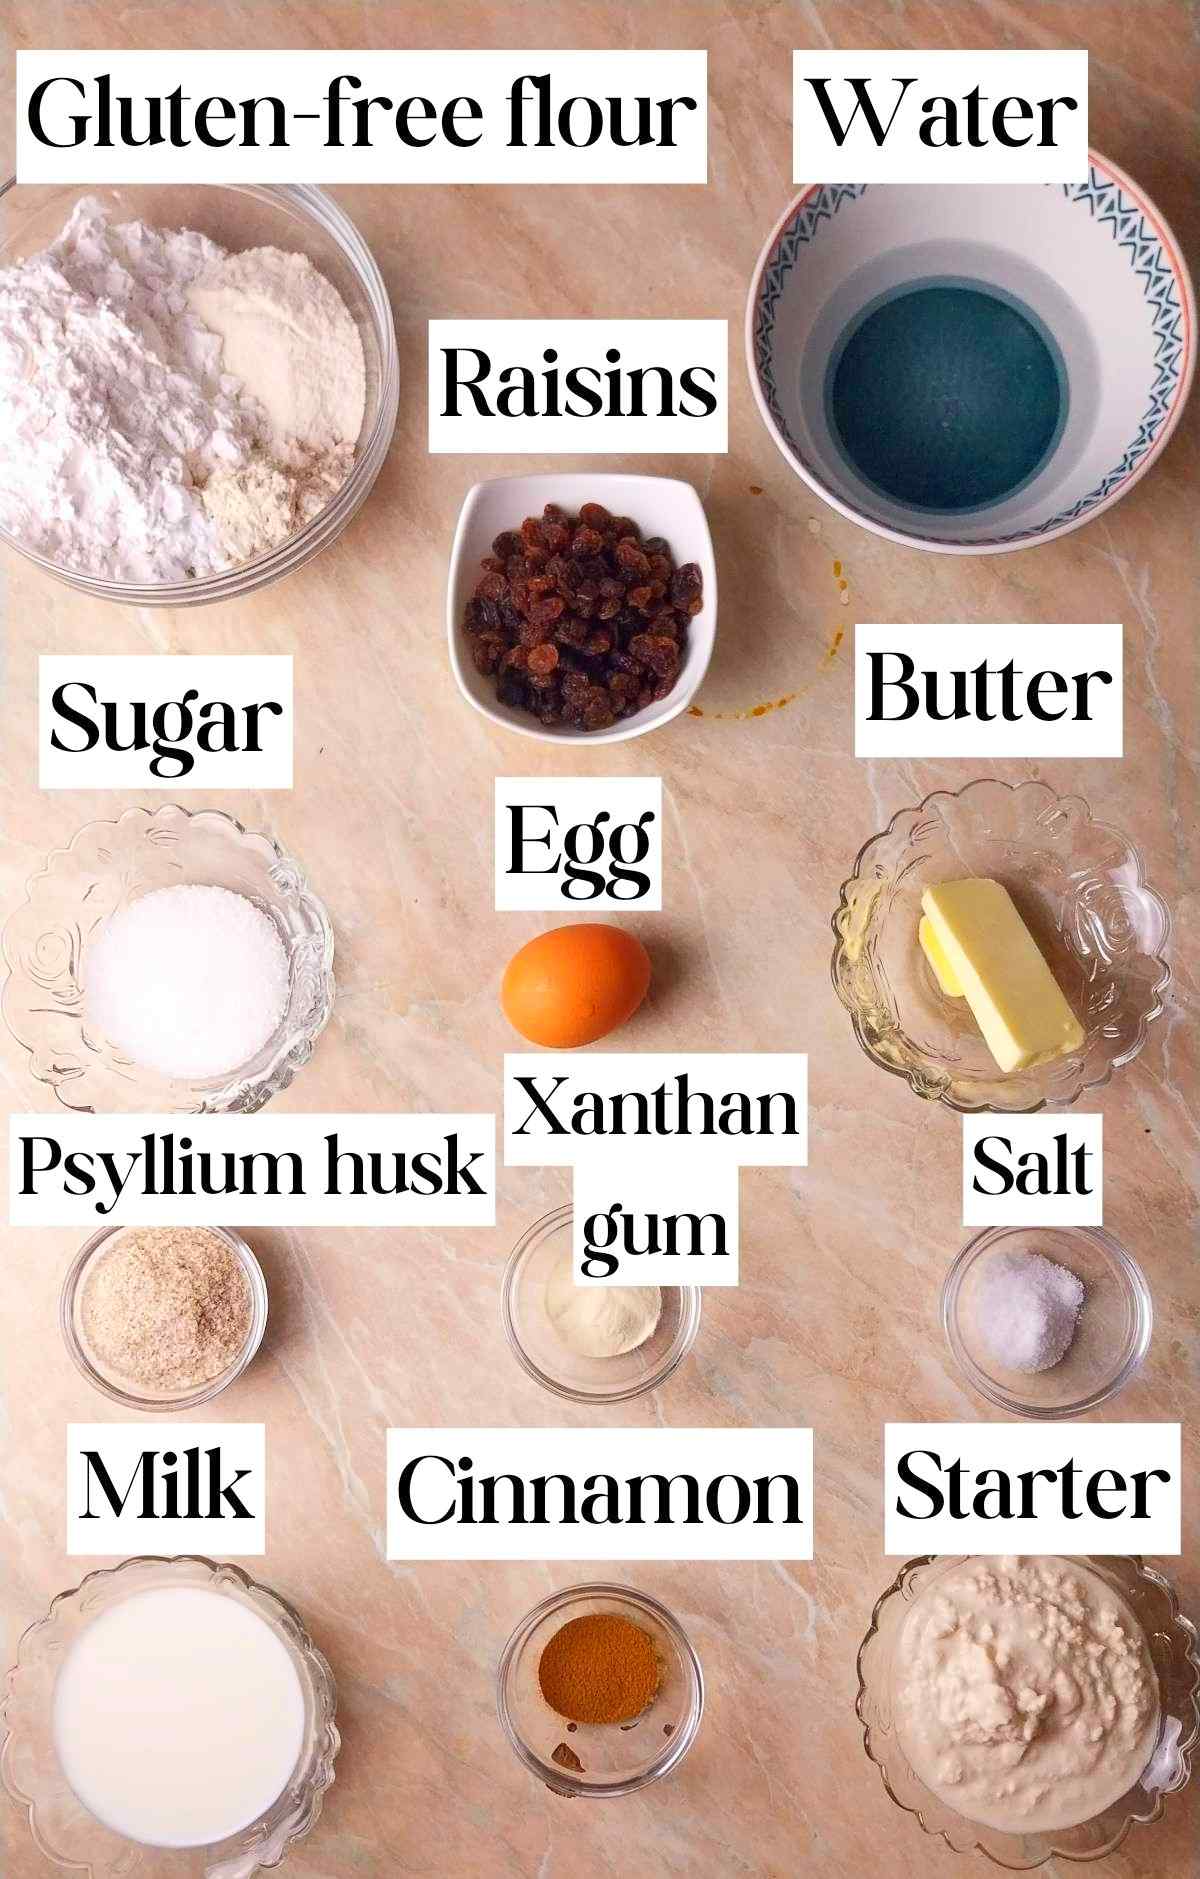
- Gluten-free flour - I used a mix of brown rice flour, sorghum flour, tapioca, and potato starches. You can experiment with premade store-bought blends but I cannot guarantee the same results!
- Gluten-free sourdough starter - I am using my brown rice flour starter, however, you can use any starter you have. Make sure it is active and has been out of the fridge for 1-2 days.
- Psyllium husk - I recommend using whole husks vs. powder because it is easier to work with. However, you can experiment with using powder instead. Psyllium acts as a binder, locks in moisture, and holds the buns well after baking.
- Xanthan gum - adds fluffiness to the buns and acts as an extra binder.
Substitutes
- Psyllium husk - there is no good substitute for psyllium husk that would yield the same results.
- Xanthan gum - you can use guar gum instead.
- Sourdough starter - you can make these buns with yeast if you don't have a starter yet.
- Butter - use coconut oil or vegan butter for a dairy-free version.
- Milk - use plant-based milk for dairy-free.
- Sugar - you can use an artificial sugar substitute instead.
- Raisins - use dried cranberries, candied orange, or lemon peel.
Step-by-step instructions
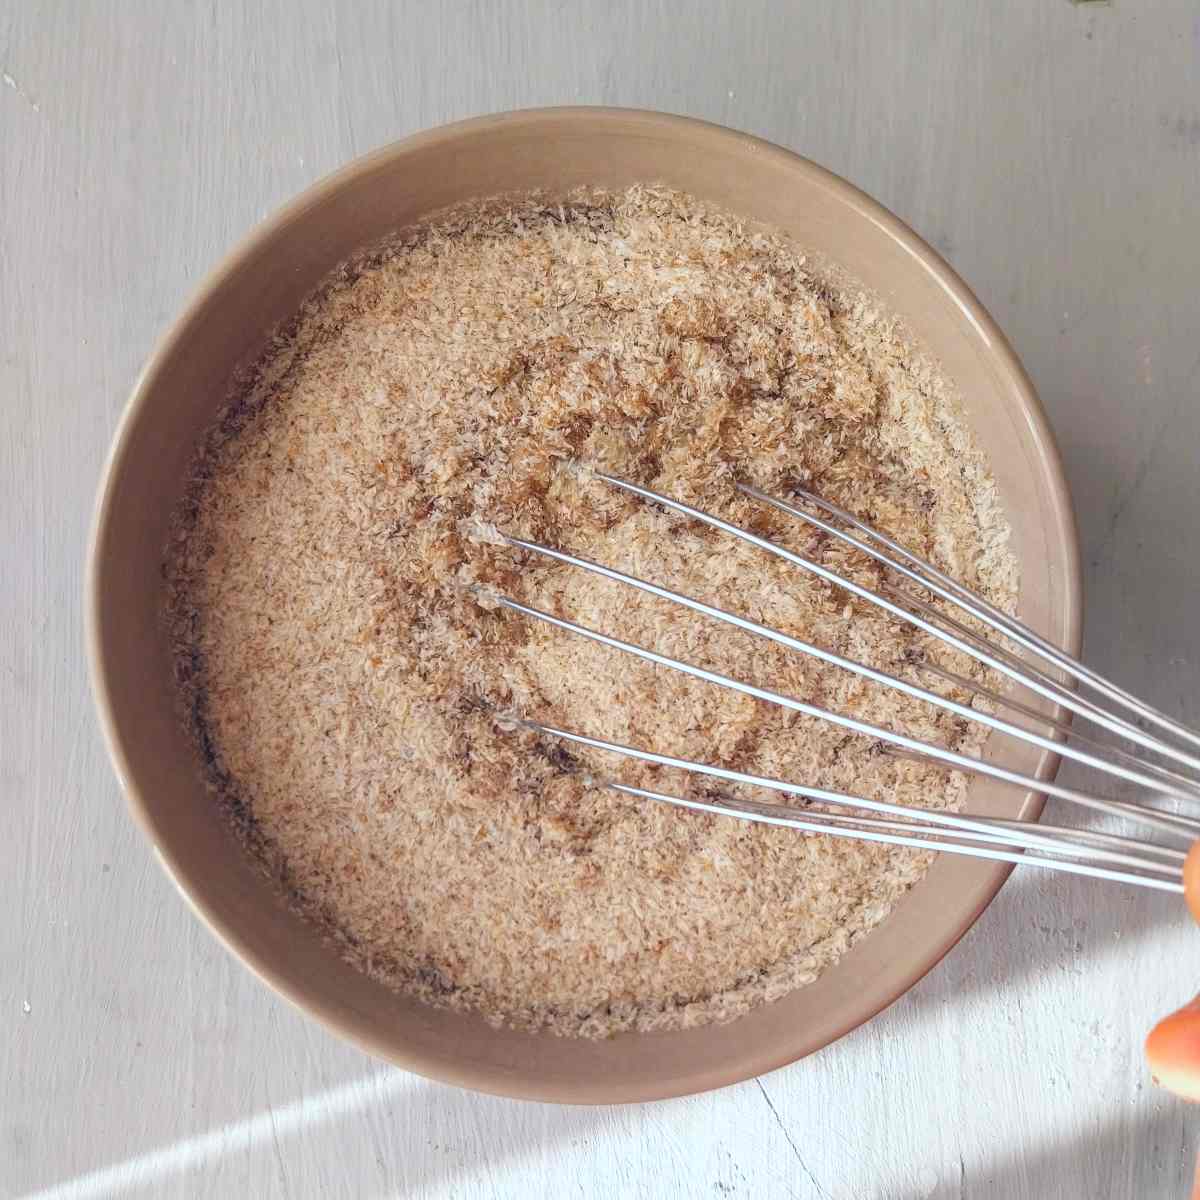
Add psyllium husks and water to a medium-sized bowl and whisk to combine.
Set the mixture aside for a couple of minutes for the gel to form.
In a separate bowl add the raisins and cover them with boiling water to soften.
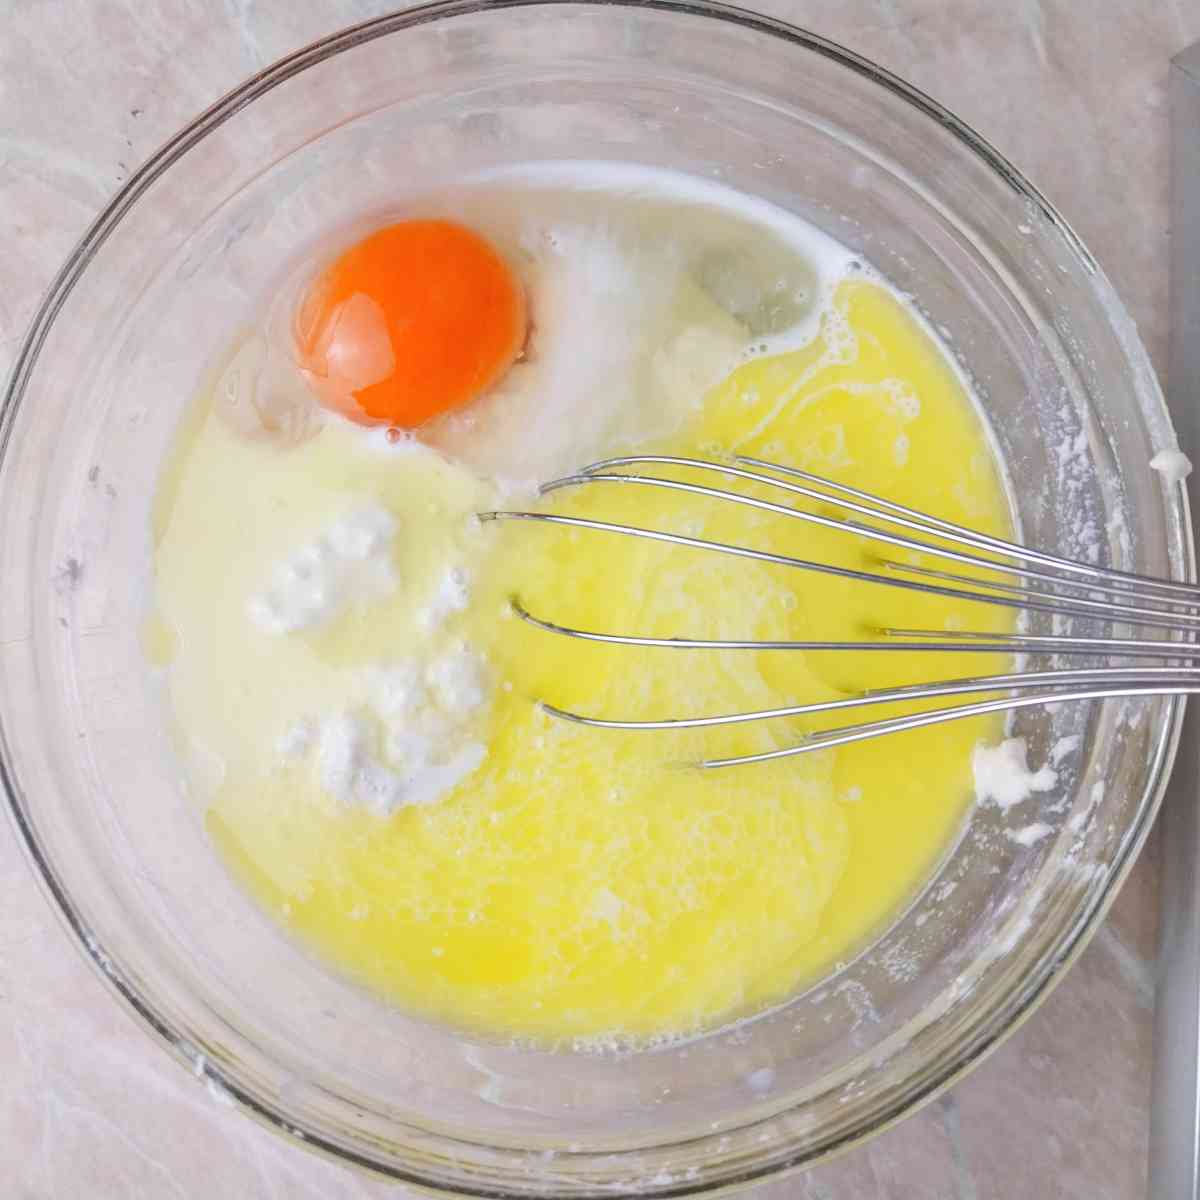
Add the egg, melted and cooled butter, sourdough starter, milk, and sugar to another medium-sized bowl and whisk to incorporate.
Top Tip
Use a digital kitchen scale to ensure correct measuring!

In a large mixing bowl, add all of the dry ingredients and stir to combine.
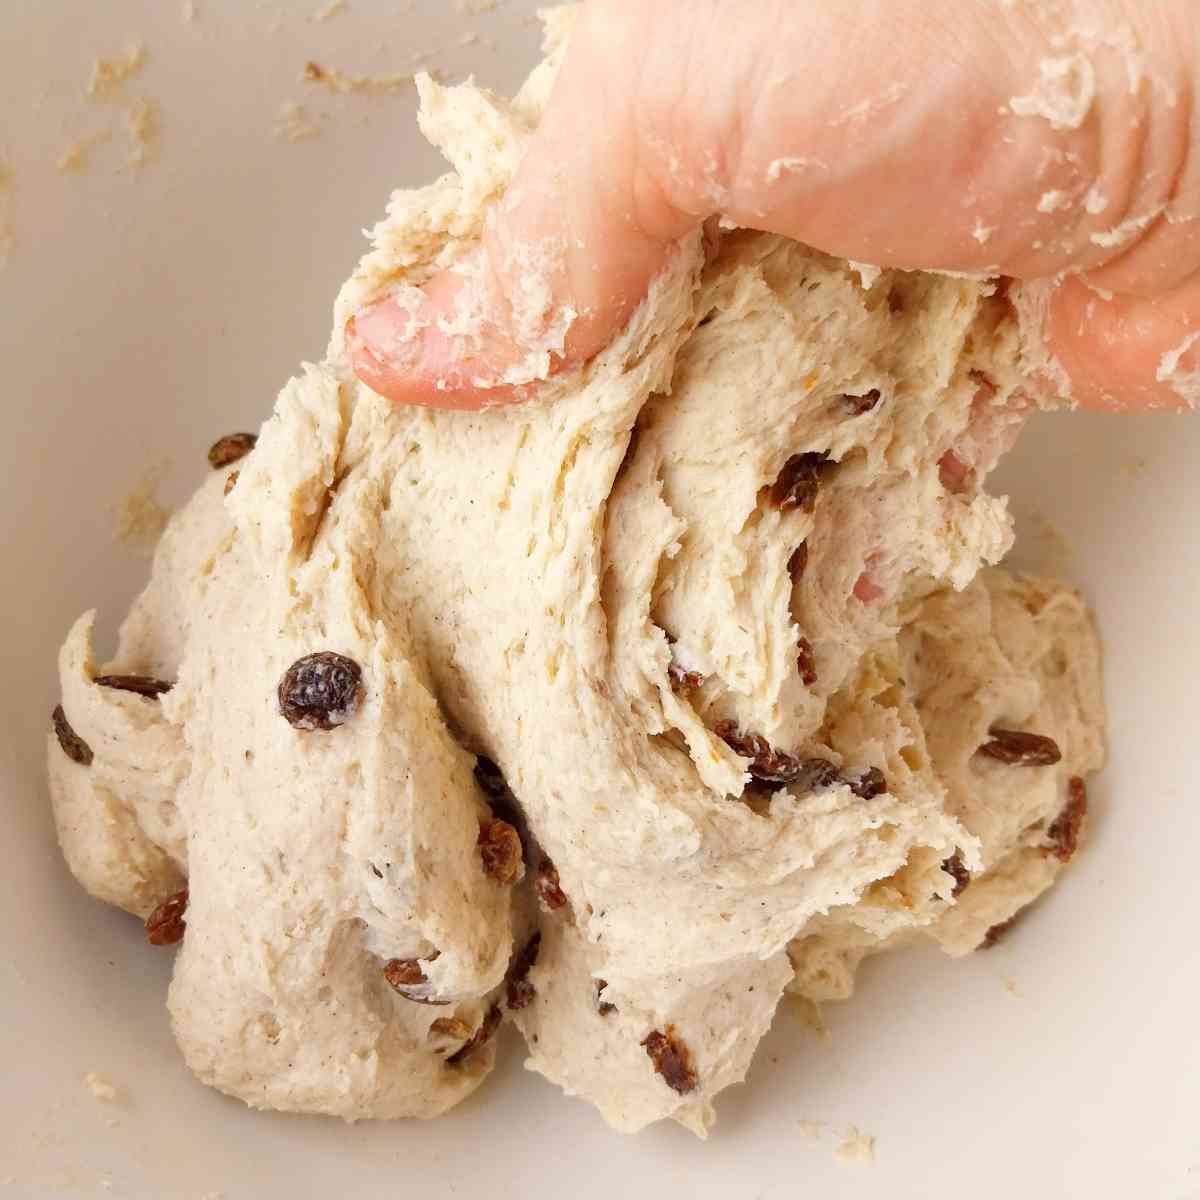
Add psyllium gel and the wet ingredients to the bowl with the dry ingredients and mix thoroughly.
You can either use an electric mixer with dough hooks, or a wooden spoon or simply mix the dough by hand!
The dough will be sticky but avoid the temptation to add extra flour to the dough!
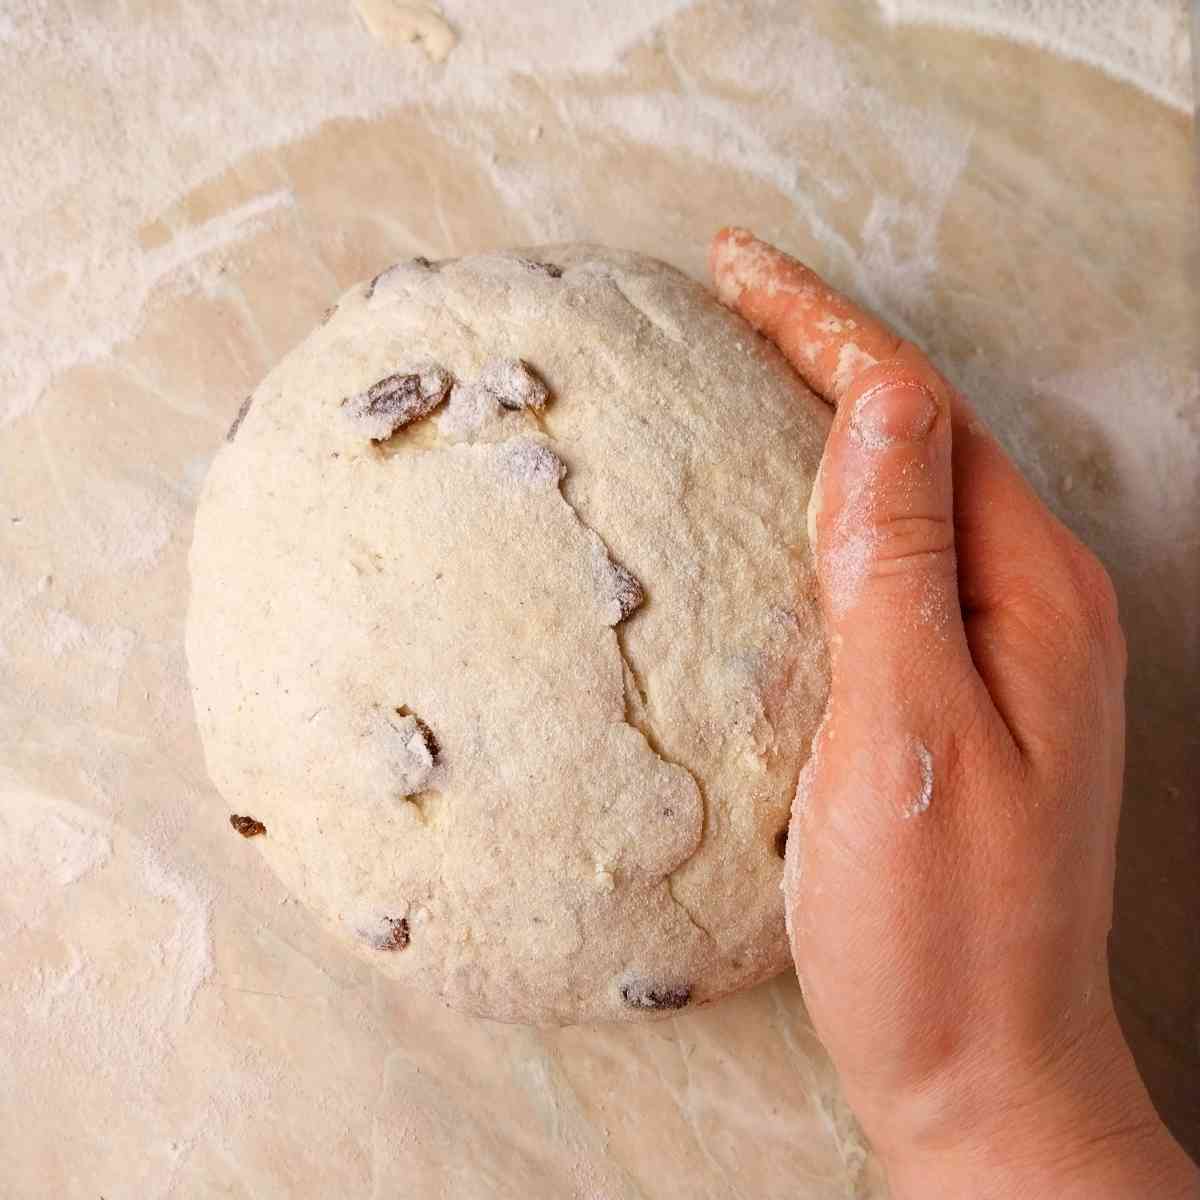
Flour the working surface and transfer the dough to it. Dust the dough with flour until it is workable.
Shape it into a large ball.
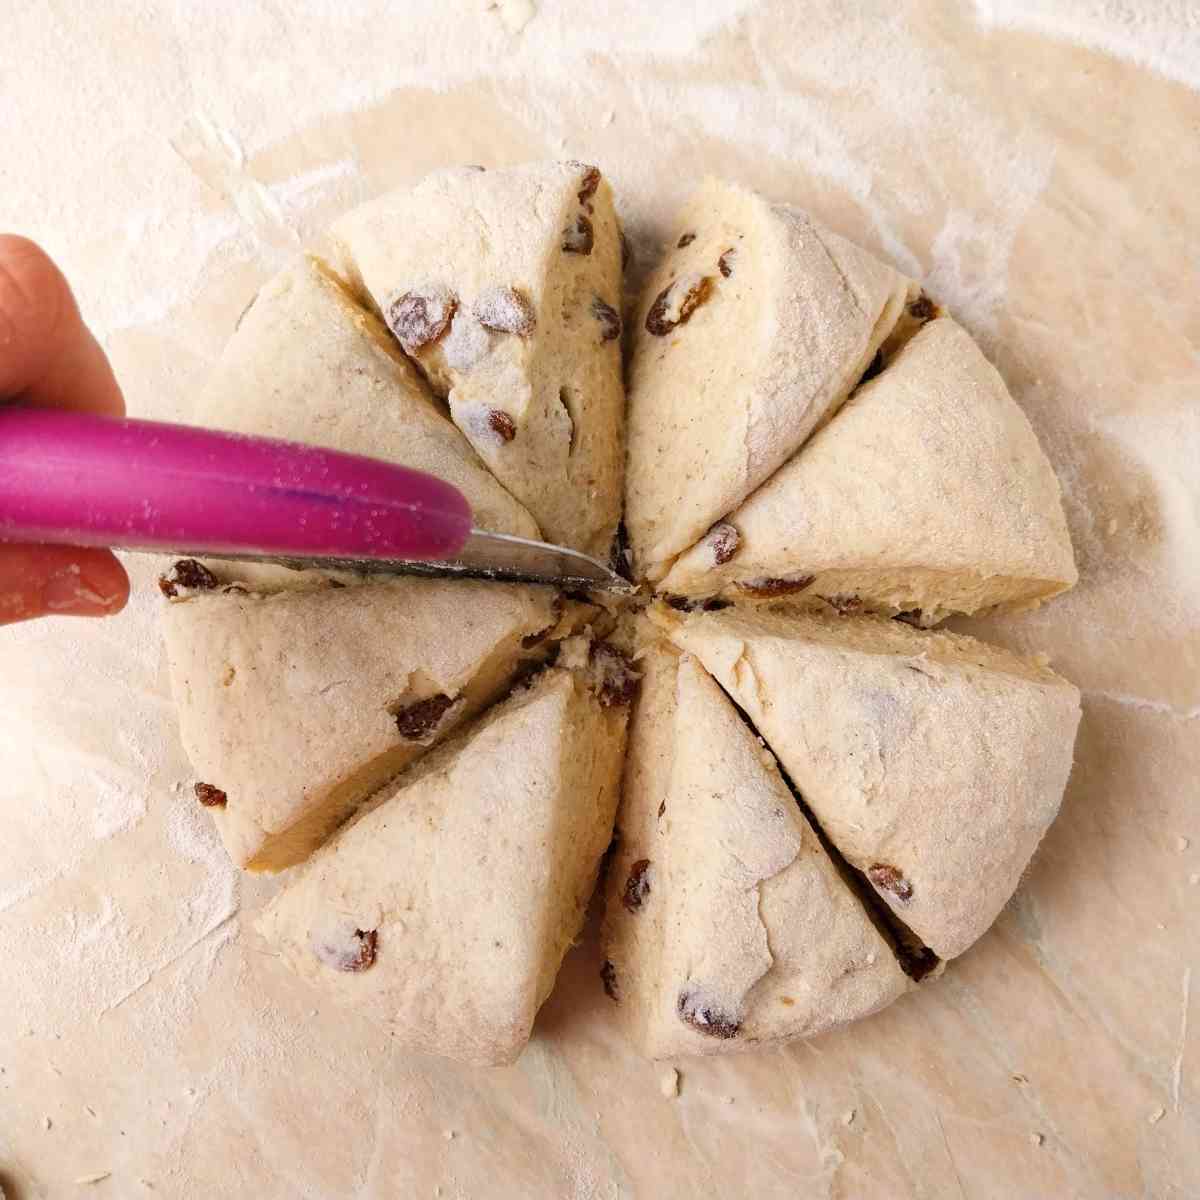
Divide the dough into eight parts using either a bench scraper or a knife.
You can weigh each piece to make sure they are exactly the same size!
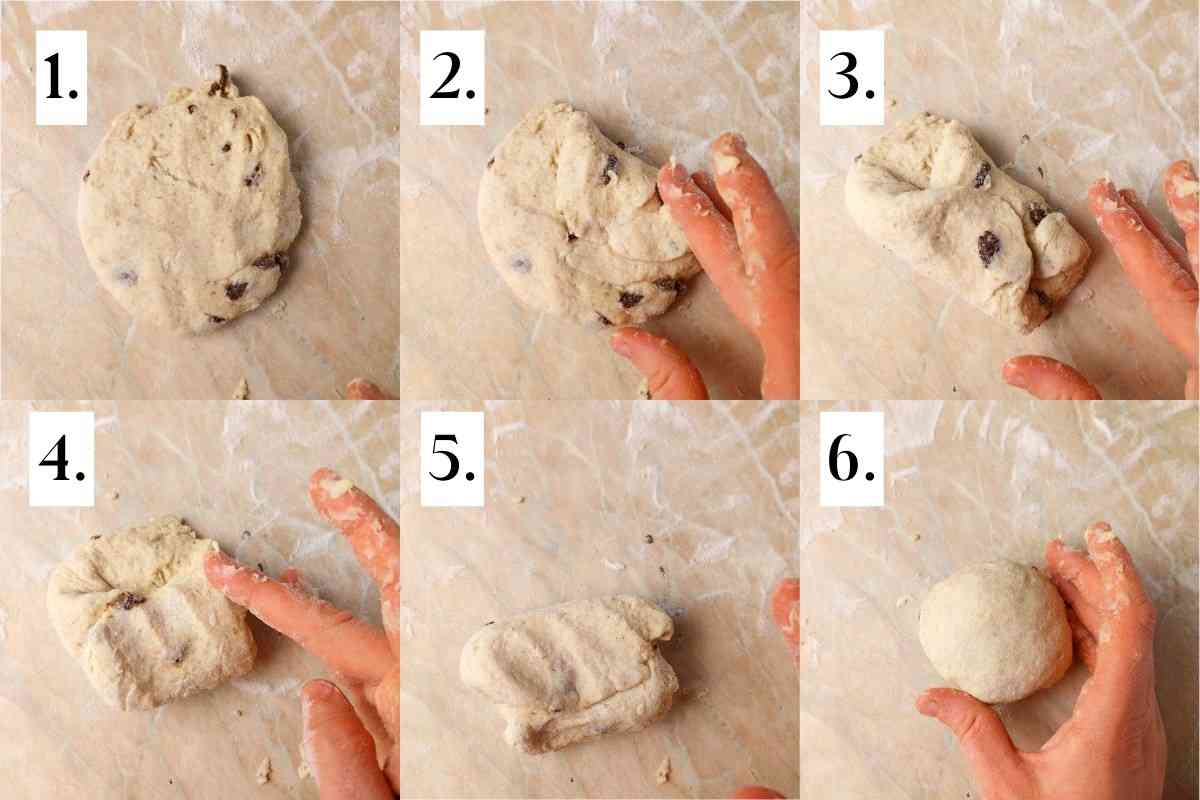
Take each piece of dough and shape it into a small ball. Dust the working surface as necessary to prevent the dough from sticking too much.
You can see how I shape each piece in the pictures!

Grease a large baking dish (ceramic or glass are fine) and place the buns in it. Cover the baking dish with a kitchen towel or a plastic wrap.
Let the buns proof either for 3.5-4 hours at room temperature or overnight in the refrigerator (12-18h).
Once the buns are ready, start preheating the oven to 400F/200C. Add a baking dish with water to the bottom of the oven to create extra steam.
Whisk 1 egg to make the egg wash and brush the buns with a silicone brush.
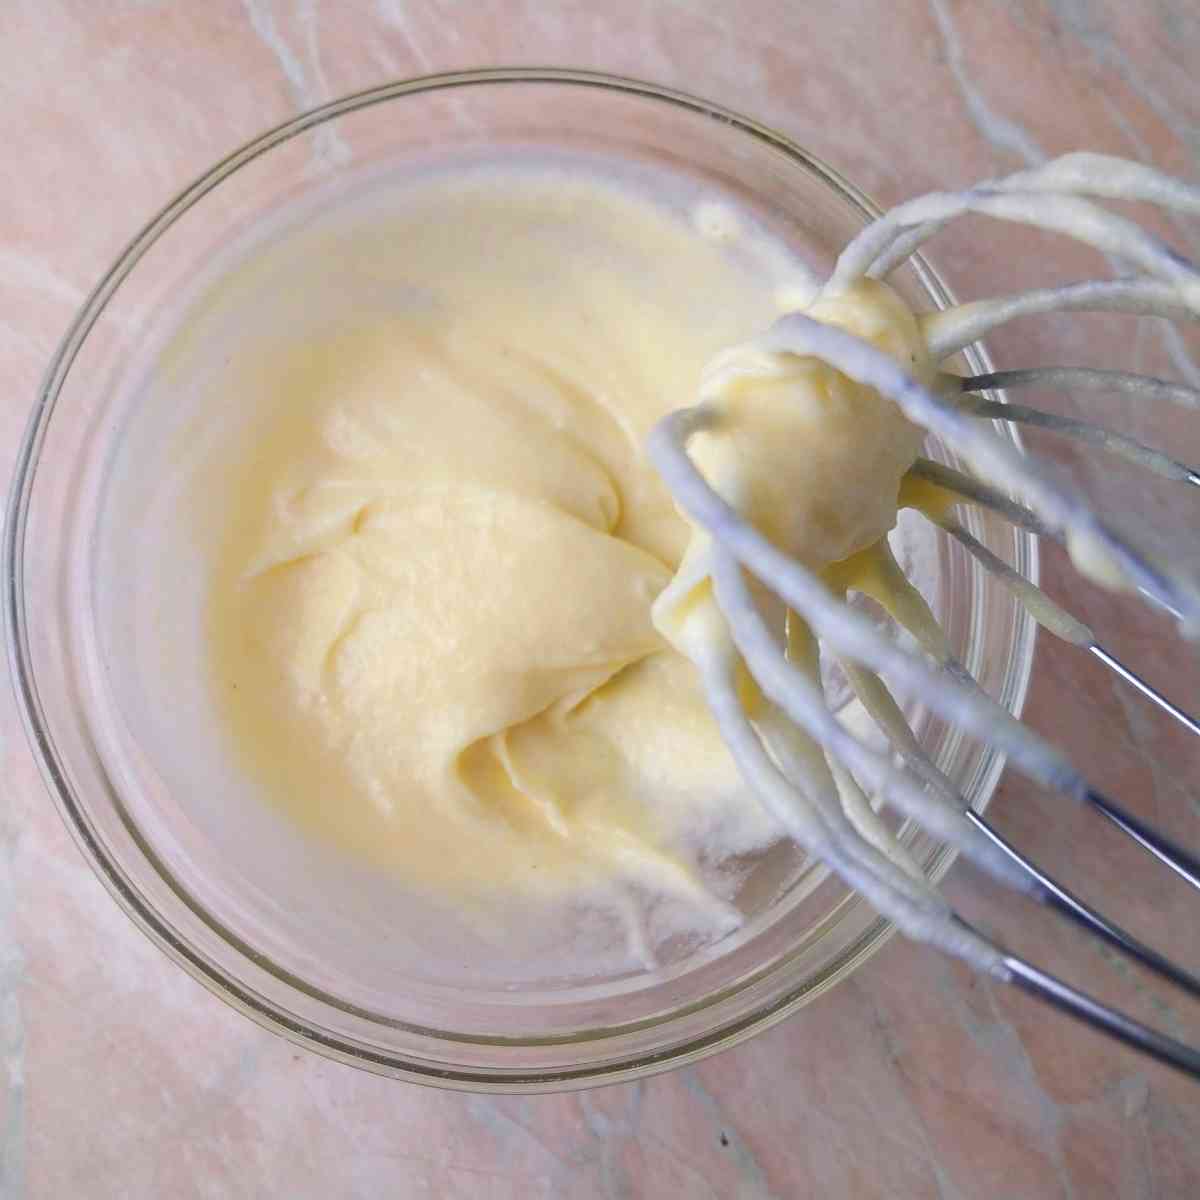
Mix the flour, xanthan gum, oil, and water to make the flour mix. Add it to a piping bag or a simple zip-lock bag and cut off the tip.
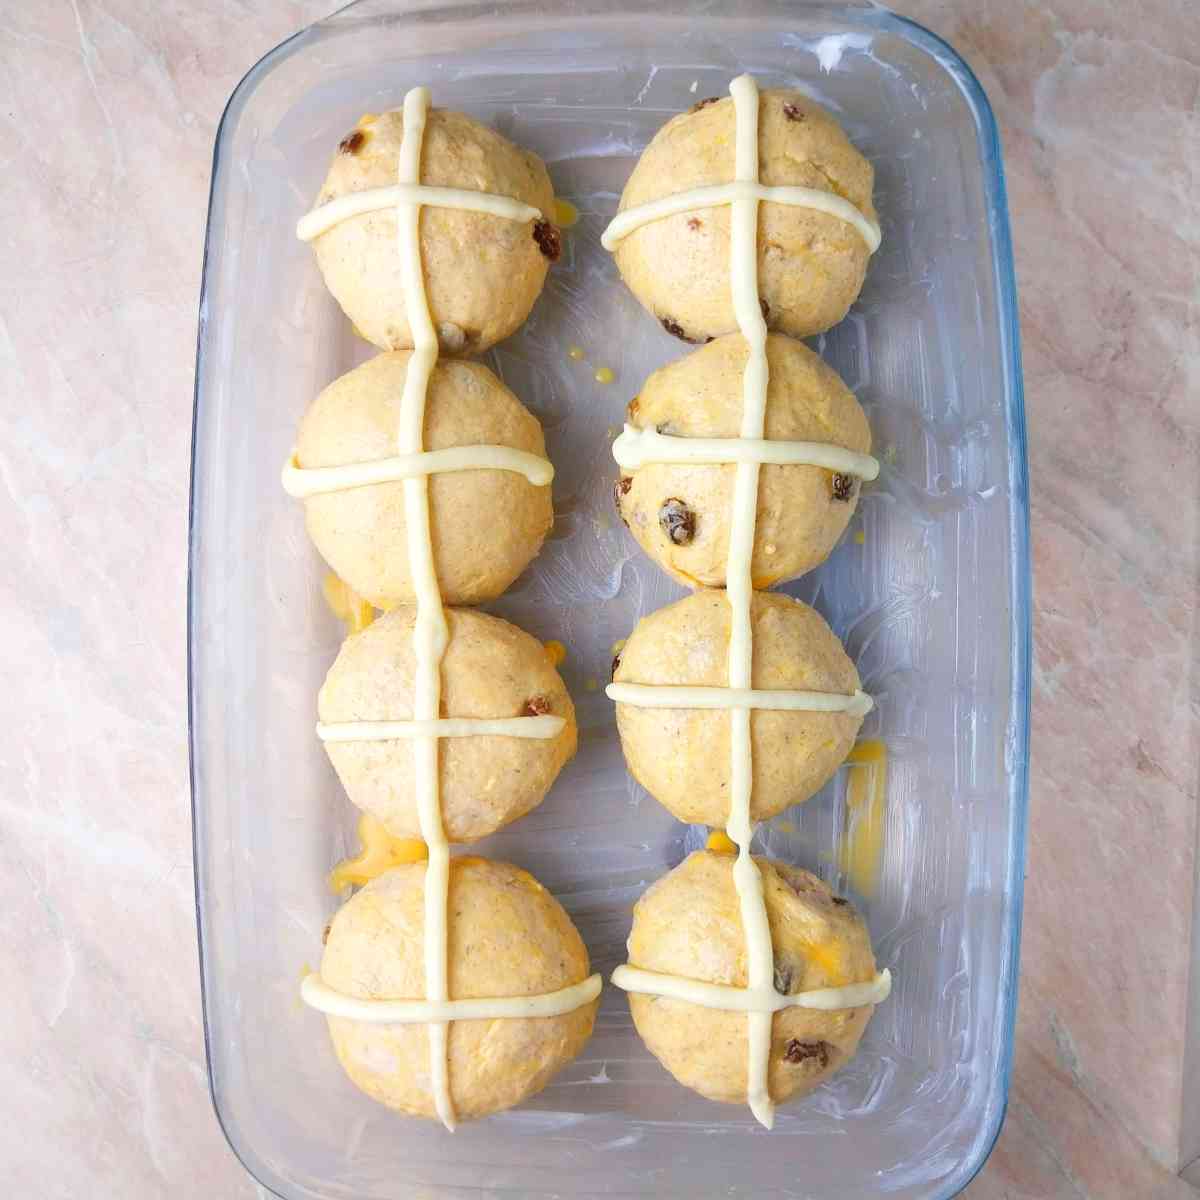
Once you do the egg wash, pipe the flour mixture onto the rolls as you see in the picture.
Bake the rolls at 400F/200C for 25 minutes, then take the dish with water out and continue baking for another 15 minutes.
If the buns are browning too soon, cover them with foil to prevent burning.
Once ready, take the buns out and let them cool for 15-20 minutes. Enjoy!

Storing & freezing
Store the hot cross buns in the refrigerator for 3-5 days. Warm them up before eating for extra softness.
You can freeze the buns for up to 3 months. Place them into the microwave for 30-60 seconds to defrost!
Expert tips
- Avoid opening the oven in the first 25 minutes of baking.
- If the buns are too dense, try adding extra liquid to the dough next time.
- Use a digital kitchen scale to ensure the right measurements.
FAQ
The buns will deflate to a degree but if they become flat and dense, it could be either because of overproofing, opening the oven during baking, or not baking for long enough.
The buns will rise some but they aren't supposed to double in size. Most of the rising will happen during the "oven spring" in the first part of baking. If your buns don't puff up at all, the issue could be the activity of your starter.
More sweet gluten-free sourdough recipes!

Get my GF sourdough recipes eBook
The top 16 recipes of 2024!
📖 Recipe

Gluten-Free Sourdough Hot Cross Buns
Ingredients
For the dough
- 16 grams whole psyllium husks, not powder
- 150 grams warm water, not hot
- 85 grams raisins
- 50 grams sugar
- 1 egg
- 140 grams milk
- 30 grams melted butter, cooled
- 220 grams gluten-free sourdough starter
- 65 grams brown rice flour
- 65 grams sorghum flour
- 220 grams starches, potato, cornstarch, or tapioca starch work great, you can use a mix of different starches
- 7 grams xanthan gum
- 8 grams salt
- 1 teaspoon cinnamon
For egg wash
- 1 egg, for the egg wash
For crosses
- 30 grams any gluten-free flour
- ¼ teaspoon xanthan gum, omit if your flour already contains it
- 6 grams oil of choice
- 40 grams water
For topping
- 50 grams apricot or other jam
- 8 grams water
Instructions
Make the dough
- Add psyllium husks and water to a medium-sized bowl and whisk to combine. Set the mixture aside for a couple of minutes for the gel to form. In a separate bowl add the raisins and cover them with boiling water to soften.
- Add the egg, melted and cooled butter, sourdough starter, milk, and sugar to another medium-sized bowl and whisk to incorporate.
- In a large mixing bowl, add all of the dry ingredients and stir to combine.
- Add psyllium gel and the wet ingredients to the bowl with the dry ingredients and mix thoroughly. You can either use an electric mixer with dough hooks, or a wooden spoon or simply mix the dough by hand!
- The dough will be sticky but avoid the temptation to add extra flour to the dough! Flour the working surface and transfer the dough to it. Dust the dough with flour until it is workable. Shape it into a large ball.
- Divide the dough into eight parts using either a bench scraper or a knife. You can weigh each piece to make sure they are exactly the same size!
- Take each piece of dough and shape it into a small ball. Dust the working surface as necessary to prevent the dough from sticking too much. You can see how I shape each piece in the pictures (see post)!
Proofing/Fermentation
- Grease a large baking dish (ceramic or glass are fine) and place the buns in it. Cover the baking dish with a kitchen towel or a plastic wrap. Let the buns proof either for 3.5-4 hours at room temperature or overnight in the refrigerator (12-18h).
Baking
- Once the buns are ready, start preheating the oven to 400F/200C. Add a baking dish with water to the bottom of the oven to create extra steam. Whisk 1 egg to make the egg wash and brush the buns with a silicone brush.Mix the flour, xanthan gum, oil, and water to make the flour mix. Add it to a piping bag or a simple zip-lock bag and cut off the tip.
- Once you do the egg wash, pipe the flour mixture onto the rolls as you see in the picture (see post). Bake the rolls at 400F/200C for 25 minutes, then take the dish with water out and continue baking for another 15 minutes. If the buns are browning too soon, cover them with foil to prevent burning.
- Mix the jam with water and brush the buns as soon as you take them out to create a sweet glaze on the tops.
- Wait for the rolls to cool for 10-15 minutes and enjoy!
Notes
- Avoid opening the oven in the first 25 minutes of baking.
- If the buns are too dense, try adding extra liquid to the dough next time.
- Use a digital kitchen scale to ensure the right measurements.
- Psyllium husk - there is no good substitute for psyllium husk that would yield the same results.
- Xanthan gum - you can use guar gum instead.
- Sourdough starter - you can make these buns with yeast if you don't have a starter yet.
- Butter - use coconut oil or vegan butter for a dairy-free version.
- Milk - use plant-based milk for dairy-free.
- Sugar - you can use an artificial sugar substitute instead.
- Raisins - use dried cranberries, candied orange, or lemon peel.


Dana V
Thank you Natasha,
The buns were great.