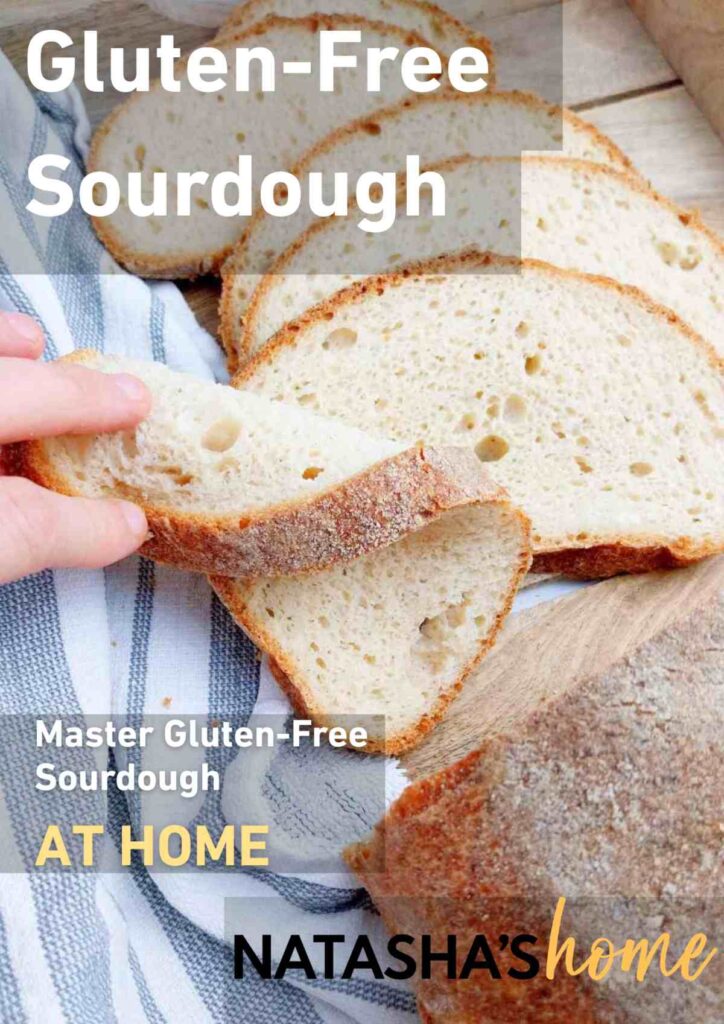
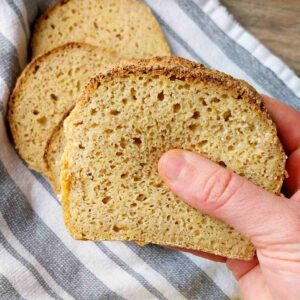
This is a simple recipe for gluten-free sorghum sourdough bread made without any added starches! This bread is soft, fluffy, airy, and neutral in flavor. Make a sandwich or eat it with some homemade elderberry jam! For similar recipes, check out my millet flour sourdough and brown rice sourdough.
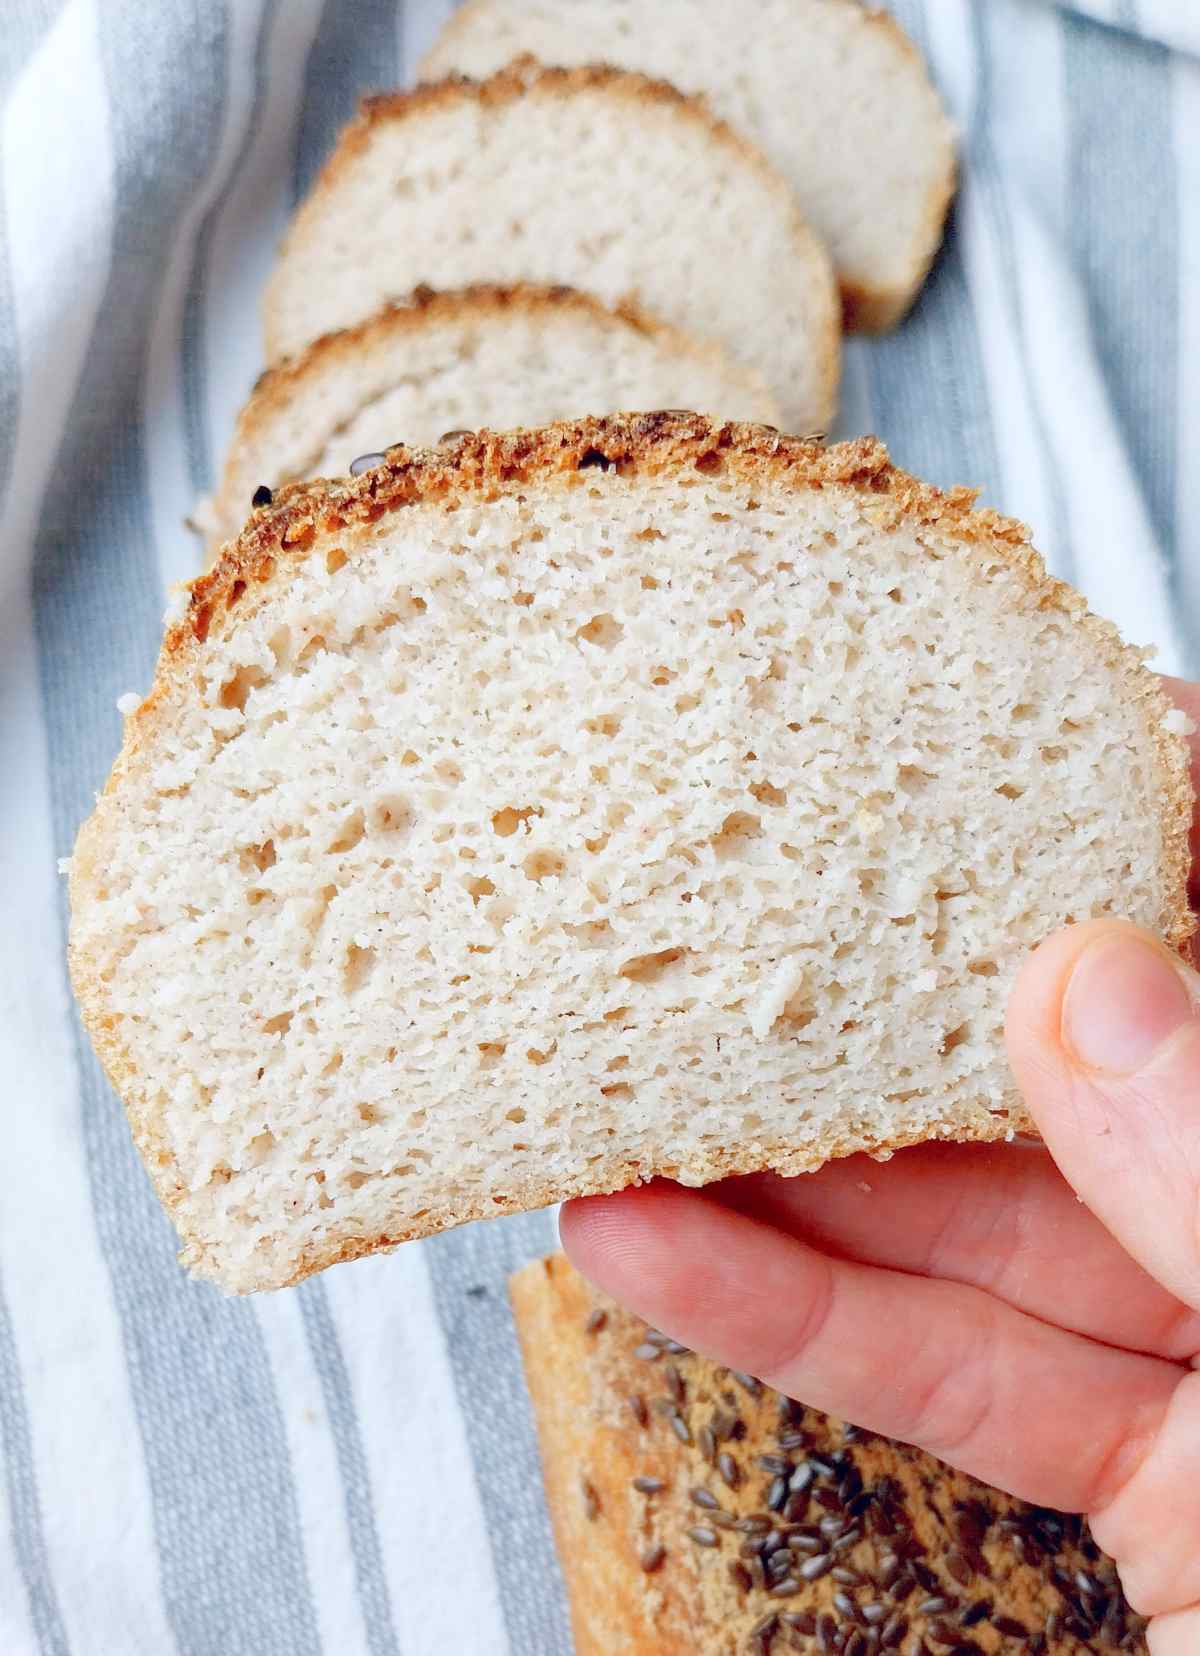
After a few tests, I was able to create a sourdough loaf with 100% sorghum flour without any additional starches, perfect for those who can't have rice, potato, or tapioca (just like these sorghum flatbreads).
This bread is also vegan, so it is free of the top allergens like dairy, eggs, nuts, oil, lectin, and a few others.
Since this bread is gluten-free, you don't need to knead, fold, stretch, slap, or shape it! It is made in a simple loaf pan, so you don't need a cast iron Dutch oven, a banneton basket, or a lame to score the dough.
Jump to:
What is sorghum?
Sorghum is a type of cereal grain that is most commonly used in Asia and Africa. It can be easily cooked like rice and quinoa, and even used in sorghum cookies.
Sorghum is rich in nutrients like vitamin B, magnesium, phosphorus, potassium, iron, and zinc. On top of that, this ancient grain is a great source of protein and fiber!
Sorghum is naturally gluten-free, so it is perfect for those with Celiac disease or gluten intolerance/allergy. To make sorghum, you simply need to mill or grind the whole grains into fine powder with the help of a high-speed blender or a coffee grinder.
I often use sorghum flour in my homemade flour blend that I add to all kinds of gluten-free bakes like this sorghum loaf. Sorghum flour also does really well in my vegan sourdough bread recipe!
New to gluten-free sourdough? Watch my 16-minute video tutorial for beginners!
Ingredients
See the recipe card at the end of the post for the measurements!
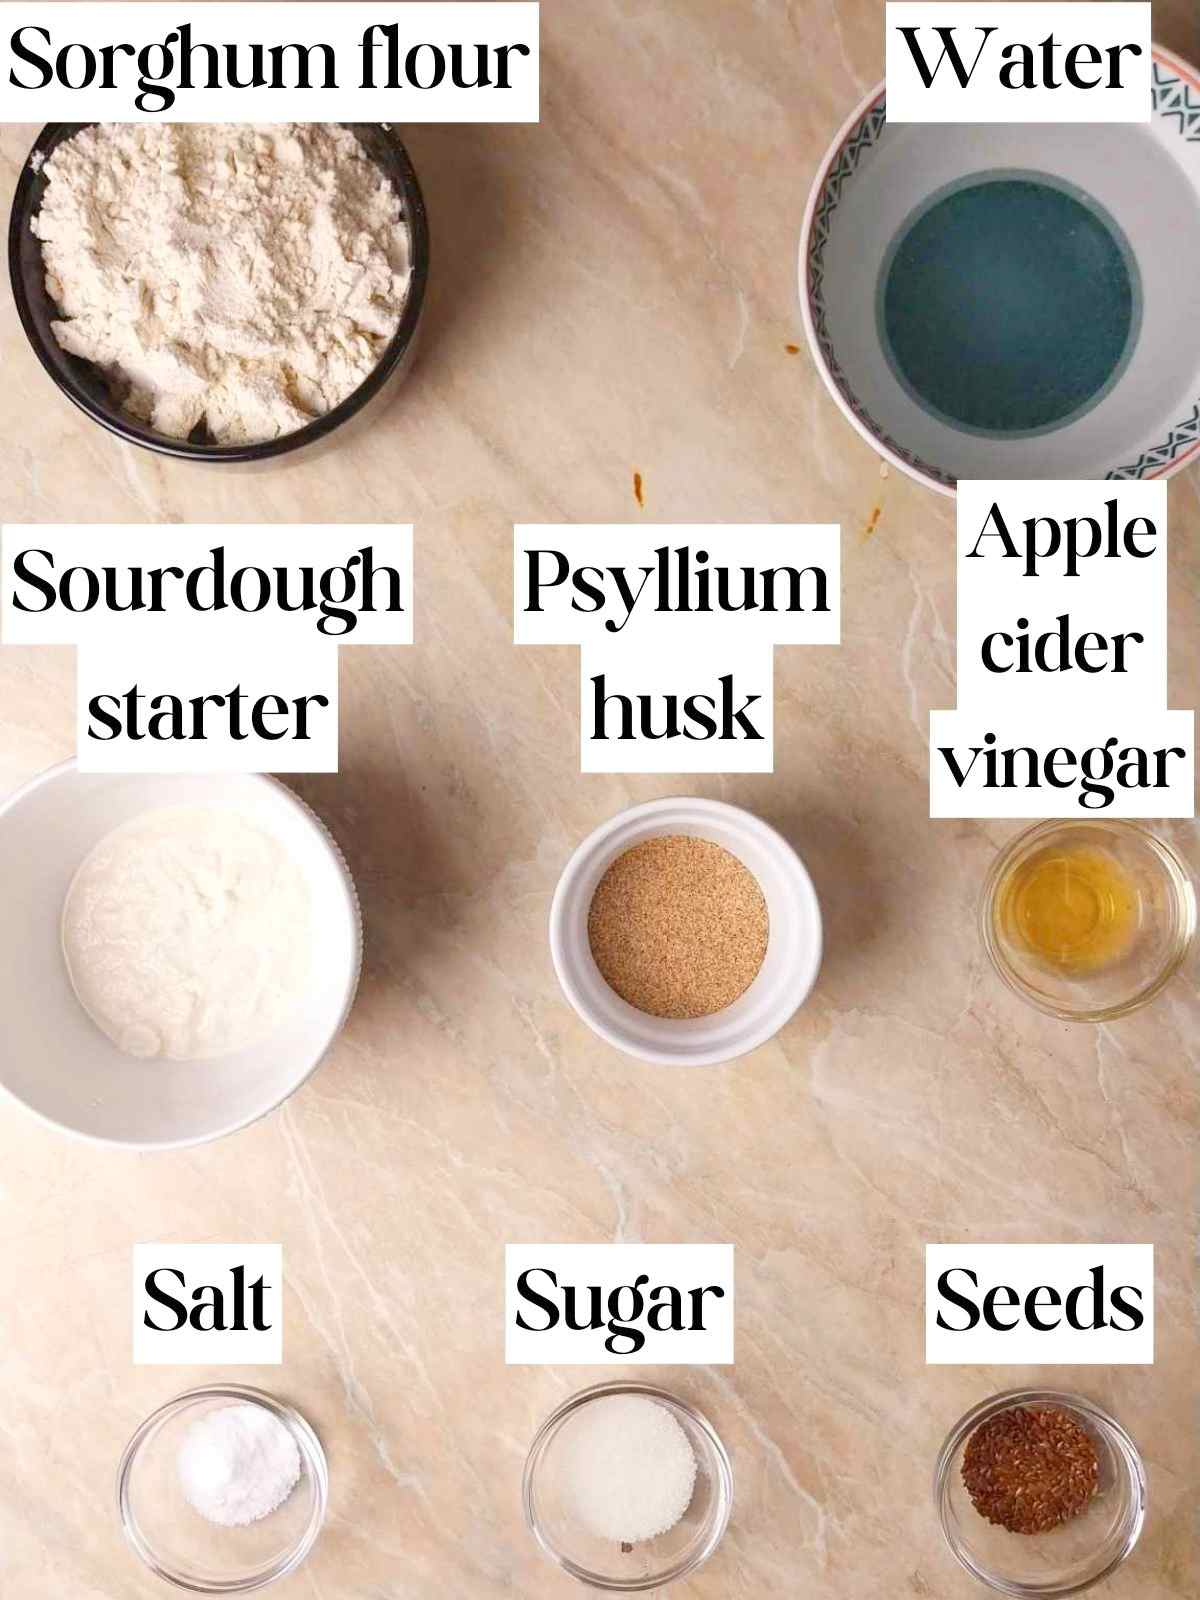
- Sorghum flour - use flour that is specifically called "sorghum." Sometimes, sorghum flour is confused with millet flour but they are not the same thing! I have a millet sourdough recipe for that type of flour.
- Psyllium husk - I recommend using whole husks that look like flakes instead of psyllium husk powder. Read more about psyllium husk in baking here.
- Gluten-free sourdough starter - if you don't have one yet, read how to make a starter at home. You can use any kind of gluten-free starter for this recipe, here is a guide to making a sorghum flour starter.
- Apple cider vinegar - used to be an ingredients in this recipe but not anymore.
- Sugar - feeds the starter bacteria and aids in the fermentation process.
Substitutes
Sorghum flour - this recipe is specifically designed for sorghum flour. To use a different flour, use a recipe designed for it. Here is my brown rice flour sourdough and my millet flour sourdough loaf.
Psyllium husk - I don't recommend substituting psyllium husk because it creates a bready texture no other binder can mimic in the same way. Psyllium husk is an excellent gluten substitute that doesn't have an equal in gluten-free baking.
However, some psyllium husk alternatives can help if you are allergic to it. I recommend you try using 4g of konjac instead of 20g of psyllium if you must.
Sourdough starter - if you don't have a starter yet, you can make this sorghum bread with regular baker's yeast.
Step-by-step instructions
Step 1

Step 1. First, we will make psyllium gel. Add psyllium husk and water to a medium-sized bowl and whisk to incorporate.
Then, add the sugar to the same bowl (no need to stir it in).
Set the bowl aside for a couple of minutes (longer if using psyllium powder) until the mixture starts to thicken and has a gel-like texture.
Step 2
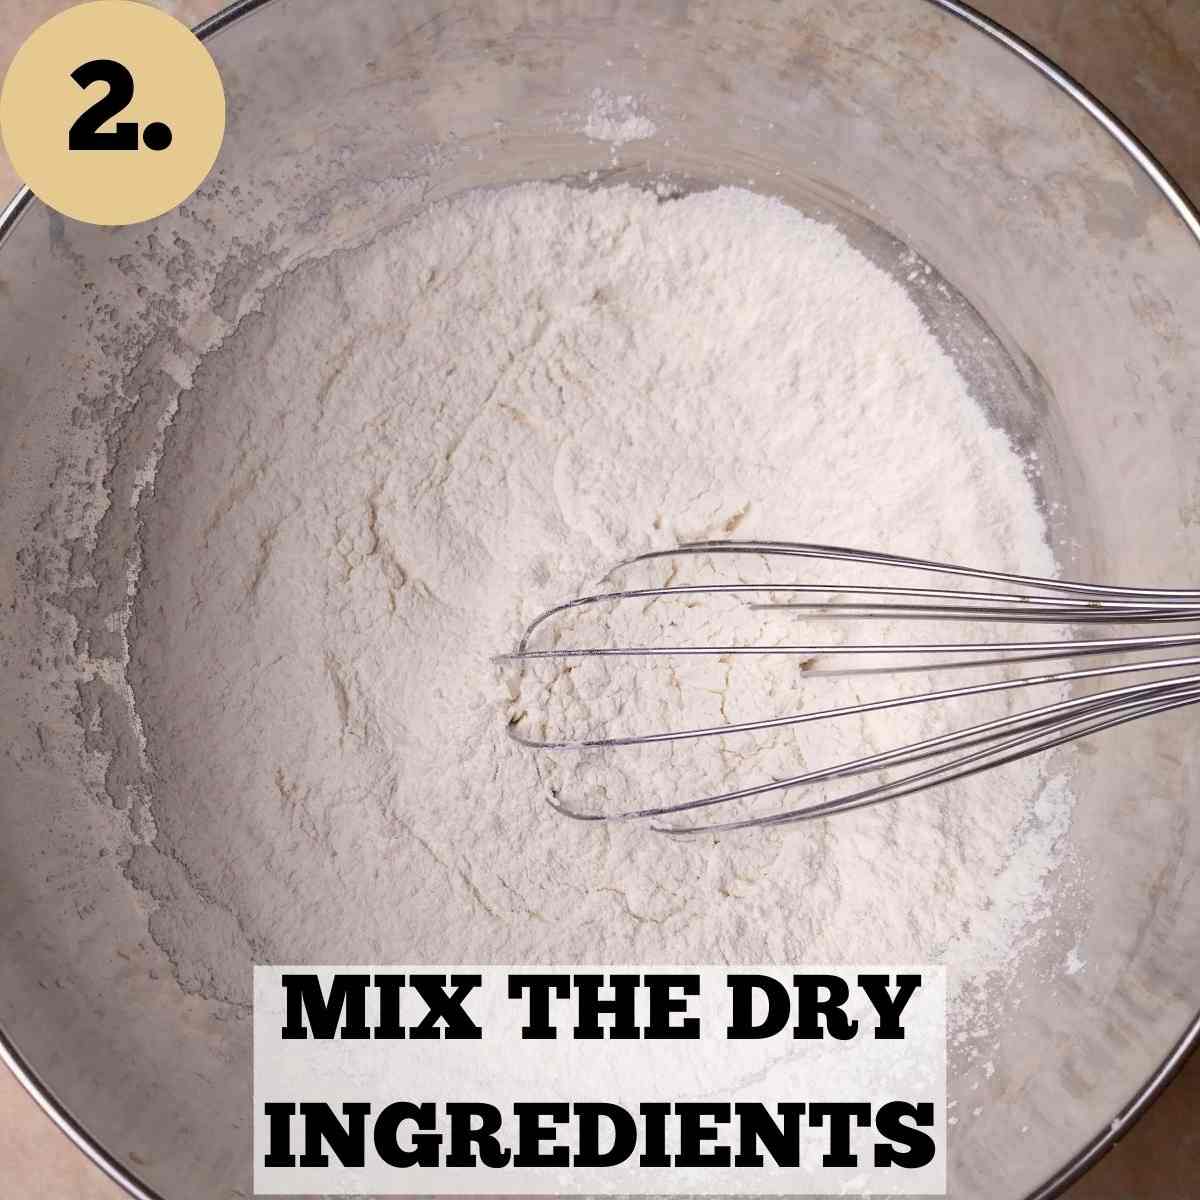
Step 2. Add sorghum flour, baking powder, and salt to a large mixing bowl and whisk to combine.

Step 3. Add the wet and dry ingredients together and mix the dough. I prefer using an electric mixer with dough hooks for this recipe to create an extra smooth dough.
You can, however, use your hands or a wooden spoon instead. Knead until all ingredients are evenly incorporated.
The dough will be sticky and wet, avoid the temptation to add extra flour!
Step 4
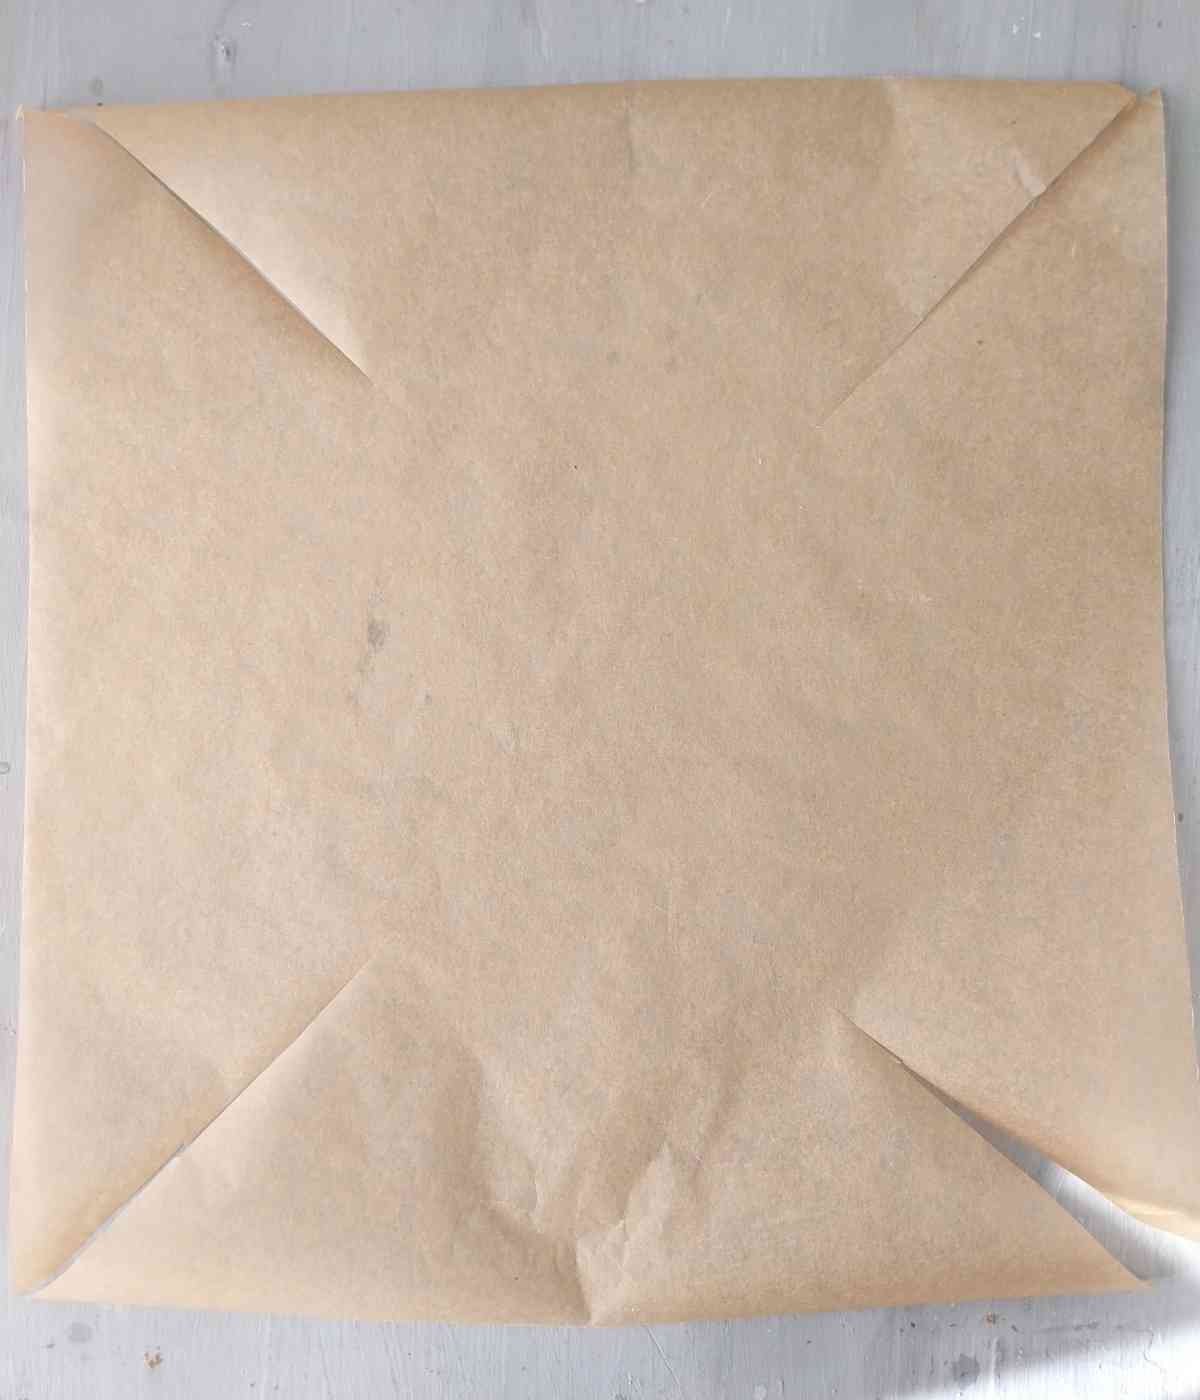
Prepare the baking tin by greasing it and/or lining it with parchment paper. Greasing the pan first makes the paper cling to it better.
I recommend making a few cuts in the baking paper as you see in the picture to make the lining process easier!
Step 5

I like to use a 9x5 inch (22.5x12.5 cm) Pullman loaf pan for this bread.
Line it with parchment paper and fix it in place with clothespins until you place the dough in the loaf.
Step 6

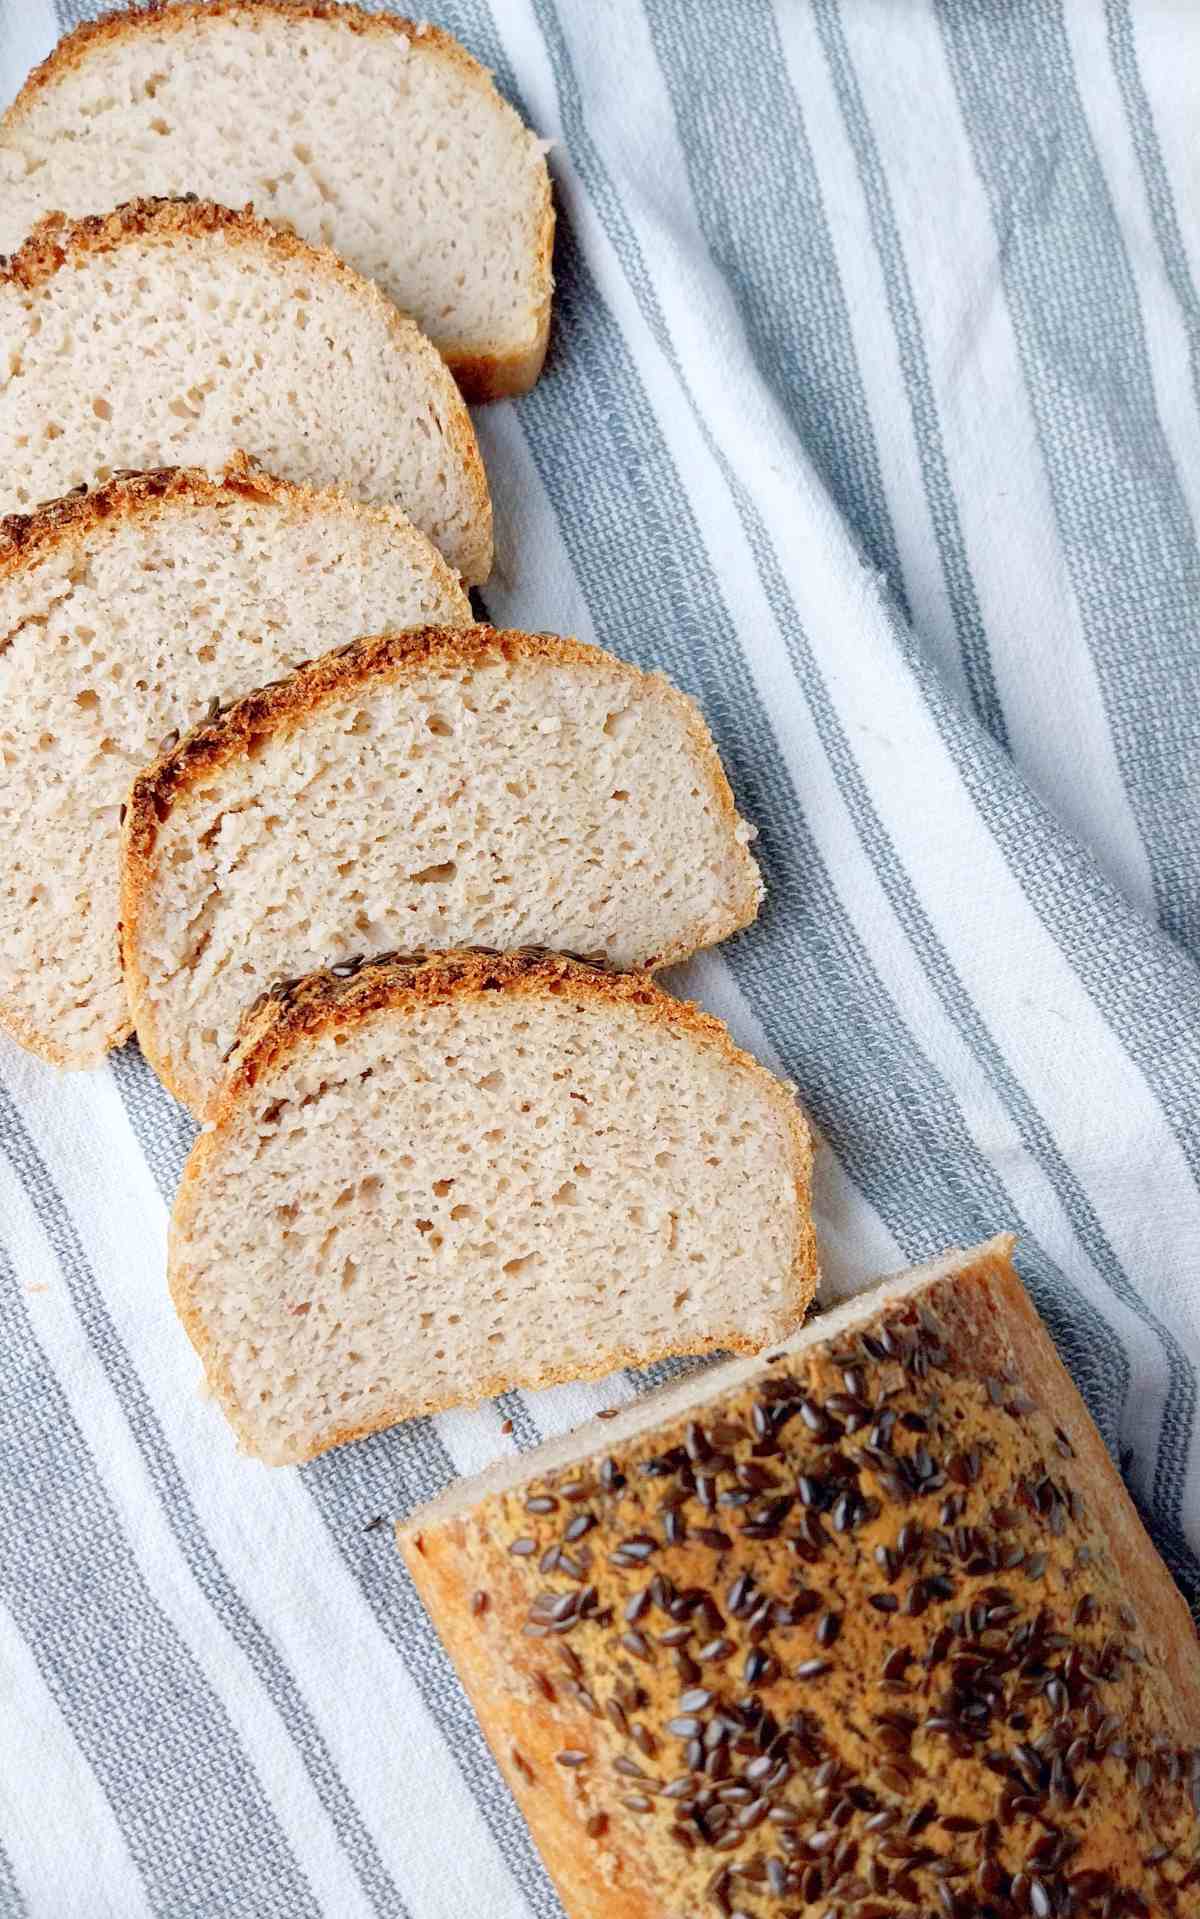
Transfer the dough to a prepared metal loaf pan and smooth the top out with a silicone spatula.
Add the seeds of choice to the top of the loaf. I used brown linseeds, sesame seeds are also a great option. Cover the dough with a kitchen towel.
Place the loaf into a warm and draft-free spot for proofing. I like to let my bread ferment in the oven with the light on.

I don't cover my bread if proofing in the oven but if you are proofing on a kitchen counter, then make sure to cover it with a kitchen towel to prevent the top from drying out.
It should take somewhere from 5 to 7 hours to proof the dough. You will notice that it puffed up some but hasn't doubled in size. It won't even come up to the top of the pan!
When the loaf is ready, I turn the oven to 450F/230C, place a dish with water in the bottom of the oven (very important!), and keep the bread inside during the preheating time. This method of letting the bread warm up with the oven is called "a cold start."
Alternatively, you can preheat the oven to 450F/230C beforehand and place the bread into it. Don't forget to add a dish with water to the bottom of the oven for extra steam!
Bake for 30 minutes, then take the dish with water out, lower the temperature to 350F/175C, and keep baking for another 45 minutes. Don't worry, the bread will not get too dark on the top!
Once the bread is done baking, take it out of the bread pan, remove the baking paper, and let the loaf cool on a wire rack until no longer warm to the touch. Enjoy!
How to know when the bread is done
You can use a digital thermometer to check the inner temperature of the dough. The bread should be 205-210F/95-100C when done.
How to store and freeze
Store this bread at room temperature for 3-4 days. Place the bread in a bread box, or bread bag, or wrap it in a kitchen towel to prevent drying out.
Alternatively, you can store this bread in the fridge for up to 5 days. However, refrigerating bread makes it harder, so I would recommend freezing it if you aren't planning to eat it within 3-4 days.
To freeze:
- Slice the bread with a bread knife;
- Arrange the slices on a tray or a piece of parchment and freeze for 30 min.;
- Transfer the slices into a freezer-safe bag or container for up to 3 months.
- Alternatively, you can simply place a piece of parchment in between each slice and freeze the loaf this way.
To defrost, place a slice or two in the microwave for 30-60 seconds!
Expert tips
- Measure the ingredients with a digital kitchen scale instead of cups for the best results.
- Make sure your starter is well maintained, meaning you are feeding it 1-2 times a day and discard regularly.
- The proofing time will depend on the temperature in your house.
- If you live at a high altitude, you might need to add more water and proof for less time.
Troubleshooting & FAQ
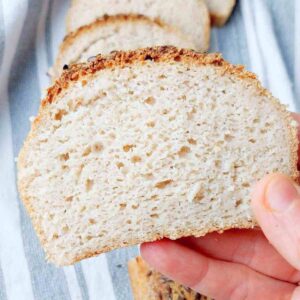
This bread will be a little wet right after you cut it but it shouldn't be very gummy. Gumminess could be caused by cutting the bread too soon, not baking long enough, or over- or under-proofing. Toast the bread to get rid of the damp crumb.
It could be either caused by low temperature, not enough proofing time, or a young/poorly maintained starter. Your bread won't double in size but it should puff up some before baking.
Over-proofing causes the bread to rise and collapse during the baking process which creates a hole in between the top crust and the crumb. It also creates a gummy bottom layer in your loaf. Try proofing less next time!
Airiness is created by the bacteria in the starter during the fermentation process. If your loaf didn't rise much during proofing, the crumb will most likely be dense. Check the section above to troubleshoot if the bread is not rising.
Yes, you can bake this bread in a Dutch oven, loaf pan, or on a baking sheet. If you are baking in a Dutch oven, bake for 40 minutes at 450F/230C, then remove the bread from the Dutch oven, lower the temperature to 350F/175C, and bake for another 30 minutes on the oven rack.


Get my new gluten-free sourdough recipes eBook
The top 32 recipes of 2026!
Easy 100% Sorghum Sourdough Bread (Gluten-Free)
Ingredients
- 500 grams water, warm, not hot
- 20 grams whole psyllium husk, not powder
- 15 grams sugar, honey or maple syrup can be used
- 370 grams sorghum flour
- 2 teaspoon baking powder
- 12 grams salt
- 70 grams active gluten-free sourdough starter, I used my brown rice starter
For topping
- sesame seeds or linseeds, optional
SAVE THIS RECIPE!💌
Instructions
- First, we will make psyllium gel. Add psyllium husk and water to a medium-sized bowl and whisk to incorporate.Then, add the sugar to the same bowl (no need to stir it in).Set the bowl aside for a couple of minutes (longer if using psyllium powder) until the mixture starts to thicken and has a gel-like texture.
- Add sorghum flour, baking powder, and salt to a large mixing bowl and whisk to combine.
- Add the psyllium gel and sourdough starter to the dry ingredients and mix the dough. I prefer using an electric mixer with dough hooks for this recipe to create an extra smooth dough.You can, however, use your hands or a wooden spoon instead. Knead until all ingredients are evenly incorporated. The dough will be sticky and wet, avoid the temptation to add extra flour!
- Prepare the baking tin by greasing it and/or lining it with parchment paper. Greasing the pan first makes the paper cling to it better. I recommend making a few cuts in the baking paper as you see in the picture in the post to make the lining process easier!
- I like to use a 9x5 inch (22.5x12.5 cm) Pullman loaf pan for this bread.Line it with parchment paper and fix it in place with clothespins until you place the dough in the loaf.
- Transfer the dough to a prepared metal loaf pan and smooth the top out with a silicone spatula. Add the seeds of choice to the top of the loaf. I used brown linseeds, sesame seeds are also a great option. Cover the dough with a kitchen towel.Place the loaf into a warm and draft-free spot for proofing. I like to let my bread ferment in the oven with the light on.
- I don't cover my bread if proofing in the oven but if you are proofing on a kitchen counter, then make sure to cover it with a kitchen towel to prevent the top from drying out. It should take somewhere from 5 to 7 hours to proof the dough. You will notice that it puffed up some but hasn't doubled in size. It won't even come up to the top of the pan!
- When the loaf is ready, I simply turn the oven to 450F/230C, place a dish with water in the bottom of the oven (very important!), and keep the bread inside during the preheating time. This method of letting the bread warm up with the oven is called "a cold start."Alternatively, you can preheat the oven to 450F/230C beforehand and place the bread into it. Don't forget to add a dish with water to the bottom of the oven for extra steam!
- Bake for 30 minutes, then take the dish with water out, lower the temperature to 350F/175C, and keep baking for another 45 minutes. Don't worry, the bread will not get too dark on the top! Once the bread is done baking, take it out of the bread pan, remove the baking paper, and let the loaf cool on a wire rack until no longer warm to the touch. Enjoy!


Becca says
I really enjoy this recipe! Do you have any recommendations when doubling it to get a taller slice for sandwiches? I attempted this, but the crust seems to be hard 🙁 it’s only resting at this point and I’m waiting still to see how it really is. It’s harder than the regular loafs I did not double.
Natasha Levai says
Hi Becca! Making a taller loaf will make the crust harder since you will have to increase the baking time to ensure a full bake-through, so I wouldn't recommend doubling this recipe! If the crust is too hard, try to reduce baking time and toast the slices if they turn out a bit wet.
Johanna Oats says
Hi, can the below starter be used for this recipe?
https://www.natashashome.com/sorghum-sourdough-starter/#recipe
Thank you, Johanna.
Natasha Levai says
Yes, absolutely!
Susan Callison says
I don't have enough sorghum flour for the no starch sorghum recipe. Can I add some brown rice flour to make up the difference?
Mary Ryan says
Hello-love the ease of this bread (less ingredients) but mine is much darker and denser. I am using a brown rice starter. Could this be the problem? Also-my starter is active but overly bubbly...maybe I need to give it a good feeding for a week first? It stays in my fridge other than baking bread every other week. thank you.
Natasha Levai says
Hi Mary! Using a single flour in a bread recipe will result in a denser texture. To resolve the issue, you would need to add some starches to the loaf to replace a part of the flour!
Jen Brittain says
I am confused about the proofing for this recipe as at the top of the recipe it lists the proofing time as 45 minutes, but in step 7. of the recipe instructions it says proofing should take between 5 - 7 hours. Can someone please tell me what to do as I am 1 day out from using this recipe.
Ramsha says
i tried baking this bread. the outside of the baked bread was really hard. the bread was a little gummy but not too much. the dough was a bit dry and not at all sticky so I added a little bit more water. it proofed in less than 4 hours. i did the cold start.
can you suggest any tips for outside of the bread to not be hard.
Susan Callison says
For the sorghum bread recipe without starches. Baking in a Dutch oven, do I still add a dish of water to bottom of oven? I have been loving your recipes! Thanks.
Natasha Levai says
Hi Susan! Yes, adding water to the bottom of the oven helps a bit with the rising process but it is not going to make or break the recipe.