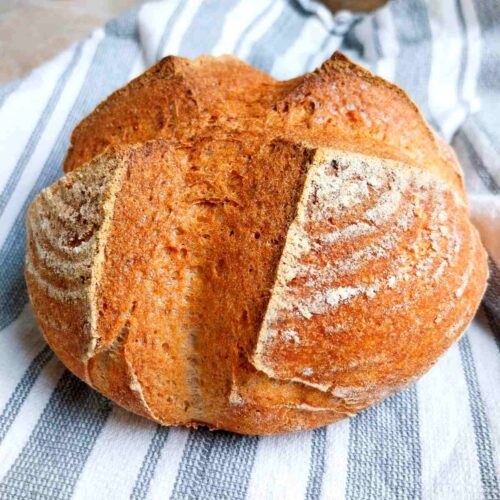
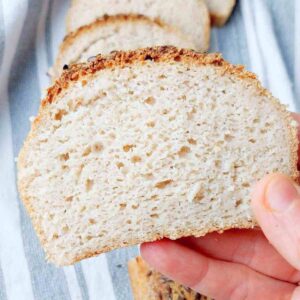
This millet sourdough bread is gluten-free, vegan, and whole-grain. it is pillowy soft, and moist without being gummy! You won't need any common starches (like potato or tapioca starch), only a few easily accessible ingredients to make this delicious loaf of soft gluten-free bread. For more like this, check my sorghum sourdough and brown rice flour sourdough.

Since there is absolutely no gluten in this bread, you won't need to stretch, fold, slap, knead, or autolyse to develop gluten. Simply mix, ferment, and bake!
After making my millet bread with baker's yeast, I thought why not try it with sourdough and it worked great with a couple of slight adjustments!
You can also check out my buckwheat sourdough and this vegan sourdough bread recipe I use in my everyday baking.
Jump to:
You won't need either a Dutch oven or a proofing banneton (basket) for this sourdough recipe. The dough will be too wet to hold its shape, so we will bake it in a traditional Pullman loaf pan!
New to gluten-free sourdough? Watch my 16-minute video tutorial for beginners!
Ingredients
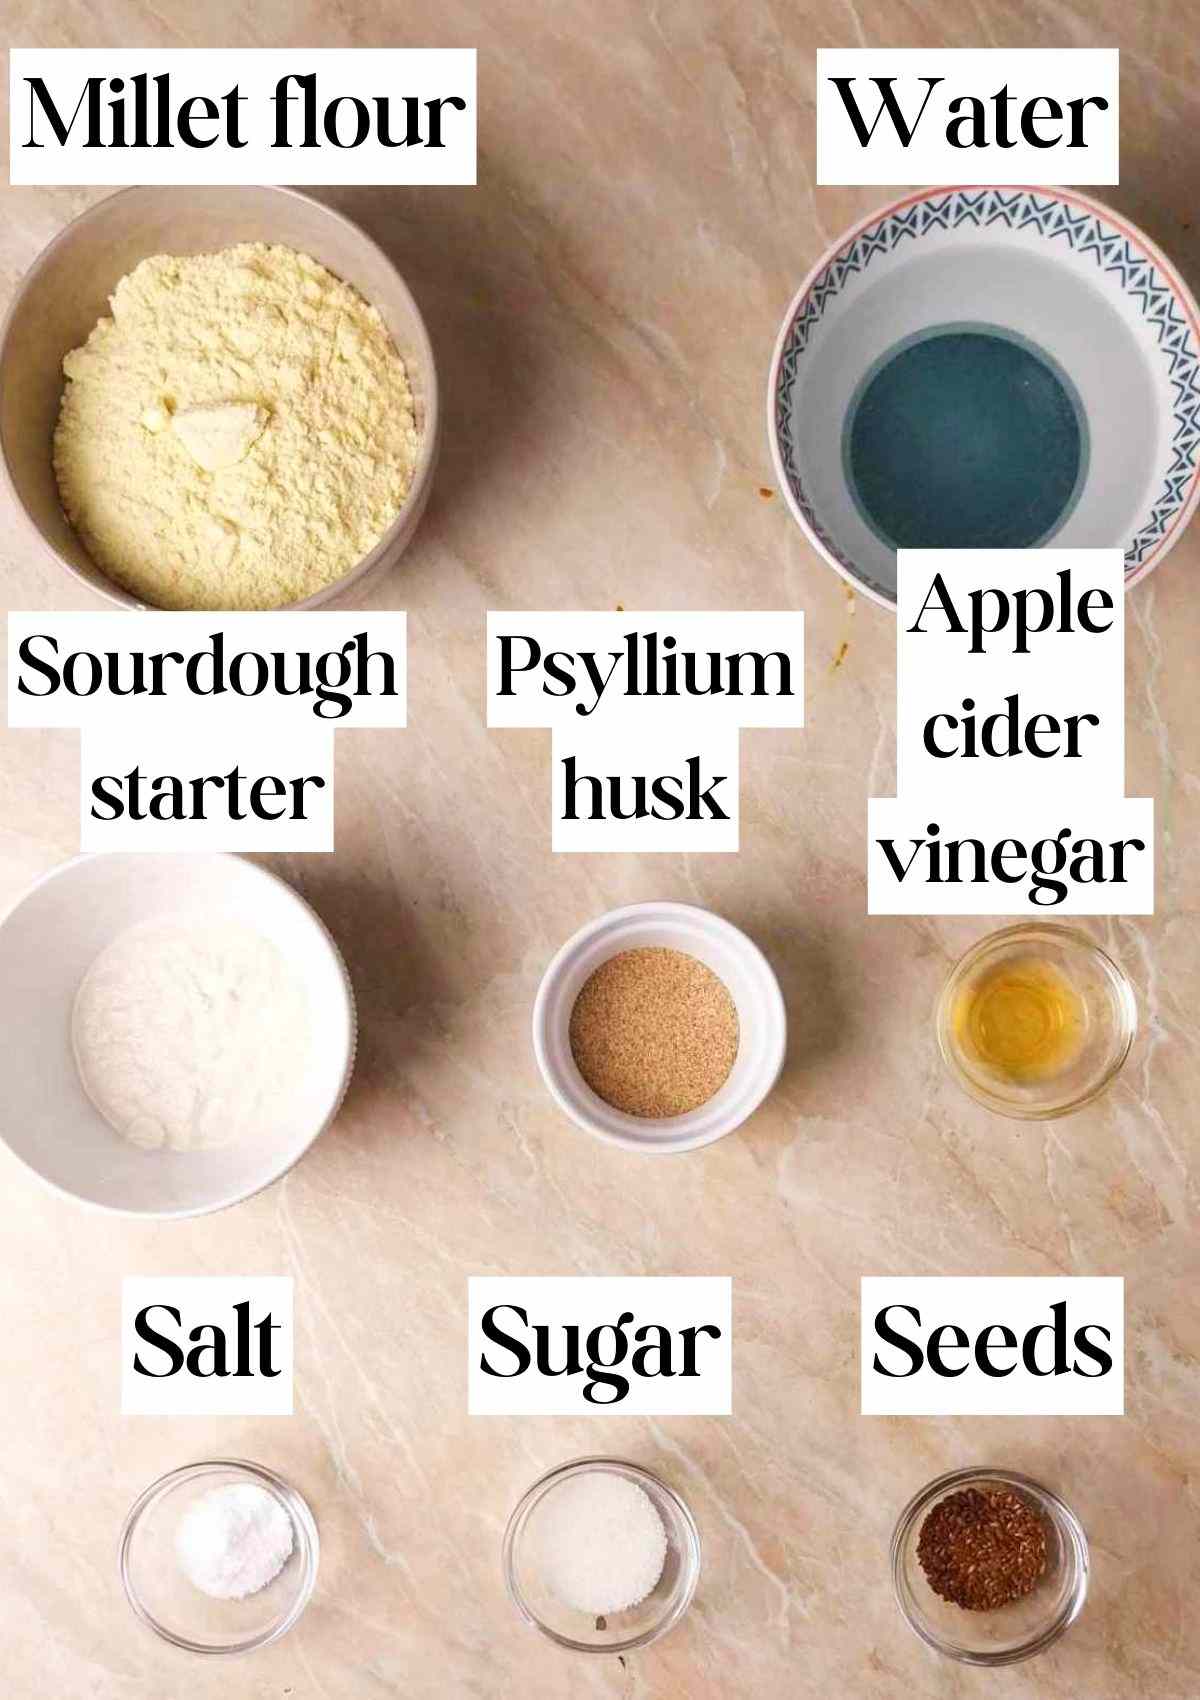
- Millet flour - you can either buy finely milled millet flour in bulk or make your own flour at home (I explain how to do that in this millet bread post). I buy millet flour online!
- Gluten-free sourdough starter - I used my brown rice starter but you can also use a millet starter for even more millet flavor!
- Psyllium husk - I recommend using whole husks whenever possible but coarsely ground psyllium powder can also be used in a smaller amount.
- Apple cider vinegar - creates more acidity in the dough for the starter bacteria to work better.
- Sugar - feeds the starter bacteria to achieve better results.
- Seeds (optional) - you can add linseeds or sesame seeds to the top of the loaf and add some sunflower or pumpkin seeds to the dough for more crunchiness and flavor!
Substitutes
Psyllium husk - I generally don't recommend substituting psyllium husk in bread because it is a one-of-a-kind ingredient. However, you can experiment with various psyllium substitutes. Let me know if you find the one that works for you!
Millet flour - if you wish to make sourdough without starches but with a different flour, check out my brown rice sourdough recipe!
Sourdough starter - if you don't have a starter yet, you can make this millet recipe with baker's yeast!
Sugar - you can use maple syrup or honey instead of sugar.
ACV - you can use white or wine vinegar instead.
Step-by-step instructions
Step 1 - Make the levain
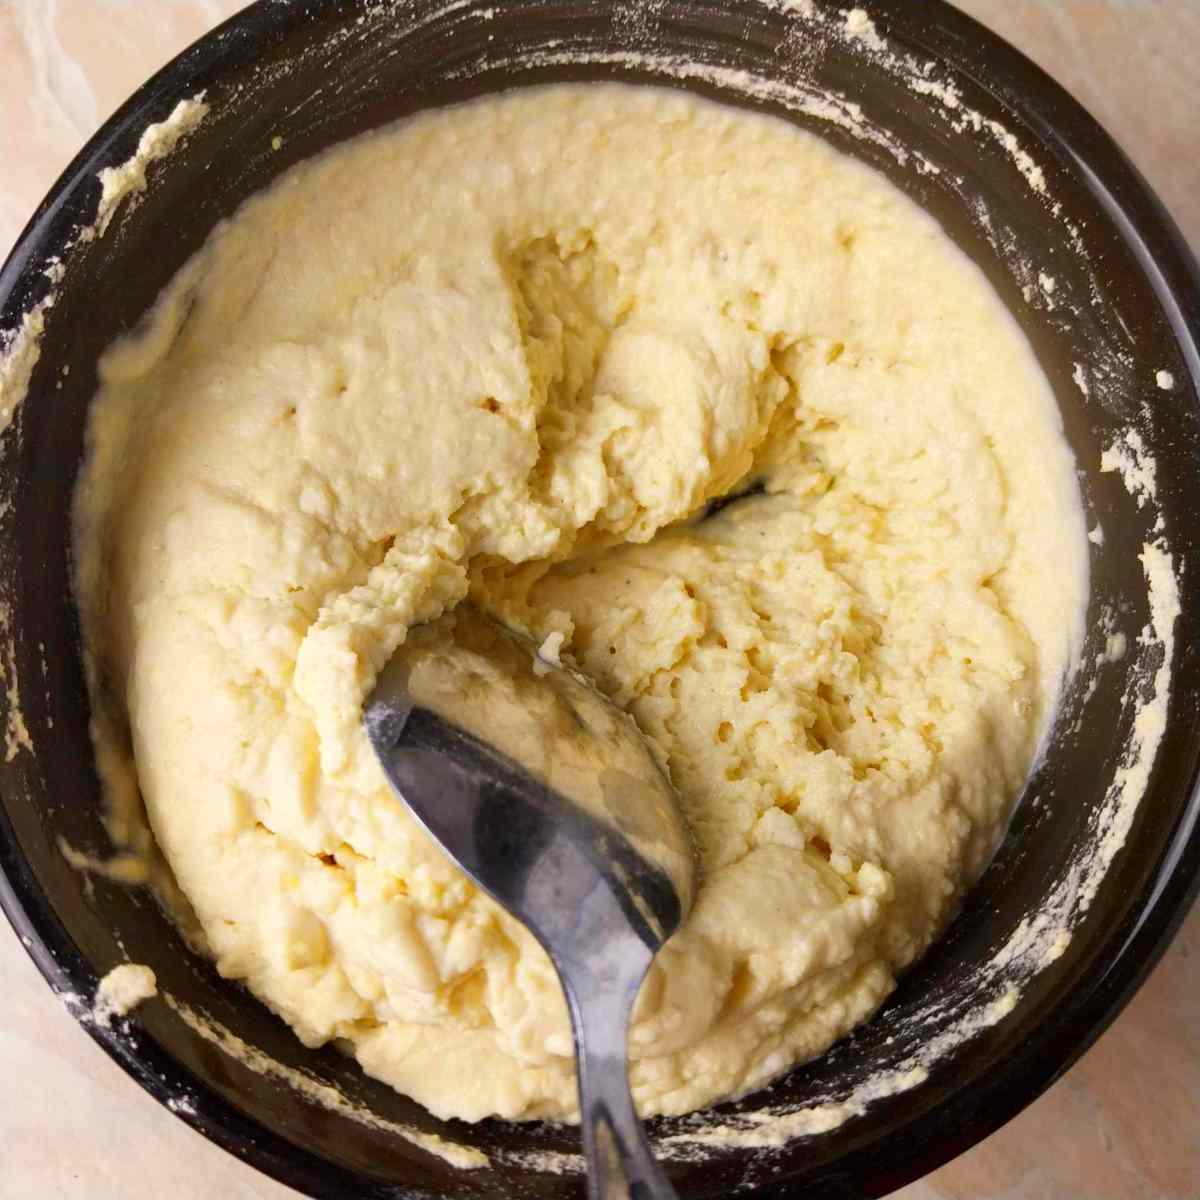
In this bread, we won't yet add the sourdough starter to the rest of the ingredients. Instead, we will boost it with an extra feeding by making a levain.
Levain is a starter that was fed at its peak activity, then left to rise a second time.
To make a millet levain, take 100g of your active starter (it can be a starter with a different GF flour), 100g of millet flour, and 60-80g of water.
Mix the ingredients until the mixture resembles a thick paste and is not too runny. Add the water slowly and stop once the right consistency is achieved!
Set the mixture aside for 3.5-18 hours. The longer you let the levain sit, the more sourness you will have in the dough.
Step 2 - Make psyllium gel
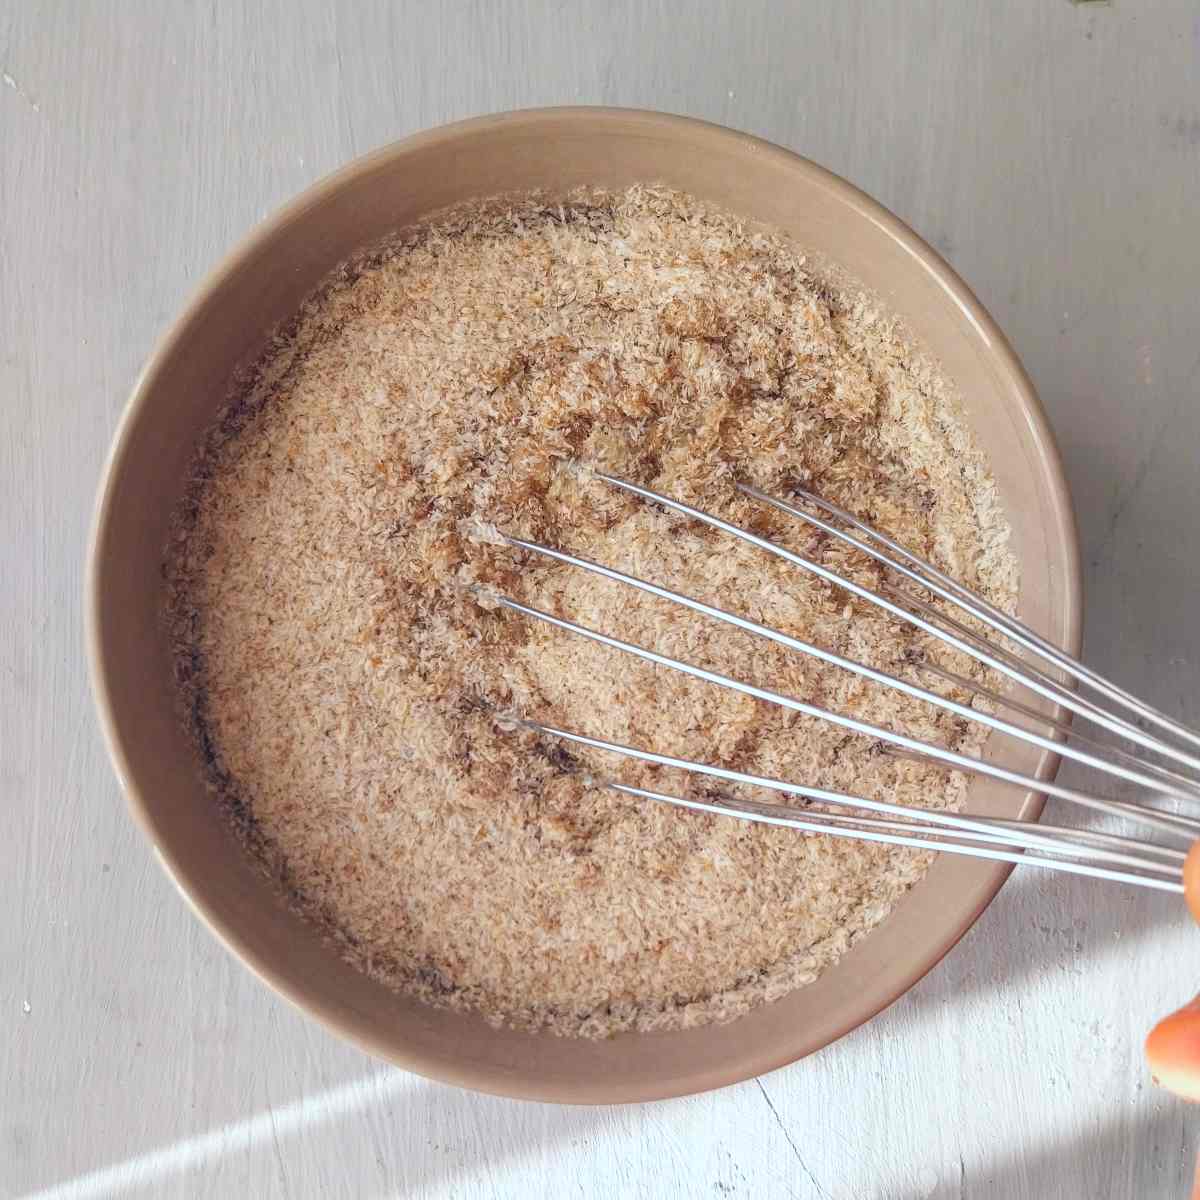
Once the levain is ready, make psyllium gel. Add psyllium husk and water to a medium-sized bowl and whisk to incorporate.
Then, add the apple cider vinegar and sugar to the same bowl (no need to stir this time).
Set the bowl aside for a couple of minutes until the mixture starts to thicken and looks more like a gel.
Step 3 - Mix the dry ingredients

Add millet flour and salt to a large mixing bowl and whisk to combine.
Step 4 - Mix the dough

Add psyllium gel and levain to the bowl with the dry ingredients and mix by hand.
You can use an electric mixer or a wooden spoon instead if you prefer.
The dough will be sticky and somewhat wet. Mix until all ingredients are evenly incorporated.
Step 5 - Prepare the baking pan

Prepare the baking tin by greasing it and/or lining it with parchment paper. Greasing the pan first makes the paper stick better.
I recommend making a few cuts in the baking paper as you see in the picture to make the lining process easier!

I like to use a 9x5 inch (22.5x12.5 cm) Pullman loaf pan for this bread.
Line it with the parchment paper and fix it in place with clothespins until you place the dough in it.
Step 6 - Proofing/fermentation
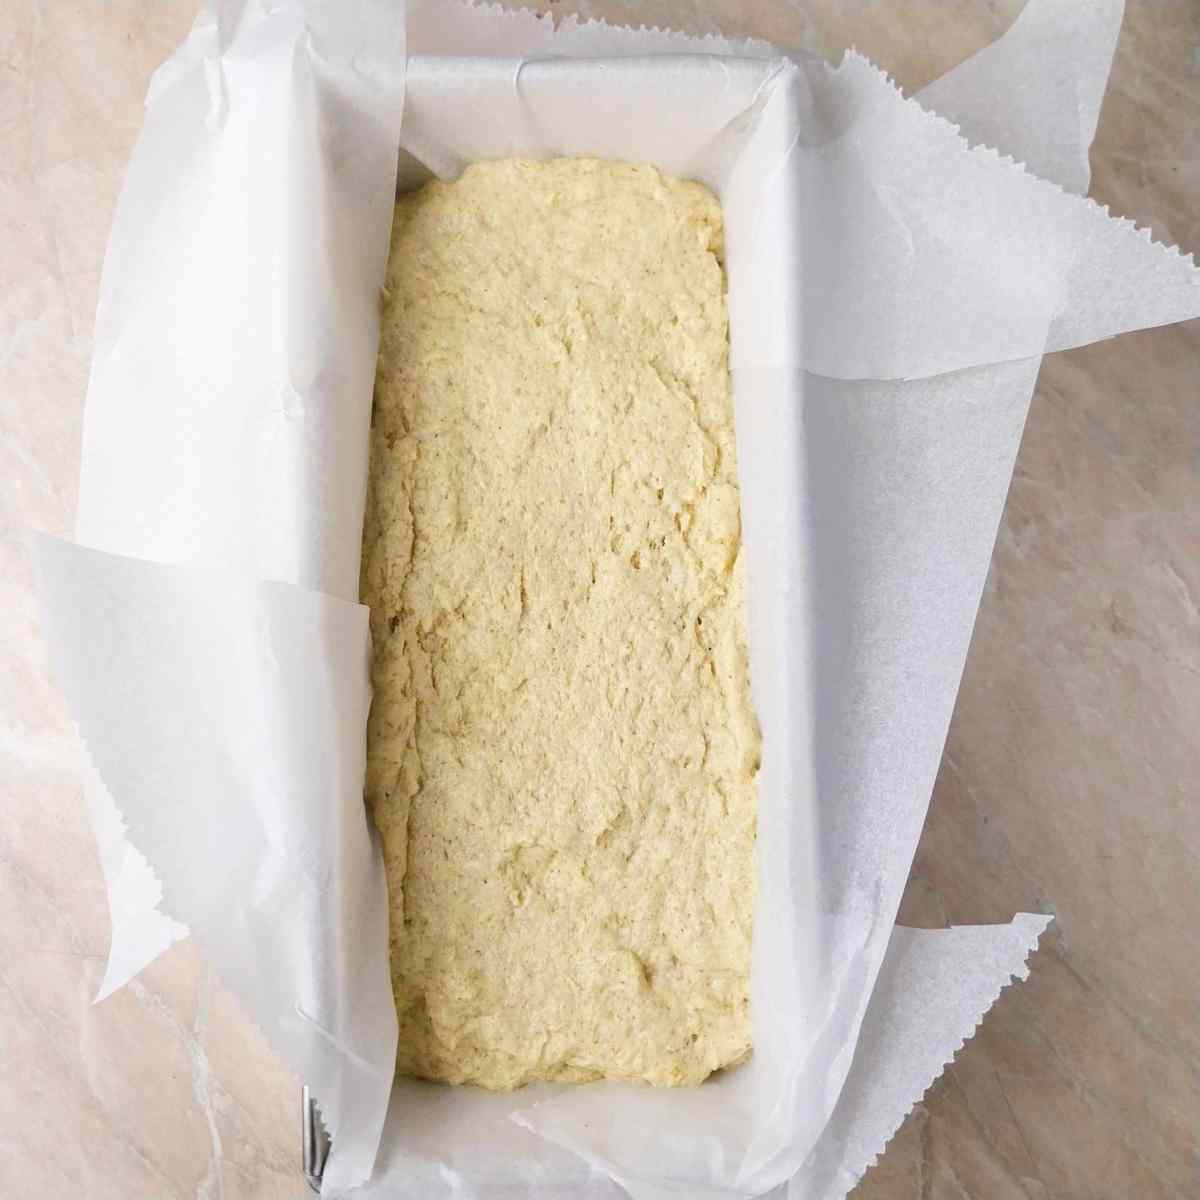
Transfer the dough to a prepared baking bread pan and smooth the top out with a silicone spatula.
Cover and place the bread in a draft-free area, preferably at a warmer temperature (I like to proof my bread in the oven with the light on).

I don't cover my bread if proofing in the oven but if you are proofing on a kitchen counter, then make sure to cover it with a kitchen towel to prevent it from drying out.
Step 7 - Bake

It should take somewhere from 3.5 to 5 hours to proof the dough. You will notice that it puffed up some but hasn't doubled in size. It won't even come up to the top of the pan.
You can either bake the bread in a preheated oven or do a "cold start". Cold start is when you let the bread preheat together with the oven.
I generally do a cold start with all of my breads because it is simpler!
Preheat the oven to 450F/235C and make sure to place a dish with water in the bottom of the oven. This will create extra steam and allow for a better oven spring.
Once the oven is ready, bake the bread uncovered for 30 minutes.
Then, take the dish with water out, lower the temperature to 350F/175C, cover the top of the bread with foil (shiny side up), and keep baking for another 40 minutes.
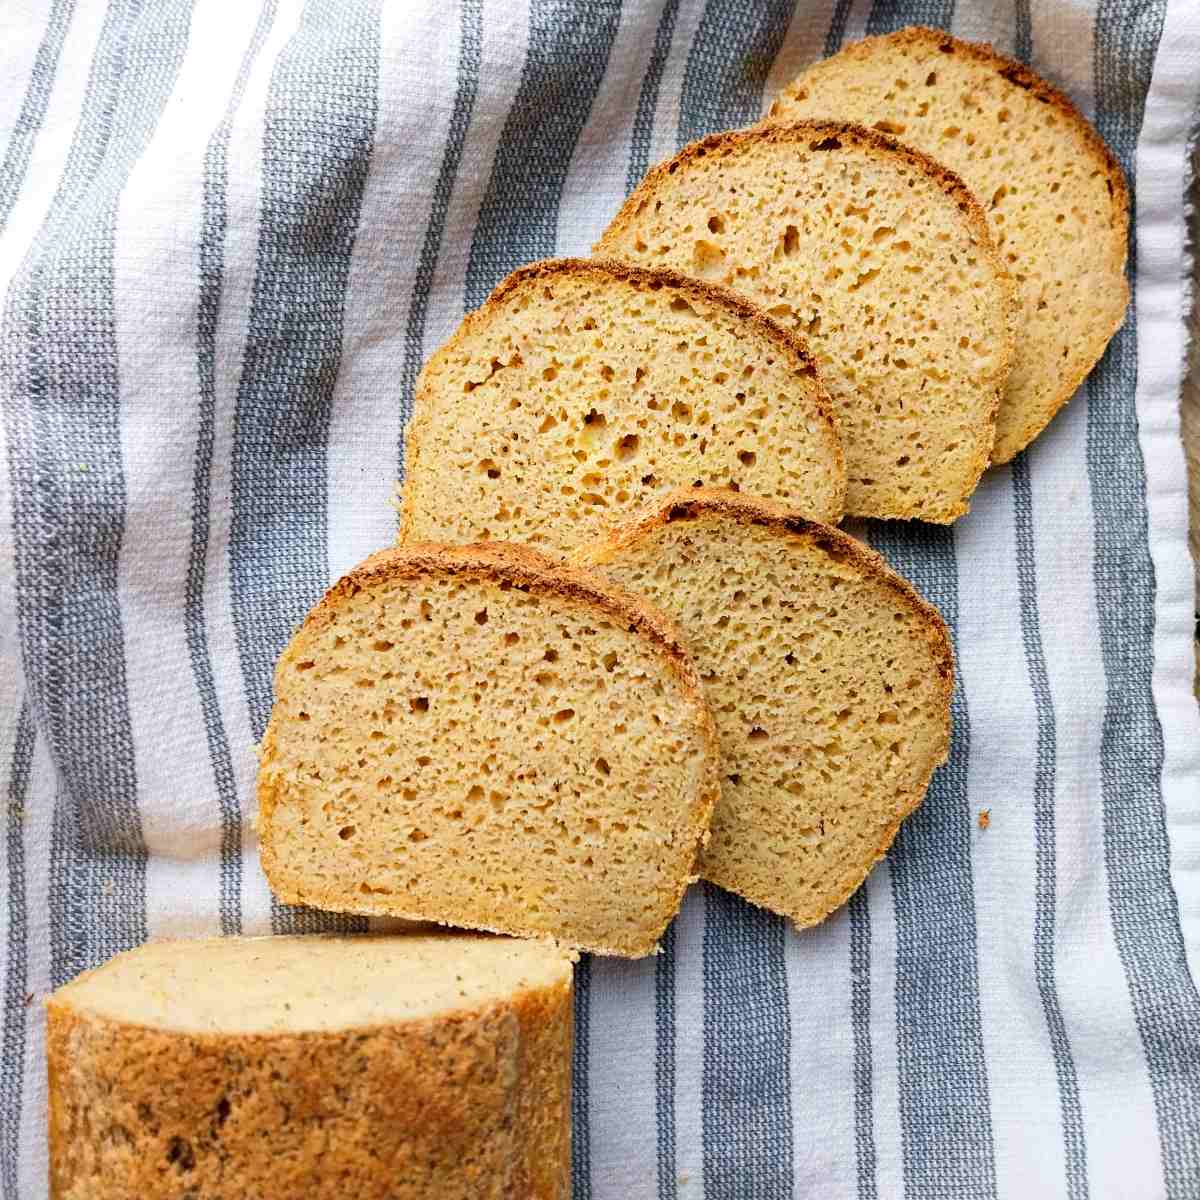
Once the bread is done baking, take it out of the bread pan, remove the baking paper, and let the loaf cool on a wire rack until the bread is no longer warm to the touch. Enjoy!
How to store and freeze
I recommend storing this bread at room temperature either in a bread box or wrapped in a kitchen towel for up to 3 days. If you know you won't eat the bread within 3 days, I recommend freezing it to keep the texture and a moist crumb.
To freeze, simply slice the bread when still fresh and arrange the slices on a tray or a piece of parchment paper. Place the arranged slices in the freezer for 30 minutes.
Then, transfer the slices into a ziplock bag or an air-tight container and store for up to 3 months.
Alternatively, you can simply place parchment paper pieces in between each slice and freeze the loaf together from the start.
To defrost, simply place the slices in the microwave for 30-60 seconds!
Expert tips
- The bread has a slightly bitter flavor, so I recommend eating it in a sandwich or with honey or jam.
- Millet bread dries out faster than other bread types, so I recommend freezing it to keep the fresh quality.
FAQ & troubleshooting
Deflating is a sign of overproofing. Bake the bread sooner next time! Make sure not to open the oven during the first 30 minutes of baking to prevent temperature fluctuation which also causes deflation.
Make sure to let the bread cool completely before slicing it to prevent gumminess. If your bread is still gummy, bake it for 5-10 minutes longer the next time!
Let your levain sit for longer to create more sourness in the dough.
More gluten-free sourdough recipes for you to try!

Get my GF sourdough recipes eBook
The top 16 recipes of 2024!
📖 Recipe
100% Millet Sourdough (Gluten-Free & Vegan)
Ingredients
For the levain
- 100 grams (⅓ cup) active gluten-free sourdough starter
- 100 grams (¾ cup) millet flour
- 60-80 grams (¼-⅓ cup) water, warm, not hot
For the dough
- 26 grams (3½ tbsp) whole psyllium husk, or 22g of coarsely ground psyllium powder
- 425 grams (1⅔ cups) water, warm, not hot
- 15 grams (1¼ tbsp) sugar, honey or maple syrup can be used instead
- 12 grams (1 tbsp) apple cider vinegar, white or wine vinegar can be used instead
- 300 grams (2 cups + ½ tbsp) millet flour
- 12 grams (2 tsp) salt
For topping
- linseed or sesame seeds, optional
Instructions
Make the levain
- In this bread, we won't yet add the sourdough starter to the rest of the ingredients. Instead, we will boost it with an extra feeding by making a levain. Levain is a starter that was fed at its peak activity, then left to rise a second time. To make a millet levain, take 100g of your active starter (it can be a starter with a different GF flour), 100g of millet flour, and 60-80g of water.Mix the ingredients until the mixture resembles a thick paste and is not too runny. Add the water slowly and stop once the right consistency is achieved! Set the mixture aside for 3.5-18 hours. The longer you let the levain sit, the more sourness you will have in the dough.
Make the dough
- Once the levain is ready, make psyllium gel. Add psyllium husk and water to a medium-sized bowl and whisk to incorporate.Then, add the apple cider vinegar and sugar to the same bowl (no need to stir this time). Set the bowl aside for a couple of minutes until the mixture starts to thicken and looks more like a gel.
- Add millet flour and salt to a large mixing bowl and whisk to combine.
- Add psyllium gel and levain to the bowl with the dry ingredients and mix by hand. You can use an electric mixer or a wooden spoon instead if you prefer. The dough will be sticky and somewhat wet. Mix until all ingredients are evenly incorporated.
- Prepare the baking tin by greasing it and/or lining it with parchment paper. Greasing the pan first makes the paper stick better.I recommend making a few cuts in the baking paper as you see in the picture to make the lining process easier! (See pics in the post)I like to use a 9x5 inch (22.5x12.5 cm) Pullman loaf pan for this bread.Line it with the parchment paper and fix it in place with clothespins until you place the dough in it.
- I don't cover my bread if proofing in the oven but if you are proofing on a kitchen counter, then make sure to cover it with a kitchen towel to prevent it from drying out.
- It should take somewhere from 3.5 to 5 hours to proof the dough. You will notice that it puffed up some but hasn't doubled in size. It won't even come up to the top of the pan.You can either bake the bread in a preheated oven or do a "cold start". Cold start is when you let the bread preheat together with the oven. I generally do a cold start with all of my breads because it is simpler! Preheat the oven to 450F/235C and make sure to place a dish with water in the bottom of the oven. This will create extra steam and allow for a better oven spring. Once the oven is ready, bake the bread uncovered for 30 minutes. Then, take the dish with water out, lower the temperature to 350F/175C, cover the top of the bread with foil (shiny side up), and keep baking for another 40 minutes.
- Once the bread is done baking, take it out of the bread pan, remove the baking paper, and let the loaf cool on a wire rack until the bread is no longer warm to the touch. Enjoy!




Christina Vivona
Hello! I am pretty new to GF sourdough baking and have been trying out different recipes, mostly hand shaped boules. But I decided to give this a try because I want to bake bread that is whole grain/plant without added starches, and also without rice or buckwheat which I seem to be allergic to. Anyway, I made your lovely recipe and it came out so good! I made it exactly to you instructed except for the pan. I have an old pyrex baking pan so I used that. The bread had a balanced lightness, not dense at all. There was a nice crumb, not even a hint of gumminess. I was able to slice it thin or thick, toast or not toast. The flavor is very mild, not sour, which is sometimes just what is wanted. Thank you for such a lovely, well conceived and tested recipe! I will keep this bread in my rotation and am so grateful.
For fun and to add variety for my own particular tastes, I will be trying out a few different flours to see if I can come up with different flavors, more sour notes, etc. Please consider more starch-free breads without rice or buckwheat. I think you have a knack! Thank you!
LauraM
I am getting ready to do this. I have done your regular millet bread and enjoy it very much. Would like to know how to do a cold start though.
Natasha Levai
Hi Laura! Cold start simply means you place the bread in the oven when it is not preheated. You preheat the oven with the bread sitting inside of it and you start the timer once the oven has reached the needed temperature. It is easier to manage because you can use the oven for proofing the dough and you don't need to remember to preheat it ahead of time!