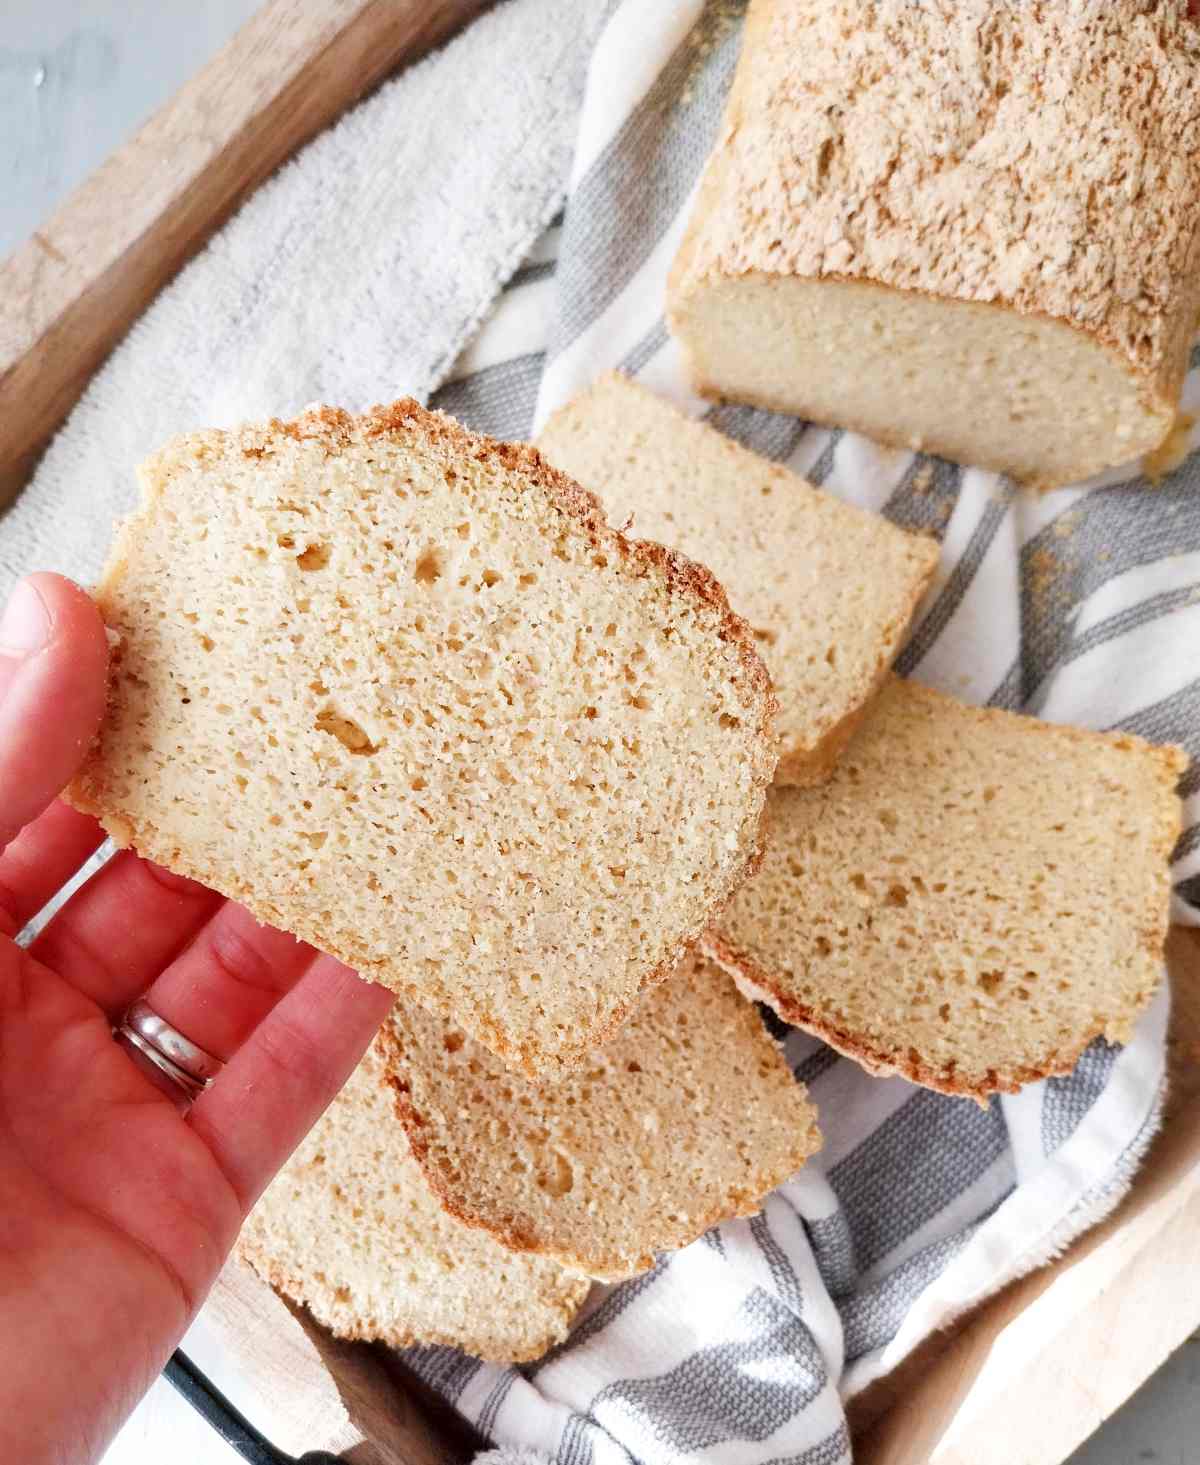
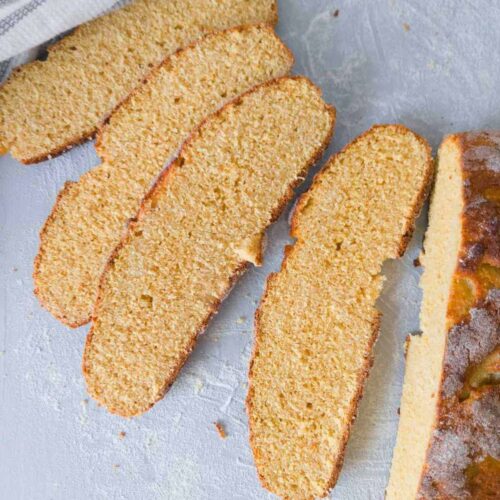
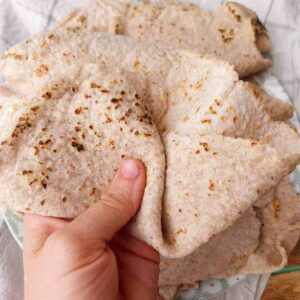
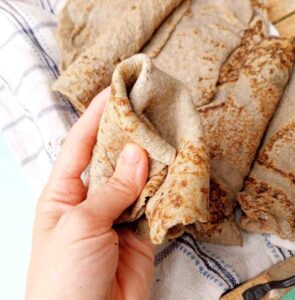
This wholegrain millet bread is naturally gluten-free and vegan, it is soft, fluffy, moist, and so easy to make! It is also much cheaper than storebought bread, yet it is squishy, light, and has a delicate crumb. This is the easier version of my psyllium gluten-free bread!

This recipe was inspired by the Power Hungry's quick millet bread. I increased the volume for a larger loaf and added yeast to enhance authentic bread flavor. This recipe is similar to my 100% brown rice bread!
Jump to:
Why you will love this recipe
- Calls for millet flour only similar to my millet sourdough.
- It's a naturally vegan recipe just like my sorghum bread.
- Only 15-20 minutes of hands-on time, like pretty much most millet recipes.
- No xanthan gum needed, just like in these finger millet ragi rotis!
Ingredients for Millet Bread

- Millet flour - use yellow millet flour milled from small millet grains, don't use amaranth or sorghum, they are not the same.
- Psyllium husk - I strongly recommend using whole husks vs. powder.
- Yeast - I recommend instant yeast because it doesn't need to be activated.
- Vinegar - helps yeast by providing an acidic environment. I recommend using apple cider vinegar but any other light or dark vinegar will work.
See the recipe card for quantities.
Substitutions
Psyllium husk - I highly recommend using whole psyllium husk and avoiding substituting it for anything. Neither xanthan gum, chia seeds, or flaxseed meal will yield the same results, although I did have some level of success with Konjac.
Vinegar - lemon or lime juice works, too!
Variations
You can experiment with different add-ins to flavor up the experience! You can add:
- Dried herbs (thyme, basil, oregano, or sage);
- Spices (cumin, garlic, and/or onion powder);
- Seeds (sunflower, whole flax seeds, sesame seeds, pumpkin seeds);
- Cheese to the top of the bread;
- Olives and sundried tomatoes.
How to make millet flour at home
You will need:
- A high-speed blender or a coffee grinder (avoid using a food processor, it can only make coarse meal, not flour)
- Hulled millet grains (proso millet)
- Fine-mesh sieve
Place the millet into the blender or grinder and process for a minute or two. Then, sieve the flour into a bowl removing any larger bits that don't go through. That's it!
You can freeze homemade millet flour in a freezer bag and use it when ready (no need to defrost).
How to Make Millet Bread

Step 1. Add water, vinegar, oil, and psyllium husk to a medium bowl and whisk to combine. Set aside to let psyllium gel set.
NOTE: If you are using active dry yeast (not instant):
- Take half of the water and warm it up to about 115F/46C.
- Add sugar and yeast then stir.
- The yeast should get frothy after about 15 minutes, then proceed with the recipe.

Step 2. Mix millet flour, sugar (unless you are using active dry yeast in which case you already used the sugar), salt, baking powder, and instant yeast in a large mixing bowl.

Step 3. Add psyllium gel to the dry ingredients and knead the dough until well combined. If you are using active dry yeast, add it to the dough now.
You can use an electric mixer with dough hooks, a wooden spoon, or mix by hand. To get an extra smooth dough mix for about 5-10 minutes. The dough will be very sticky, don't add extra flour!

Step 4. Line a 9x5in (22x12cm) bread pan (don't use glass) and transfer the dough to it. Smooth the dough out with a wet silicone spatula and cover it with a kitchen towel.
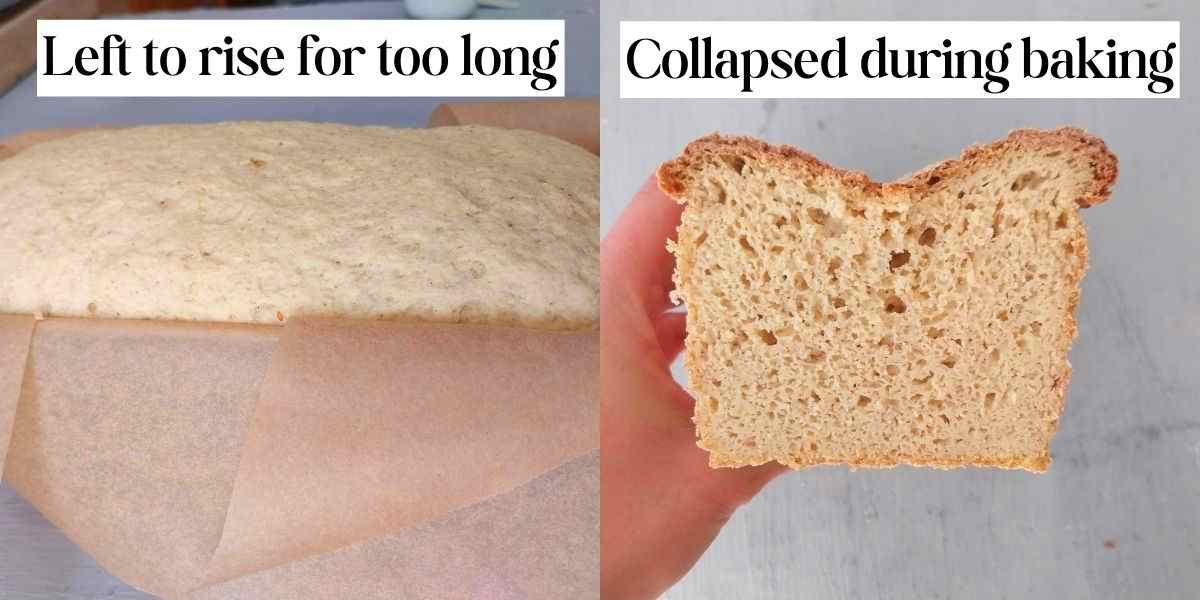
Place the dough into a draft-free warm area and let it rise until it reaches the rim of the pan. Don't let it rise too high or the bread will collapse during baking.
Once the dough is ready, preheat the oven to 350F/175C and bake the bread for 1 hour and 45 minutes. Remove from the bread pan and transfer to a cooling rack until no longer warm to the touch.
Slice and enjoy!
Expert Tips
- Don't let the dough rise too much above the rim of the pan or it will collapse during baking!
- Measure flour by weight using a digital kitchen scale. I can't overemphasize the importance of precision when it comes to gluten-free bread!
- Wet your hands when handling the dough to prevent sticking.
- Don't cut the bread while it's hot to prevent gumminess.
Common Questions
- Not baking long enough (or using convection);
- Not waiting for psyllium to form into a gel;
- Your oven might run hot or cold (use an oven thermometer).
Millet bread has a nice nutty & yeasty flavor unless you let the flour go rancid, then it turns bitter. Make sure to store your flour in the freezer to reduce the chances of it spoiling!
Yes, millet flour is a great option for feeding a millet sourdough starter and baking millet flour sourdough bread!
Millets are nutrient-rich, starchy grains high in protein. They are a great source of phosphorus and magnesium, with finger millet containing more calcium than any other cereal. Millet can assist in lowering cholesterol and blood sugar levels. So, yes, millet is a great addition to your diet!
Storage & Freezing
Store the bread in a bread box or bag at room temperature for 3-4 days. The bread will start drying out a bit by day 4, so I recommend freezing it if you aren't planning on eating it soon.
To freeze:
- Slice the bread with a serrated bread knife;
- Arrange the sliced on a tray and place into the freezer;
- After 30 minutes transfer the slices to an air-tight container or a sealed freezer bag and keep for up to 3 months.
To defrost:
- Pop the pieces into the microwave for 30-60 seconds;
OR
- Reheat in the oven at 350F/175C for 5 minutes.
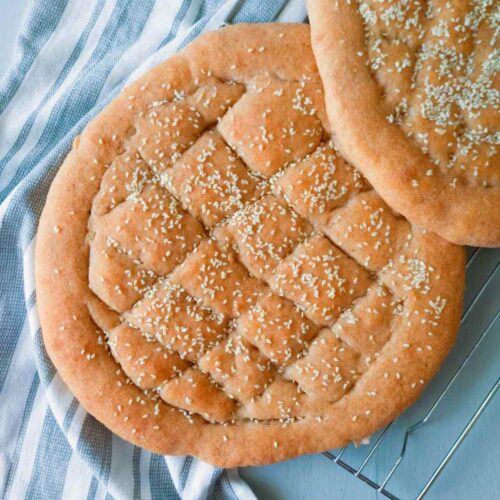
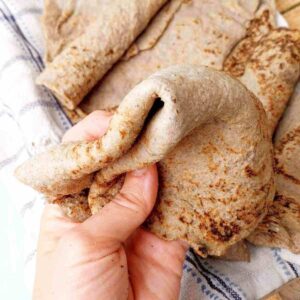
Other Gluten-Free Bread Recipes You Will Love!
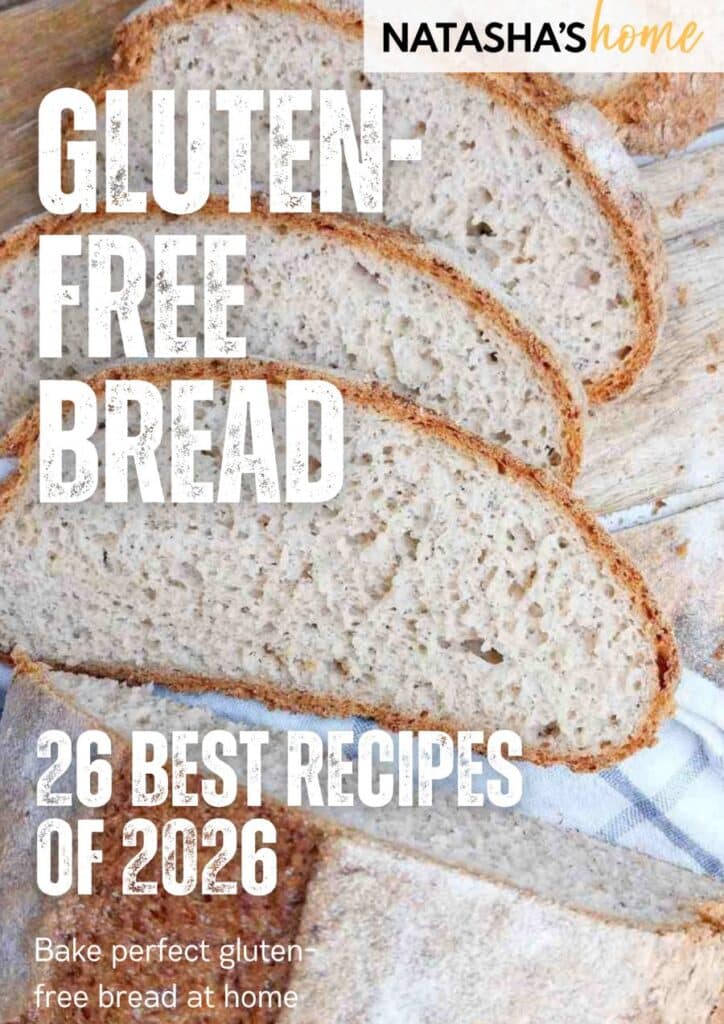
Get my new
Gluten-Free Bread Recipes eBook
The top 26 recipes of 2026! Includes a bonus conversion chart for gluten-free flour.

Easy 100% Millet Bread
Ingredients
Wet Ingredients
- 30 grams whole psyllium husk I don't recommend using powder, see my psyllium husk guide to know the difference
- 600 grams water if you are using active dry yeast, use some of the water to activate the yeast
- 50 grams oil
- 7 grams apple cider vinegar for the yeast
Dry Ingredients
- 500 grams millet flour not sorghum or amaranth, those are different
- 7 grams instant yeast if using active dry yeast, you will need to activate it before baking
- 2 teaspoon sugar for the yeast
- 12 grams salt adjust to taste
- 1 teaspoon baking powder optional but gives bread a lift
SAVE THIS RECIPE!💌
Instructions
- Add water, vinegar, oil, and psyllium husk to a medium bowl and whisk to combine. Set aside to let psyllium gel set.30 grams whole psyllium husk, 600 grams water, 50 grams oil, 7 grams apple cider vinegar
- NOTE: If you are using active dry yeast (not instant):Take half of the water and warm it up to about 115F/46C. Add sugar and yeast then stir. The yeast should get frothy after about 15 minutes, then proceed with the recipe.
- Mix millet flour, sugar (unless you are using active dry yeast in which case you already used the sugar), salt, baking powder, and instant yeast in a large mixing bowl.7 grams instant yeast, 2 tsp sugar, 500 grams millet flour, 12 grams salt, 1 tsp baking powder
- Add psyllium gel to the dry ingredients and knead the dough until well combined. If you are using active dry yeast, add it to the dough now.You can use an electric mixer with dough hooks, a wooden spoon, or mix by hand. To get an extra smooth dough mix for about 5-10 minutes. The dough will be very sticky, don't add extra flour!
- Line a 9x5in (22x12cm) bread pan (don't use glass) and transfer the dough to it. Smooth the dough out with a wet silicone spatula and cover it with a kitchen towel.
- Place the dough into a draft-free warm area and let it rise until it reaches the rim of the pan. Don't let it rise too high or the bread will collapse during baking.
- Once the dough is ready, preheat the oven to 350F/175C and bake the bread for 1 hour and 45 minutes. Remove from the bread pan and transfer to a cooling rack until no longer warm to the touch. Slice and enjoy!
Video
Notes
- Don't let the dough rise too much above the rim of the pan or it will collapse during baking!
- Measure flour by weight using a digital kitchen scale. I can't overemphasize the importance of precision when it comes to gluten-free bread!
- Wet your hands when handling the dough to prevent sticking.
- Don't cut the bread while it's hot to prevent gumminess.
-
- Slice the bread with a serrated bread knife;
-
- Arrange the sliced on a tray and place into the freezer;
-
- After 30 minutes transfer the slices to an air-tight container or a sealed freezer bag and keep for up to 3 months.

Ruth Sams says
I don’t normally comment on things like this but feel I’d be doing a disservice not to. After so many, many years of trying different gf flours and bread recipes, we’ve finally found it—THE one! It’s toastable, you can make a sandwich with it, it tastes good, and isn’t full of starches to raise my blood sugar! I’m so thankful the Lord let me find your millet bread!
Gay Walters says
I am very eager to try this recipe and so appreciate the detailed instructions you’ve provided. But I have a question about the amount of millet flour called for (500 g), because it’s so much greater than the 300 g I’ve seen and used in other millet bread recipes. especially since the amount of water and other ingredients listed almost exactly match the amounts in those other recipes. Is the 500 g shown in the Ingredients list really correct? Or should it be 300 g (approx. 2.5 cups)?
Deb S says
I find that millet has a bitter aftertaste that I find very unpleasant. I thought it was off (even though dates OK). Bought a new bag of Bob's Redmill Millet and placed in freezer right away until needed. Same thing. I just bought a bag of husked millet kernels I will try to mill and see if that is better.
Has anyone else had this same issue?
Natasha Levai says
Hi Deb! Yes, I have the same issue sometimes. I read online that the bitterness is due to the age of the flour, so according to that logic, grinding your own flour will help resolve the bitterness!
Jenny says
Can I use ground psyllium husk instead of whole?
Natasha Levai says
Hi Jenny! You can, just be careful as it tends to clump in water, it also might turn your bread purple. I recommend mixing psyllium powder with cold water to prevent as many clumps as you can.
Parul Patel says
Can I use barnyard millet??
Natasha Levai says
Hi Parul! Not sure, never used it in bread!
Tim says
This bread came out perfect! Thank you so much.
Vaishnavi says
Hi Natasha, Thanks a bunch for sharing these gluten free recipes. I have tried your buckwheat and and millet bread so far and both came out great. I can make gluten free bread at home and save a couple of bucks every time, thanks to your recipes!
Mary says
This bread is great! I was worried it wouldn't come out right because I used maple syrup instead of sugar to activate my yeast, but it came out awesome.
Gemma says
Hey Natasha,
Thank you so much for this recipe. It’s my first time baking a millet bread and as a newly diagnosed coeliac this really will itch my toast craving! The only thing is, it didn’t come out as airy as yours (a denser crumb) and was a touch gummy. Any ideas why? Could it be that I didn’t let it rise enough? I think I left it maybe 1.5hours…. I was wary of over rising! Thanks, Gemma.
Natasha Levai says
Hi Gemma! 1.5 hours should be enough! Maybe try baking 2 mini loaves instead of 1 large one and see how that goes!
Verdell says
Great recipe. However, in the instructions it says bake for 1 hour 45 minutes. Bread came out a little crispy. Afterward noticed at the very top with all the prep times baking was to be 1 hour 30 minutes. I will try again with the shorter bake time. Thanks again!
Natasha Levai says
Verdell! The longer bake time is to ensure a better bake through of the middle. If the bread comes out done on the inside after 1.5 hours, then go for it!
Michelle says
Would this still work if I subbed flax meal for the psyllium?
Natasha Levai says
Michelle! No, flax meal won't work the same as psyllium husk.
Ed Harten says
You’re 100% millet bread recipe came out perfect. The second time I made it. You always have to adjust something the first time.very happy!
Nandita Singh says
can I use proso Millet flour for this recipe
Sara says
Hi, can i double the recipe and bake both tins at the same time? Would i have to increase oven temp?
Natasha Levai says
Hi Sara! Yes, you should be able to do that just fine. No need to increase the oven temperature. If the loaves come out slightly underbaked, you can simply leave them in for longer (extra 10-15 monutes). Let us know how it turned out!