This homemade blender peanut butter is not only an easy recipe, it is an excellent project to make with kids! This peanut butter is natural, oil-free, and only calls for 1-3 ingredients. Ready in 5 minutes!
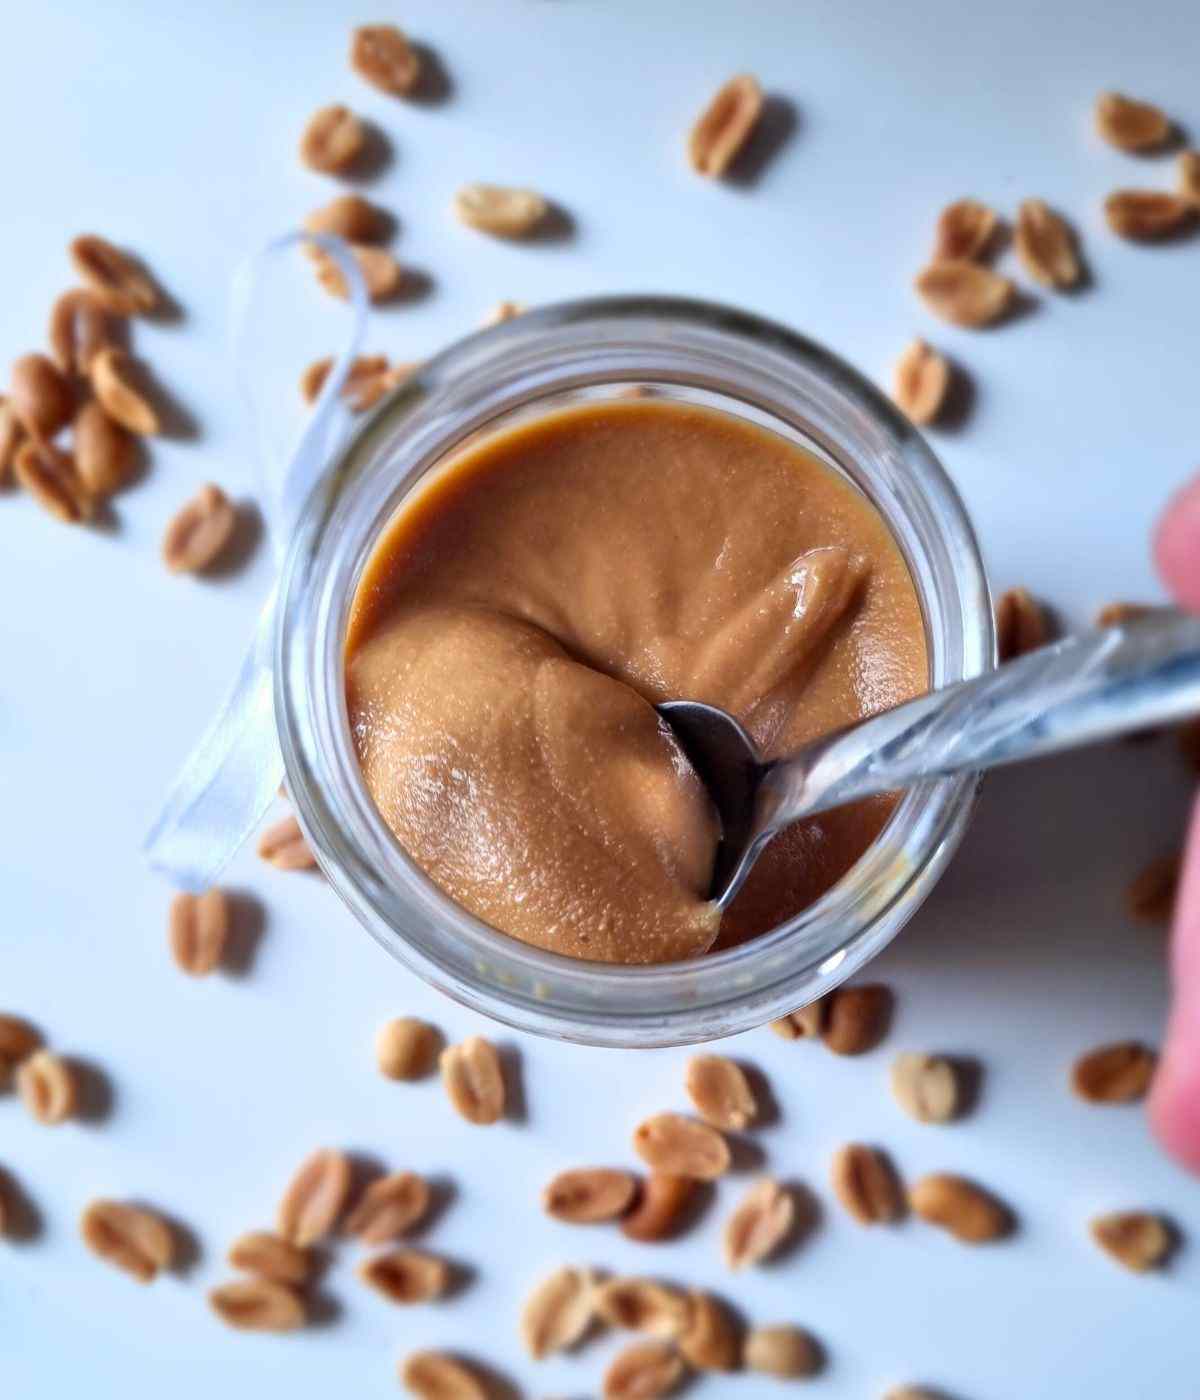
Let me introduce you to this high-protein, full of fiber and fats, rich in antioxidants, and sprinkled with folate, vitamin E, B6, magnesium, and copper delicious and nutritious homemade peanut butter that can be made with as little as 1 single ingredient - peanuts!
Jump to:
What blender should I use?
You need to use a high-speed blender like Vitamix or Blendtec. A regular blender might do the job but it is likely that the engine will get damaged. Plus, you might not get the same creamy and smooth texture as with a high-powered blender.
Can I use a food processor?
Yes, you absolutely can use a food processor for this recipe. A blender generally creates a runner and smoother texture than a food processor does, but I still love my peanut butter made in a food processor!
The pictures you see in the post are peanut butter made in a food processor because this is my preferred method. But if you have a good high-speed blender, you can use that!
Use the S blade that comes with your food processor.
🥜Ingredients
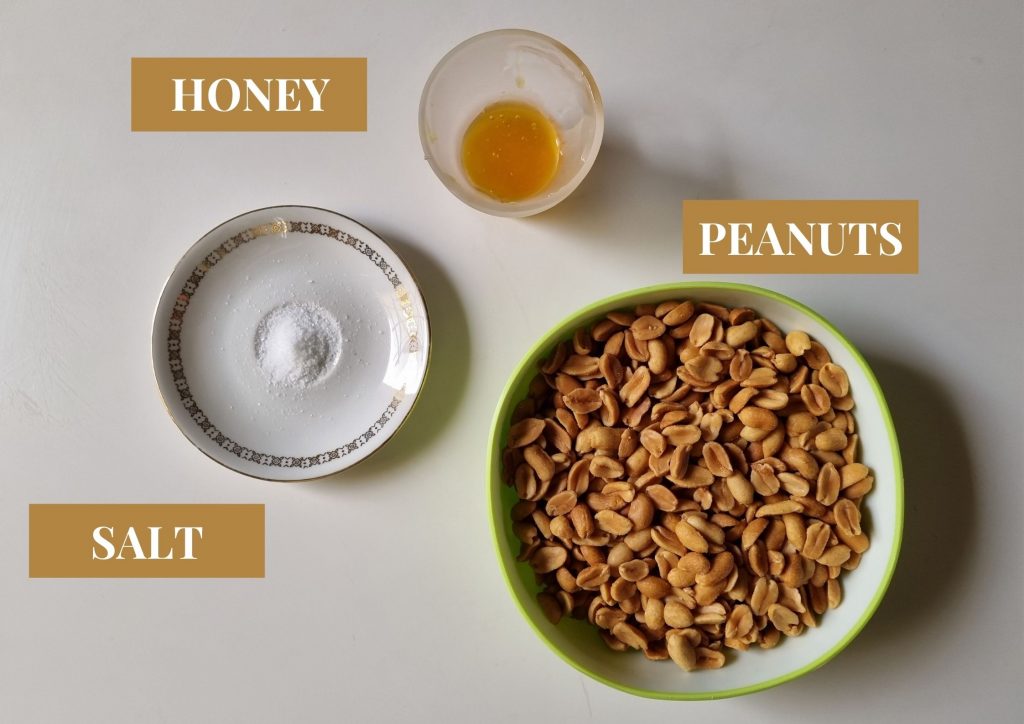
- 2-3 cups of peanuts - I recommend using dry roasted peanuts, they have a better flavor compared to raw peanuts. Plus, roasted peanuts release more oil which makes your peanut butter creamier!
- Honey to taste - some people don't like adding honey, and if you are using dry roasted peanuts you might end up with a perfectly balanced flavor! Sugar is concentrated in peanuts during roasting, thus making the peanut butter sweeter.
Tip: you can use honey-roasted peanuts (if they aren't too salty) to make a sweeter peanut butter.
- Sea salt - I recommend using naturally occurring salt like sea salt to get the most out of this recipe.
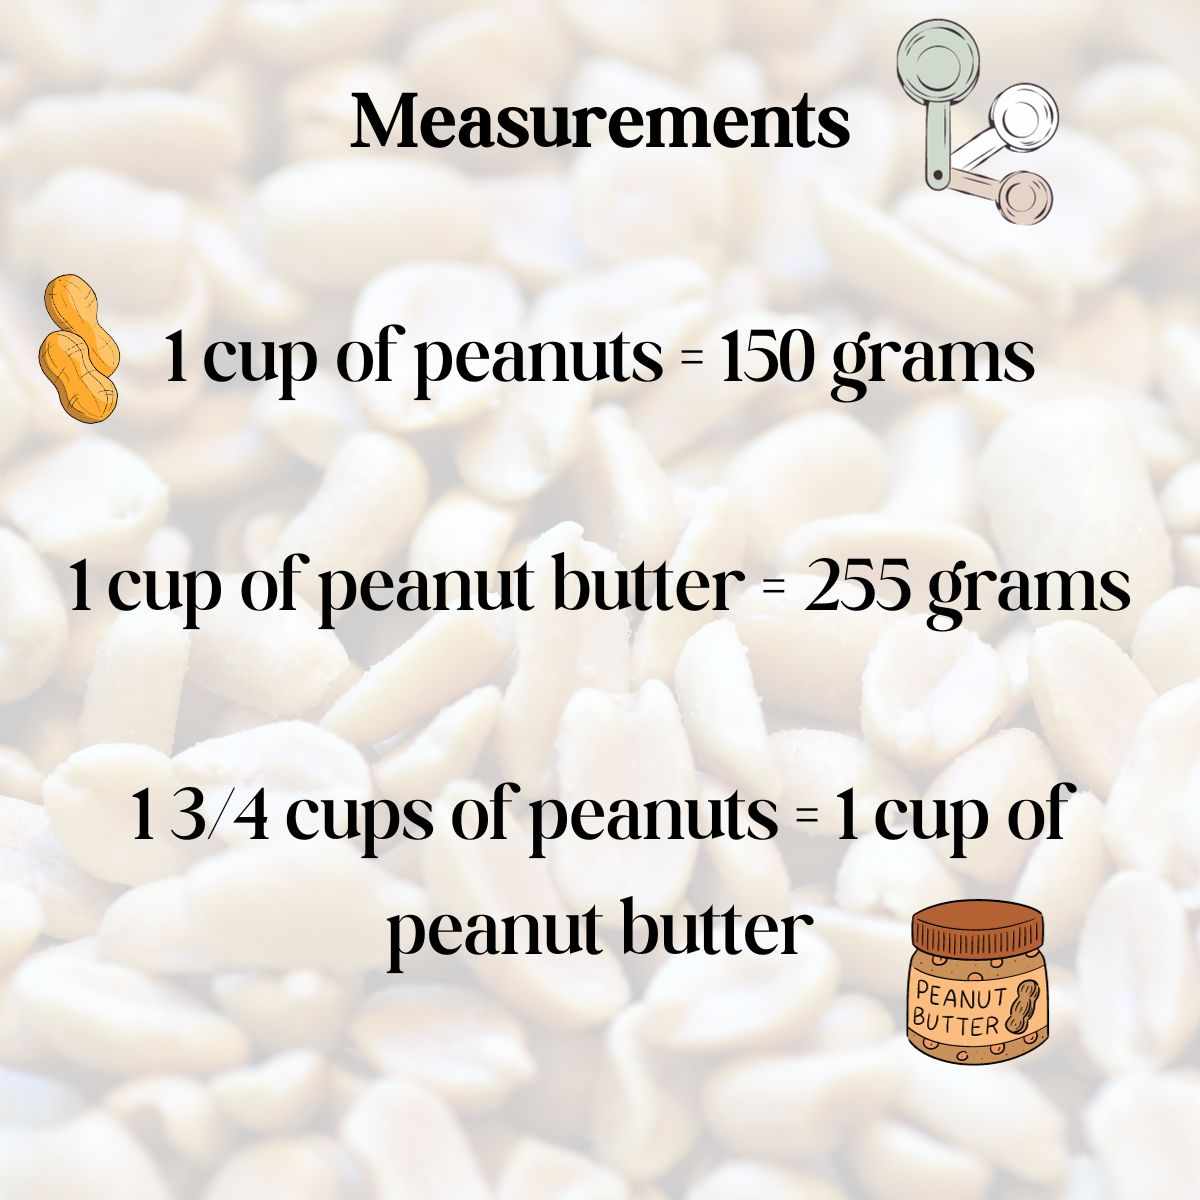
Thank you Erin for your precise measurements!
Substitutions
- Peanuts - you can make almond butter by grinding almonds, pistachio butter with pistachios, and many other varieties depending on your choice of nuts! You can even combine different nuts within the same butter (like peanut almond butter).
- Honey - you don't need to add honey if you don't want to.
- Salt - add salt if you are using unsalted peanuts.
How to roast peanuts at home
If you have raw peanuts, I highly recommend you roast them before making peanut butter. To do that, preheat the oven to 350F/175C and arrange the peanuts on a baking sheet in an even layer.
Roast for 20-25 minutes stirring once or twice during baking. If the peanuts have skins, roast them with skins on as it will be easier to remove those after the roasting process.
You can remove the skins by wrapping the peanuts into a kitchen towel and rubbing them with your hands. The skins should come off fairly easily. You can make peanut butter with skins if you want, but they might not blend very smoothly!
Let roasted peanuts cool for 10 minutes before blending.
🔪Step-by-step instructions
If you want crunchy peanut butter, make sure to set aside about ½ cup of peanuts and add them at the very end. Process them until they look chunky, then stop.
Step 1
If using a blender, place peanuts into the blending container and secure the lid. Fill up the blending bowl about ½ or ¾ of the way. Don't go under or above for the best results.
Start pulsing on low speed and use the tamper to press the peanuts down towards the blades.
Then, quickly switch to a high-speed setting and continue blending for a couple of minutes. You might hear a high-pitched chugging sound, but that is alright.
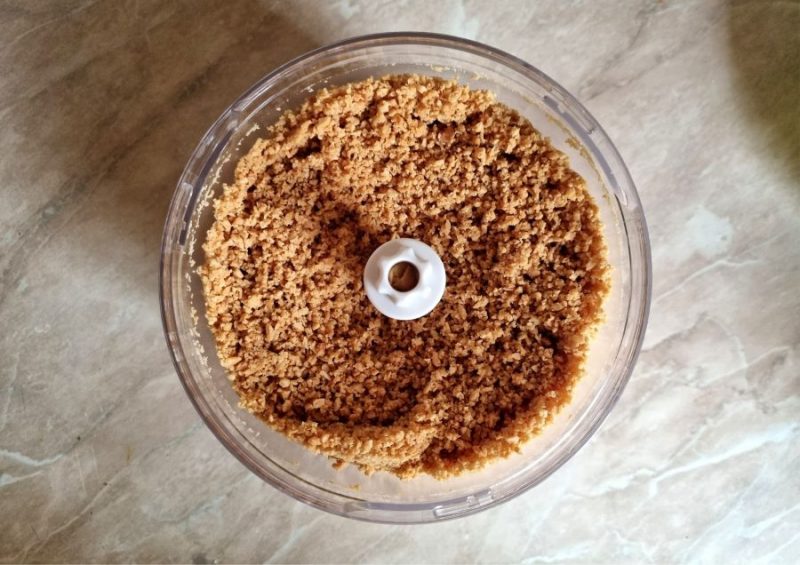
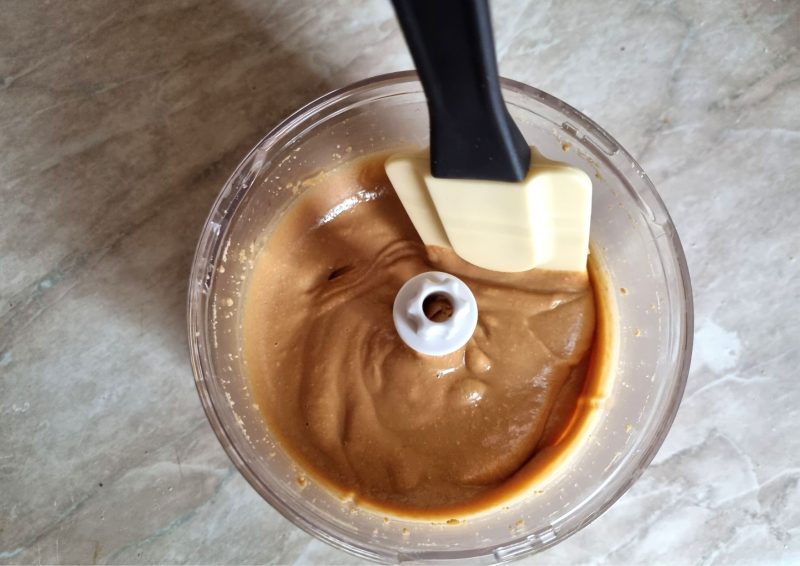
Step 2
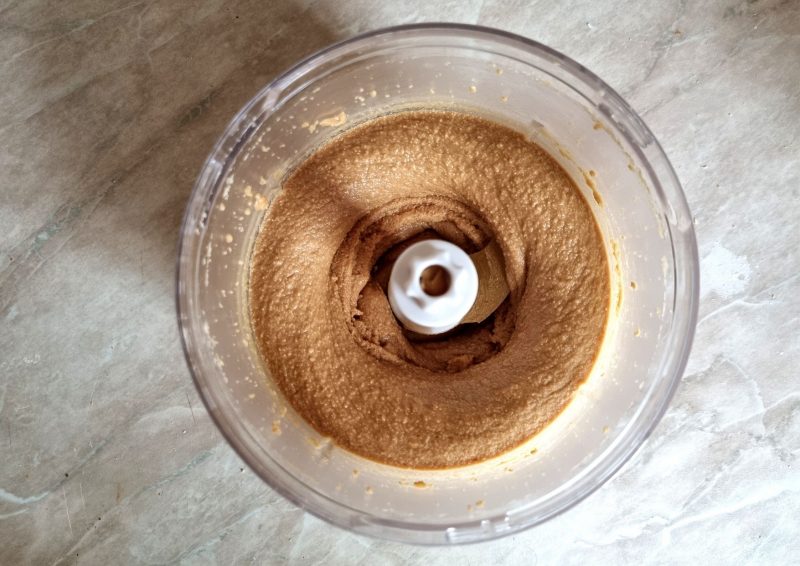
Stop to scrape the sides of the bowl with a rubber spatula from time to time.
You will notice that after about a minute of blending, your peanut butter will start smoothing out and looking more like a thick paste.
Don't stop here! Continue blending until it's creamy and runny. Even if it seems hard and thick, don't give up, as peanuts release their natural oil peanut butter will become smooth and creamy, it just might take a couple of minutes.
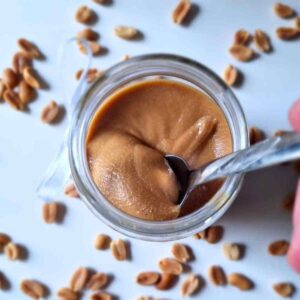
Step 3
Once your peanut butter reaches the desired consistency, you can stop the blender and taste the result. Add salt and honey to taste if you think your peanut butter needs it!
🌡️Storage & freezing
It is recommended to store homemade peanut butter in the refrigerator for up to 3 months. Use a glass jar with a lid to seal the peanut butter and prolong its shelf life!
Oils that are naturally released during the grinding process have a tendency to go rancid after a while, so you want to make sure your peanut butter is stored away in the fridge.
To prolong the shelf life of peanut butter even further, you can freeze it for up to 6 months in glass jars or in plastic containers. Some sources say it is better to use plastic for freezing!
📋Top tip
If your peanut butter seems too dry and crumbly, just keep blending. The chances are, you haven't processed them long enough! If your blender or food processor gets hot, stop and let it cool for 15-20 minutes, then proceed!
💭Troubleshooting
Too runny - while it is still warm, it will be runnier. Let it sit in the fridge overnight where it will thicken and solidify!
Too thick - keep blending, you probably haven't gone for long enough yet.
The blender is too hot - if the motor is getting overheated, stop for 10-15 minutes and let it chill, then proceed!
🌰Variations
There are plenty of possibilities when it comes to making nut butter! Here are some of them:
- Make chocolate peanut butter by adding cocoa powder and honey
- Experiment with adding different nuts like cashews, pistachios, almonds etc.
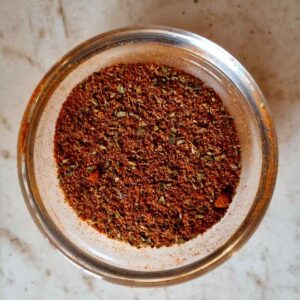
- Add spices like cinnamon or pumpkin spice mix
- Add vanilla seeds or paste along with honey for a sweeter flavor
- Make Asian, Thai, and Vietnamese recipes that often use peanut butter to make sauce or even noodles!
What to do with peanut butter
There are so many ways to eat peanut butter other than by the spoonful (although that is one of the best!):
- Spread it on a toast with some homemade plum jam
- Make PB sandwiches
- Add it to coffee and smoothies
- Make peanut butter desserts
Frequently Asked Questions
Oh yes! Homemade peanut butter is way cheaper than store-bought kind, especially if you live outside of the US.
When making your own peanut butter, you are in control of everything that goes into it. So, it is safer in a way that it doesn't have preservatives or cross-contamination that can sometimes hurt people with allergies (like wheat for gluten-intolerant folks).
You can make peanut butter with mortar and pestle if you want to! It will take about 25 minutes to crush 2 cups of peanuts, then you will need to add some oil and use a mixer with a paddle attachment to smooth the butter. It is tricker but definitely possible!
Since homemade peanut butter is natural and organic, the oils will go rancid if left for longer than 3 months or kept at room temperature. If the butter smells rancid or has a strange taste (oil paint or something like that), the chances are it has gone bad!
Is peanut butter OK every day? Yes! About 2 tablespoon a day is safe. Check out this article for more info!
Easy Blender Peanut Butter (5 Minutes!)
Equipment
- 1 high-speed blender
- 1 glass jar
Ingredients
- 2-3 cups peanuts
- salt and honey to taste
SAVE THIS RECIPE!💌
Instructions
- If using a blender, place peanuts into the blending container and secure the lid. Fill up the blending bowl about ½ or ¾ of the way. Don't go under or above for the best results.Start pulsing on low speed and use the tamper to press the peanuts down towards the blades.Then, quickly switch to a high-speed setting and continue blending for a couple of minutes. You might hear a high-pitched chugging sound, but that is alright.
- Stop to scrape the sides of the bowl with a rubber spatula from time to time.You will notice that after about a minute of blending, your peanut butter will start smoothing out and looking more like a thick paste.Don't stop here! Continue blending until it's creamy and runny. Even if it seems hard and thick, don't give up, as peanuts release their natural oil peanut butter will become smooth and creamy, it just might take a couple of minutes.
- Once your peanut butter reaches the desired consistency, you can stop the blender and taste the result. Add salt and honey to taste if you think your peanut butter needs it!
Maggie says
I love peanut butter and this recipe sounds very easy. Thank you for sharing, I will try it these days.
Natashashome says
It is as easy as it sounds! You are very welcome.
Walk Along With Us says
I have never thought about making this homemade, cool concept. Thanks for sharing!
Natashashome says
You are so welcome!
Elaine G. says
Great info! I've been thinking of making it for my dogs since so many store-bought ones (even organic) have "extras" in them. This gives me the encouragement that I won't screw it up lol
Natashashome says
Absolutely! This way you can control every ingredient that goes into your peanut butter!
Christi says
I didn’t know it was so easy to make homemade peanut butter! I will be trying this soon for my kids! Thanks for sharing!
Natashashome says
I am glad this info was helpful for you!
Cheryl McGrory says
Great knowledge. Excited to try making this with the kids.
Natashashome says
Great idea!