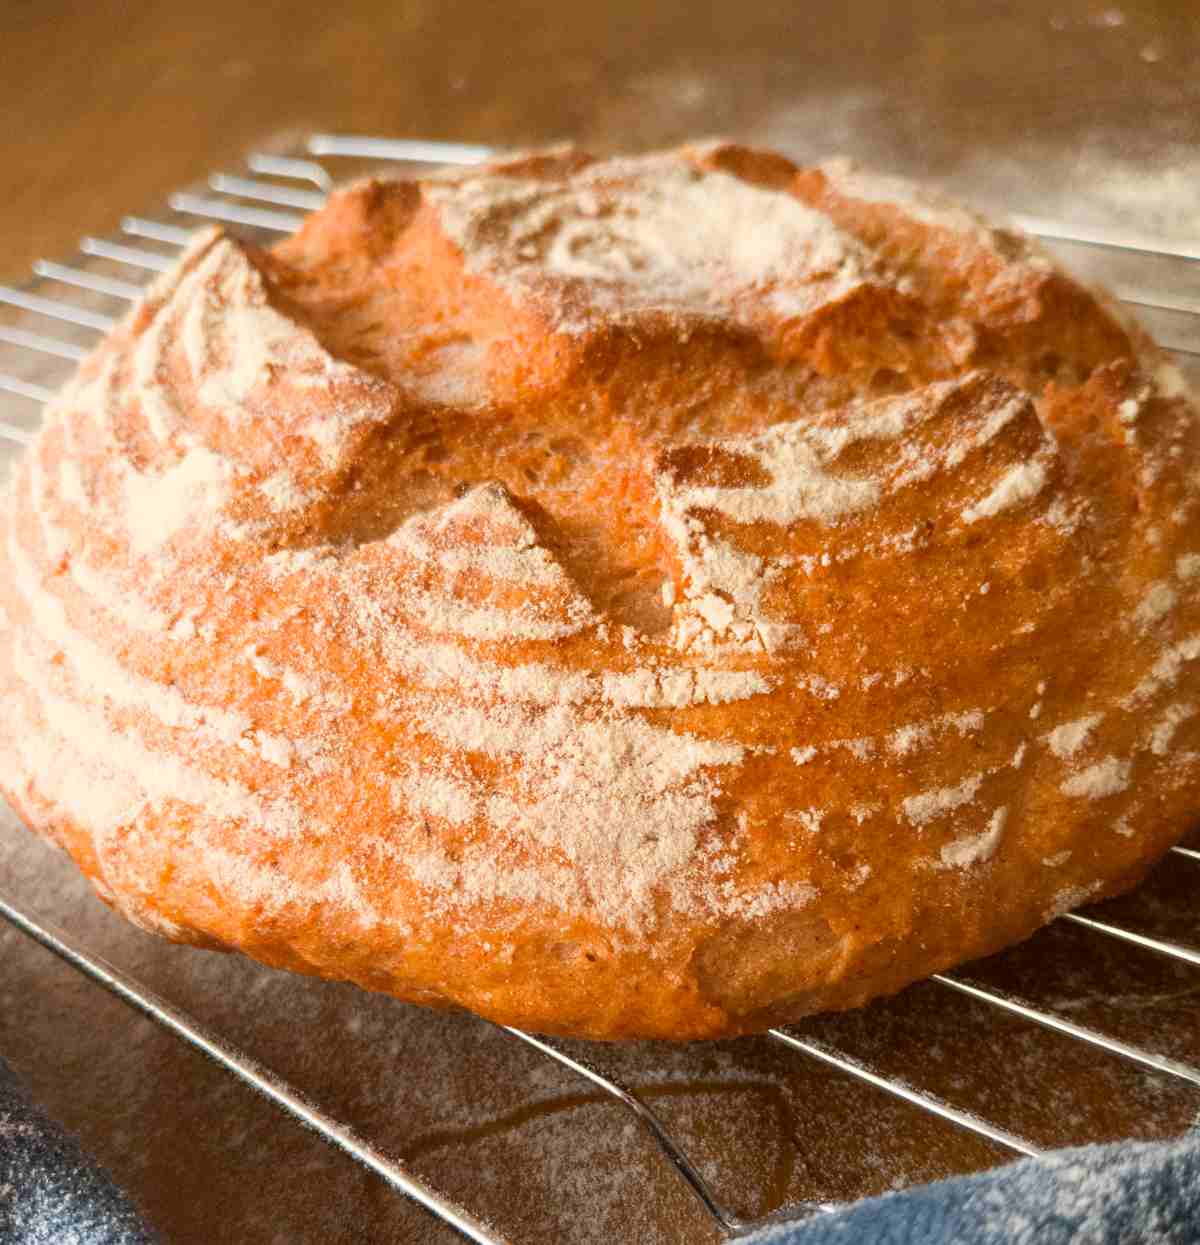
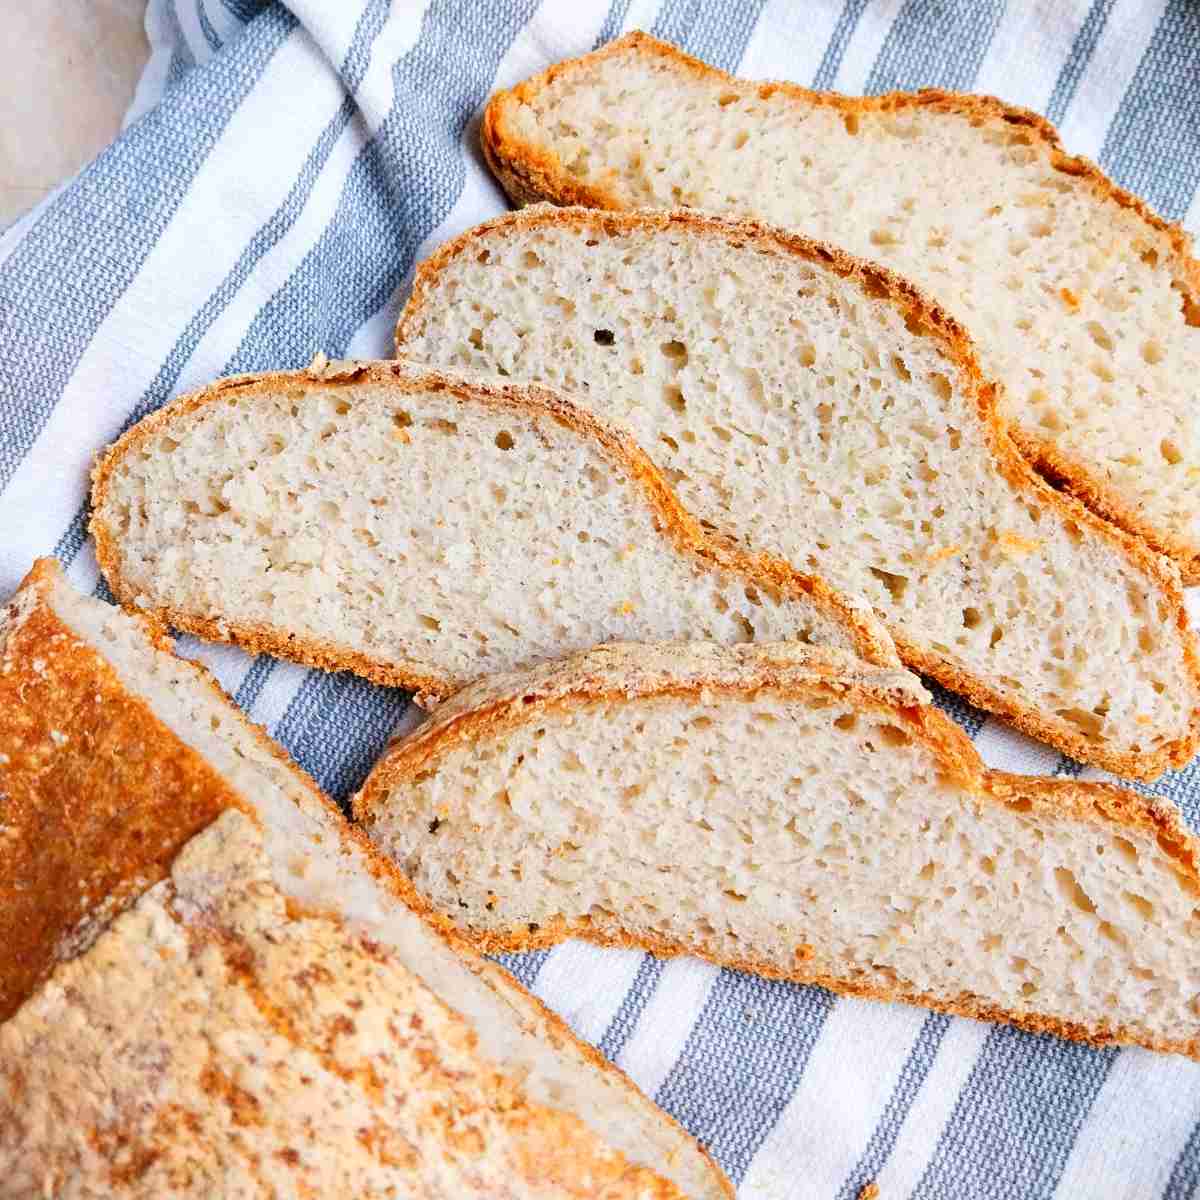
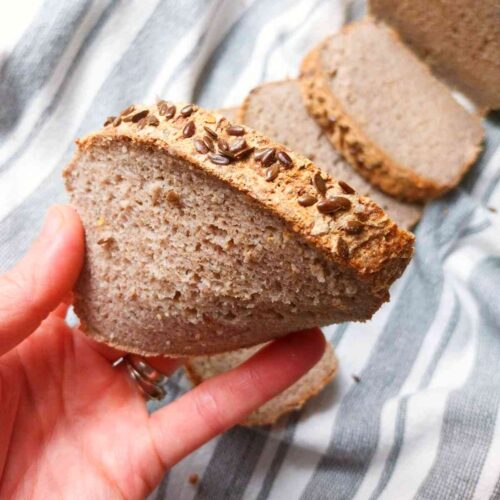
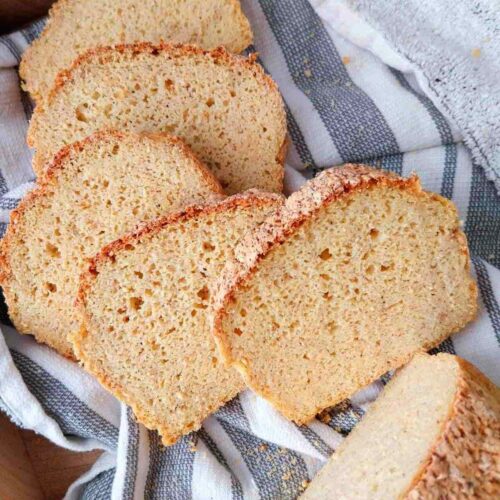
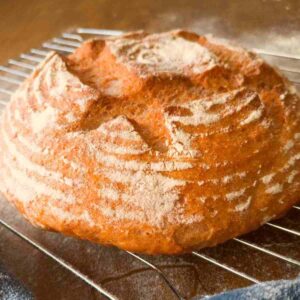
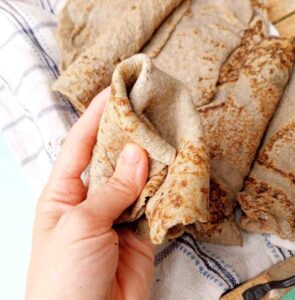
This no-knead gluten-free bread with psyllium husk is soft, moist, flexible, flavorful, and remarkably stable. It is also vegan and very easy to make. The soft and airy crumb is combined with the crunchy crust for the best bite!
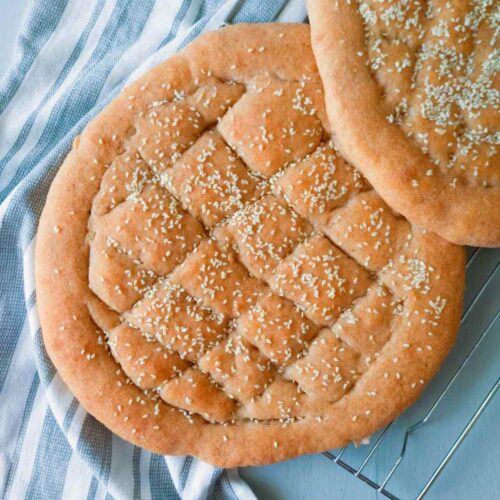
You can make garlic bread or toast the slices to serve along soups, in grilled cheese, or next to a side of fresh mozzarella salad!
Jump to:
Why You Will Love This Recipe
- Texture. Psyllium husk makes the bread incredibly soft and moist!
- Easy to shape. Thanks to psyllium husk, this bread shapes just like a regular loaf!
- No-knead. Since it is gluten-free, you only need to mix the dough, and it's ready for shaping! This method is similar to how I make my extra soft gluten-free Dutch oven loaf.
Whole Husks vs. Powder
When shopping for psyllium husk you will see an option for whole husks or powder. Powder is cheaper and easier to get while whole husks tend to cost a bit more and aren't as easy to find at a grocery store.
I prefer baking with whole husks because they don't clump in water (unlike psyllium powder), don't turn your bread purple (powder can do that depending on the type), and are simply easier to work with. Psyllium powder can be substituted for whole husks if necessary; in that case, you would only use 85% of the amount called for in the recipe!
Read my psyllium husk 101 article for more information and visuals.
Ingredients for Psyllium Bread
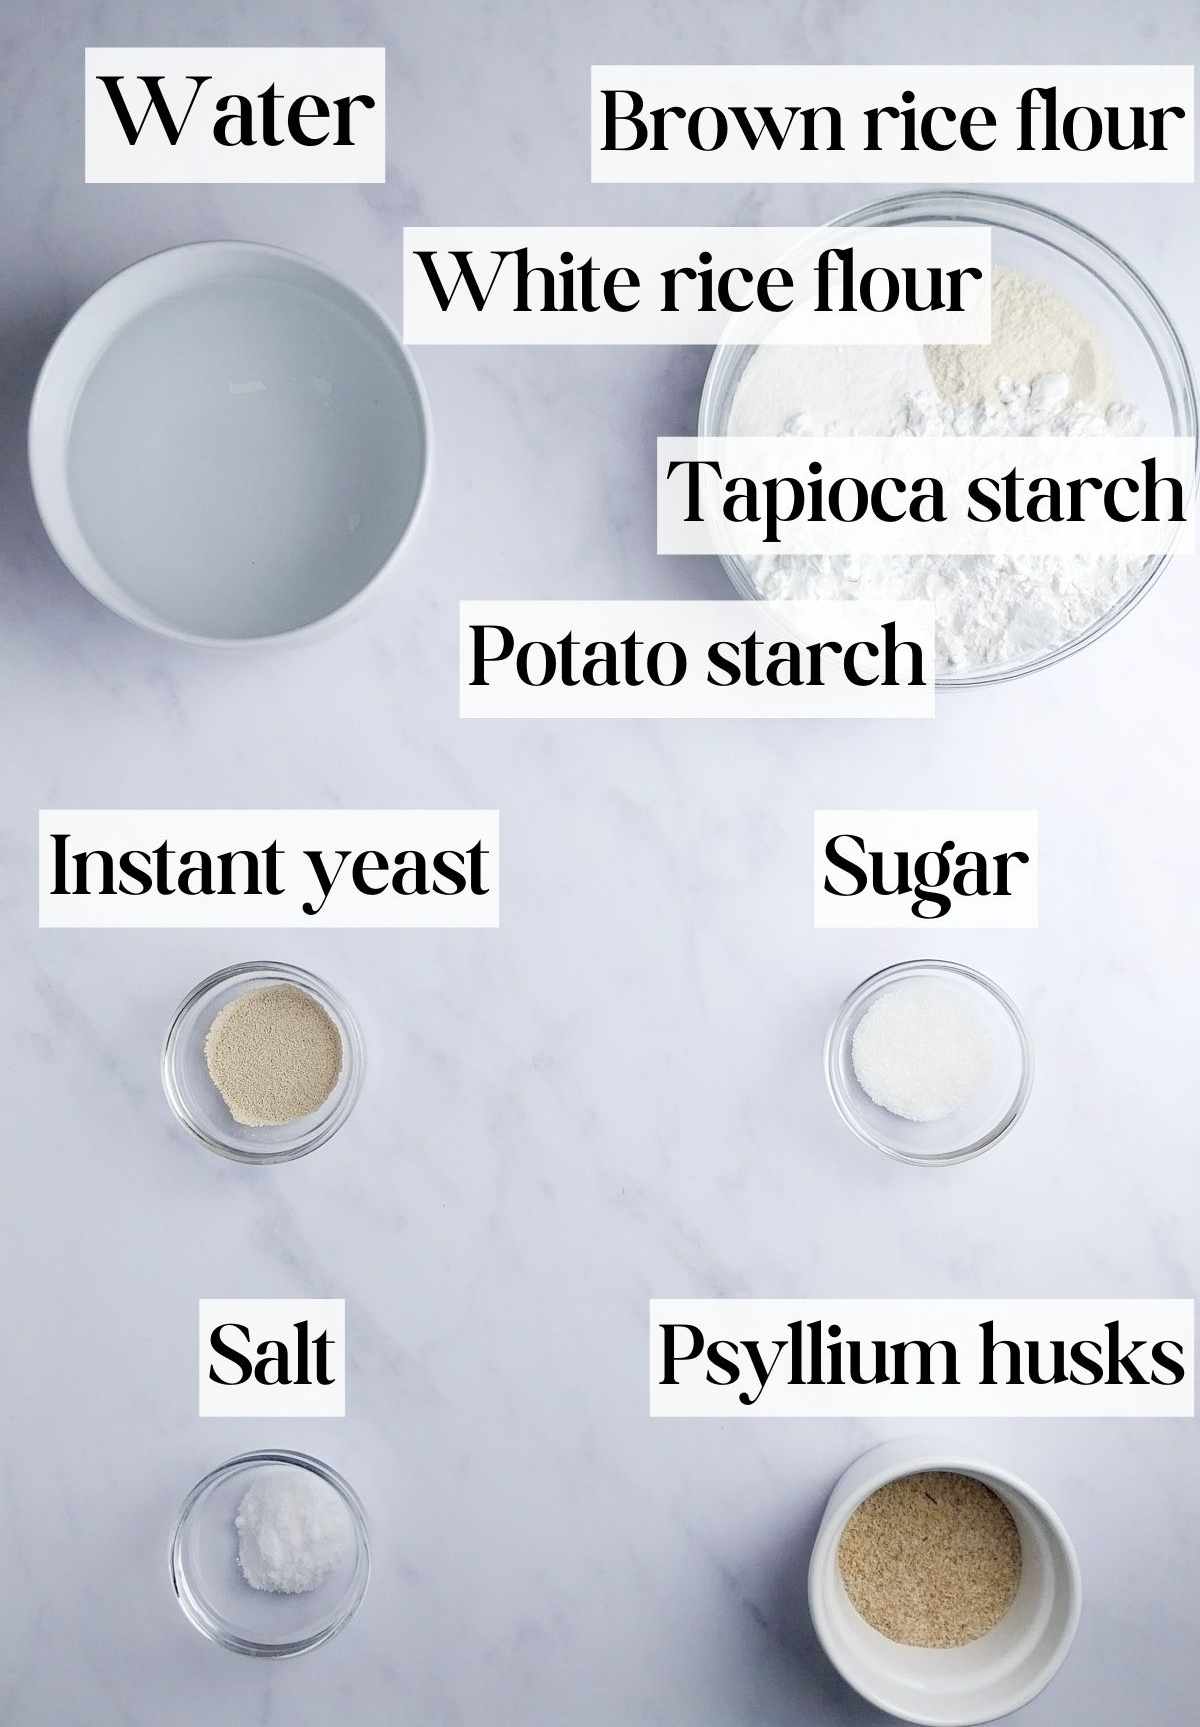
Psyllium husk - preferably use whole husks, but you can use psyllium powder if necessary (use 18g instead of 20g). Check out this psyllium husk guide if you are new to it!
Yeast - I prefer using instant yeast because it doesn't require activation before use.
Substitutes
Psyllium husk - there is no good substitute for psyllium husk! Xanthan gum will yield crumbly and dense bread, so it is not a good option to use in this recipe. Check out my konjac bread if you can't have psyllium.
Sugar - use maple syrup or honey instead.
Yeast - check my yeast-free gluten-free loaf if you can't have yeast! Alternatively, you can try making gluten-free sourdough bread as it uses home-grown natural gluten-free yeast.
Brown rice flour - use sorghum flour instead.
White rice flour - use buckwheat flour instead.
Tapioca starch can be substituted with arrowroot starch.
Potato starch can be swapped with cornstarch.
How to Make Psyllium Husk Bread
Step 1 - Make psyllium gel
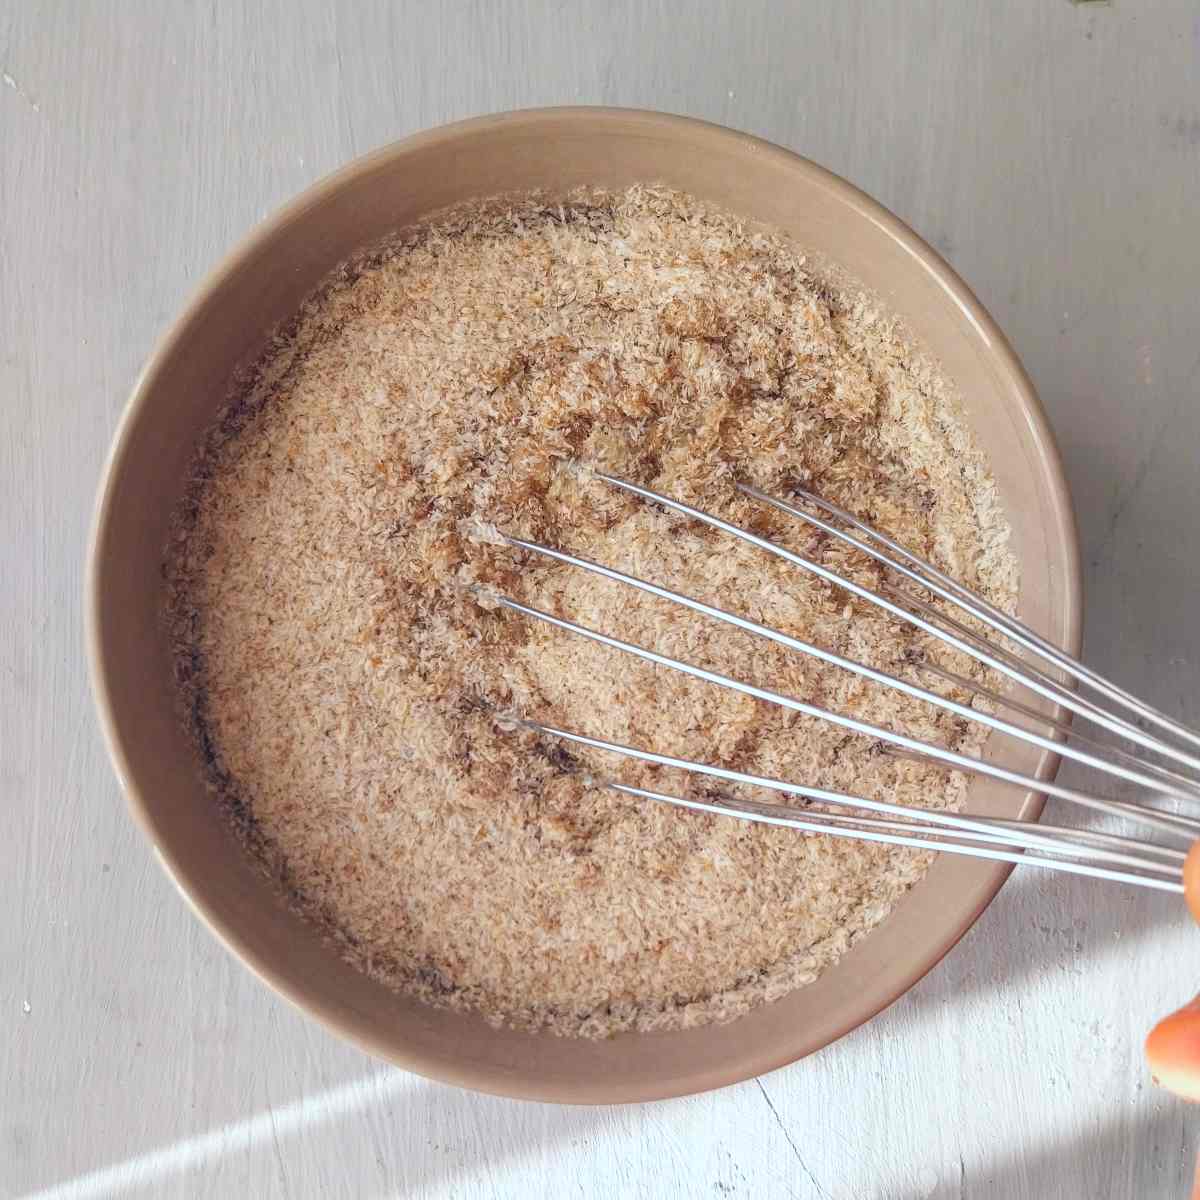
Combine whole psyllium husks, water, and sugar in a medium-sized bowl and whisk to incorporate. Set aside.
Step 2 - Mix the dry ingredients
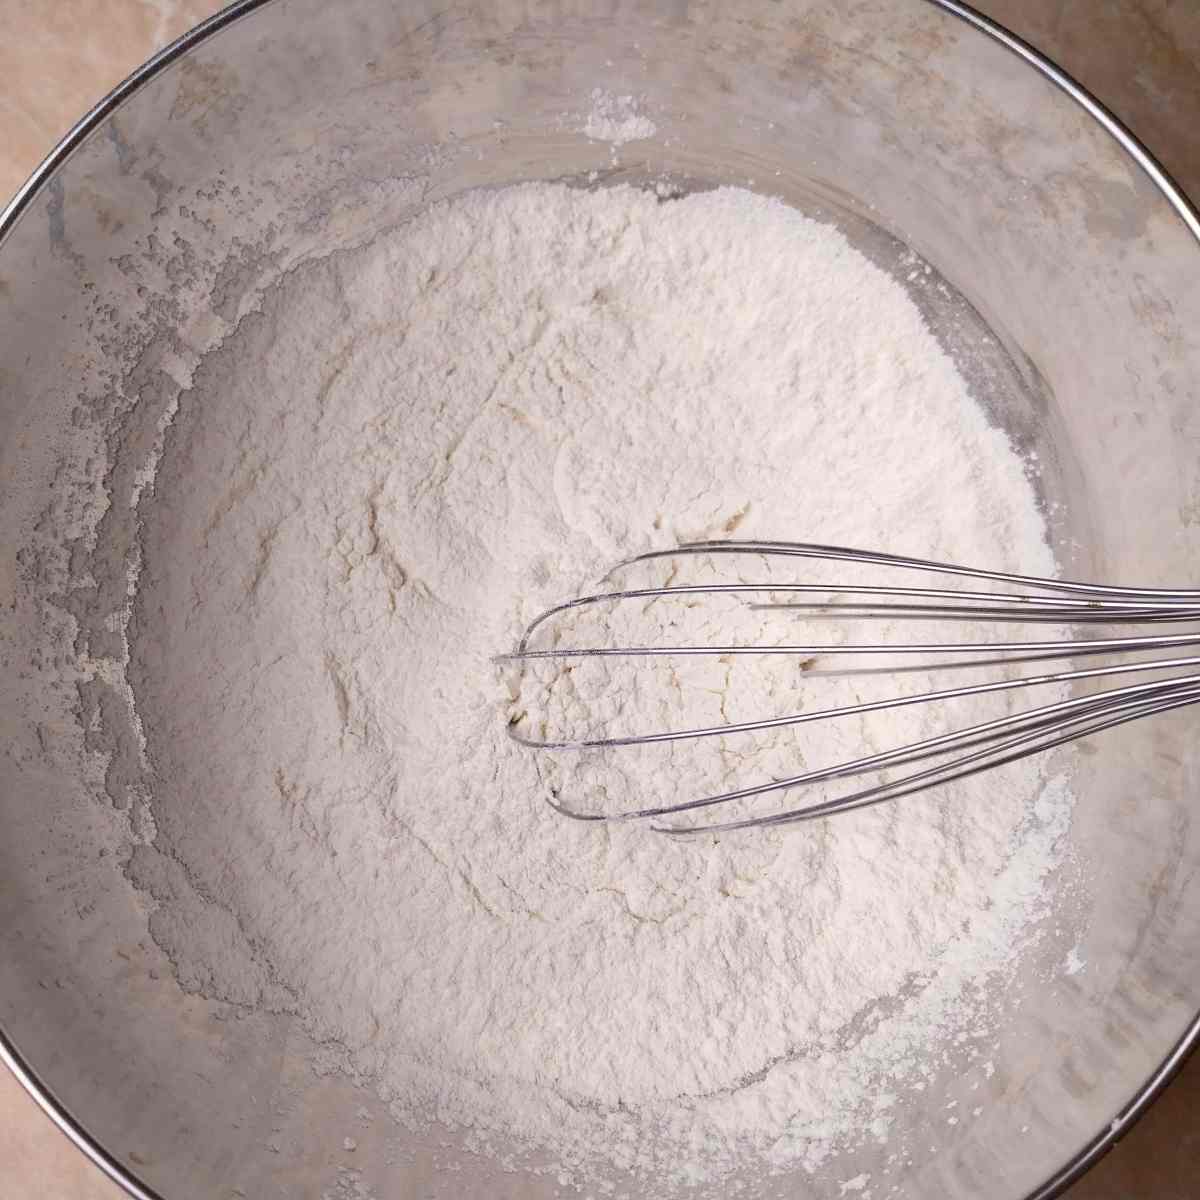
Add the dry ingredients to a large mixing bowl and whisk to incorporate.
Step 3 - Mix the dough
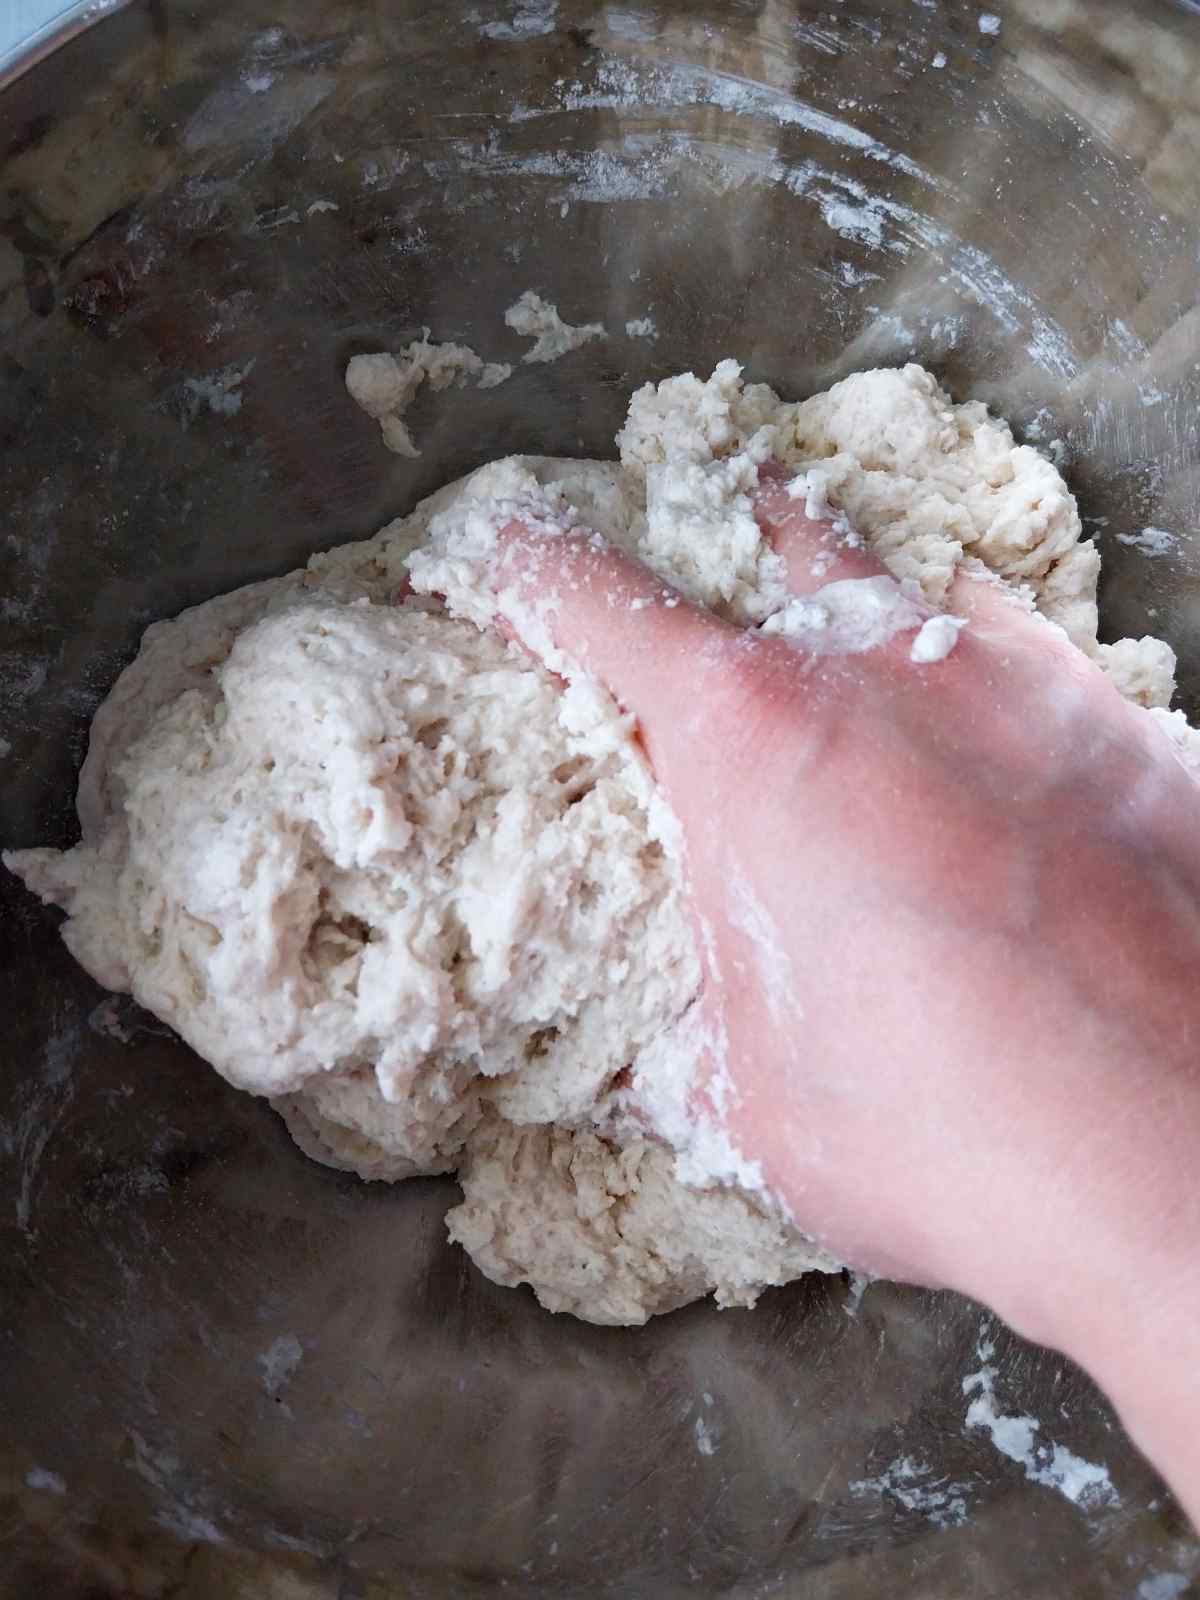
Once the psyllium husk turns into a gel (1-2 minutes), add it to the dry ingredients and mix the dough.
You can mix the dough by hand, with an electric mixer, or with a wooden spoon. It will be sticky but workable!
Step 4 - Shape the loaf
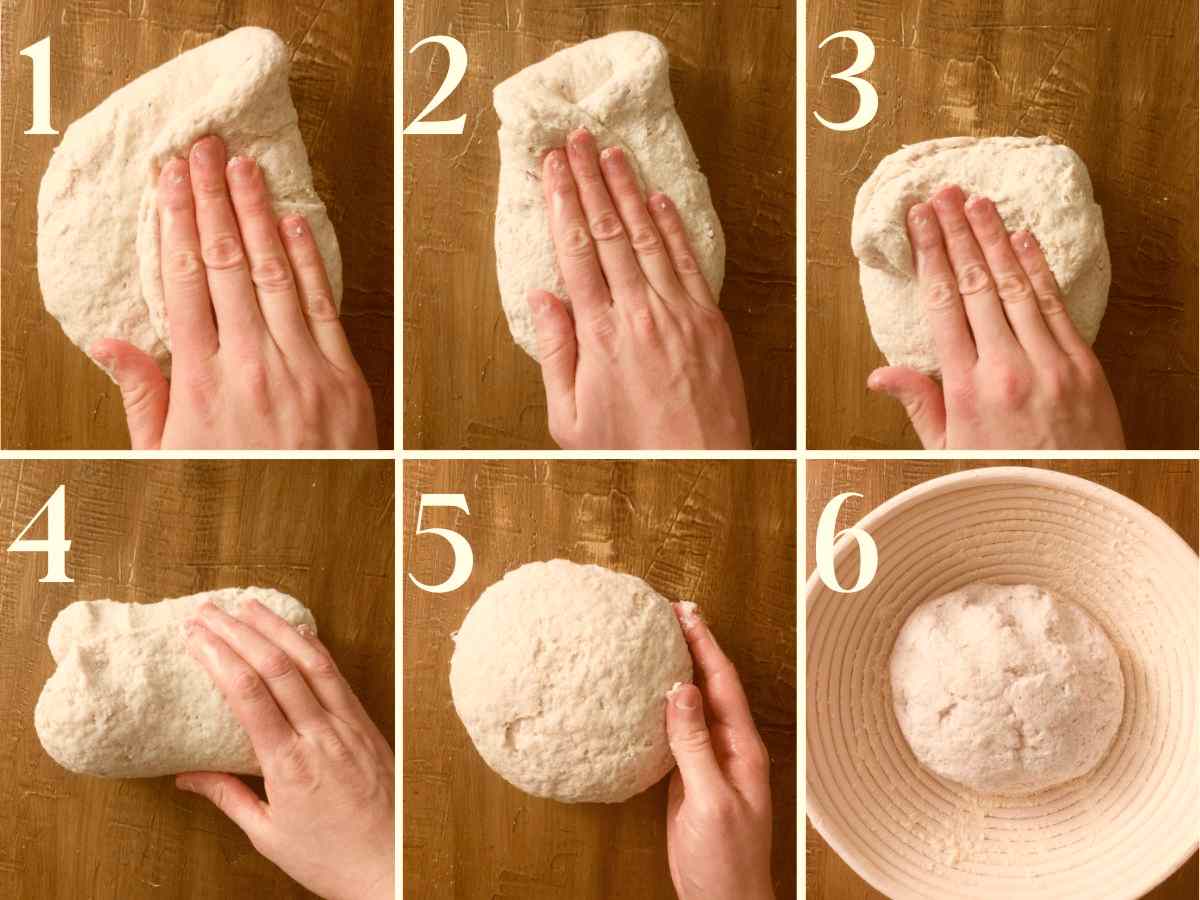
Transfer the dough onto a lightly floured working surface and flatten it into a disc. Shape the dough by folding each side of the dough disc onto its middle, then flip it.
Shape the dough into a ball by turning it around with your hands and tucking the sides under. See the pictures or video for visual instructions!
Place the dough into a floured proofing basket or a mixing bowl lined with a kitchen towel. If you are baking the bread in a bread pan, place it into the greased bread pan. Cover the dough with a kitchen towel.
Leave the dough to rise for about 30-60 minutes. Keep an eye on the bread; you don't want it to rise too high (or double in size) or it will fall during baking.
Step 5 - Bake
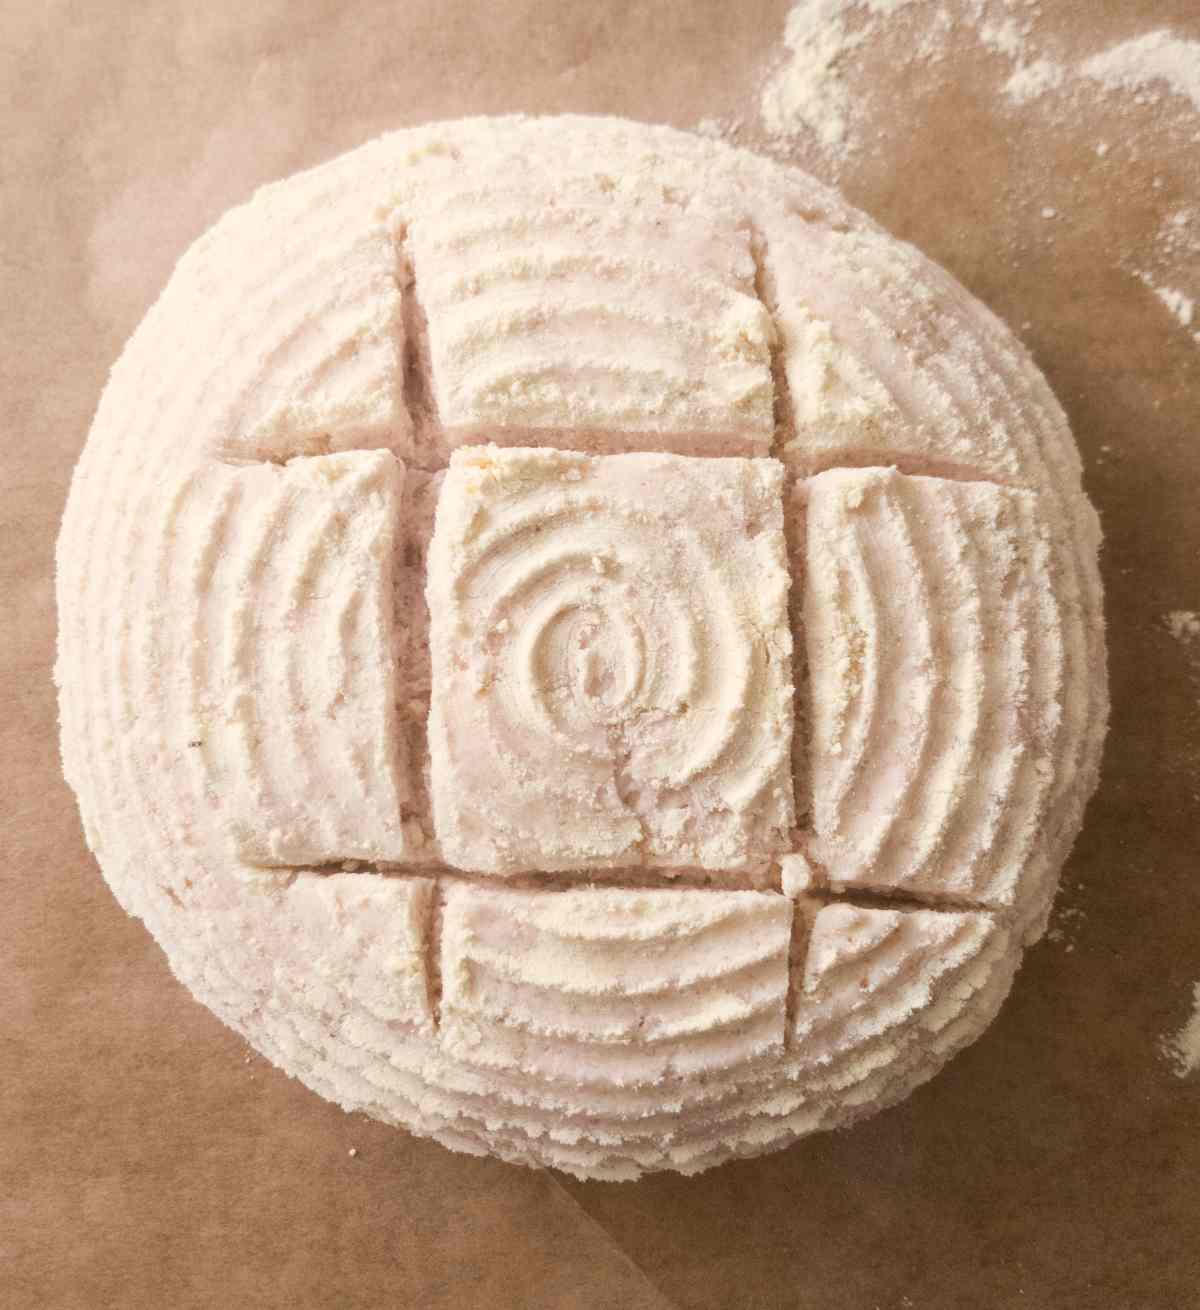
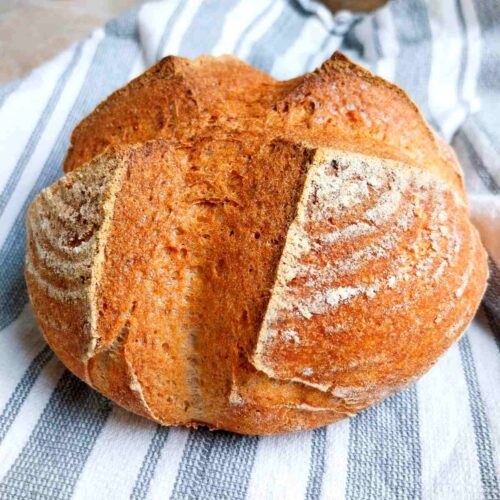
Once the loaf is done proofing, carefully transfer it onto a piece of parchment paper, score (cut the surface with a razor) about 1inch/2.5cm deep, and carefully lower the loaf into the Dutch oven (unless you're baking in a bread pan).
Place the lid onto the Dutch oven and transfer it to the oven. Start preheating the oven to 450°F/230°C. Once the oven is ready, start the timer and bake for 40 minutes.
Then, carefully remove the loaf from the Dutch oven, transfer it to the oven rack, lower the temperature to 350°F/180°C, and keep baking for another 30 minutes.
Let the bread cool completely (until no longer warm to the touch) and enjoy!
Expert Tips
- Yeast will do best if you use room temperature ingredients!
- Use a digital scale to ensure the best results.
- Grease your hands with oil to prevent the dough from sticking to them.
- Let the bread cool down completely (until no longer warm to the touch before slicing it.
- Proof the dough in the oven at 120°F/50°C to speed up the rising process!
Common Questions
I never tried making this recipe in a bread machine. However, here is a great collection of gluten-free bread machine recipes that work great!
In gluten-free bread, psyllium husk acts as a binder and moisturizer, helping to replicate the structure of wheat bread. While it does help "replace" gluten, combining it with xanthan gum is key to achieving a soft, fluffy texture - especially in recipes like this gluten-free sourdough.
Psyllium bread is gluten-free bread made with psyllium husk as a gluten substitute to provide structure, chewiness, and moisture to the loaf like in these fluffy buckwheat rolls.
Store bread with psyllium husk at room temperature in a bread bag or a container for 3-4 days, or slice and freeze for up to 3 months. Defrost in a microwave or thaw the slices at room temperature!
More Gluten-Free Recipes You Will Love!
Get my new
Gluten-Free Bread Recipes eBook
The top 26 recipes of 2026! Includes a bonus conversion chart for gluten-free flour.
Gluten-Free Bread With Psyllium Husk
Equipment
- dutch oven (a cast iron skillet or a regular bread pan will work, too!)
- 1 digital scale (strongly recommended)
Ingredients
Wet ingredients
- 20 grams whole psyllium husks if using powder, use 18 grams
- 435 grams water room temperature or warm
- 15 grams sugar or honey/maple syrup
Dry ingredients
- 100 grams brown rice flour or sorghum flour
- 100 grams white rice flour
- 100 grams tapioca starch or arrowroot starch
- 100 grams potato starch or cornstarch
- 12 grams salt
- 7 grams instant yeast
SAVE THIS RECIPE!💌
Instructions
- Combine whole psyllium husks, water, and sugar in a medium-sized bowl and whisk to incorporate. Set aside.20 grams whole psyllium husks, 435 grams water
- Add the dry ingredients to a large mixing bowl. Whisk to incorporate.15 grams sugar, 100 grams brown rice flour, 100 grams white rice flour, 100 grams tapioca starch, 100 grams potato starch, 12 grams salt, 7 grams instant yeast
- Once the psyllium husk turns into a gel (1-2 minutes), add it to the dry ingredients and mix the dough.You can mix the dough by hand, with an electric mixer, or with a wooden spoon. It will be sticky but workable!
- Transfer the dough onto a lightly floured working surface and flatten it into a disc. Shape the dough by folding each side of the dough disc onto its middle, then flip it.Shape the dough into a ball by turning it around with your hands and tucking the sides under. See the pictures in the post or the video down below for visual instructions!
- Place the dough into a floured proofing basket or a mixing bowl lined with a kitchen towel. If you are baking the bread in a bread pan, place it into the greased bread pan. Cover the dough with a kitchen towel.Leave the dough to rise for about 30-60 minutes in a draft-free area. Keep an eye on the bread, you don't want it to rise too high (or double in size) or it will fall during baking.
- Once the loaf is done proofing, carefully transfer it onto a piece of parchment paper, score (cut the surface with a razor) about 1inch/2.5cm deep, and carefully lower the loaf into the Dutch oven (unless you're baking in a bread pan).Place the lid onto the Dutch oven and transfer it into the oven. Start preheating the oven to 450F/230C. Once the oven is ready, start the timer and bake for 40 minutes. Then, carefully remove the loaf from the Dutch oven, transfer it to the oven rack, lower the temperature to 350F/180C, and keep baking for another 30 minutes.
- Let the bread cool completely (until no longer warm to the touch) and enjoy!
Video
Notes
- Yeast will do best if you use room temperature ingredients!
- Use a digital scale to ensure the best results.
- Grease your hands with oil to prevent the dough from sticking to them.
- Let the bread cool down completely (until no longer warm to the touch before slicing it.
- Proof the dough in the oven at 120°F/50°C to speed up the rising process!

Suneeta Rana says
Can I use this recipe in OTG?
Natasha Levai says
Hi Rana! What is OTG?
Suneeta Rana says
Hi! OTG is electric oven, I don't have dutch oven.
Natasha Levai says
Hi Suneeta! I have never tried baking in an OTG oven, so wouldn't be able to help!
Victoria says
I made this in a loaf pan and was saddened to get a sticky, gluey loaf. Any attempts to slice it caused the loaf to start to collapse and the knife to get gummed up. I chalked it up to a failure and set the load aside.
Two days later, I went back for another slice because it was the only bread in the house. WOW. The tackiness was gone, and a springy bread-like loaf was in its place. My husband and I (gluten eaters) were shocked that it basically tasted like the dense bread machine loaves we grew up on, and our daughter (Celiac) declared it “da yummiest bwead ever.”
From now on, I’m going to bake the loaves at least two days in advance and let them rest before slicing. If you’re disappointed with the initial result, don’t toss it, just wait!
Terry says
Hi!
If I am using a std bread pan, do I follow same instructions as for using Dutch oven.
Thank you for this amazing recipe.
Terry
Natasha Levai says
Hi Terry! If you usea bread pan, you can follow the same instructions and adjust if the crust ends up too hard.
Manuela says
Hi there.
was wondering if you have any substitute flour options? for both flours?
Natasha Levai says
Hi Manuela! You can definitely try different flours. The only thing that will need to be adjusted is the amount of water. Your dough needs to be sticky but workable, not too dry, not too wet. I recommend experimenting with adding/reducing water and seeing how it turns out.
Jessica says
Hi,
Can I use double the tapioca or arrowroot instead of the potato starch? I do not eat any white potato anything.
Thanks!!
Natasha Levai says
Yes, you can!
Pam Ryan says
Hi!
Can I use 1:1 gluten free flour instead of all the other flours?
Natasha Levai says
Hi Pam! Yes, it is possible but the water amount might change depending on the flour build up. I recommend trying the recipe as it is written and then you will be able to understant what to look for when using another 1:1 flour.
Maria says
Can't wait to try this recipe. Which brown rice are you using ( super fine or regular)?
Natasha Levai says
Hi Maria! I always use super fine brown rice flour!
Kim A. Stauffer says
If I put my dough into a sandwich loaf pan, do I still need to put it in a Dutch oven?
Natasha Levai says
Hi Kim! If you bake your bread in a sandwich loaf, you don't need to use a Dutch oven. I don't recommend a sandwich loaf pan for this recipe as it makes the bread much denser. I would rather recommend this recipe in a loaf pan: https://www.natashashome.com/gluten-free-dutch-oven-bread/
JJ says
Do you have a reco for a vegan version in a loaf pan? just use this one? We also have to avoid dairy and egg so I feel like I'm on the forever hunt.
Natasha Levai says
This one is vegan and works in a loaf pan! Bake the same, just in a loaf pan. If the crust is too hard or burns, adjust the baking temp/time.
Val says
Is the recipe correct that you put the unbaked loaf in a cold oven, then heat?
Natasha Levai says
Hi Val! Yes, this has been my practice, althouhg you can preheat your oven if you feel more comfortable baking that way.