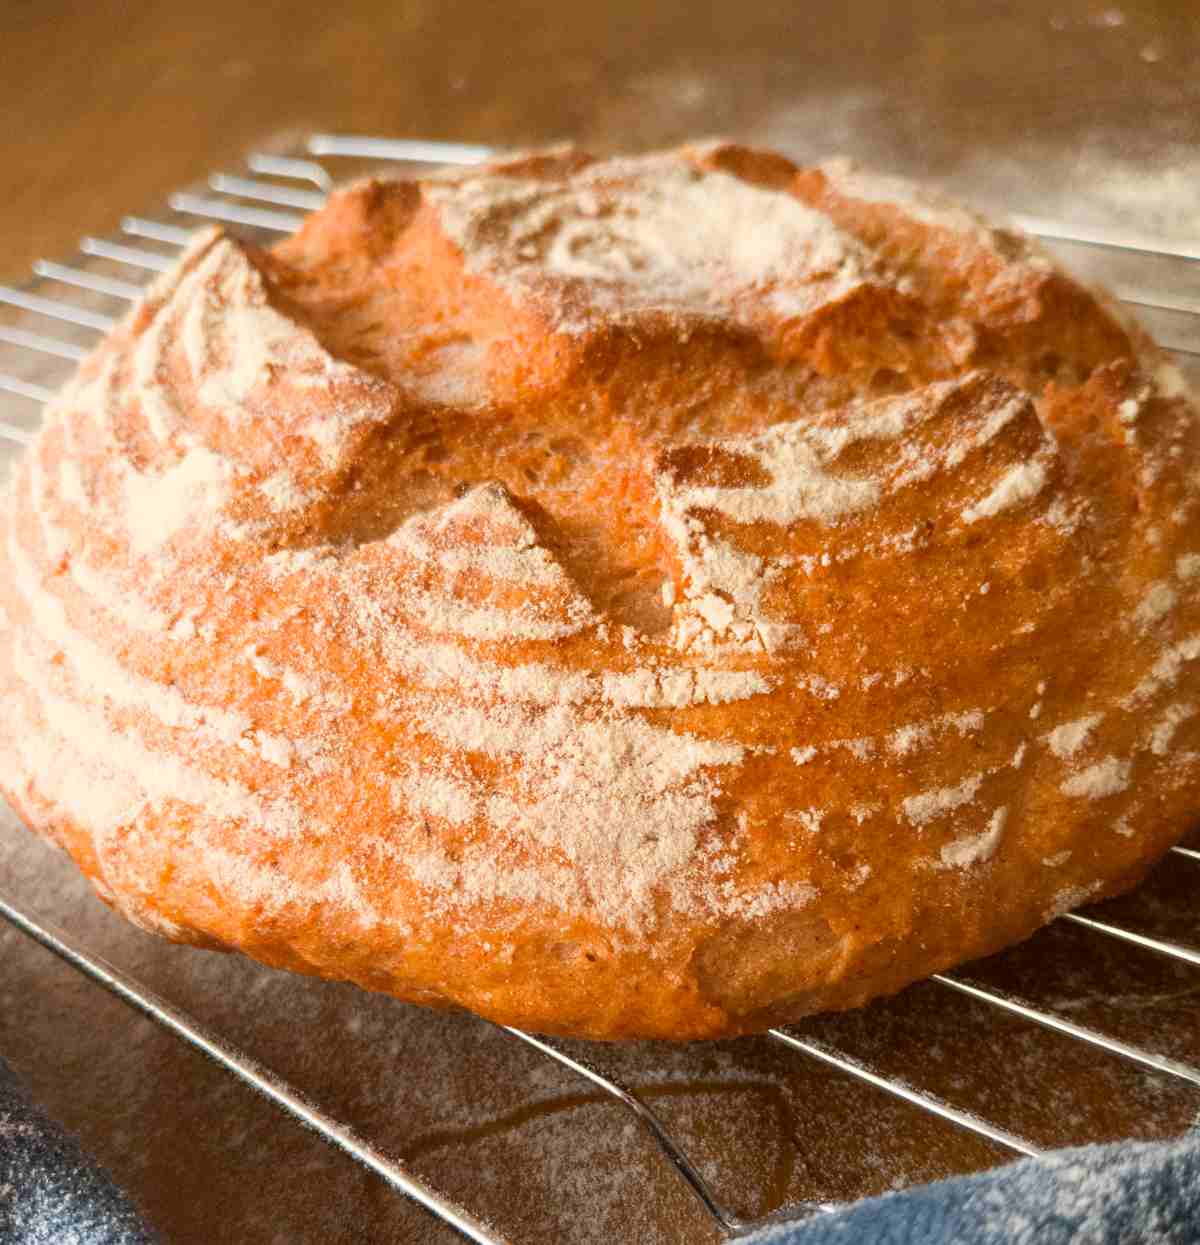
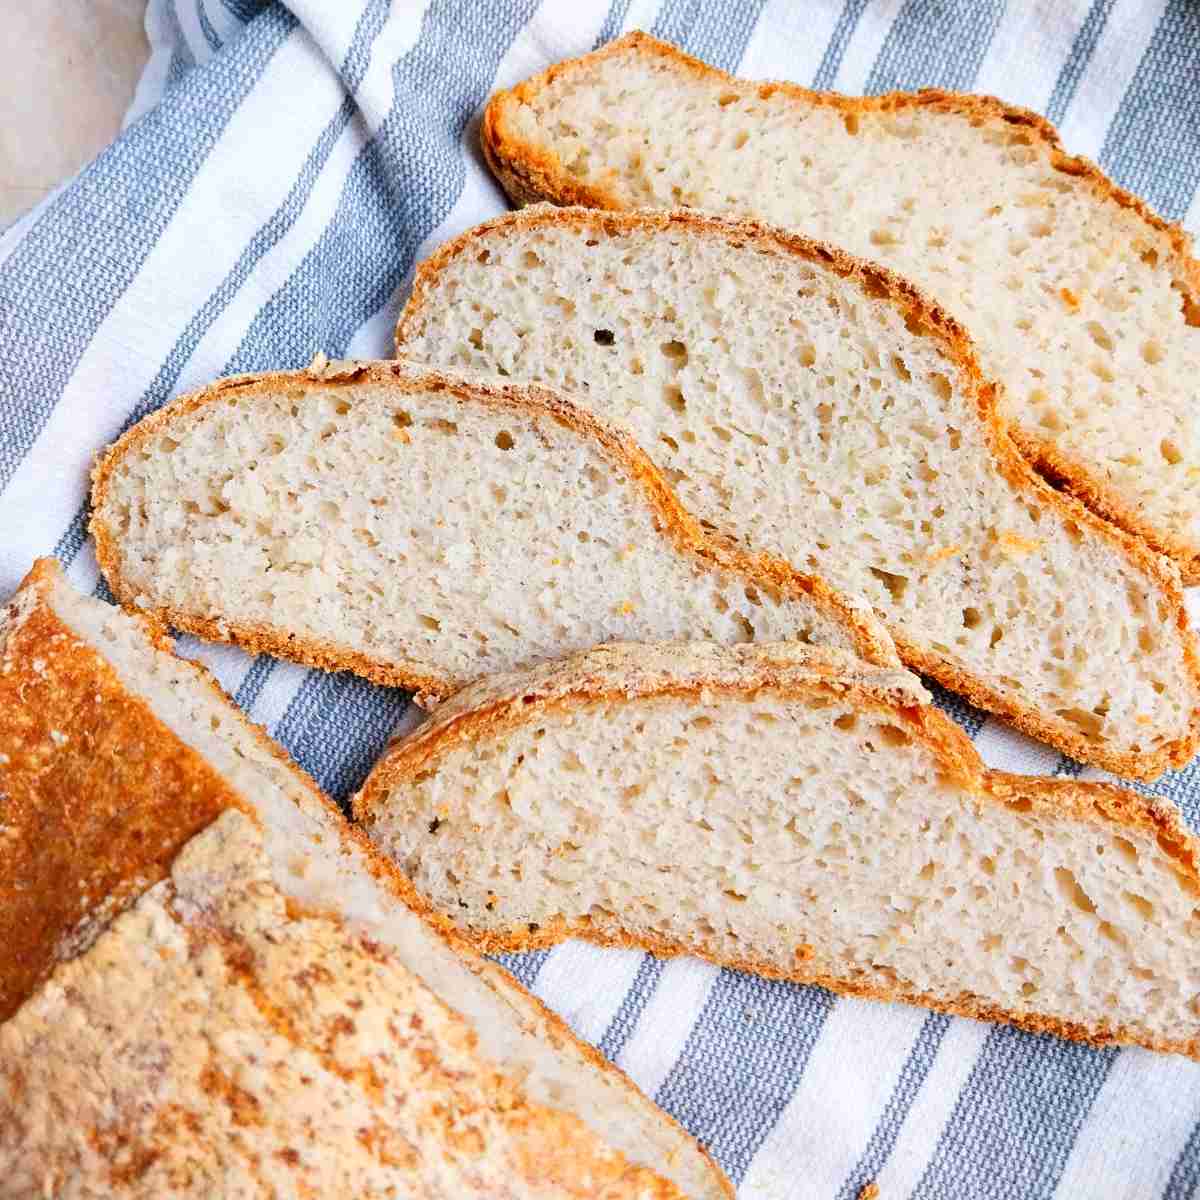
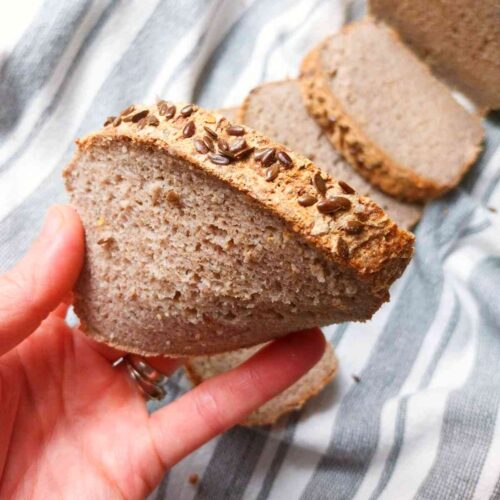
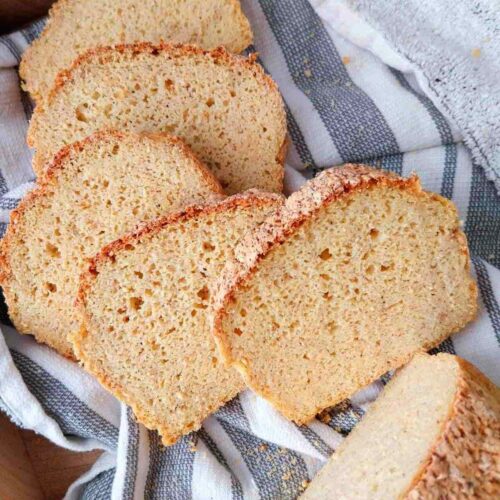
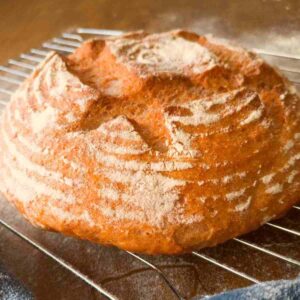
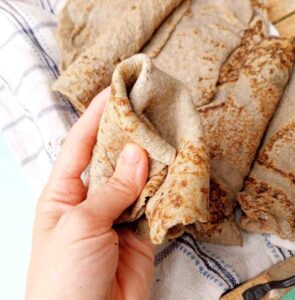
This no-knead gluten-free bread with psyllium husk is soft, moist, flexible, flavorful, and remarkably stable. It is also vegan and very easy to make. The soft and airy crumb is combined with the crunchy crust for the best bite!
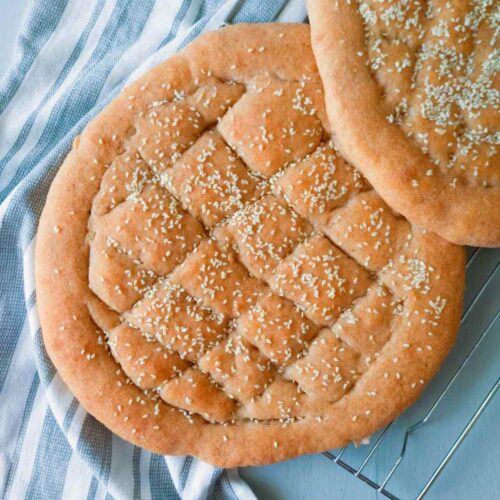
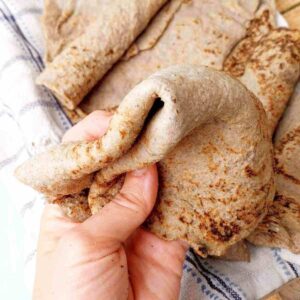
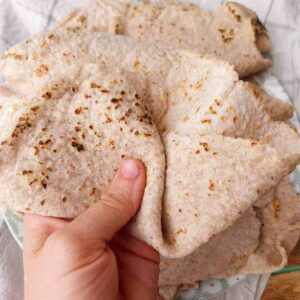
You can make garlic bread or toast the slices to serve along soups, in grilled cheese, or next to a side of fresh mozzarella salad!
Jump to:
Why You Will Love This Recipe
- Texture. Psyllium husk makes the bread incredibly soft and moist!
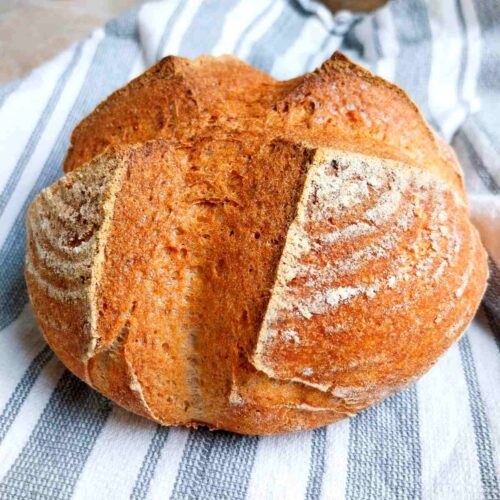
- Easy to shape. Thanks to psyllium husk, this bread shapes just like a regular loaf!
- No-knead. Since it is gluten-free, you only need to mix the dough, and it's ready for shaping! This method is similar to how I make my extra soft gluten-free Dutch oven loaf.
Whole Husks vs. Powder
When shopping for psyllium husk you will see an option for whole husks or powder. Powder is cheaper and easier to get while whole husks tend to cost a bit more and aren't as easy to find at a grocery store.
I prefer baking with whole husks because they don't clump in water (unlike psyllium powder), don't turn your bread purple (powder can do that depending on the type), and are simply easier to work with. Psyllium powder can be substituted for whole husks if necessary; in that case, you would only use 85% of the amount called for in the recipe!
Read my psyllium husk 101 article for more information and visuals.
Ingredients for Psyllium Bread
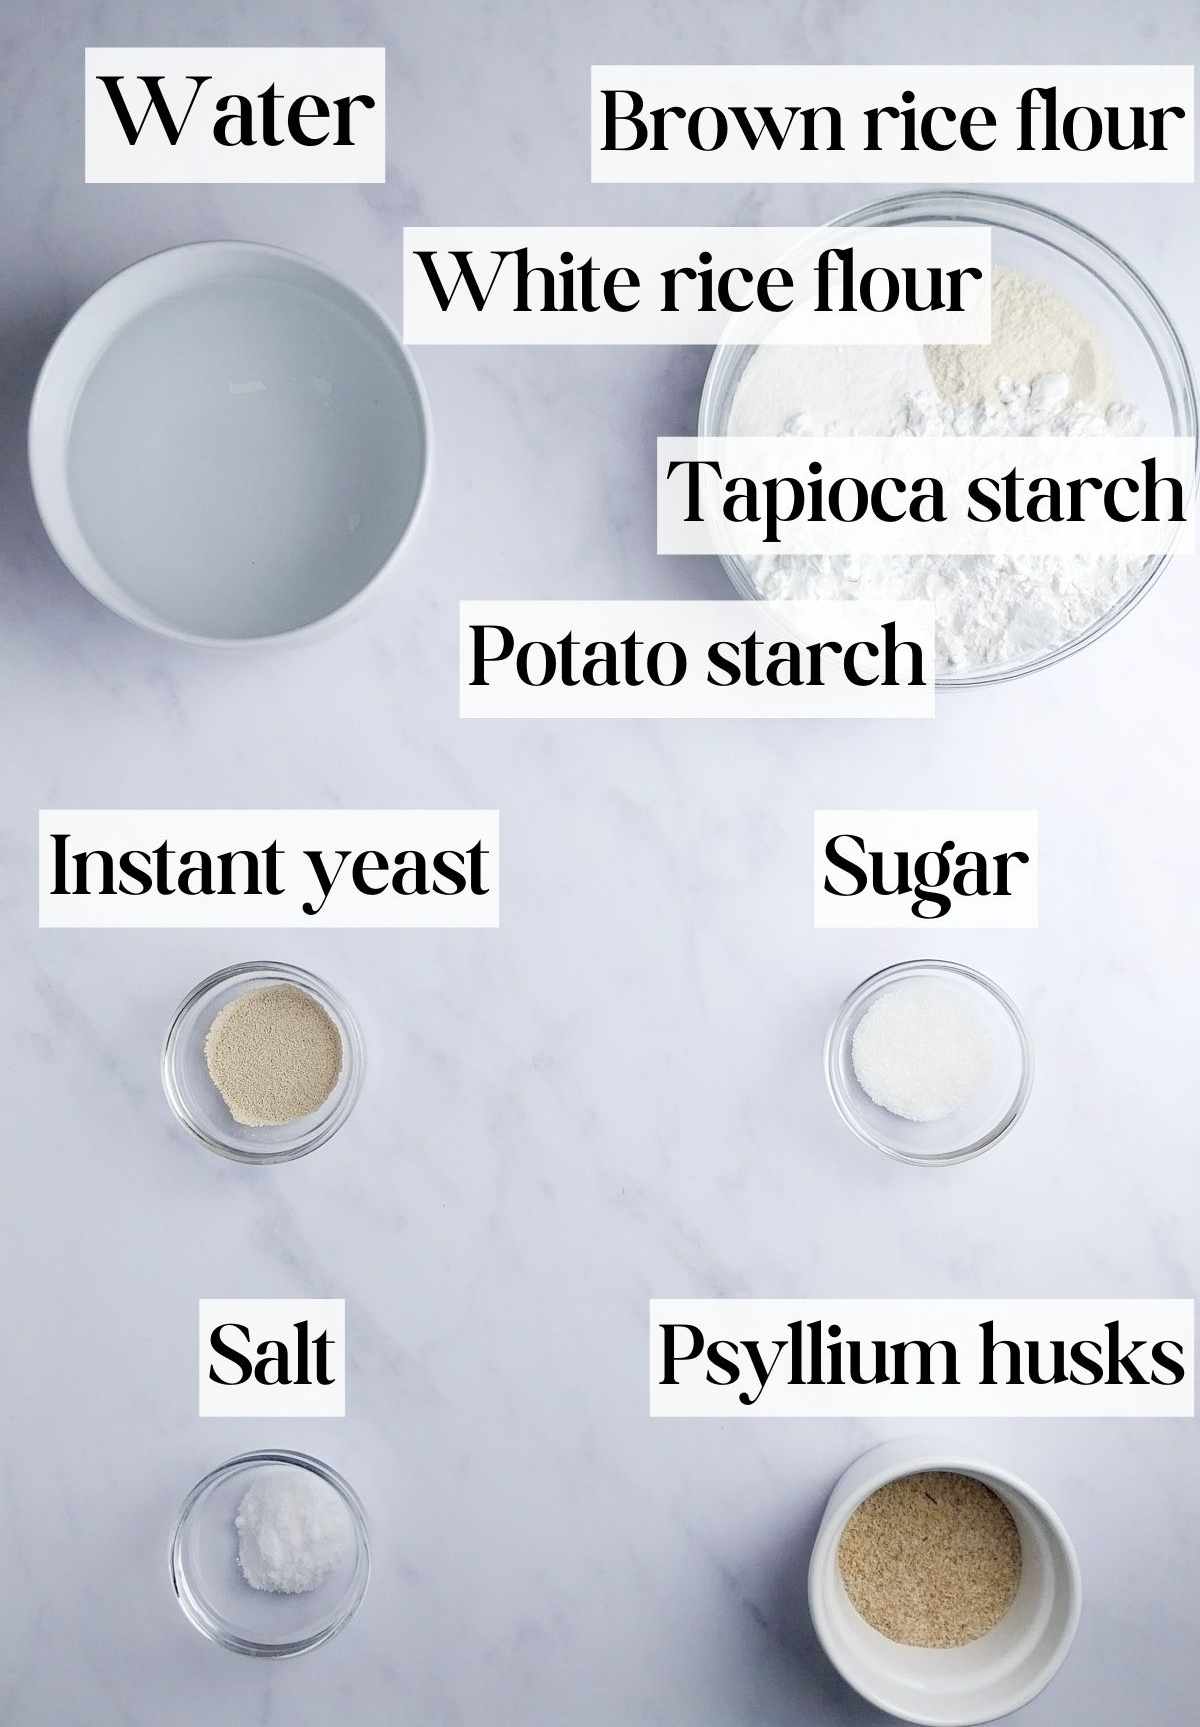
Psyllium husk - preferably use whole husks, but you can use psyllium powder if necessary (use 18g instead of 20g). Check out this psyllium husk guide if you are new to it!
Yeast - I prefer using instant yeast because it doesn't require activation before use.
Substitutes
Psyllium husk - there is no good substitute for psyllium husk! Xanthan gum will yield crumbly and dense bread, so it is not a good option to use in this recipe. Check out my konjac bread if you can't have psyllium.
Sugar - use maple syrup or honey instead.
Yeast - check my yeast-free gluten-free loaf if you can't have yeast! Alternatively, you can try making gluten-free sourdough bread as it uses home-grown natural gluten-free yeast.
Brown rice flour - use sorghum flour instead.
White rice flour - use buckwheat flour instead.
Tapioca starch can be substituted with arrowroot starch.
Potato starch can be swapped with cornstarch.
How to Make Psyllium Husk Bread
Step 1 - Make psyllium gel
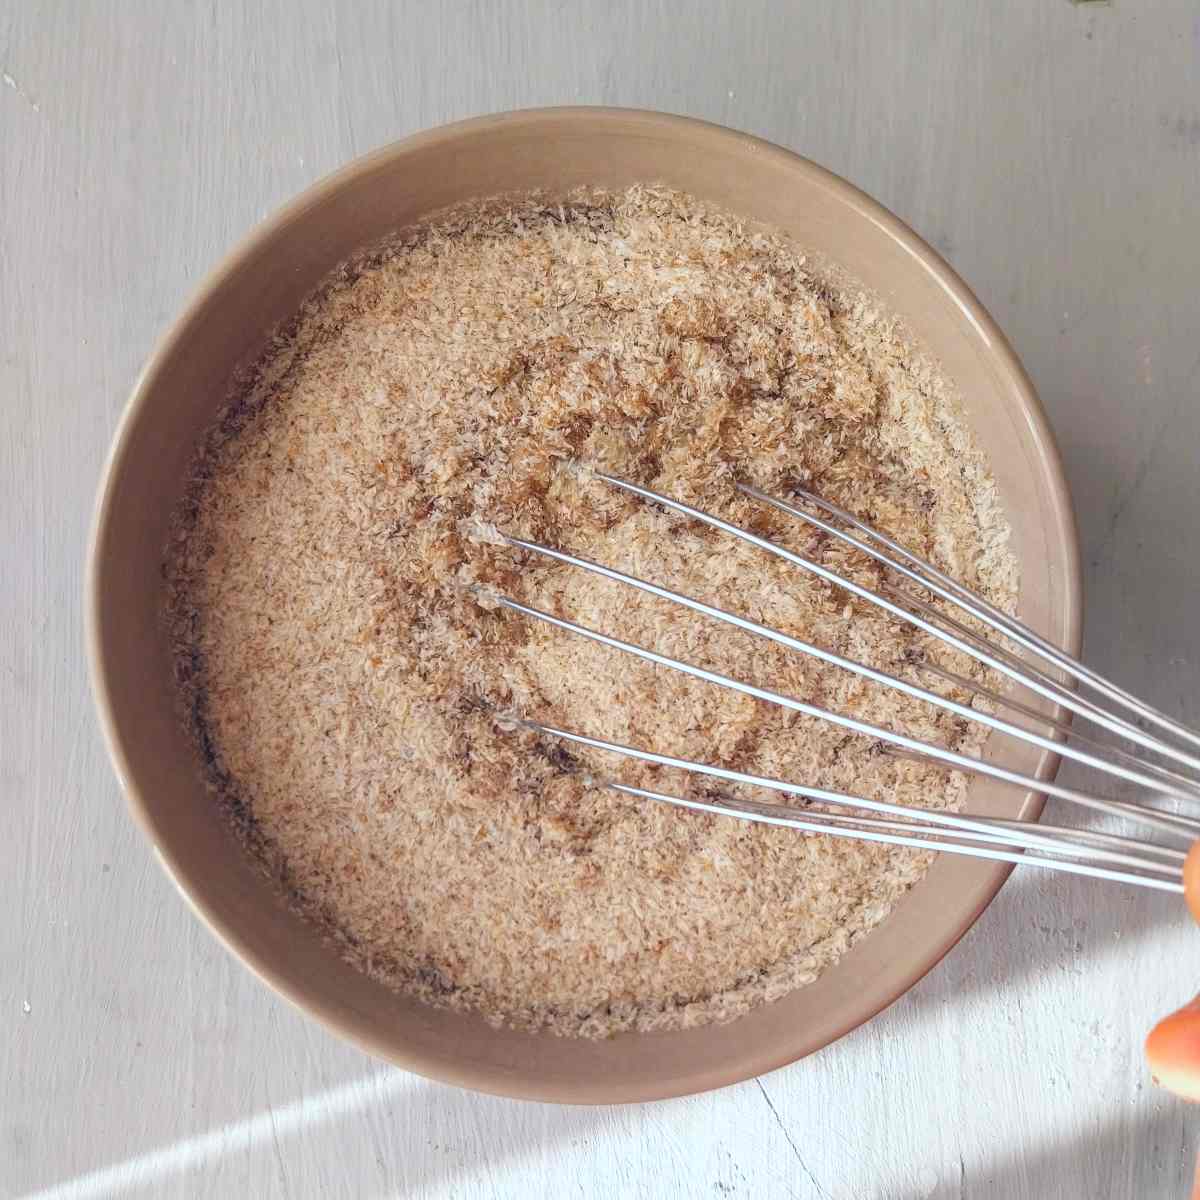
Combine whole psyllium husks, water, and sugar in a medium-sized bowl and whisk to incorporate. Set aside.
Step 2 - Mix the dry ingredients
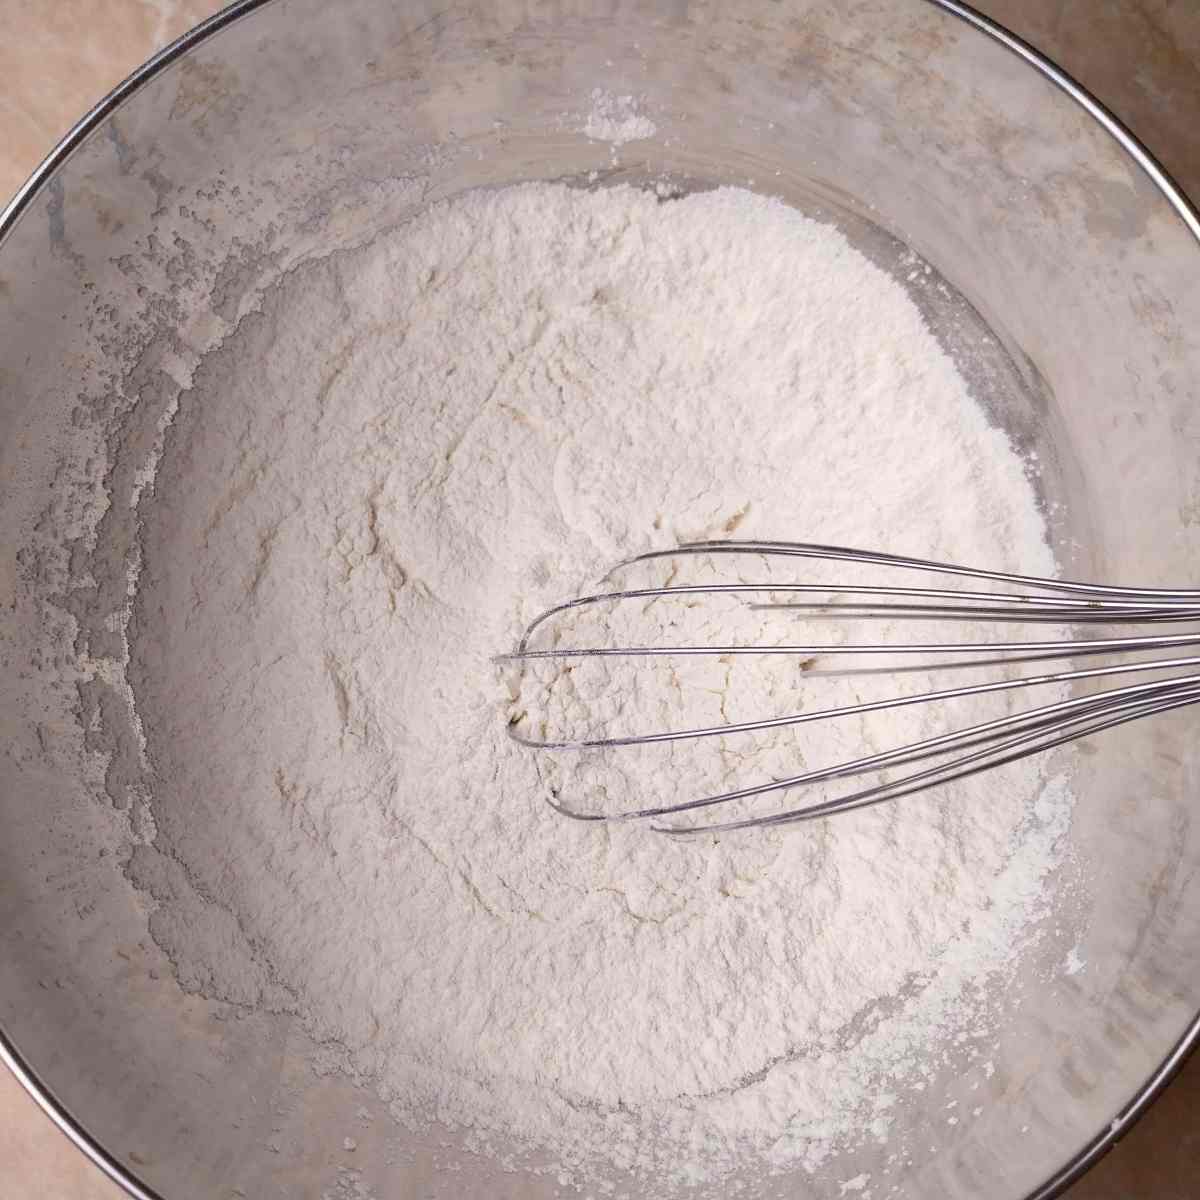
Add the dry ingredients to a large mixing bowl and whisk to incorporate.
Step 3 - Mix the dough
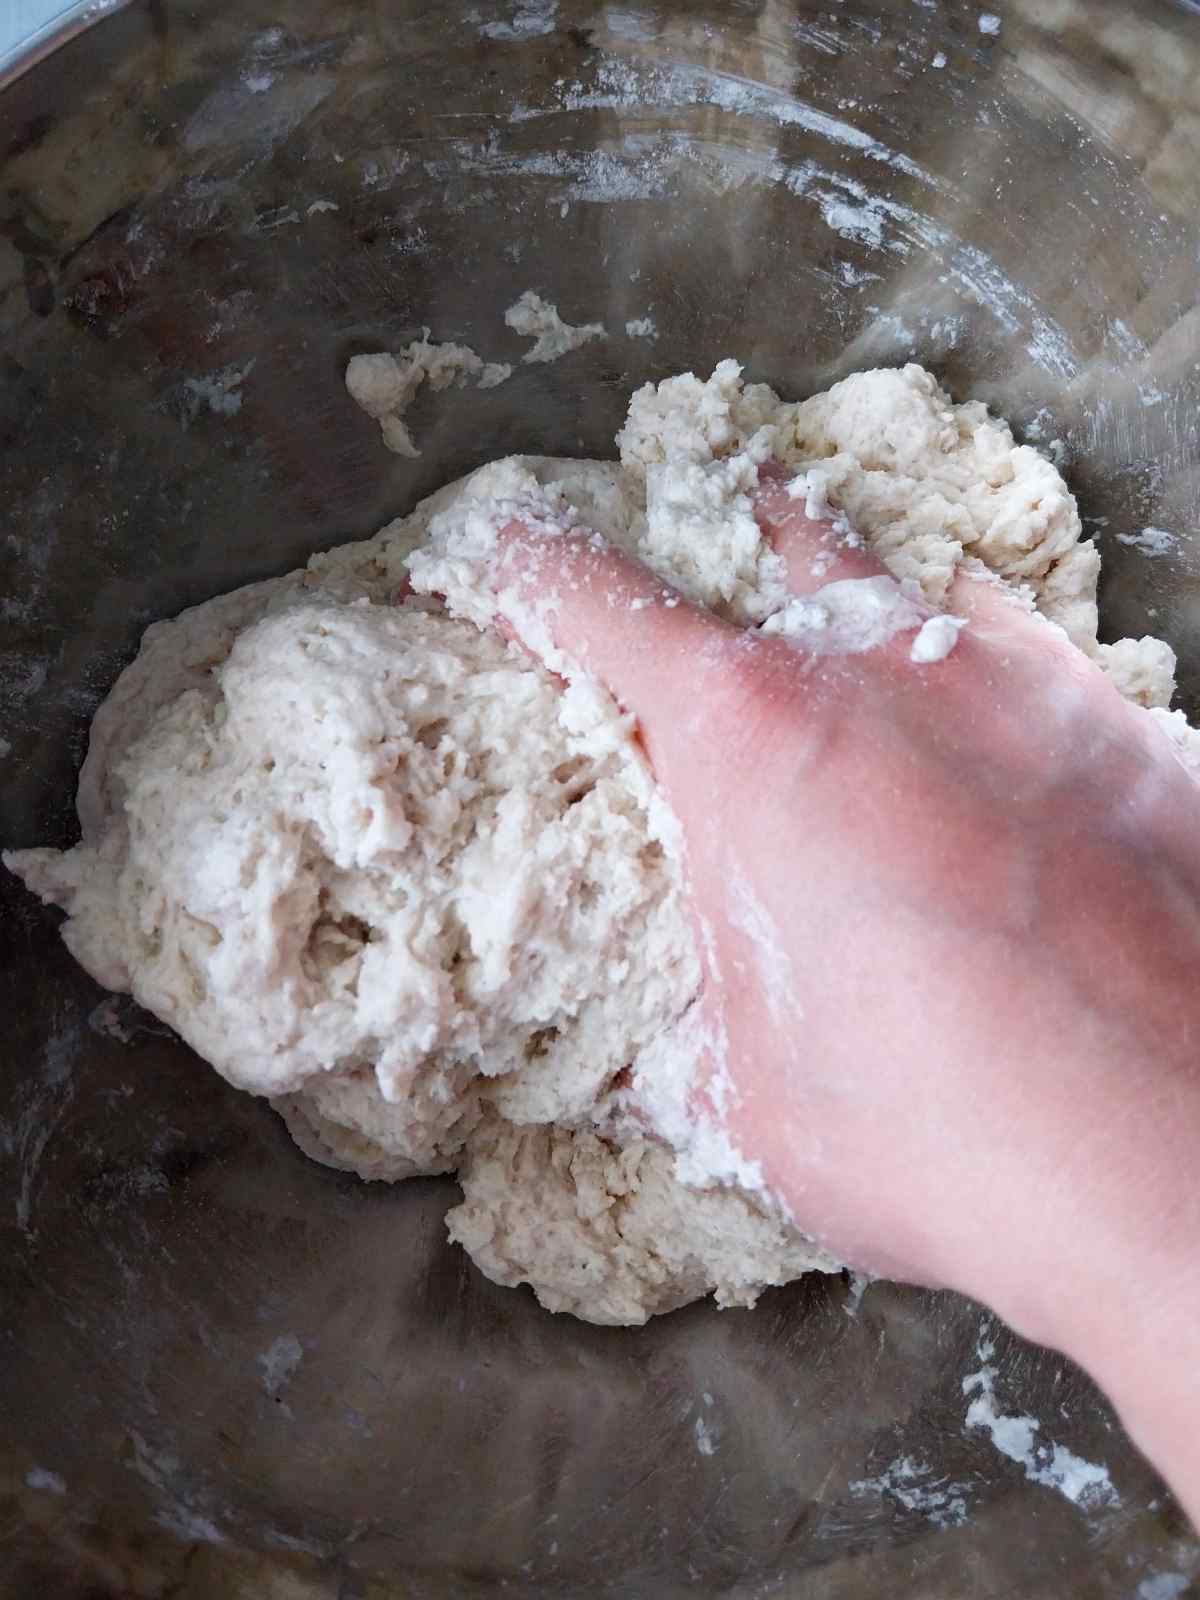
Once the psyllium husk turns into a gel (1-2 minutes), add it to the dry ingredients and mix the dough.
You can mix the dough by hand, with an electric mixer, or with a wooden spoon. It will be sticky but workable!
Step 4 - Shape the loaf
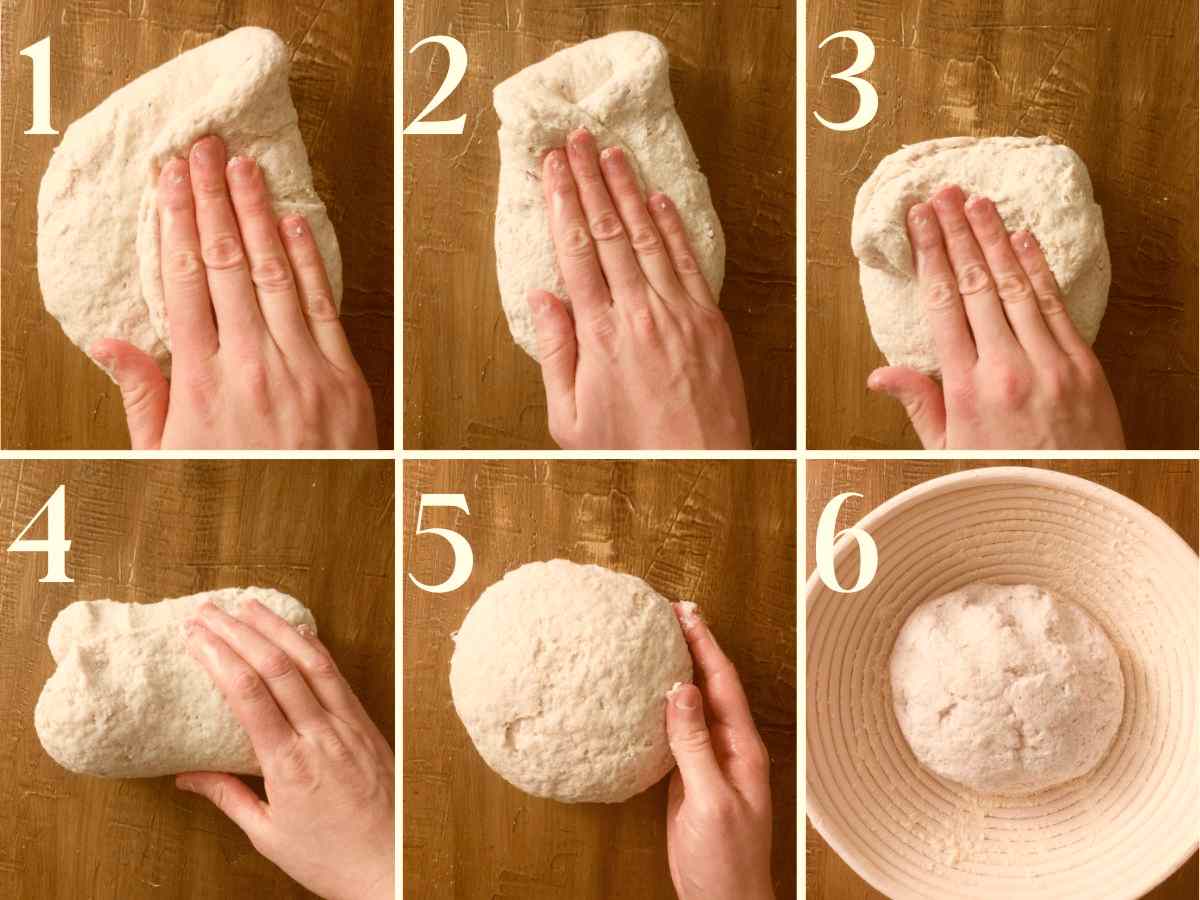
Transfer the dough onto a lightly floured working surface and flatten it into a disc. Shape the dough by folding each side of the dough disc onto its middle, then flip it.
Shape the dough into a ball by turning it around with your hands and tucking the sides under. See the pictures or video for visual instructions!
Place the dough into a floured proofing basket or a mixing bowl lined with a kitchen towel. If you are baking the bread in a bread pan, place it into the greased bread pan. Cover the dough with a kitchen towel.
Leave the dough to rise for about 30-60 minutes. Keep an eye on the bread; you don't want it to rise too high (or double in size) or it will fall during baking.
Step 5 - Bake
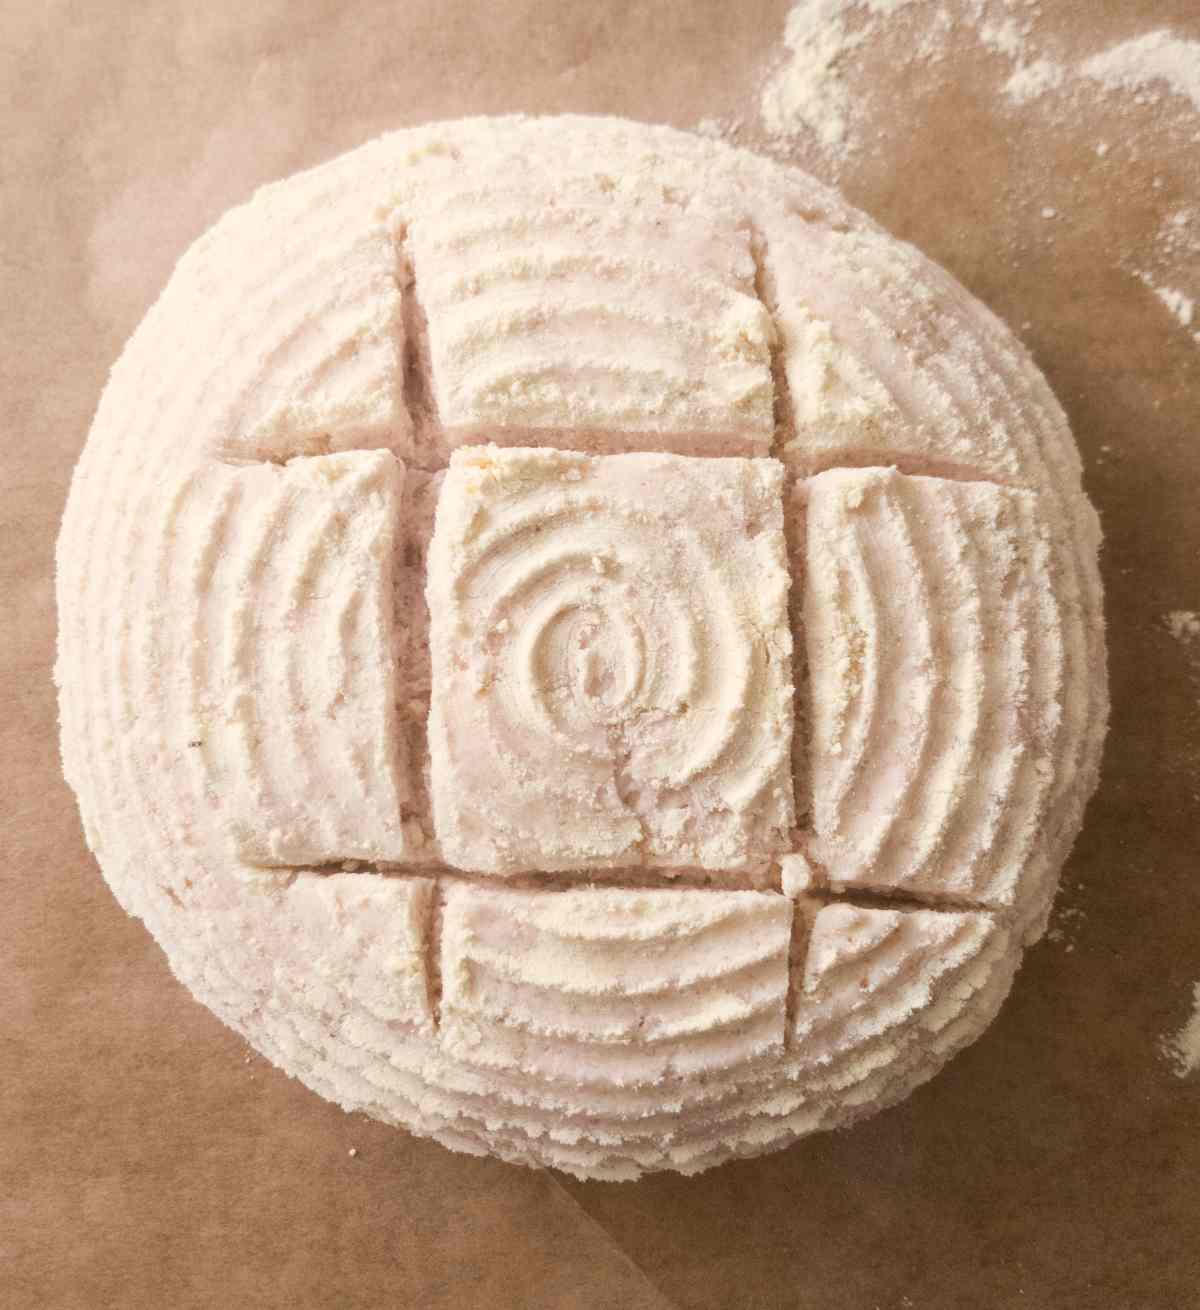
Once the loaf is done proofing, carefully transfer it onto a piece of parchment paper, score (cut the surface with a razor) about 1inch/2.5cm deep, and carefully lower the loaf into the Dutch oven (unless you're baking in a bread pan).
Place the lid onto the Dutch oven and transfer it to the oven. Start preheating the oven to 450°F/230°C. Once the oven is ready, start the timer and bake for 40 minutes.
Then, carefully remove the loaf from the Dutch oven, transfer it to the oven rack, lower the temperature to 350°F/180°C, and keep baking for another 30 minutes.
Let the bread cool completely (until no longer warm to the touch) and enjoy!
Expert Tips
- Yeast will do best if you use room temperature ingredients!
- Use a digital scale to ensure the best results.
- Grease your hands with oil to prevent the dough from sticking to them.
- Let the bread cool down completely (until no longer warm to the touch before slicing it.
- Proof the dough in the oven at 120°F/50°C to speed up the rising process!
Common Questions
I never tried making this recipe in a bread machine. However, here is a great collection of gluten-free bread machine recipes that work great!
In gluten-free bread, psyllium husk acts as a binder and moisturizer, helping to replicate the structure of wheat bread. While it does help "replace" gluten, combining it with xanthan gum is key to achieving a soft, fluffy texture - especially in recipes like this gluten-free sourdough.
Psyllium bread is gluten-free bread made with psyllium husk as a gluten substitute to provide structure, chewiness, and moisture to the loaf like in these fluffy buckwheat rolls.
Store bread with psyllium husk at room temperature in a bread bag or a container for 3-4 days, or slice and freeze for up to 3 months. Defrost in a microwave or thaw the slices at room temperature!
More Gluten-Free Recipes You Will Love!
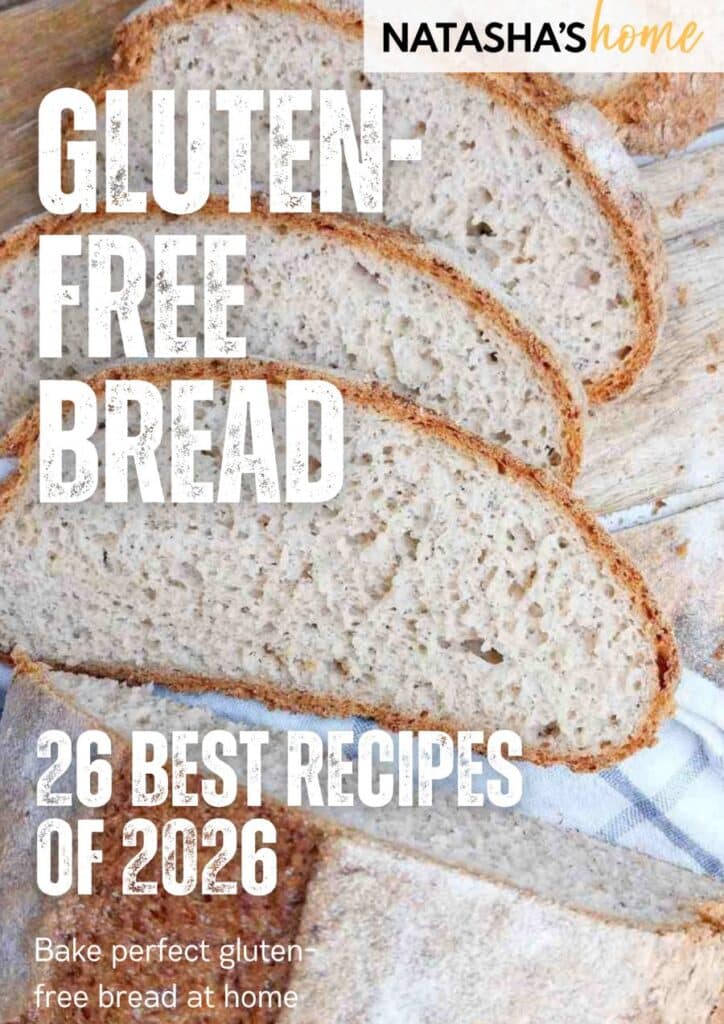
Get my new
Gluten-Free Bread Recipes eBook
The top 26 recipes of 2026! Includes a bonus conversion chart for gluten-free flour.
Gluten-Free Bread With Psyllium Husk
Equipment
- dutch oven (a cast iron skillet or a regular bread pan will work, too!)
- 1 digital scale (strongly recommended)
Ingredients
Wet ingredients
- 20 grams whole psyllium husks if using powder, use 18 grams
- 435 grams water room temperature or warm
- 15 grams sugar or honey/maple syrup
Dry ingredients
- 100 grams brown rice flour or sorghum flour
- 100 grams white rice flour
- 100 grams tapioca starch or arrowroot starch
- 100 grams potato starch or cornstarch
- 12 grams salt
- 7 grams instant yeast
SAVE THIS RECIPE!💌
Instructions
- Combine whole psyllium husks, water, and sugar in a medium-sized bowl and whisk to incorporate. Set aside.20 grams whole psyllium husks, 435 grams water
- Add the dry ingredients to a large mixing bowl. Whisk to incorporate.15 grams sugar, 100 grams brown rice flour, 100 grams white rice flour, 100 grams tapioca starch, 100 grams potato starch, 12 grams salt, 7 grams instant yeast
- Once the psyllium husk turns into a gel (1-2 minutes), add it to the dry ingredients and mix the dough.You can mix the dough by hand, with an electric mixer, or with a wooden spoon. It will be sticky but workable!
- Transfer the dough onto a lightly floured working surface and flatten it into a disc. Shape the dough by folding each side of the dough disc onto its middle, then flip it.Shape the dough into a ball by turning it around with your hands and tucking the sides under. See the pictures in the post or the video down below for visual instructions!
- Place the dough into a floured proofing basket or a mixing bowl lined with a kitchen towel. If you are baking the bread in a bread pan, place it into the greased bread pan. Cover the dough with a kitchen towel.Leave the dough to rise for about 30-60 minutes in a draft-free area. Keep an eye on the bread, you don't want it to rise too high (or double in size) or it will fall during baking.
- Once the loaf is done proofing, carefully transfer it onto a piece of parchment paper, score (cut the surface with a razor) about 1inch/2.5cm deep, and carefully lower the loaf into the Dutch oven (unless you're baking in a bread pan).Place the lid onto the Dutch oven and transfer it into the oven. Start preheating the oven to 450F/230C. Once the oven is ready, start the timer and bake for 40 minutes. Then, carefully remove the loaf from the Dutch oven, transfer it to the oven rack, lower the temperature to 350F/180C, and keep baking for another 30 minutes.
- Let the bread cool completely (until no longer warm to the touch) and enjoy!
Video
Notes
- Yeast will do best if you use room temperature ingredients!
- Use a digital scale to ensure the best results.
- Grease your hands with oil to prevent the dough from sticking to them.
- Let the bread cool down completely (until no longer warm to the touch before slicing it.
- Proof the dough in the oven at 120°F/50°C to speed up the rising process!

Kat says
Thank you for correcting the recipe/photos. I couldn't find my review to amend my stars. So here are 5 stars. Thank you again. This will now be my go to recipe!
Jacquie Mesinovic says
If I am using a baking steel with a bowl of water to create steam instead of a Dutch oven, should I also be cooking it as per your instructions above? Eg. placing into a cold oven or should the oven be preheated?
Natasha Levai says
Hi Jacquie! You can do cold oven with both.
Terry says
How do you get ridges in your loaf?
Do you cook bread with parchment paper on?
Couldn’t locate video. Thank you.
MD says
Have now made this 3 times. 1st was a success (doing 200g brown rice flour); 2nd time, using some leftover supermarket gf flour for some and about 22g buckwheat flour -came out well, but noticed when you touch the bread interior, it was little sticky but still edible and toasted well. 3rd attempt was to recipe other than buckwheat instead of white rice flour. Dough rose very quickly in 20mins (maybe too much, it was a warm day) and while it turned out okay, I did a skewer test during cooking and it was pretty sticky after the allotted time so gave it another 20mins. Slicing into this 3rd attempt it's even more sticky to touch (but not gummy) and also a little bitter. SO am wondering whether it's about different flours/starches+water ratio. Does buckwheat for example alter things? Any other ideas about the 'stickiness'??
Natasha Levai says
Yes, the stickiness is caused by too much liquid! If you use a different flour type, it will impact the necessary water amount as well.
MD says
Thanks for replying Natasha! I got some white rice flour & tried it as per recipe and the bread is a lot more 'drier'. But, if you sub in flours such as all brown rice flour do you think less water? I had it in my head that more regular wholemeal needs more water, so thought more wholemeal alt flours (brown rice, sorghum, buckwheat) would need more as well, but after experimenting with said flours, I think maybe they need less water?!
MD says
I made this yesterday, and it's fantastic. I've been ordered to do gluten-free for a month to see if it helps some medical issues. But I love bread!!! Supermarket gluten-free bread is TERRIBLE and expensive, so decided to see if homemade would be better (and cheaper). I was super sceptical, 1] as I had made two other gluten-free breads using other recipes, both were pretty dire, and I think the reason was the flour (basic gluten-free flour from the supermarket and no psyllium was used) and 2] was concerned the psyllium, which is pretty nasty flavour by itself, would be overbearing. Depsite concerns it hadn't risen enough or was too dry, it turned out well. Had to double the brown rice flour as no white rice flour but I think that made it even more wholemeal-like. Good structure and texture. It is a little cheaper to make it yourself, but obvs needs your time, but with this, you get a superior product. Will definitely make again.
Kat says
I want to start out by saying thank you for making it the easiest, fun and delicious recipe I have had the pleasure of trying out. This was the third time making it and as they say, the third times the charm! It was perfect! I was taken back at first by the "gumminess" left on the knife but honestly, its not off putting. it help the bread be more "normal" and has flavor of "normal" bread. Even my mother liked it and ate doesn't like anything GF. She was so impressed! Can't wait to try a tortillas recipe as this is helping my autistic children help to clean up their insides like their intestinal tract and gut.
Tom says
This was fantastic! Thank you. I can't tolerate gums well, so I've been trying to just swap psyllium for xanthum in other recipies I've found online, but could never quite figure how to use the psyllium correctly until now. This came out great! I'll be looking at all your other psyllium only recipies.
Thank you!
Isabel says
I had to sub Corn flour (not British cornstarch, its finely milled corn that's finer than corn meal) cause brown rice flour doesn't seem to exist here and sorghum is quite expensive for an experiment. But it turned out marvelously and had a nice stretch and rise and tastes like a nice wholemeal loaf (though next time I think I'll grease the pan with coconut oil instead of corn) Thank you for a gluten-free bread recipe that behaves like bread.
Natasha Levai says
Hi Isabel! I am glad you found a way to work around the flour types! Good job!
cheryl cornell says
I have tried at least 12 recipes for bread and couldn't eat them. This is the best recipe ever. Even gluten eaters love it. Will be making this 2 or 3 times a week. Thank you so much.
Terry says
Today I made this for the second time. The first I used a big name 1:1 gf flour and it didn’t turn out. The second time I followed the recipe as written (double recipe in a Dutch oven). It was great! My son and I are both Celiacs, and we haven found a gf bread we really liked, so I was hopeful it would work. It didn’t disappoint!
Now, it was a little doughy when I sliced it, so I am unsure if I need to bake longer. If full disclosure it was a bit warm yet when I sliced it, but, hey it was time for dinner. Perhaps the crumb didn’t have time to set, but regardless I see grilled cheese sandwiches in my near future. I used to make killer baguettes, and now I am wondering if I can use this recipe for baguettes. Well, I guess I know what I am doing tomorrow 😉
Thank you so much!
Natasha Levai says
Hi Terry! I am glad you liked the bread! The gumminess could be due to doubling the recipe. The larger the loaf, the harder it is to bake through!
Karen says
Your baking instructions are for a dutch oven. Bake, remove, bake some more. Do we follow that same pattern for using a bread pan?
Natasha Levai says
If you bake in a bread pan, then you will need to bake for 40 minutes at 450F, then turn the temperature down to 350F and bake for another 30 minutes. You can take the bread out of the bread pan to have crustier outside but it is not necessary for the bread to turn out well!
Jane says
This is a great recipe to work off of. I got a cast iron pullman loaf shaped dutch oven and in a week we've already baked and eaten two loaves.
To fill the 7 quart dutch oven, I doubled this recipe.
I pre-heated it and rose the bread in the dutch oven as well, as I'm in a northern cold/dry environment.
I used psyllium husk powder as thats what I can find in my area and made with the water to gel ahead of mixing. To get around the clumping, I mixed it with an immersion blender before adding. It worked great!
The flour mix I'm using for this is my egg/nightshade/gluten free flour mix:
3 parts brown rice flour
3 parts corn starch
2 parts otto's cassava flour
2 parts white rice flour
2 parts sweet potato starch (from my asian grocery)
Margret says
Really like this Bread. It’s easy to make, it’s quick to make and it tastes good!
Corina says
This bread is so delicious! I am on an avid bread baker, and I'm on an allergy elimination diet so off gluten for a few months. This bread is so yummy that I will probably still bake it sometimes even if it turns out I'm not sensitive to gluten. The crust is so crunchy, and the inside is sooooo soft and drool worthy. I wish I could buy this in the store!!
I always forget to make ice cubes, so I just dump a little water (1/4 cup?) into the hot Dutch oven between the parchment and the pan, and that has worked great with no issues. Oh, and I am also off corn and nightshades, so I replace the potato/corn starch with more tapioca starch. Thank you so much, Natasha!
Nancy Kirsch says
Can I use regular all-purpose white flour for this recipe? I am not gluten-free but have lots of psyllium fiber husks to bake bread with!
Thank you
Nancy
Natasha Levai says
Hi Nancy! I have never tried this recipe with regular flour! I think it is better to go with a regular bread recipe and add psyllium husk to it than using this recipe with wheat flour.
Mandi says
Is it possible to use 200g brown rice, 100 tapioca and 100g cornstarch? I’m new to GF baking, so many types of flours
Natasha Levai says
Yes!
Michelle says
hi there, I can't have corn or potato starch. would it be okay to sub it with just more tapioca starch? thanks in advance!
Natasha Levai says
Hi Michelle! Yes, use more tapioca if you prefer. The texture might end up on the chewier side though!