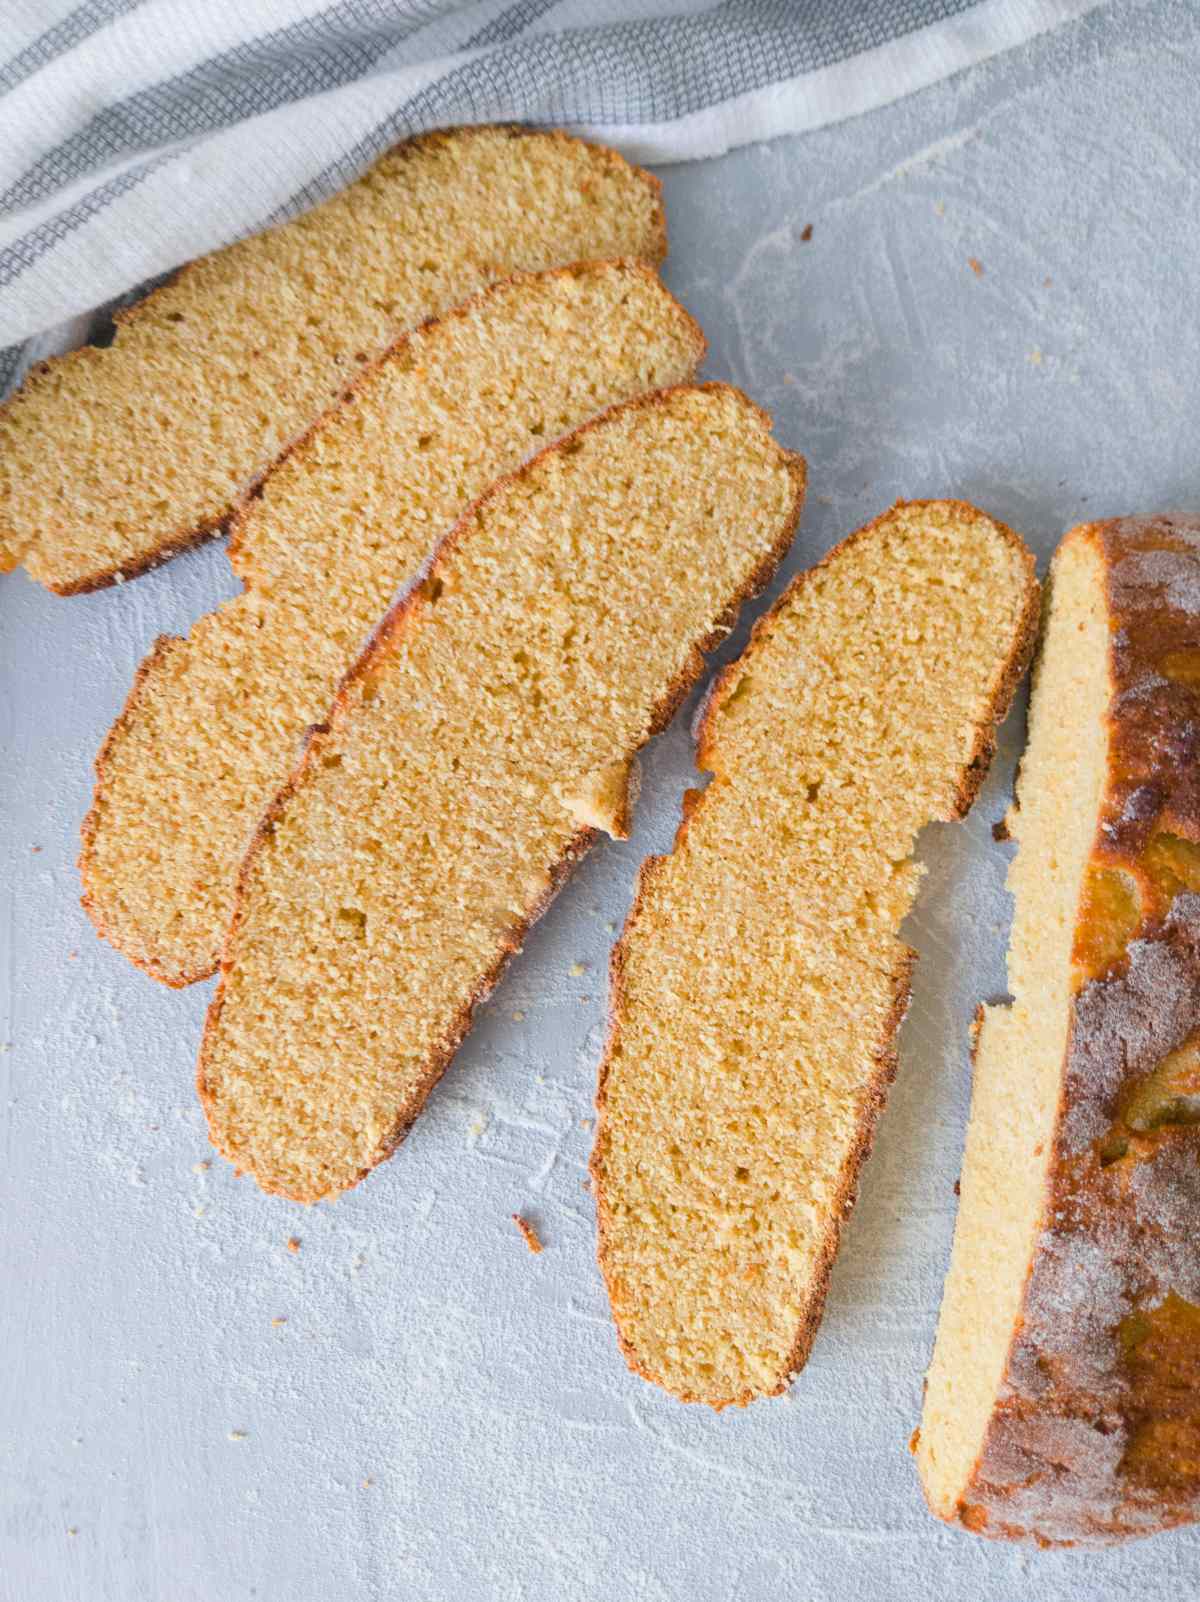
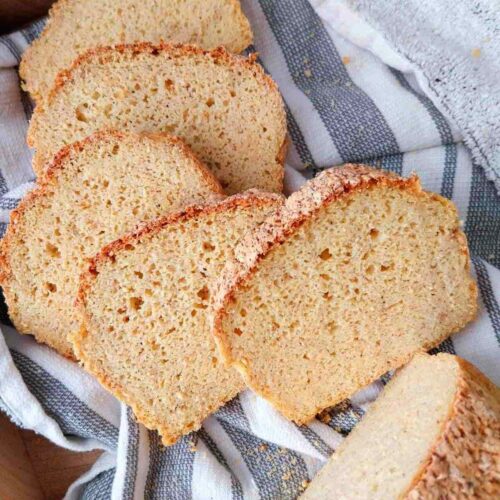
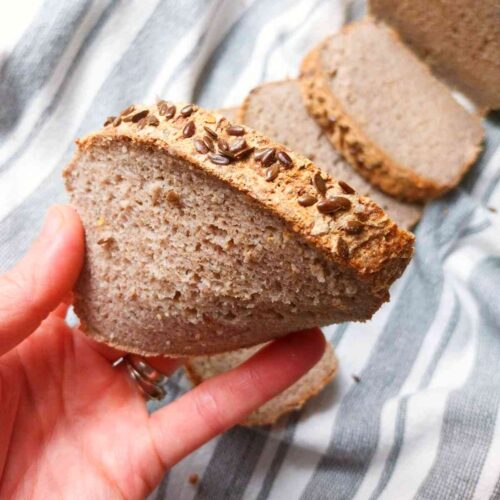
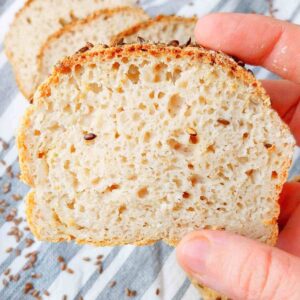
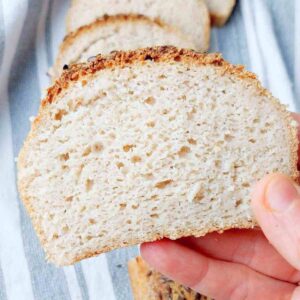
This gluten-free and vegan chickpea sandwich bread is made with yeast, water, chickpea flour, and a few other ingredients. It is very easy to make and is great for sandwiches!
Jump to:
What Is Chickpea Flour?
Chickpea flour is made from cooked and dried chickpeas by blending them in a food processor or in a mini mill. While some people use canned chickpeas in bread recipes, I prefer using chickpea flour in mine. Check out this wonderful chickpea flour recipe if you would like to learn how to make your own!
Ingredients
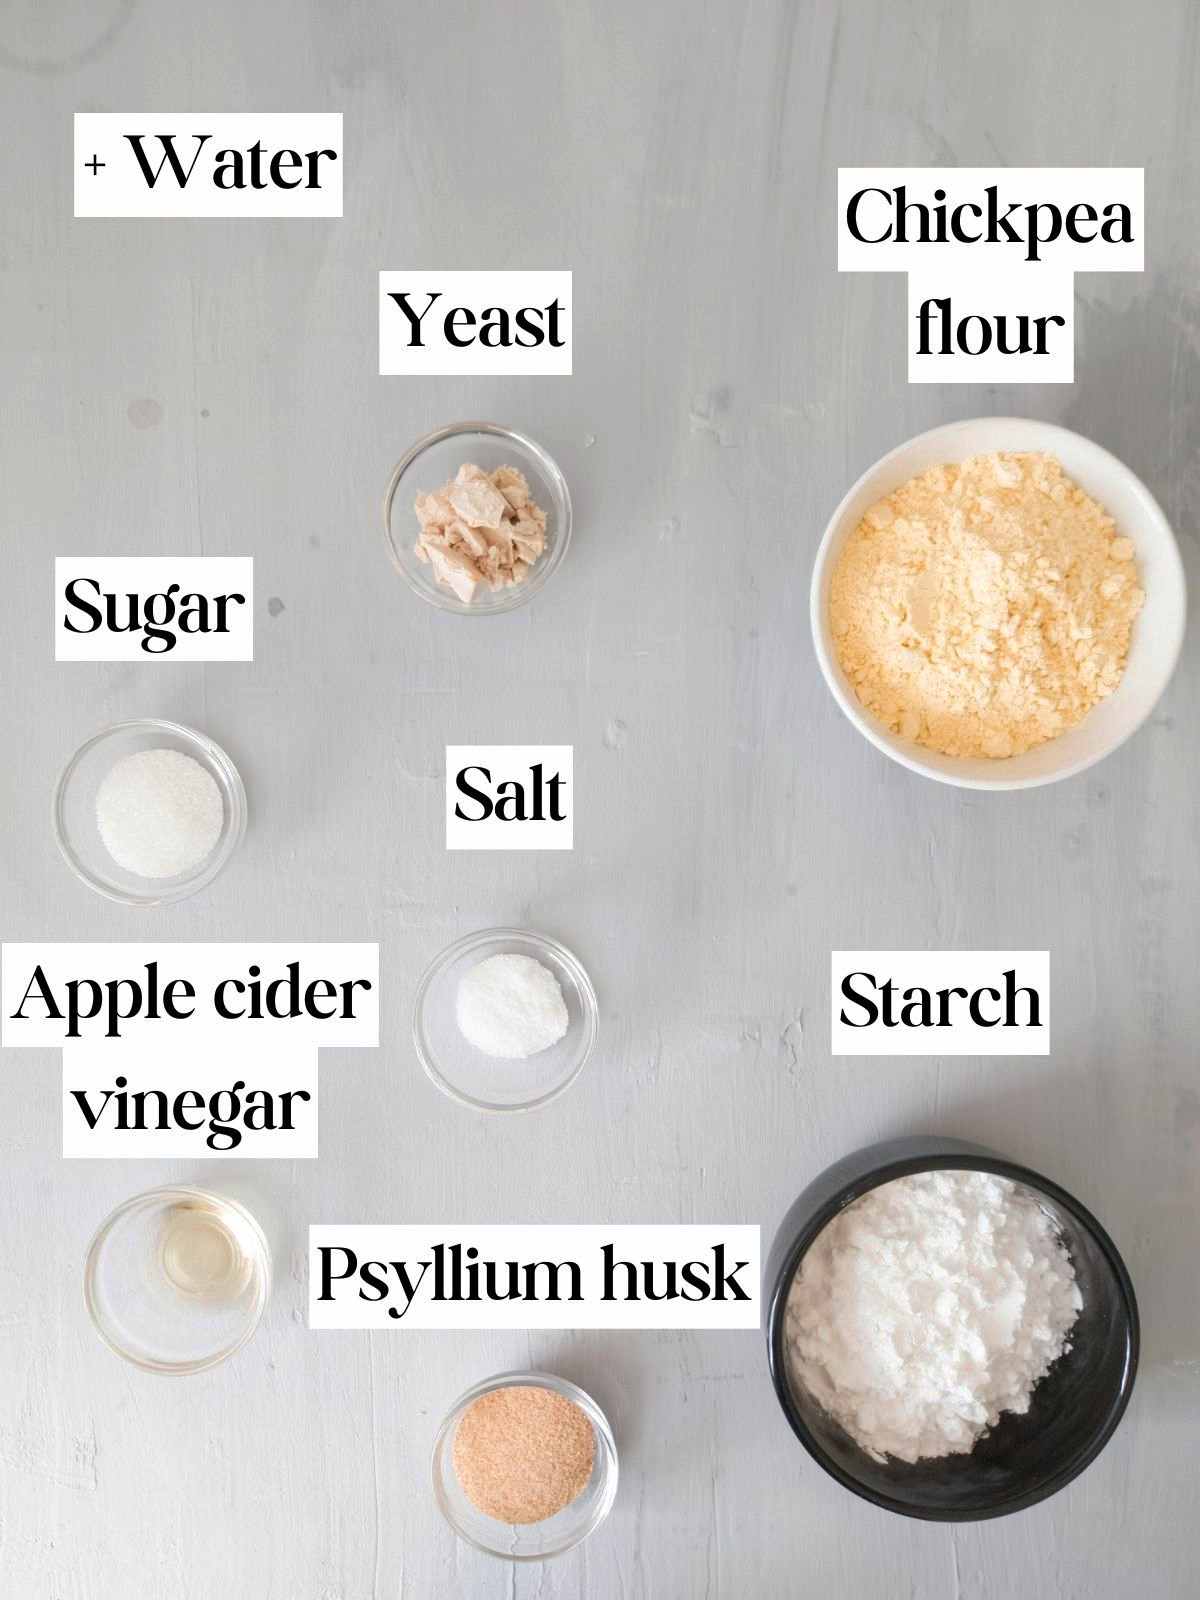
Chickpea flour - I used premade store-bought chickpea flour.
Starch - you can use potato starch, corn starch, arrowroot, or tapioca starch interchangeably!
Psyllium husk - this is a crucial ingredient that gives the bread its strength. You can use whole husks or powder but I would not recommend using finely ground powder. To know the difference, refer to my psyllium husk 101 article!
Yeast - I love using fresh yeast as it is the strongest type, however, dry active or instant yeast will work as well.
Apple cider vinegar - I use it to help the yeast grow and multiply. You can leave it out if necessary!
Sugar - this helps yeast grow, you can use honey, maple syrup, coconut, or other types of sugar instead.
Substitutes
Chickpea flour - if you would like to make gluten-free sandwich bread with other types of gluten-free flour, check out my brown rice flour artisan loaf recipe, millet flour sandwich bread, white rice bread, or this low-carb almond loaf.
Starch - you can use any starch you like, I don't recommend leaving it out as it helps the bread to be more flexible and tasty.
Psyllium husk - in this recipe you should use psyllium husk. Substituting it will result in a very crumbly chickpea loaf!
Sugar - you can use honey, maple syrup, coconut, or other types of sugar. This ingredient helps yeast work better!
Step-by-Step Instructions
Step 1 - Mix the dough
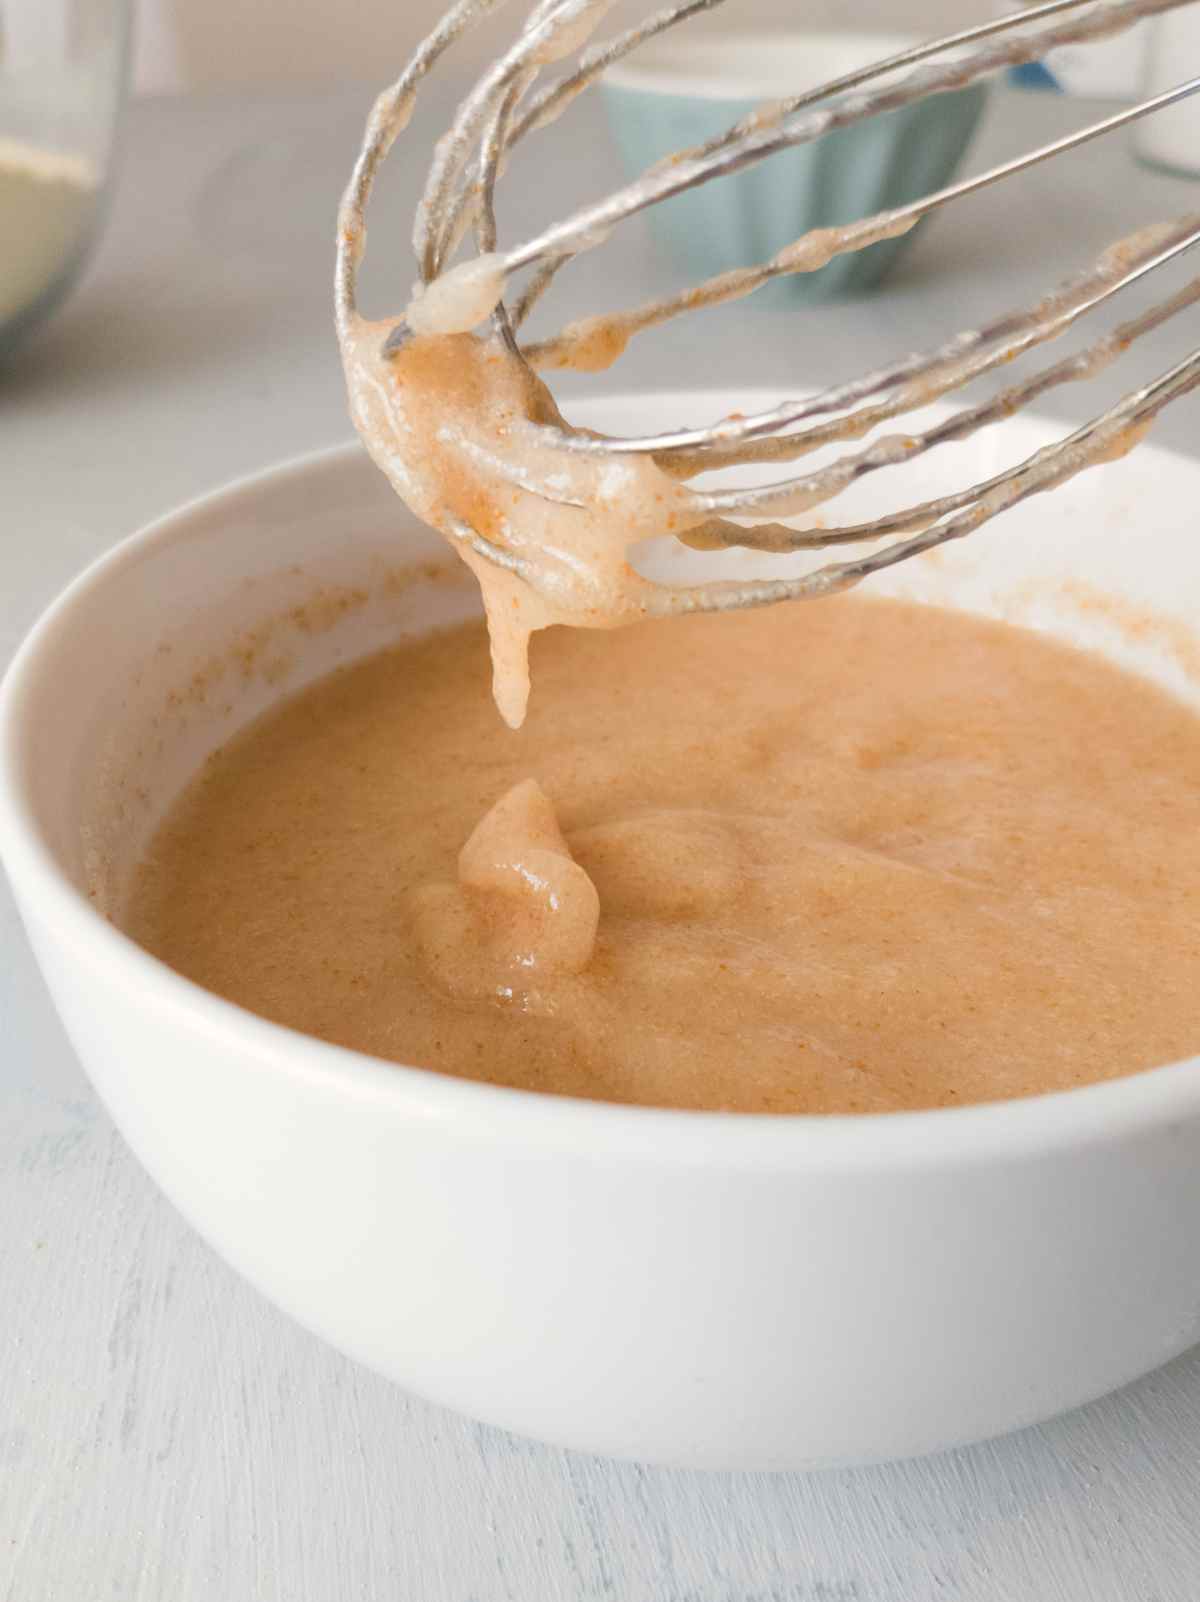
Add water, psyllium husk, yeast, sugar, and apple cider vinegar to a small bowl and whisk to combine. Let the mixture sit for a couple of minutes to create psyllium gel. If you are using dry active or instant yeast, use warm water to activate the yeast.
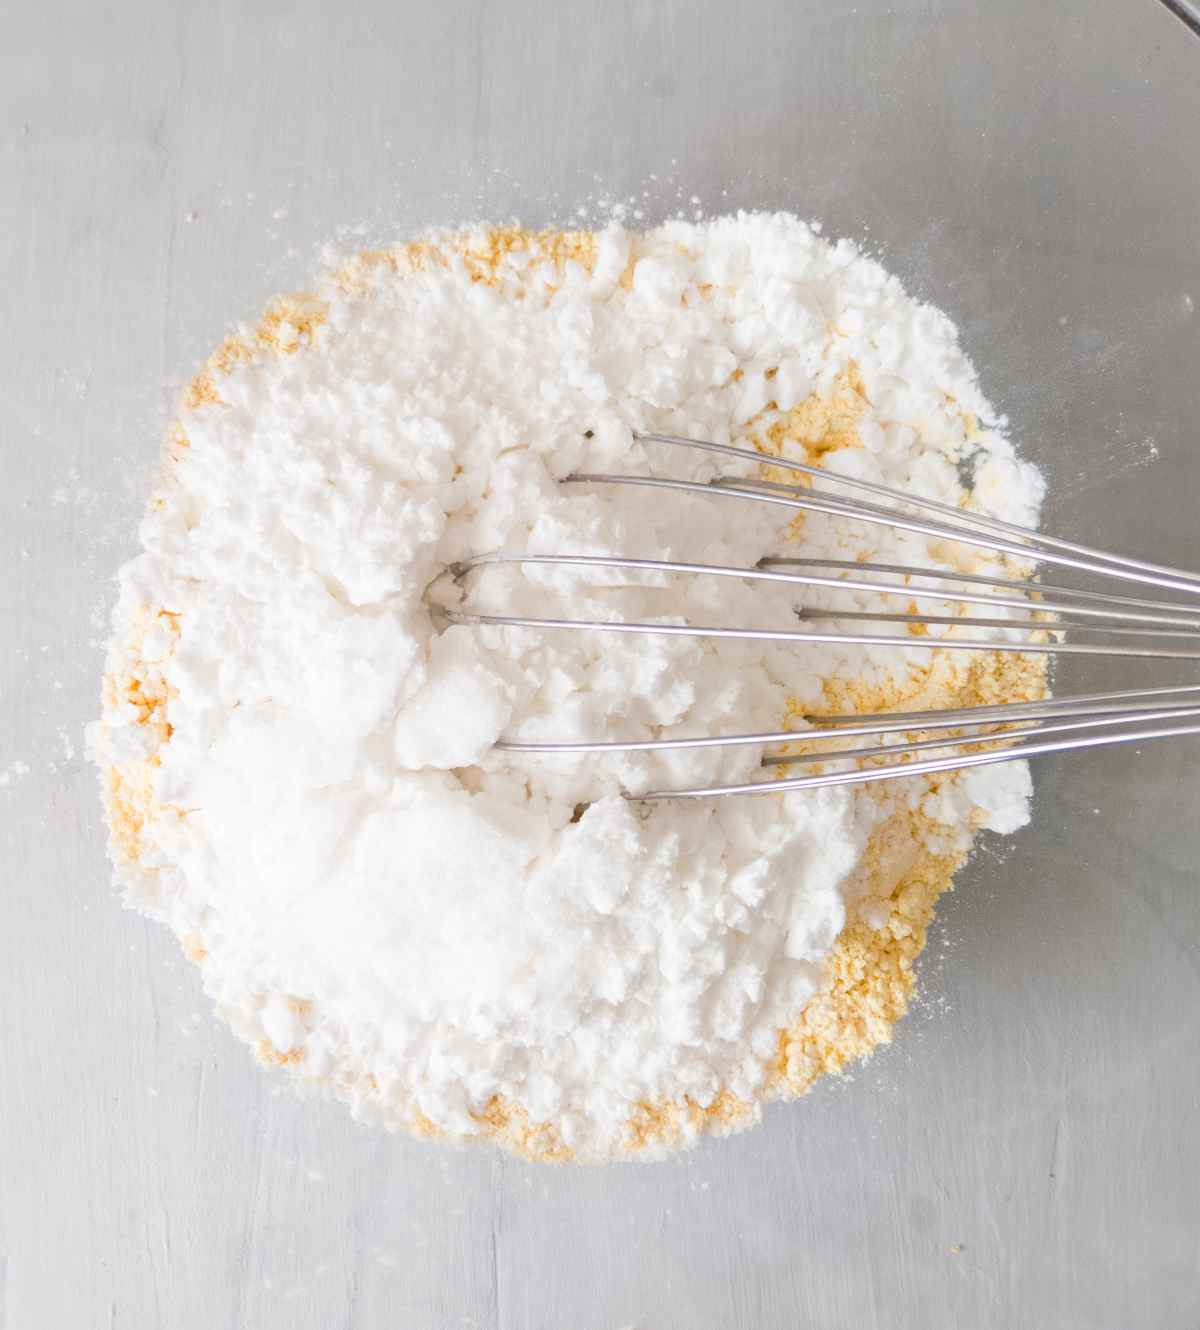
Add chickpea flour, starch, and salt to a large mixing bowl and whisk until incorporated. You can use a stand mixer or a hand mixer for combining the flour and, later, the dough, although I find it sufficient to mix by hand (fewer dishes to wash!).
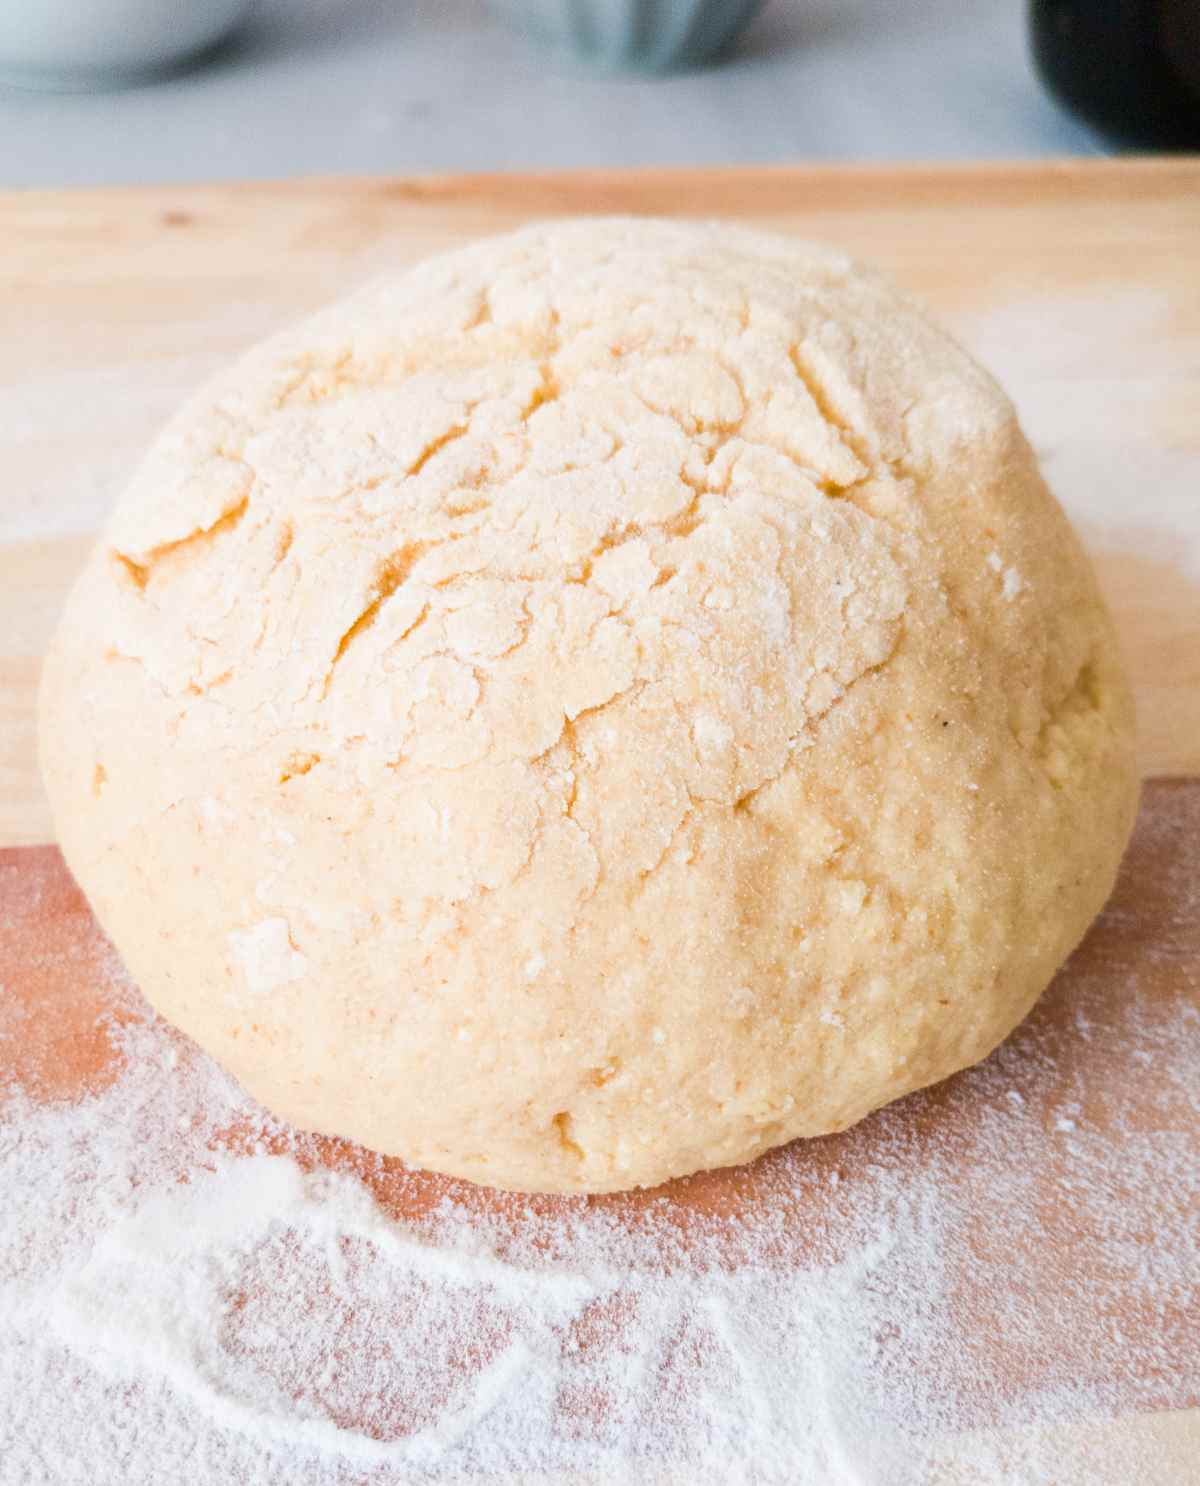
Add the wet ingredients to the bowl with the dry ones and mix until the dough comes together and you don't see flour streaks anymore. Turn the dough onto a floured working surface and shape it into a ball.
Transfer the dough onto a piece of parchment paper, cover it with a tea towel, and let the dough rise for 30-40 minutes. You don't want the dough to double in size as in that case, it will fall during baking. Rather, wait until it rose by half its size (about 30 minutes) and start baking!
Step 2 - Bake!
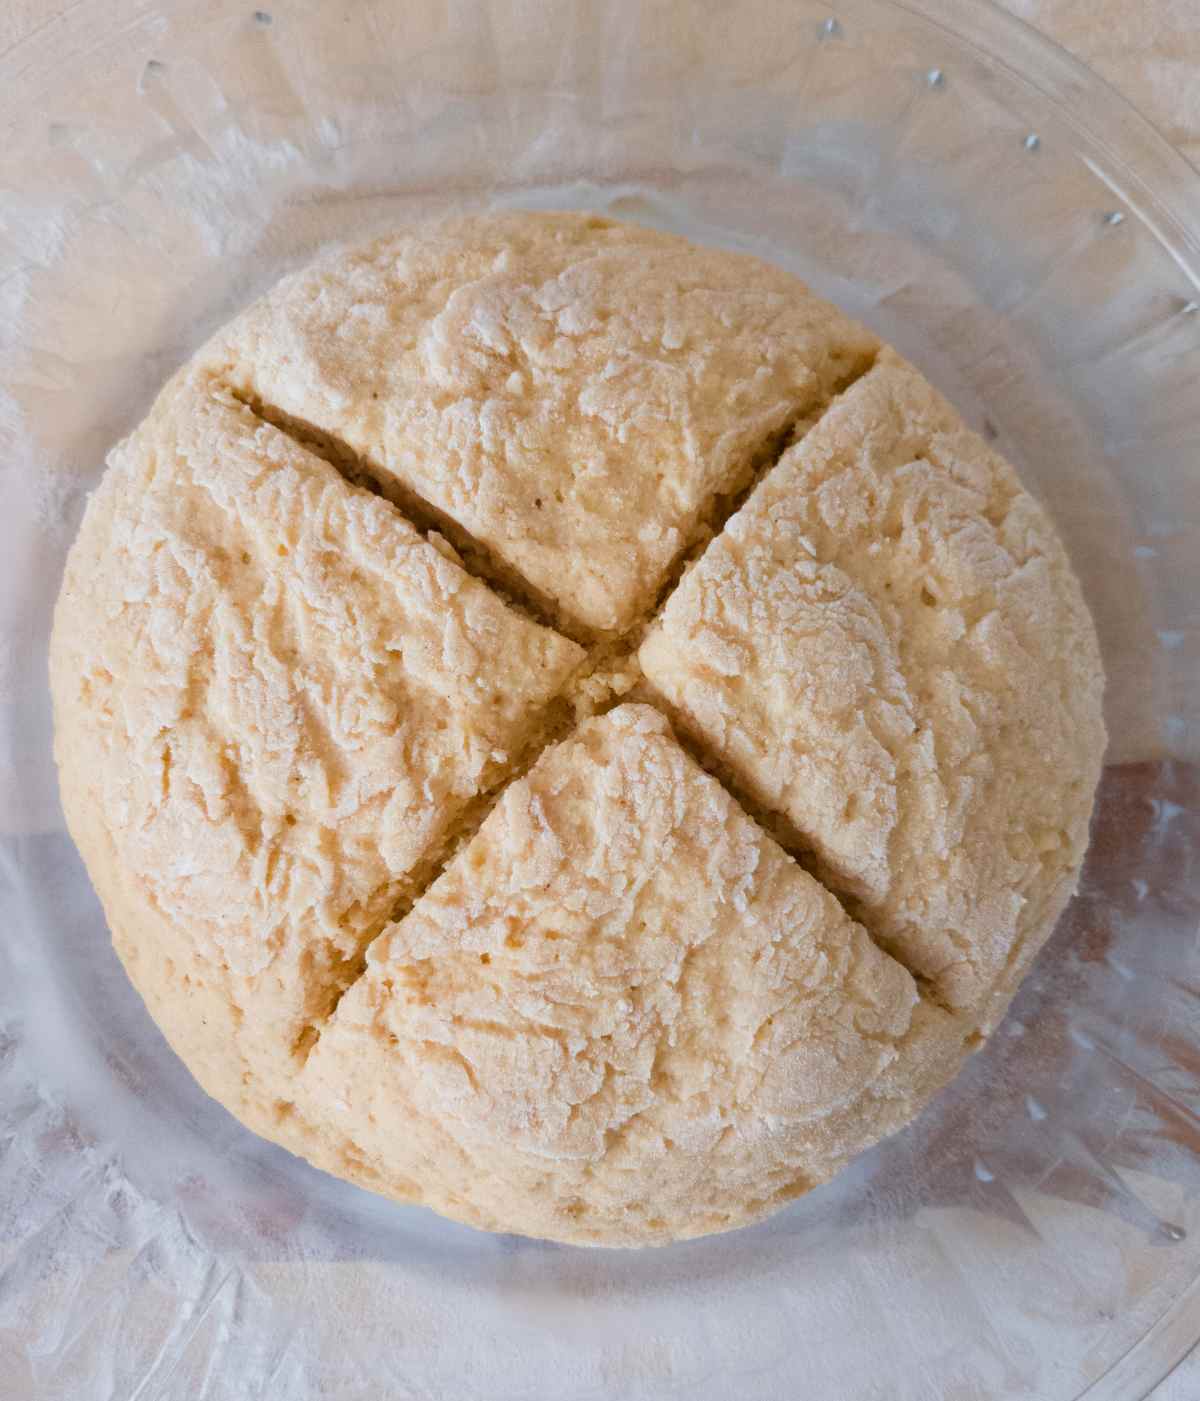
About 15-20 minutes into the rising, start preheating the oven to 350F/175C. Place a baking dish with water on the bottom of the oven to allow for more steam during baking.
Once the loaf is done rising, score the dough with a razor or a sharp knife. Scoring is basically cutting the dough to determine where the steam will escape creating a better pattern on the bread.
Place the bread in the oven and bake for 40-60 minutes (until a toothpick comes out without too much raw dough sticking to it.) After about 25-30 minutes of baking check the bread and if it has become dark brown, cover it with foil and continue baking until done!
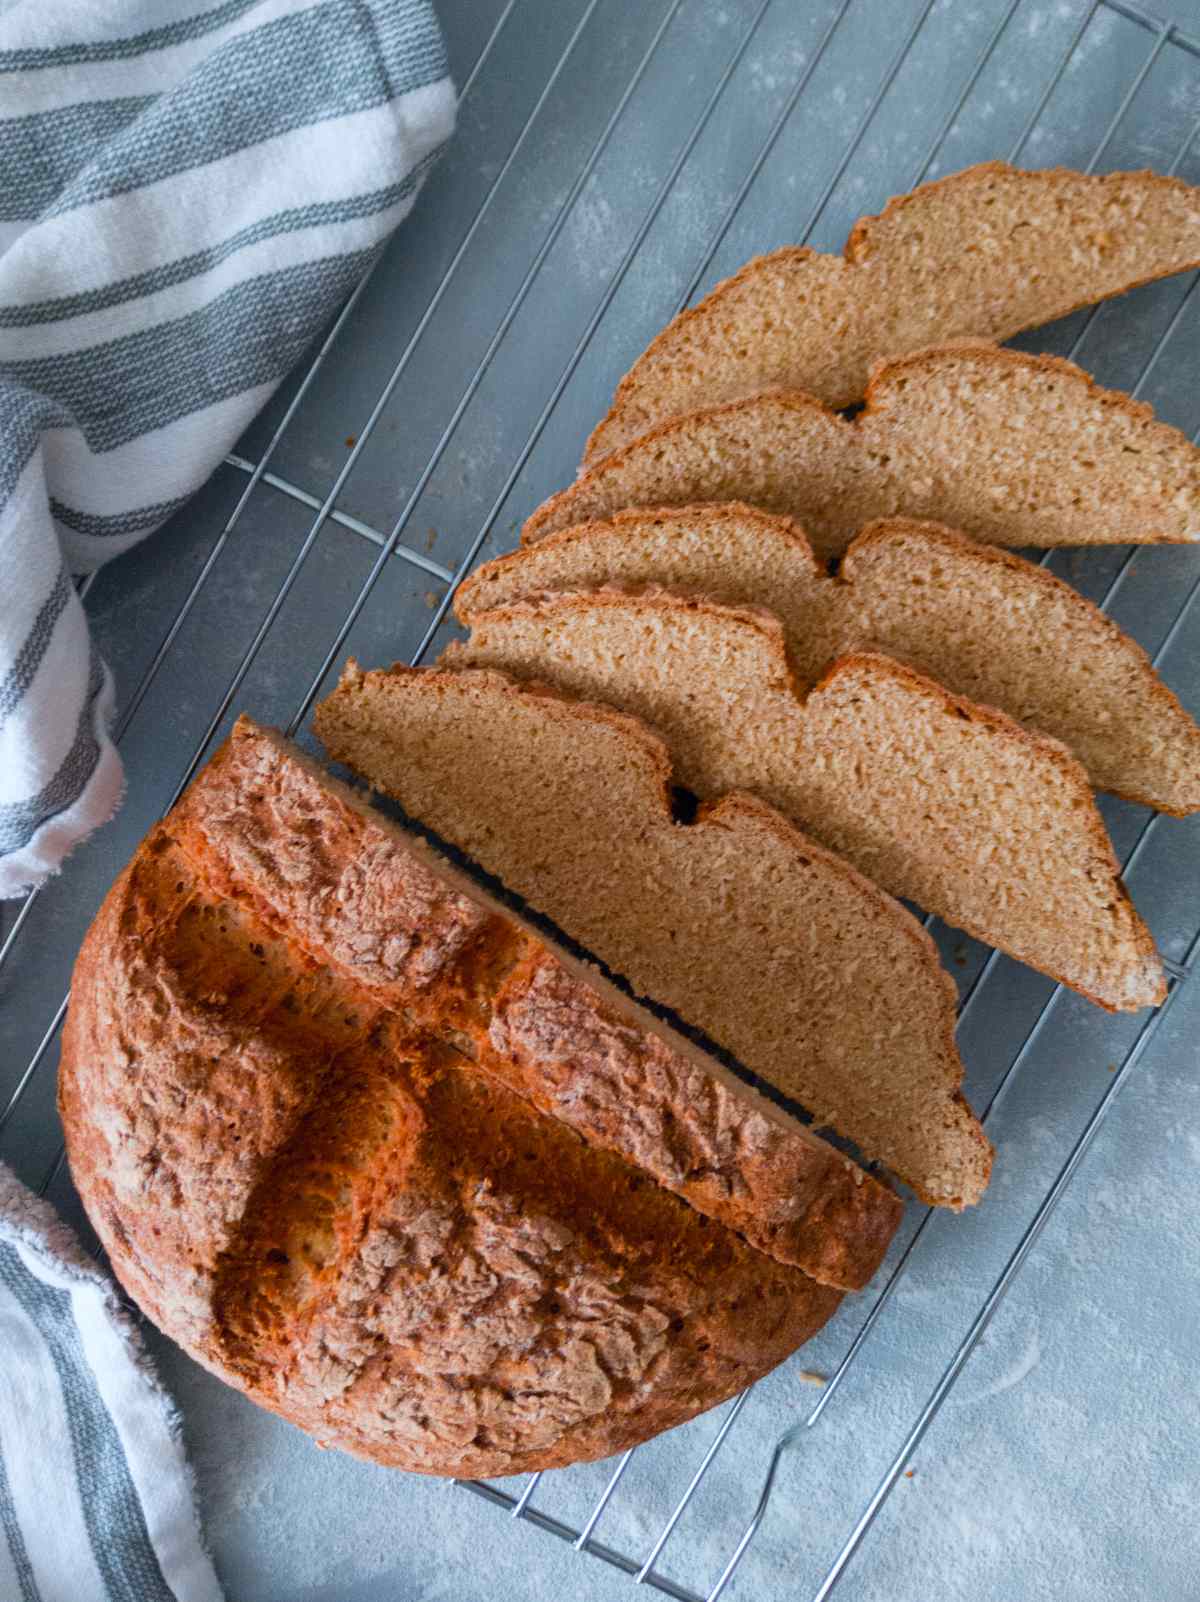
Transfer the baked chickpea bread onto a cooling rack and wait until the bread is no longer warm to the touch.
Expert Tips
- Keep an eye on the bread to make sure it doesn't burn before it is done. If it starts browning too much, cover it with foil.
- You can bake this bread on a regular sheet pan or a cast iron Dutch oven. I tried the Dutch oven at 400F/220C and my bread almost burned within 40 minutes, although it baked through.
- Don't wait until the bread doubles in size. In my experience, if you start baking the bread before it doubled, it will most likely be nice and puffy while baking it at its peak rise will deflate the bread a little bit although it won't ruin it!
FAQ
Yes, you can freeze chickpea bread. You can either freeze it whole or sliced. I prefer freezing bread sliced as it allows me to take out a piece at a time instead of defrosting the whole loaf. To defrost a slice, just place it in the microwave for 30 seconds. If defrosting a loaf, you can let it thaw at room temperature or in the oven at 350F/175C for 10-15 minutes.
You can store this bread covered at room temperature for up to 3 days or in the refrigerator for 4-5 days. Freeze the bread for up to 3 months!
Yes, chickpea bread has carbs. Chickpeas in themselves are 44% carbs, so the bread would have carbohydrates as well.
It can, although I prefer adding some type of starch to it for elasticity and a better texture.
More gluten-free bread recipes!
Get my new
Gluten-Free Bread Recipes eBook
The top 7 recipes of 2024!
📖 Recipe
The Best Chickpea Bread (Vegan & GF)
Ingredients
- 200 grams (1½ cups) chickpea flour
- 200 grams (1½ cups) starch of choice potato, cornstarch, arrowroot, or tapioca starch will work well
- 300 grams (1¼ cup) water at room temperature
- 20 grams (4 tbsp) psyllium husk 15 grams if using powder, avoid fine powder, more details in my psyllium husk 101 article!
- 20 grams (3 tsp) fresh yeast 7 grams (1 pack) of dry or instant yeast
- 15 grams (3½ ts) sugar
- 12 grams (2½ tsp) apple cider vinegar optional, helps the yeast
- 10 grams (1¾ tsp) salt
Instructions
- Add water, psyllium husk, yeast, sugar, and apple cider vinegar to a small bowl and whisk to combine. Let the mixture sit for a couple of minutes to create psyllium gel. If you are using dry active or instant yeast, use warm water to activate the yeast.
- Add chickpea flour, starch, and salt to a large mixing bowl and whisk until incorporated. You can use a stand mixer or a hand mixer for combining the flour and, later, the dough, although I find it sufficient to mix by hand (fewer dishes to wash!).
- Add the wet ingredients to the bowl with the dry ones and mix until the dough comes together and you don't see flour streaks anymore. Turn the dough onto a floured working surface and shape it into a ball. Transfer the dough onto a piece of parchment paper, cover it with a tea towel, and let the dough rise for 30-40 minutes. You don't want the dough to double in size as in that case, it will fall during baking. Rather, wait until it rose by half its size (about 30 minutes) and start baking!
- About 15-20 minutes into the rising, start preheating the oven to 350F/175C. Place a baking dish with water on the bottom of the oven to allow for more steam during baking. Once the loaf is done rising, score the dough with a razor or a sharp knife. Scoring is basically cutting the dough to determine where the steam will escape creating a better pattern on the bread.
- Place the bread in the oven and bake for 40-60 minutes (until a toothpick comes out without too much raw dough sticking to it.) After about 25-30 minutes of baking check the bread and if it has become dark brown, cover it with foil and continue baking until done! Transfer the baked chickpea bread onto a cooling rack and wait until the bread is no longer warm to the touch.

Trisha Sease
This was wonderful! I had to add a bit more water but it ended up great and my family really enjoyed it along side their risotto tonight for dinner! Thank you! Can’t wait to try your other gluten free vegan bread recipes!