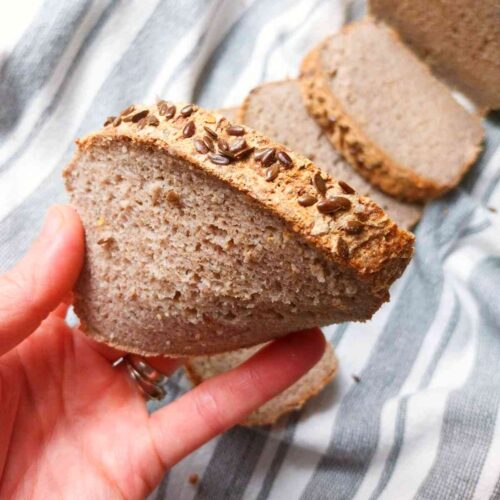
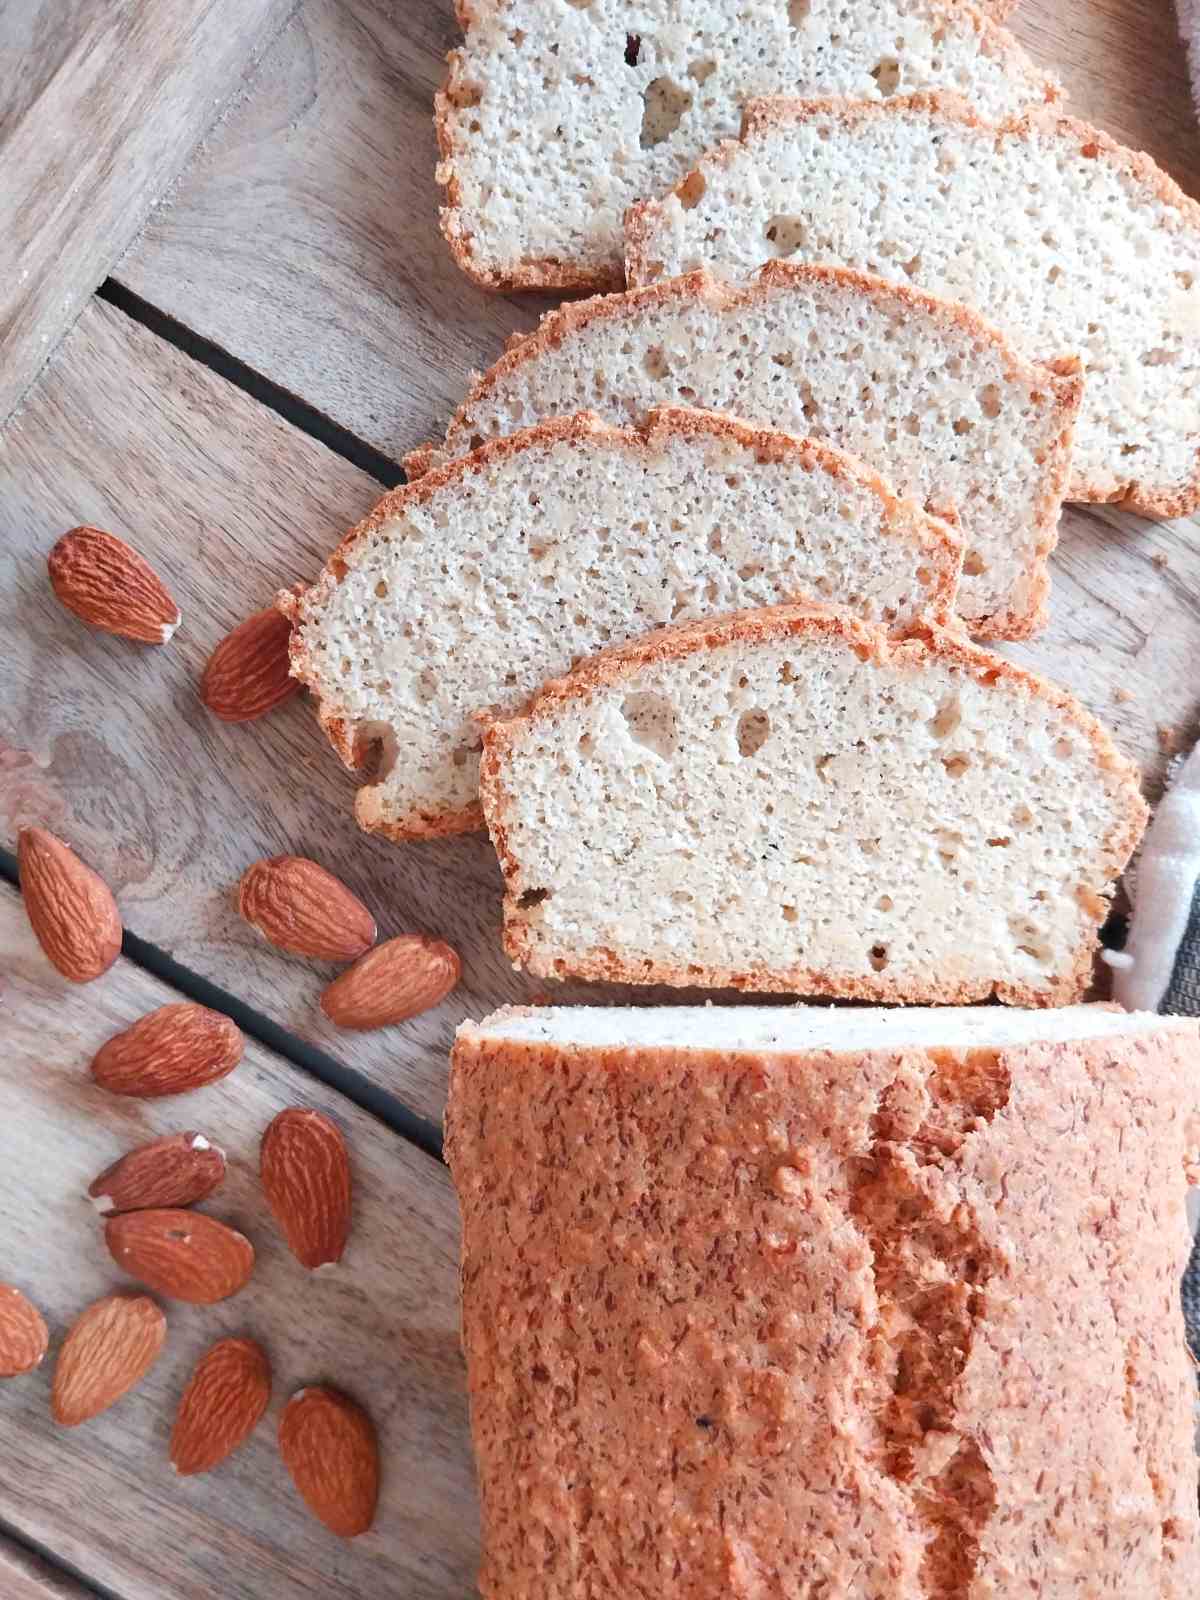
This is your ultimate low-carb gluten-free bread guide with easy-to-follow steps, pictures, 6 ingredients, and less than 2g net carbs per slice! This bread is gluten, dairy, oil, and sugar-free, keto and paleo-friendly, not eggy at all, and, of course, low in carbs (no blood sugar spike)!
Wheat-free, unfortunately, doesn't mean carb-free! A lot of gluten-free blends contain grains that translate into carbohydrates. While eating low-carb eggplant pizza can be fun, sometimes you just need a piece of good bread. This recipe is designed for those who want to avoid heavy grains, yet still desire to eat nutritious, filling, and healthy bread!
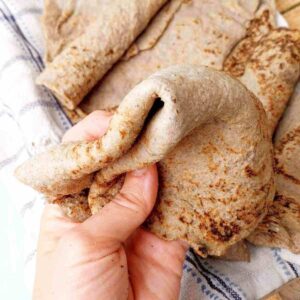
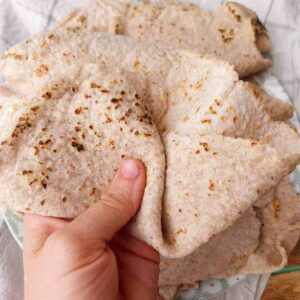
This recipe is made without yeast just like my vegan yeast-free bread, rice bread, and these buckwheat flour flatbreads.
Jump to:
Ingredients
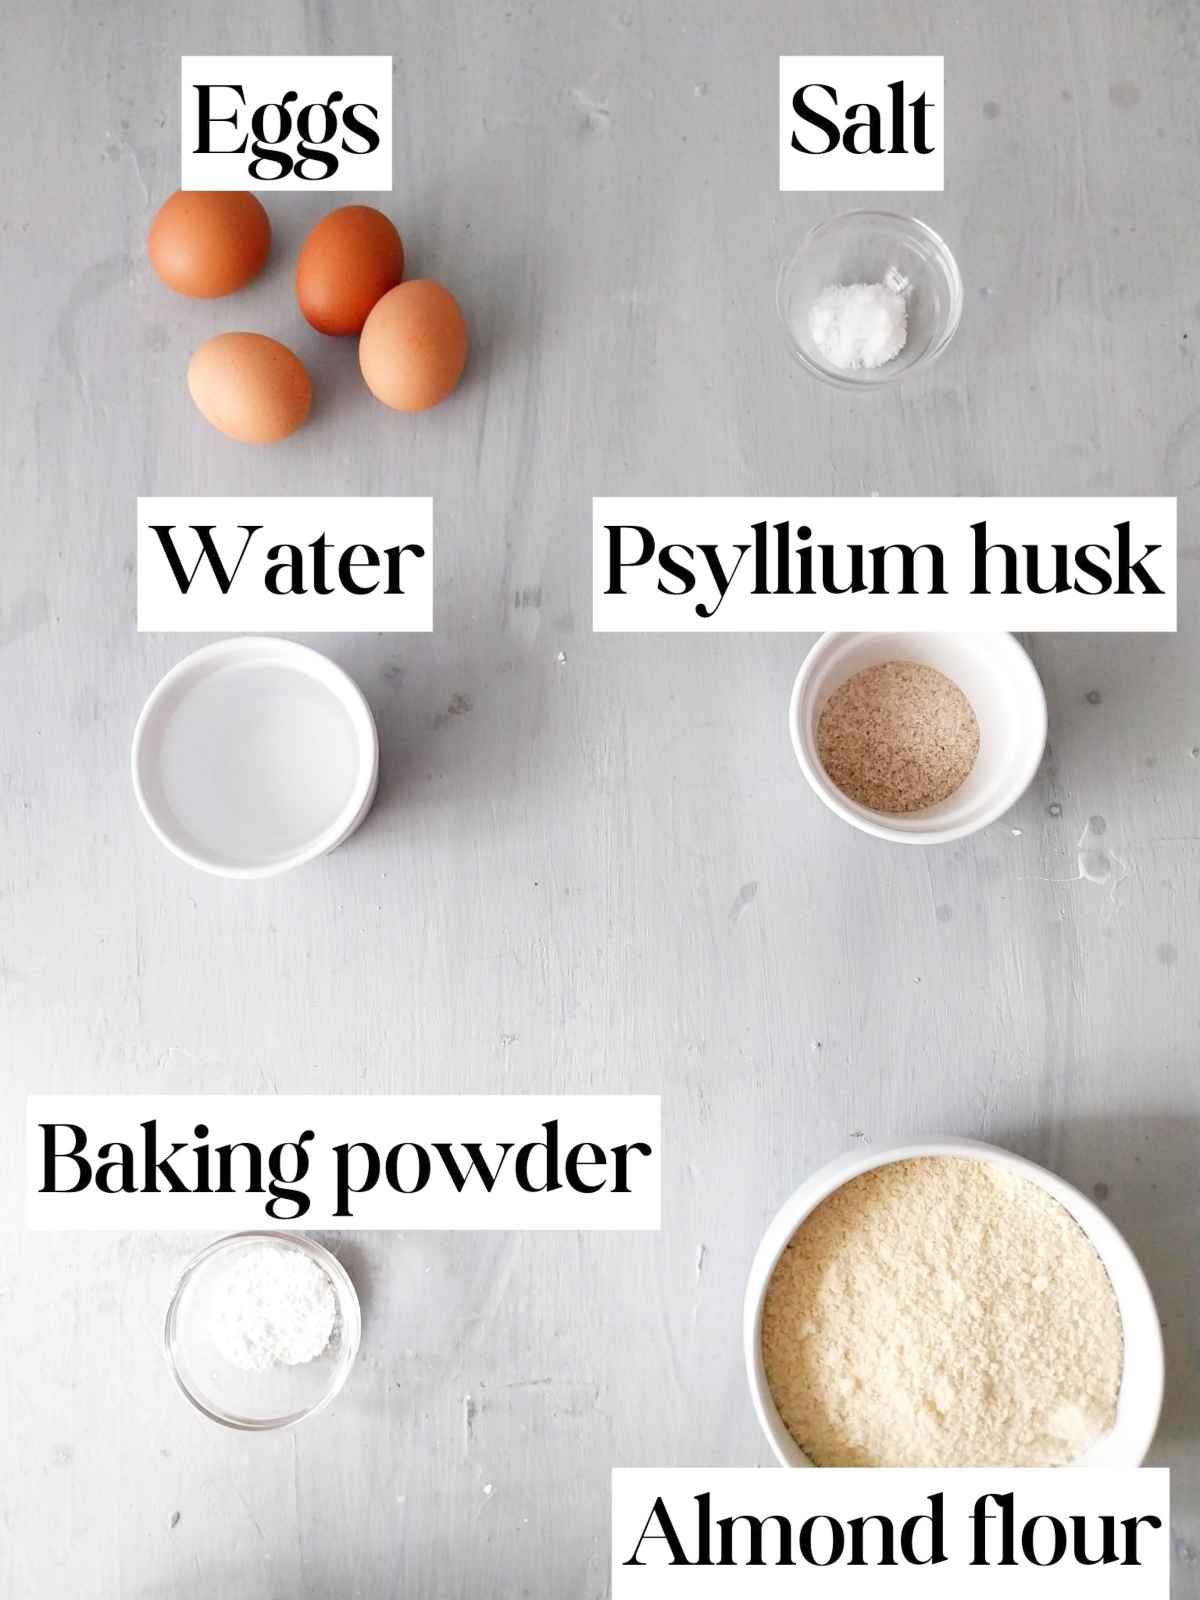
- Almond flour - the finer the flour, the better, I haven't tried almond meal (ground almonds with skins) with this recipe. Some people say that if your flour is coarse, it might contribute to a gritty or grainy texture!
- Eggs - use large eggs at room temperature. Eggs are necessary to make the bread rise but they don't make it taste eggy, they only add to the flavor!
- Psyllium husk - use whole husks, psyllium powder acts slightly differently and might turn your bread purple.
- Baking powder - this is the raising agent for the bread (along with the eggs). If you choose to use baking soda, add 1 tablespoon of apple cider vinegar.
- Sea salt - use sea salt for better nutrition.
- Water - tap water is fine!
See the recipe card for quantities.
Substitutions
Almond flour - I don't recommend substituting almond flour for anything else in this recipe. Coconut flour won't work either because it absorbs much more liquids (here is a coconut flour bread recipe instead).
If you are interested in trying other gluten-free flours, check out these recipes:
Psyllium husk - while there are substitutes for psyllium, I haven't tested this recipe using anything else as a binder. I recommend you stick to psyllium husk, but you can try chia or flax seeds as well.
Eggs - when using water in place of eggs, you get a very strong almond flavor which I personally don't like. You can make a vegan version by using more water and more psyllium husk in place of eggs, but you won't get as much rise in your loaf.
Baking powder - you can use baking soda with an additional 1 tablespoon of apple cider vinegar for baking soda to activate.
Can I make almond flour at home?
Yes! You will need a high-power blender (like Vitamix or Blendtec) or a food processor with a blade attachment (also called Sabatier blade) and whole or chopped almonds.

Food processor:
- Add 1 cup of almonds (raw, blanched, or chopped) to the bowl of the food processor, lock the lid securely, and pulse on high speed 50-60 times in 1-second increments.
- Make sure to stop and scrape down the sides with a rubber spatula every 10 pulses.
- Stop when almonds look like cream-colored flour (it will have brown flecks if you are using almonds with skins). If you go too far, it will turn into almond butter!
High-speed blender:
- Place 1 cup of almonds (raw, blanched, or chopped) into the blending bowl, lick the lid securely, and pulse on high speed 25-30 times in 1-second increments.
- Make sure to stop and scrape the sides with a spatula every 5-10 pulses.
- Stop once it looks like flour or you will get almond butter!
Step-by-step instructions
Step 1

Start preheating the oven to 350F/175C. Add psyllium husk and water in a medium bowl and whisk immediately to prevent lumps.
Set the bowl aside to let psyllium gel form.
Step 2
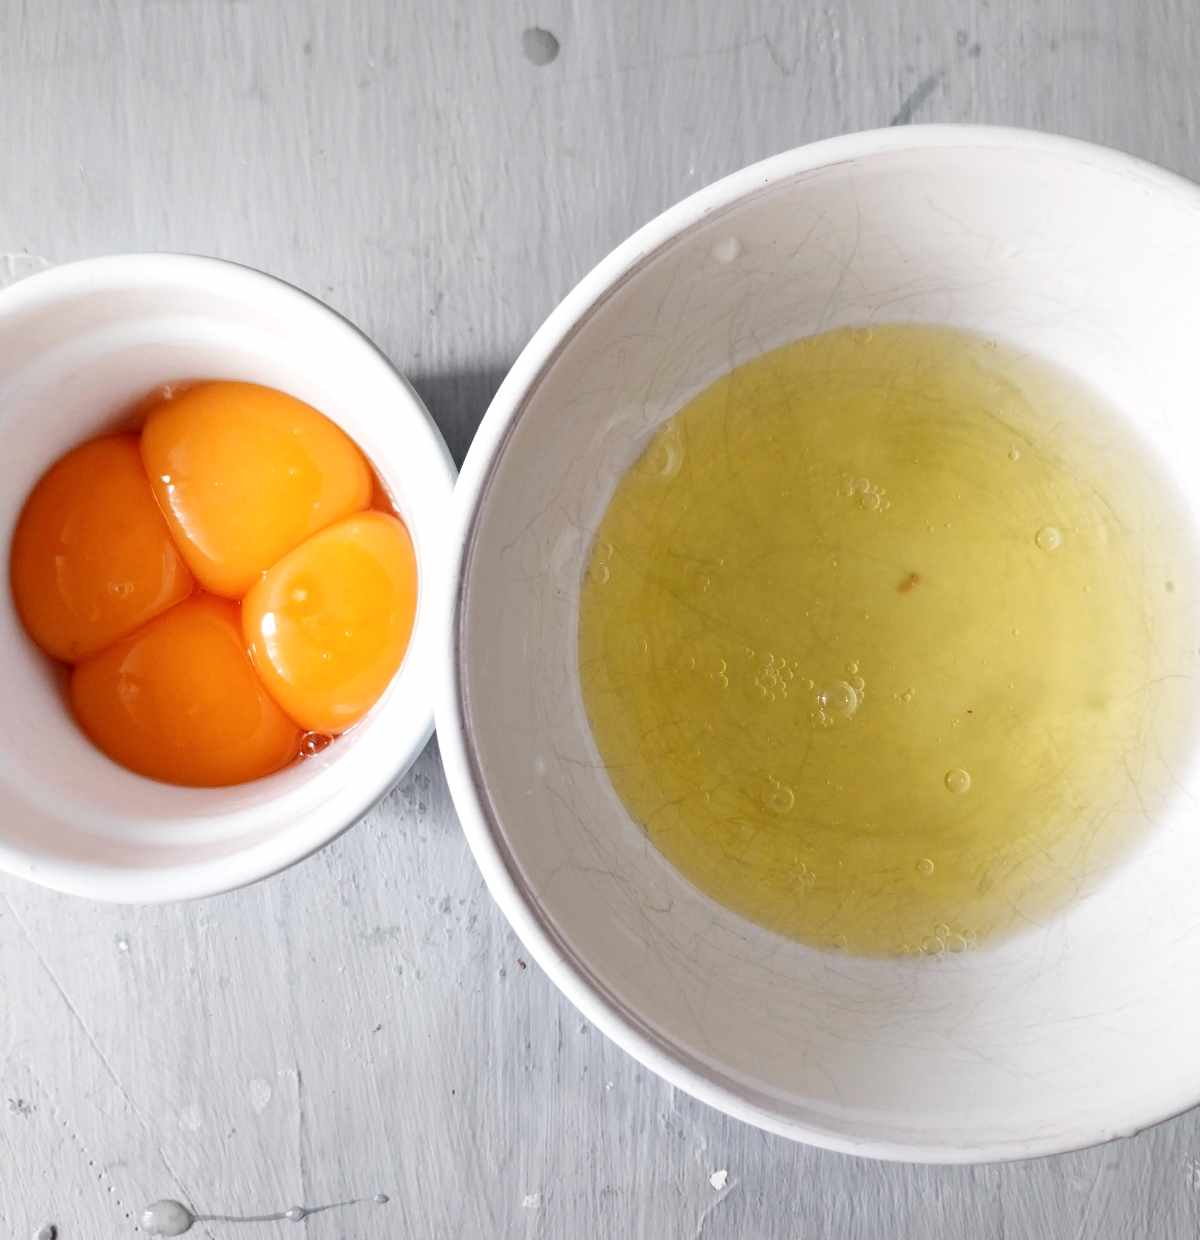
Separate egg yolks from egg whites. None of the yolks must get into the whites, not even a little drop.
This is why I recommend separating each egg in a different bowl and then adding that egg white to the rest, so that if by any chance the egg yolk breaks, it doesn't contaminate all of the whites.
If there is any trace of fat in the whites, they won't whip to the stiff peaks!
Step 3
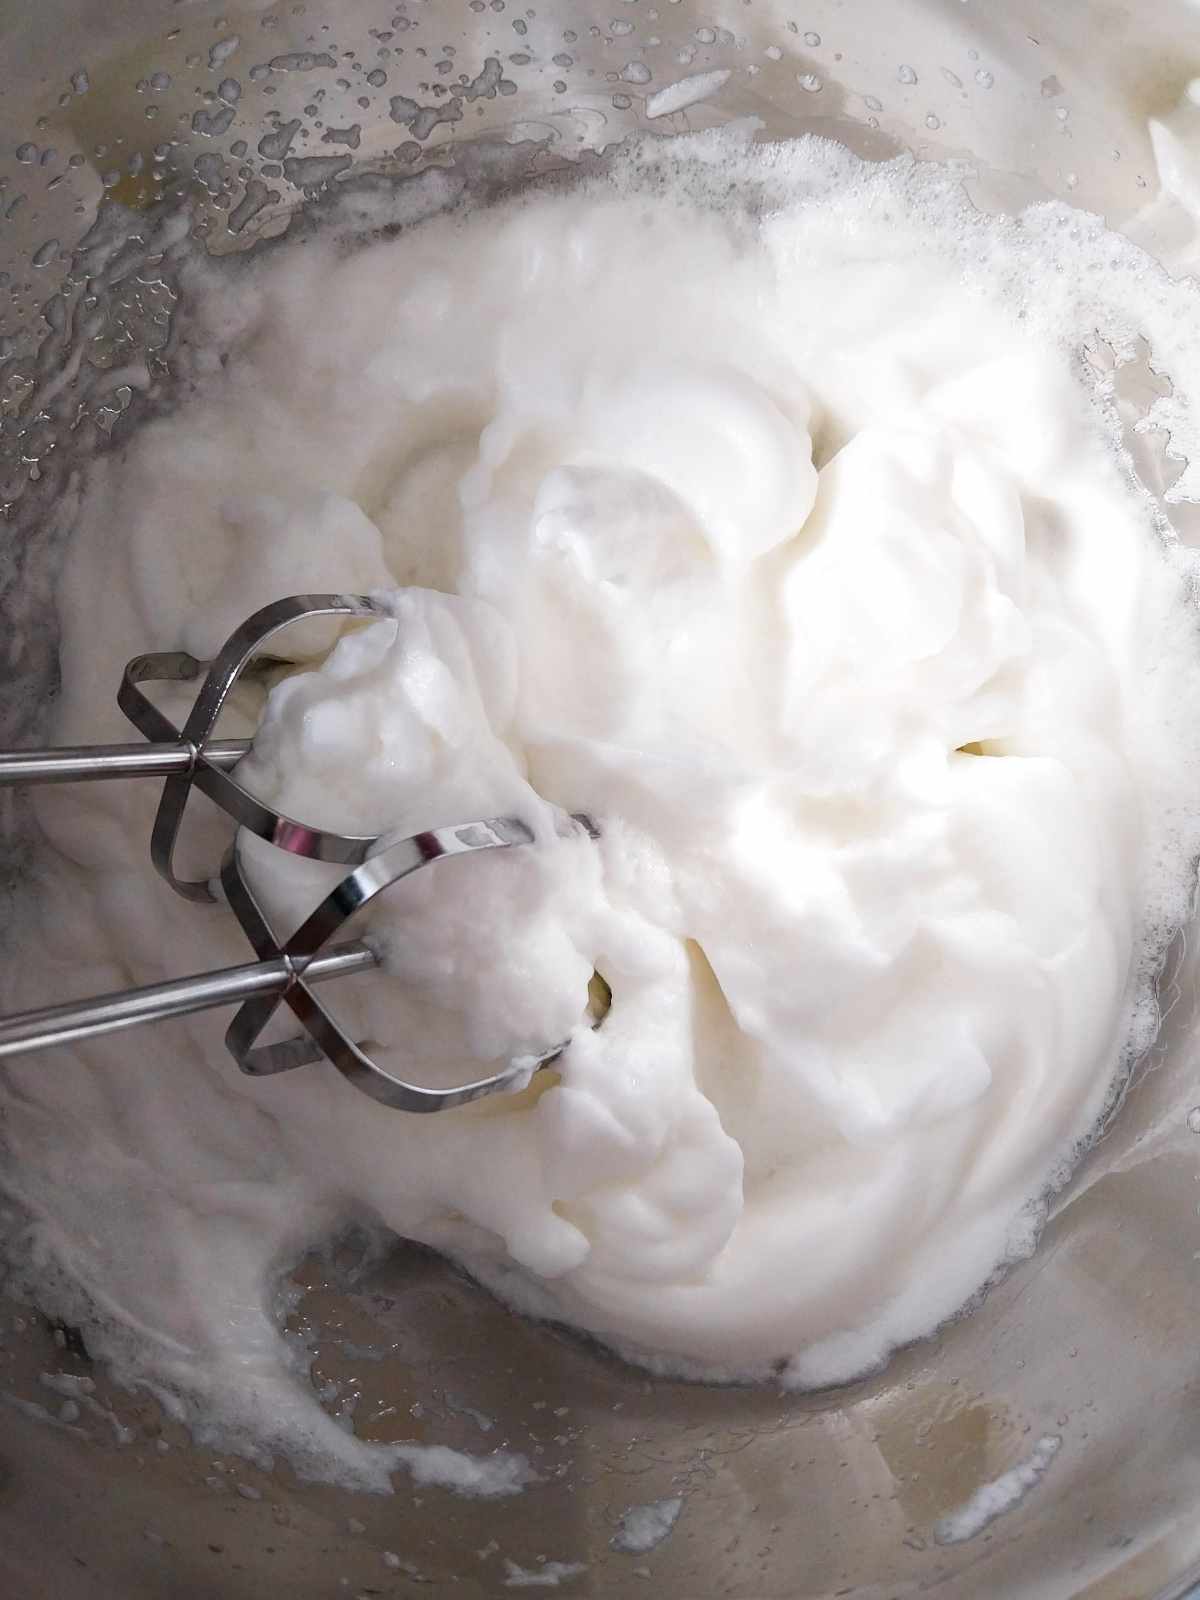
First, beat the egg whites to the consistency of a stiff meringue. It should take you a few minutes at a high speed with an electric mixer.
You can use either a hand or a stand mixer with a whipping attachment.
Step 4
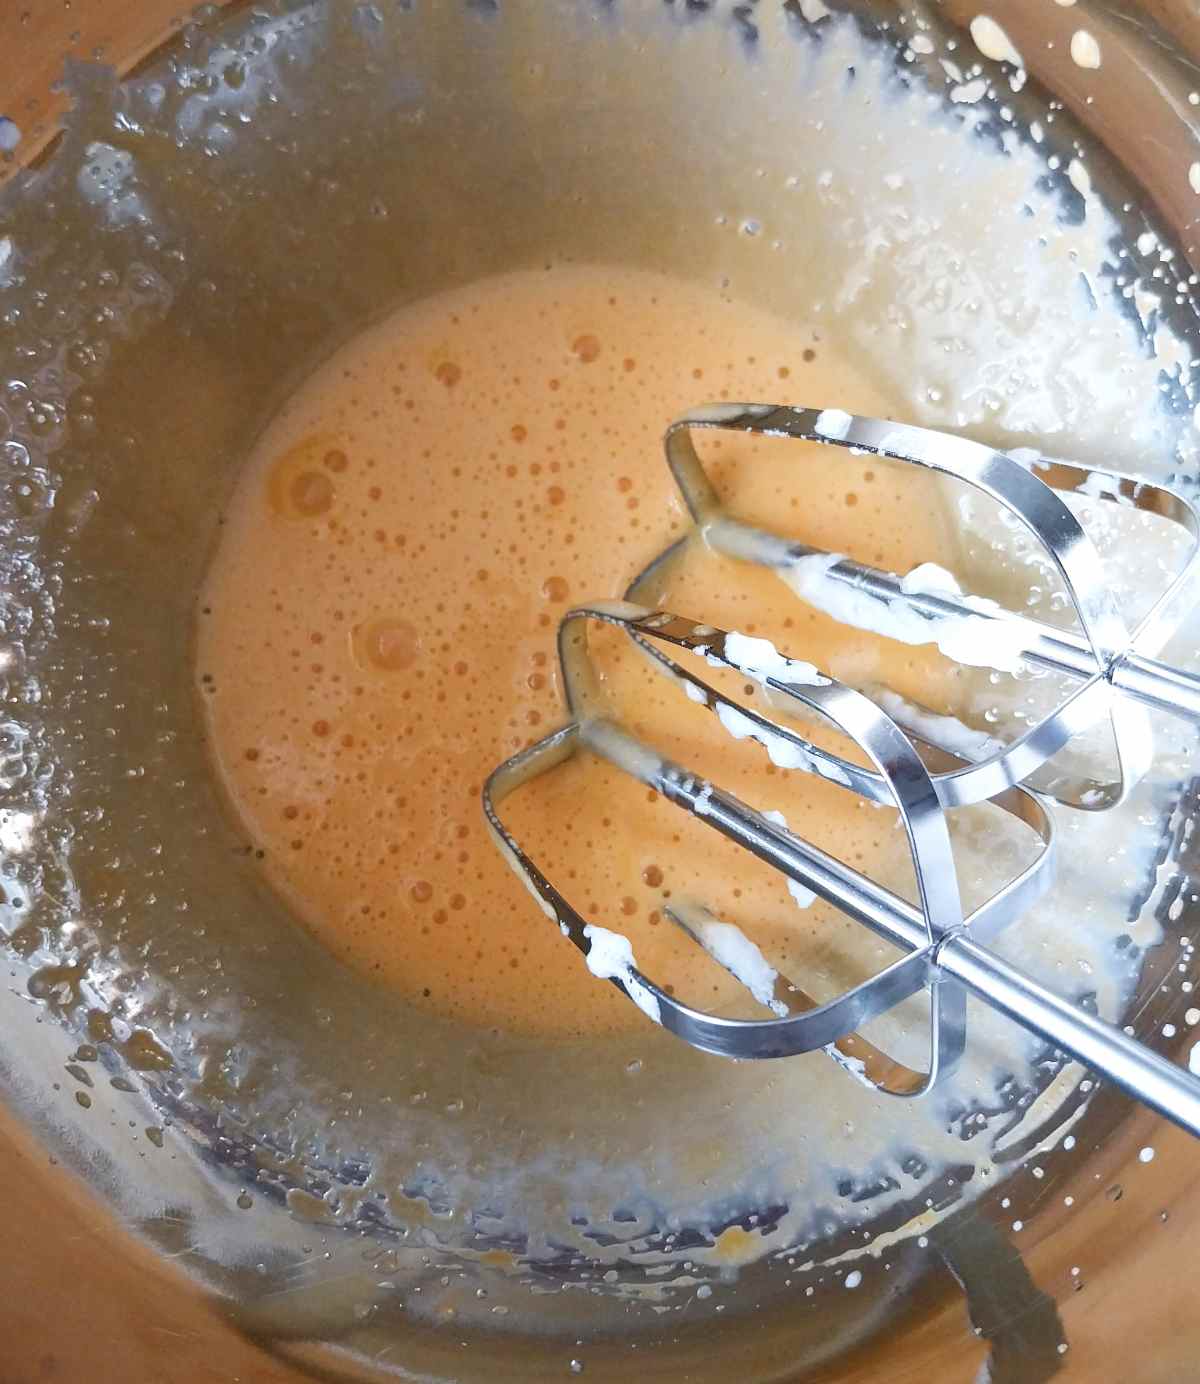
Then, whip the yolks until they become pale in color. Yolks won't puff up nearly as much as the whites.
Step 5

Add psyllium gel to the egg yolks, and mix with an electric mixer until evenly incorporated.
Step 6
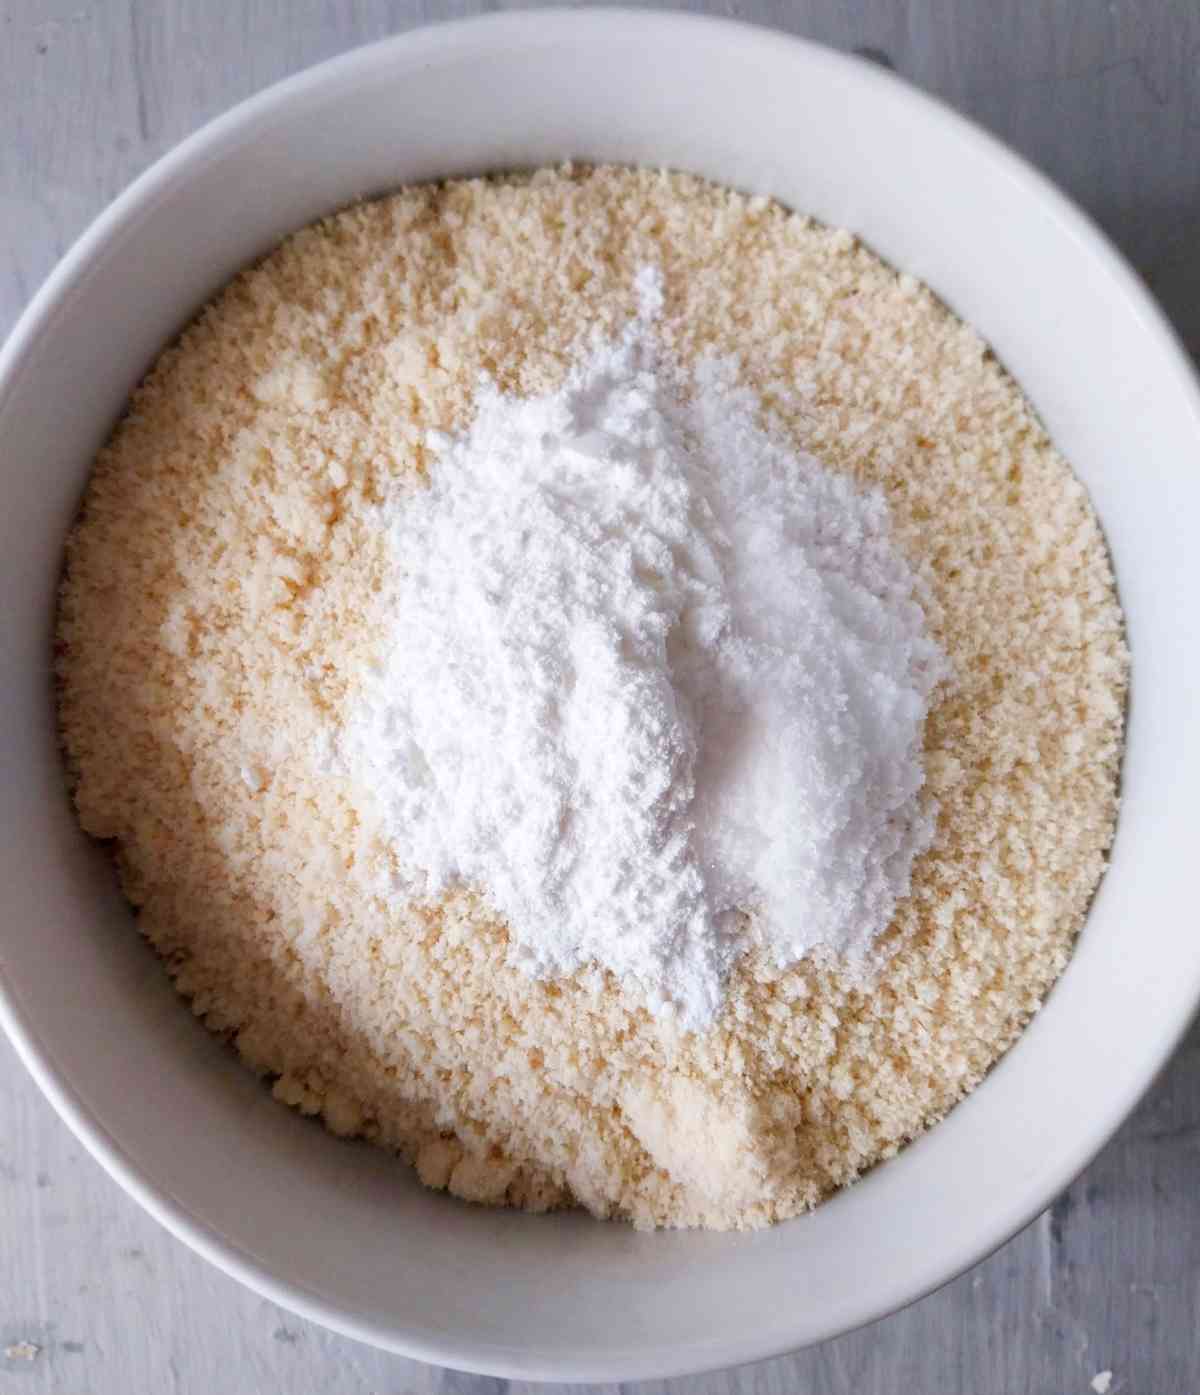
Then, add all the dry ingredients together and mix to combine.
Step 7

Add dry ingredients to the yolks with psyllium and mix using the electric mixer. The mixture will be lumpy, but that is okay for now!
Step 8

Finally, add the pasty dough to the whipped egg whites and mix with the electric mixer until evenly incorporated.
Don't overmix, we want to keep as much air in the dough as possible!
Step 9
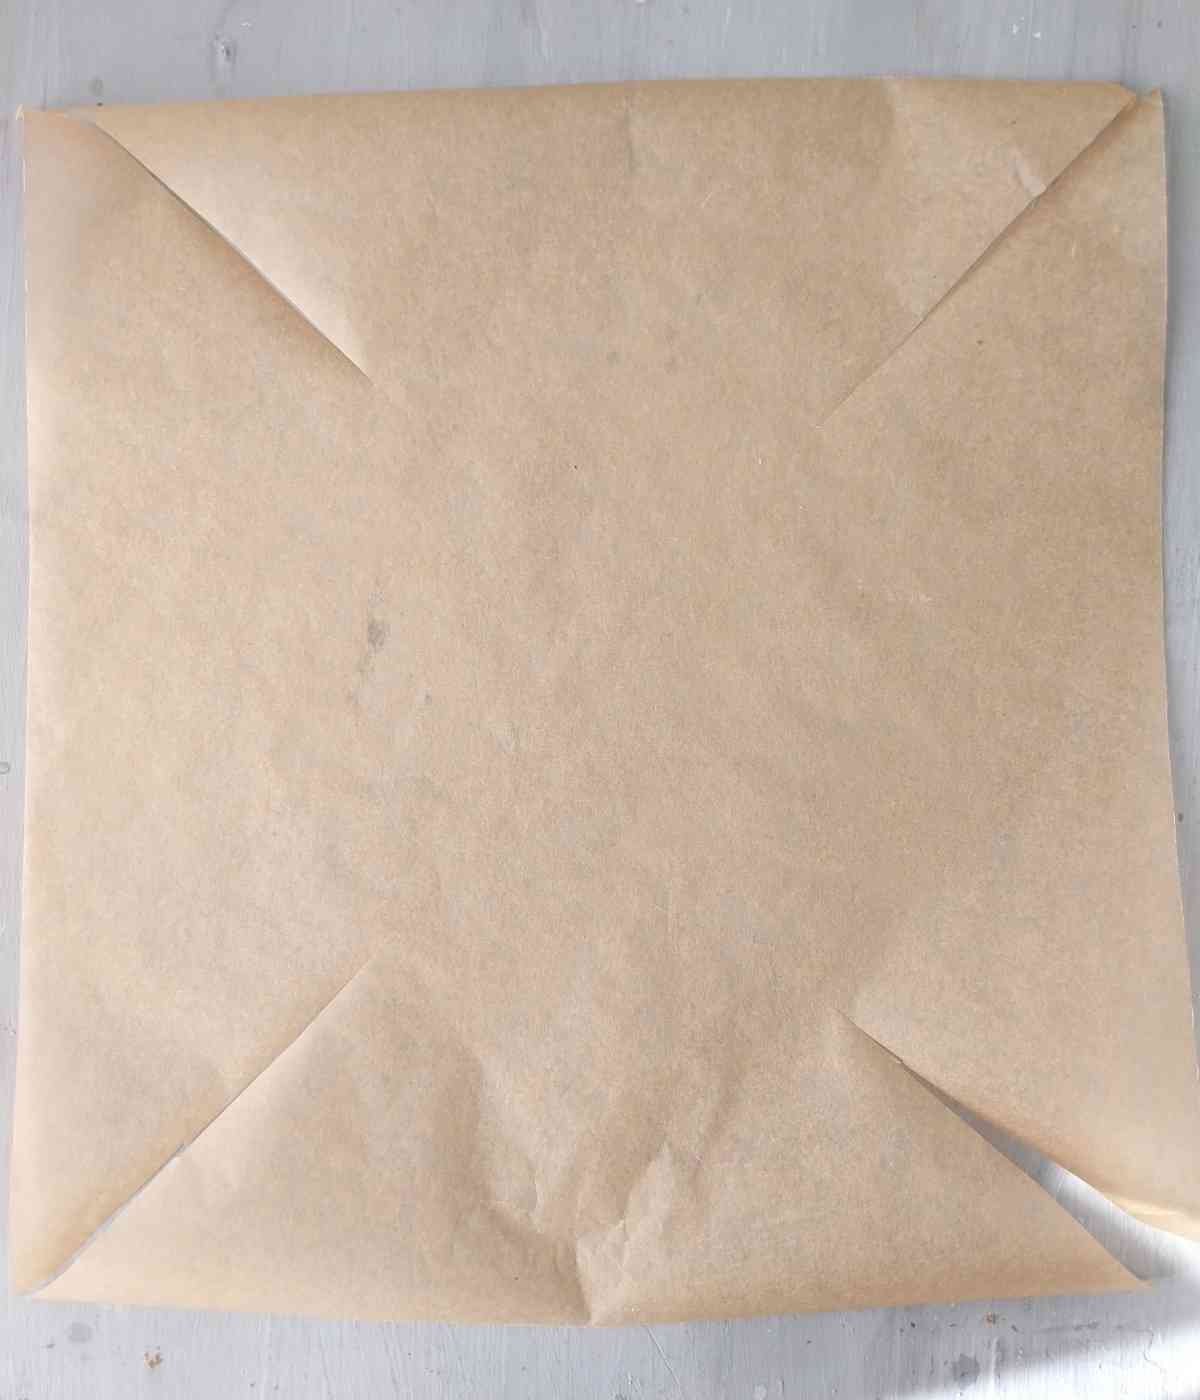
I recommend making cuts in your parchment paper leading from each corner toward the center about ½ of the way.
This will allow you to line the baking pan in its entirety without too many wrinkles.
Step 10

Line the 8x4 inch (20x10 cm) baking loaf with parchment paper. You can also use the traditional 9x4 inch (22.5x12.5 cm) in which case your bread will be flatter and longer (like mine).
You can also use a silicone baking loaf to save baking paper.
Step 11

Finally, transfer the batter to the baking bread pan and bake at 350F/175C for 1 hour. Check your bread after 40 minutes and cover it with foil (shiny side up) if it sarts to brown too much.
Don't use the convection setting as that might dry the outside too soon and leave you with a gummy middle.
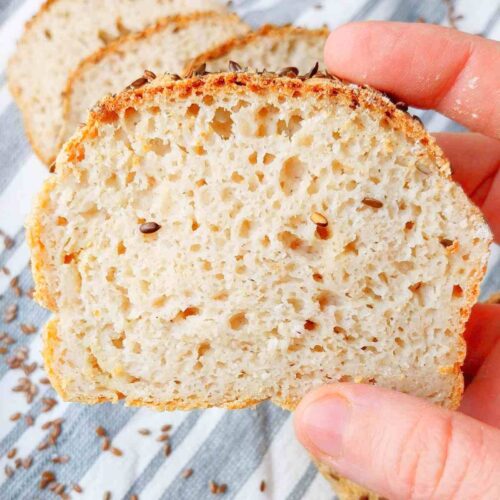
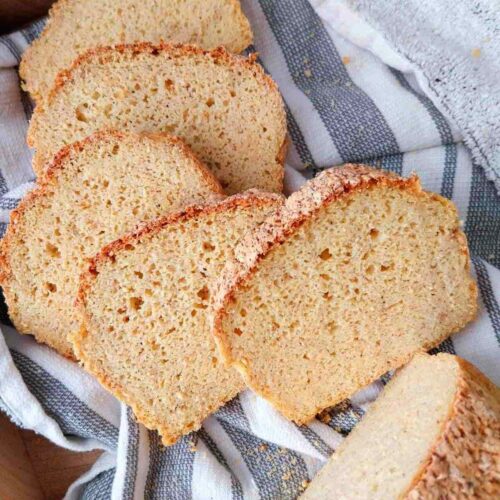
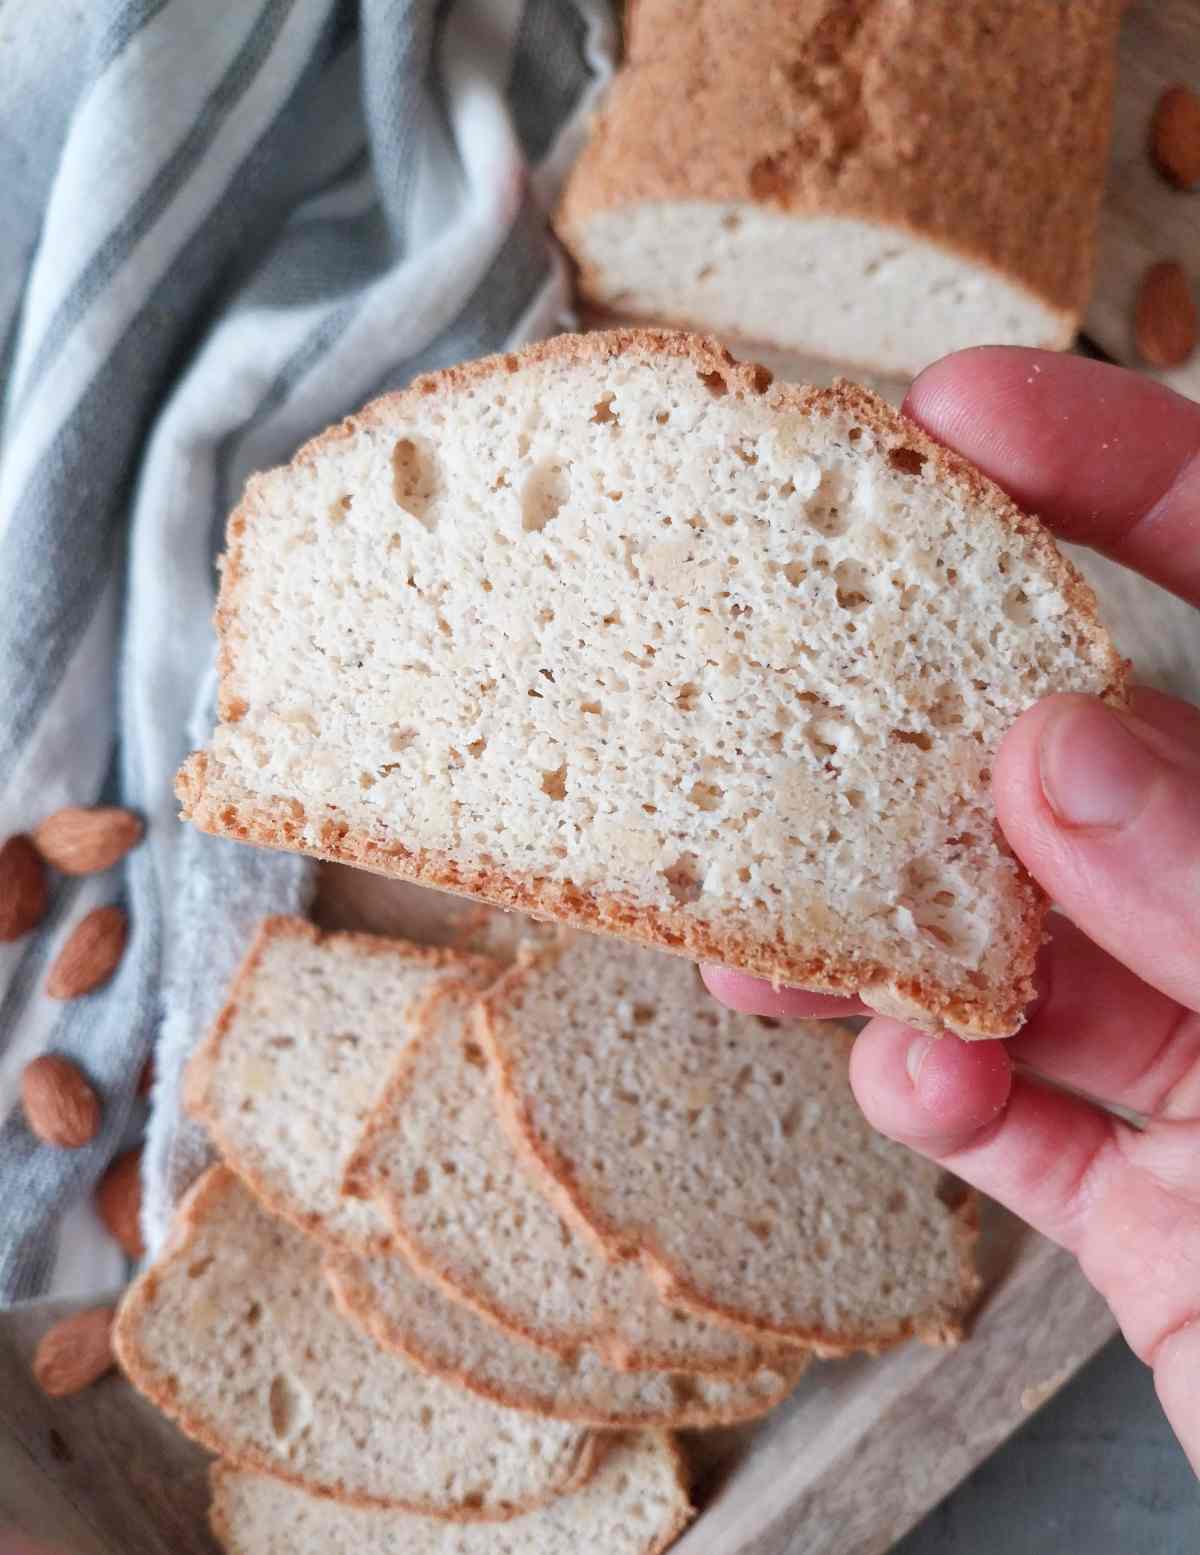
Bake until you see a crusty golden brown exterior. Insert a toothpick or a knife into the bread to ensure it has cooked through. If it comes out clean, you are good to go! Let the bread cool on a wire rack until no longer warm to the touch, then slice!
The bread is still fragile when hot, but it does firm up during cooling.
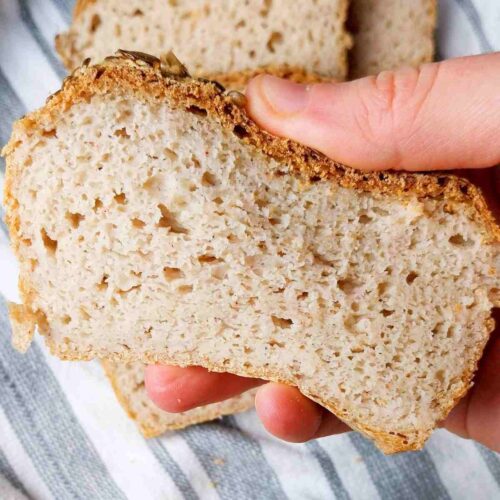
The light yellow spots in the picture are due to me trying to fold the dough into the egg whites instead of using a mixer. I eliminated them once I switched to more aggressive mixing instead of gentle folding!
Hint: avoid storing this bread at room temperature! Due to high moisture, this bread will go moldy in no time if sealed in a bread box or a container at room temperature. I recommend either leaving it uncovered or freezing it (details below).
Storing tips
If storing at room temperature, leave the bread uncovered. If you seal it in a bread box or a container, it will go moldy within a couple of days. Not a sight you want to witness! On the other hand, if the bread gets hard and dry, use it for French toast or croutons.
You can also keep the bread covered in the fridge (up to 5 days) but I recommend freezing! To freeze:
- Slice the bread with a serrated knife
- Arrange the slices on a tray and place it in the freezer
- After about 30 minutes, transfer the slices into an air-tight container or a freezer bag
- Keep for 3-6 months.
Or, alternatively, you can simply put pieces of parchment paper between the slices and freeze the bread in a container right away.
To reheat:
- Pop the sliced into the microwave for 30 seconds
OR
- Reheat in a toaster.
Serving suggestions
You can make delicious grilled cheese with avocado, or a ham sandwich, or eat this bread along with soups and stews. I especially like it with this hearty Ukrainian borscht!
If you have a sweet tooth, try it with homemade elderberry, plum, or apple plum jams plus some homemade almond or peanut butter.
Variations
You can spice this low-carb bread up a bit to get some variety in your diet! Here are some savory ideas:
- Add seeds to the top before baking (sunflower, pumpkin, chia, sesame seeds will work!)
- Add black or green chopped olives and sundried tomatoes to the dough (might need to reduce the liquids)
- Add dry herbs like rosemary, thyme, basil, or even curry to add a twist to the flavor
- Throw in some garlic or onion powder
Sweet almond bread variations:
- Add sugar and cinnamon
- Add chopped dry fruit (raisins, pineapple, mango, etc.)
- Add chopped nuts (walnuts, pecans, or cashews)
What gluten-free flour is low in carbs?
This is the gluten-free flour comparison chart from the Coconut Mama website that lists flours from lowest to highest in their carb content. The portion size is ¼ cup.
| Flour | Calories | Total carbs | Fiber | Net carbs | Fat | Protein |
| Almond flour | 170 | 5 g | 3 g | 2 g | 15 g | 6 g |
| Flaxseed flour (meal) | 140 | 8 g | 6 g | 2 g | 9 g | 6 g |
| Soy flour | 100 | 10 g | 5 g | 5 g | 0 g | 15 g |
| Peanut flour | 130 | 11 g | 5 g | 6 g | 4 g | 14 g |
| Cassava flour | 130 | 31 g | 2 g | 29 g | 0 g | 0 g |
| Semolina flour | 160 | 33 g | 1 g | 32 g | 1 g | 6 g |
| Rice flour | 150 | 34 g | 0 g | 34 g | 0 g | 2 g |
| Potato flour | 160 | 38 g | 3 g | 35 g | 0 g | 3 g |
| Banana flour | 160 | 40 g | <1 g | 40 g | 0 g | 1 g |
While this chart doesn't cover ALL gluten-free flours, it does go over some. Almond and coconut flours are considered the lowest in carbohydrates and are most suitable for the keto diet, for example.
Almond flour is also a source of fat, protein, fiber, vitamin E, manganese, magnesium, copper, and phosphorus.
Expert tips
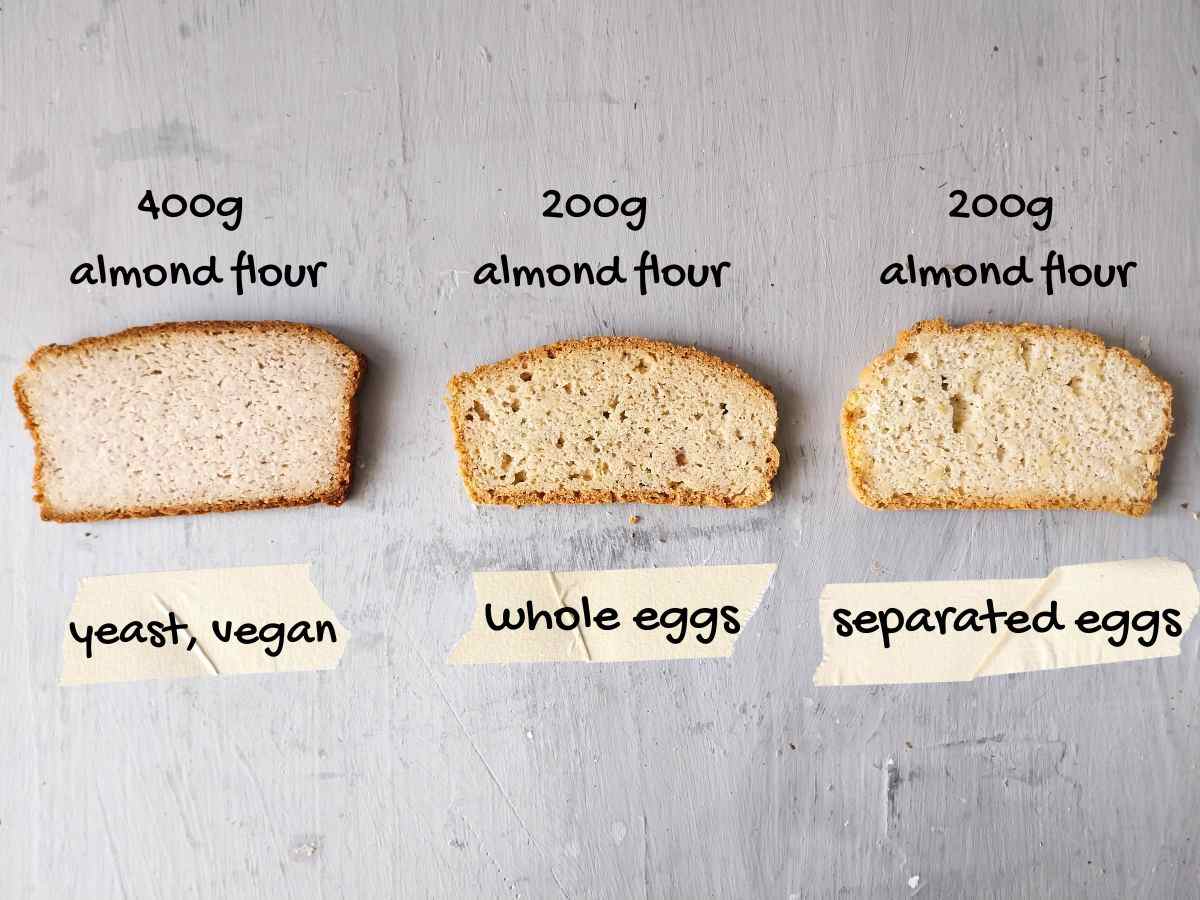
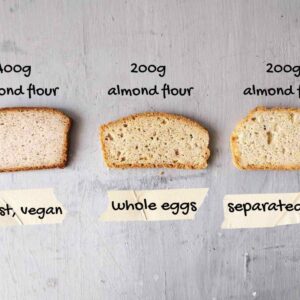
- Don't skip separating and whipping yolks and whites. This will make your bread extra airy! In the picture, you can see what bread without eggs, with whipped whole eggs, and with separated whipped eggs look like. The third one is definitely a winner!
- Make sure your baking powder is gluten-free. Baking powder consists of baking soda, an acidic agent, and an anti-caking agent which might contain wheat.
- Use a kitchen scale to measure the ingredients by weight instead of cups. Almond bread is delicate and requires high precision!
- If you live at a high altitude, you might need to add liquids or increase the baking time.
FAQ
There could be a few reasons:
- baking powder wasn't fresh;
- you opened the oven during the first 40 min of baking;
- you sliced the bread while it was still hot;
- you didn't use a digital scale.
You can toast your bread to get rid of extra moisture!
Make sure you are:
- using a digital scale;
- using psyllium husk;
- letting the bread cool completely before slicing.
You should be able to make this recipe in a bread machine with the "quick bread" setting.
Your oven temperature might be off (some ovens run hot or cold) or the bread needs more time to bake through.
More like this
Looking for more gluten-free bread recipes? Try these:
Get my new
Gluten-Free Bread Recipes eBook
The top 26 recipes of 2026! Includes a bonus conversion chart for gluten-free flour.
Easy Low-Carb Gluten-Free Bread
Equipment
- 1 electric mixer
- 1 8x4'' or 9x5'' baking loaf pan
Ingredients
- ½ cup water
- 10 grams whole psyllium husk I don't recommend using powder
- 4 large eggs
- 200 grams almond flour finely-milled
- 2½ teaspoon baking powder make sure it is fresh
- 6 g sea salt
SAVE THIS RECIPE!💌
Instructions
- Start preheating the oven to 350F/175C. Add psyllium husk and water in a medium bowl and whisk immediately to prevent lumps. Set the bowl aside to let psyllium gel form.
- Separate egg yolks from egg whites. It is very important that none of the yolks get into the whites, not even a little drop. This is why I recommend separating each egg in a different bowl and then adding that egg white to the rest, so that if by any chance the egg yolk breaks, it doesn't contaminate all of the whites.If there is any trace of fat in the whites, they won't whip to the stiff peaks!
- First, beat the egg whites to the consistency of a stiff meringue. It should take you a few minutes at a high speed with an electric mixer.You can use either a hand or a stand mixer with a whipping attachment.
- Then, whip the yolks until they become pale in color. Yolks won't puff up nearly as much as the whites.
- Add psyllium gel to the egg yolks, and mix with an electric mixer until evenly incorporated.
- Then, add all the dry ingredients together and mix to combine.
- Add dry ingredients to the yolks with psyllium and mix using the electric mixer. The mixture will be lumpy, but that is okay for now!
- Finally, add the pasty dough to the whipped egg whites and mix with the electric mixer until evenly incorporated. Don't overmix, we want to keep as much air in the dough as possible!
- I recommend making cuts in your parchment paper leading from each corner toward the center about ½ of the way. This will allow you to line the baking pan in its entirety without too many wrinkles.
- Line the 8x4 inch (20x10 cm) baking loaf with parchment paper. You can also use the traditional 9x4 inch (22.5x12.5 cm) in which case your bread will be flatter and longer (like mine). You can also use a silicone baking loaf to save baking paper.
- Finally, transfer the batter to the baking bread pan and bake at 350F/175C for 1 hour. Check your bread after 40 minutes and cover it with foil (shiny side up) if it is starting to brown too much. Don't use the convection setting as that might dry the outside too soon and leave you with a gummy middle.
- ake until you see a crusty golden brown exterior. Insert a toothpick or a knife into the bread to make sure has cooked through. If it comes out clean, you are good to go! Let the bread cool on a wire rack until no longer warm to the touch, then slice! The bread is still fragile when hot, but it does firm up during cooling.
Notes
- Slice the bread with a serrated knife
- Arrange the slices on a tray and place it in the freezer
- After about 30 minutes, transfer the slices into an air-tight container or a freezer bag
- Keep for 3-6 months.

Linda Hyde Hyde says
I have it in the oven, can't wait. I noticed on the gluten free low carb chart, however, that semolina flour is listed as gluten free, which it is not. FYI
M says
In another recipe you mentioned starter could be incorporated in this recipe. can you explain how that would be done, and how instructions would change?
Natasha Levai says
Everything would stay the same, just add some starter discard. You can start small with 100g and if that turns out well, you can try to increase the starter amount. It won't be the sourdough bread that is fermented for hours with the sour flavor, it will just be an almond loaf with some starter discard incorporated into it.
Sheena says
Can you use this same recipe for muffins?
Natasha Levai says
Hi Sheena! This recpie is not sweet, so muffins wouldn't be sweet either. Otherwise I haven't tried this bread in muffin tins! You can give it a go and let me know how it goes!
Devi says
Love this! Thanks Natasha for this great post. From past one year I have been using Low carb avenue's bread for my low carb diet. Now I'm very excited to try this recipe on my own.
Natasha Levai says
Excited for you! 🙂