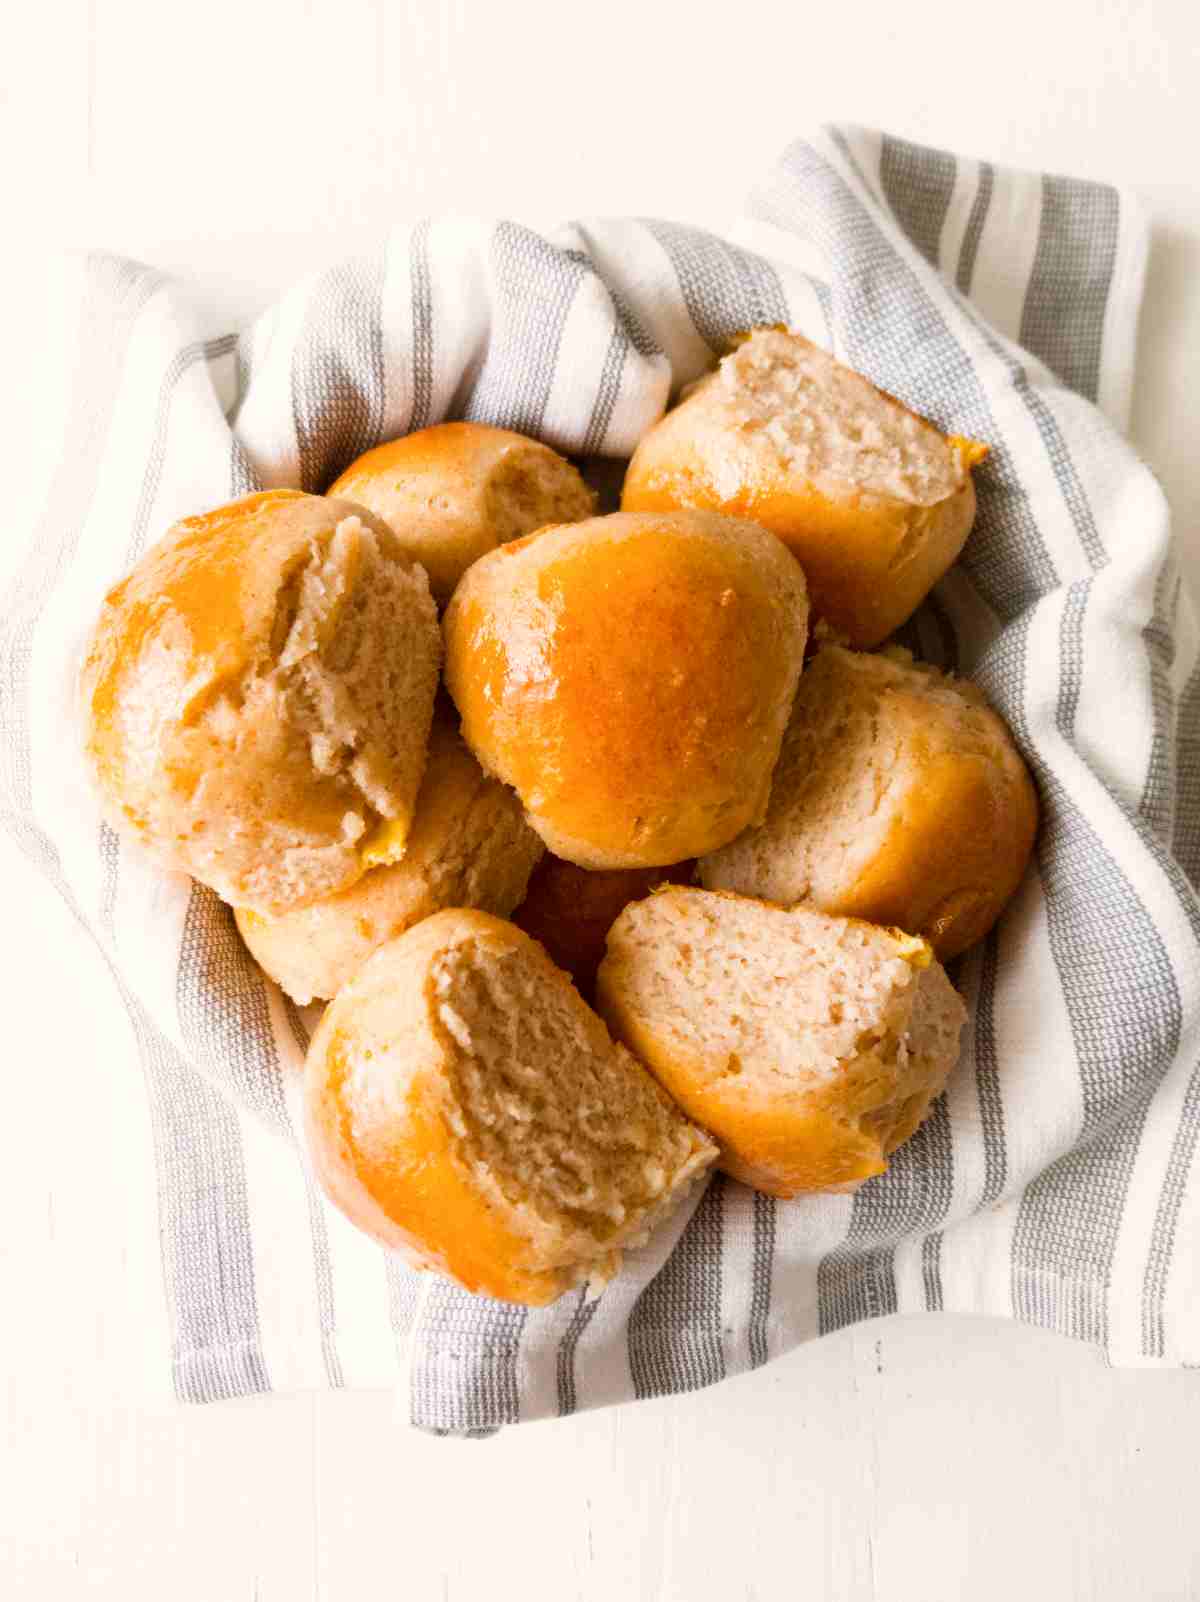
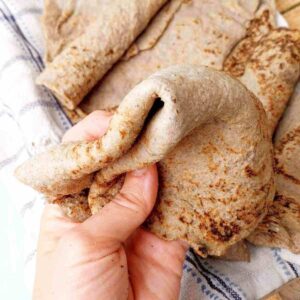
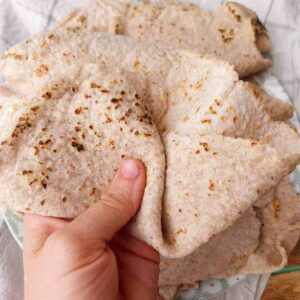
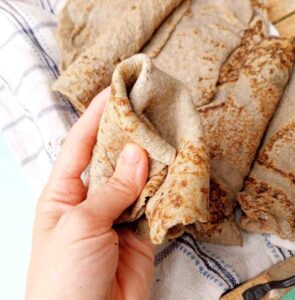
These gluten-free sourdough rolls are soft, fluffy, pillowy, chewy, and flavorful just like the "regular" good old dinner rolls! They can be made with starter discard if you add yeast. You can even use them instead of gluten-free slider buns for a tailgate party!
Jump to:
Why You Will Love This Recipe
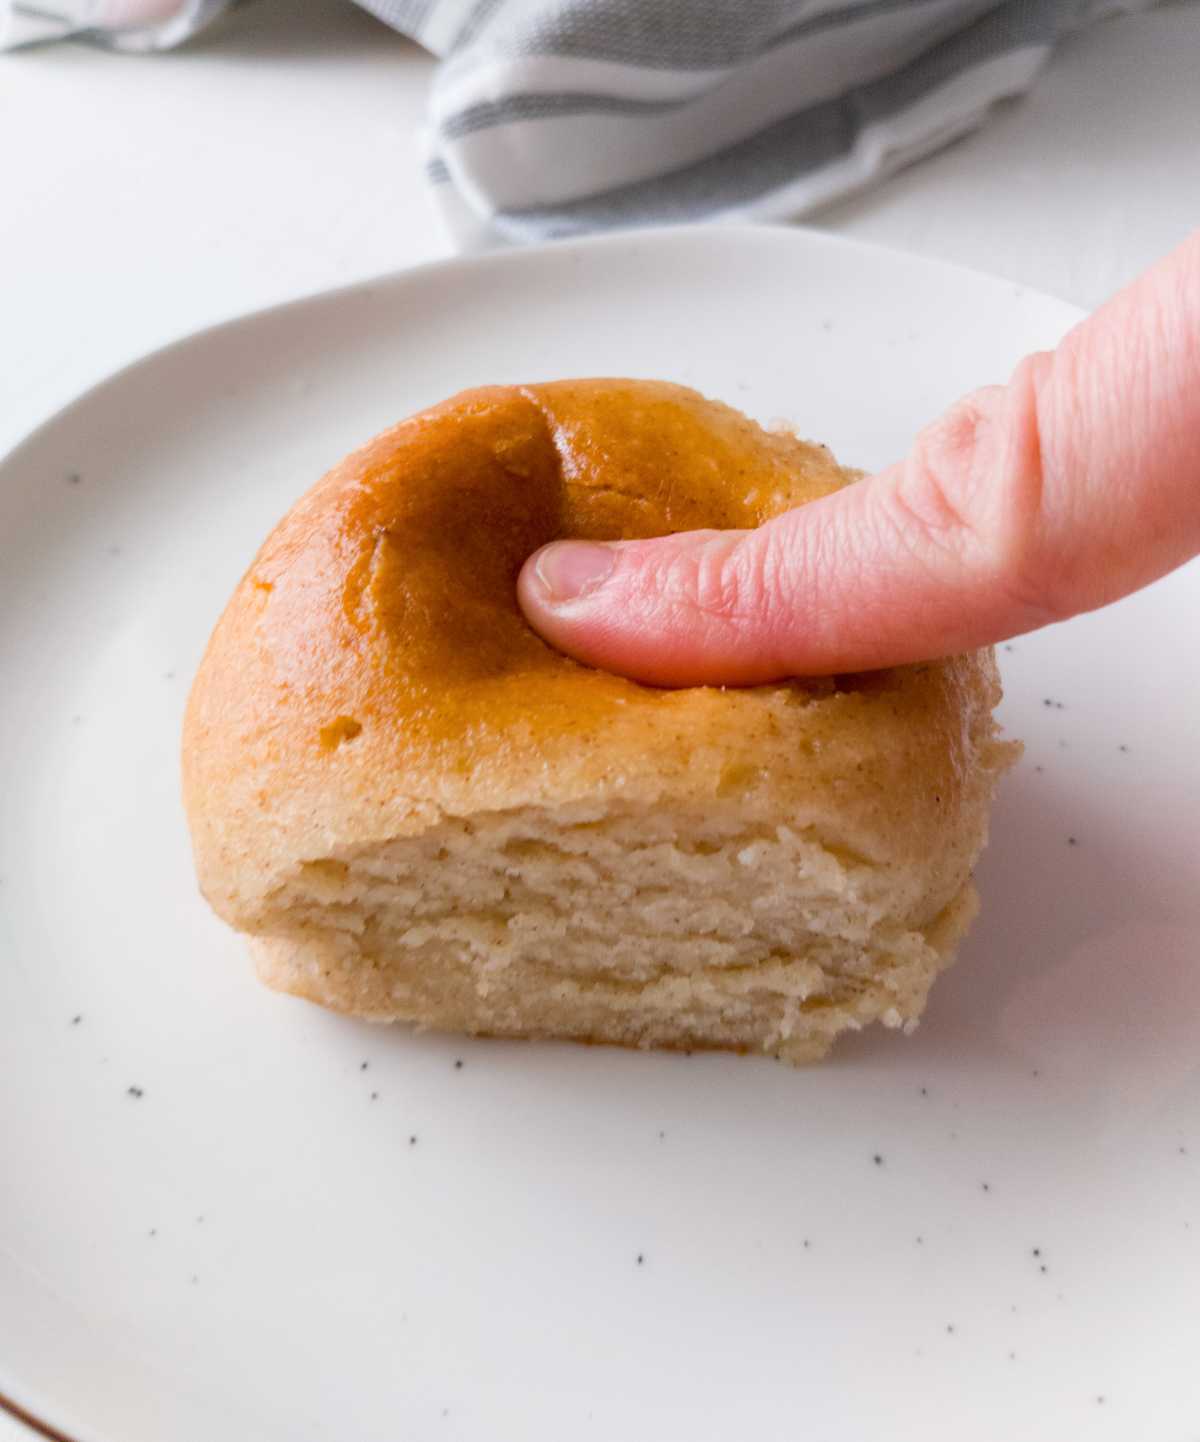
- Texture. These rolls are incredibly soft, fluffy, and moist!
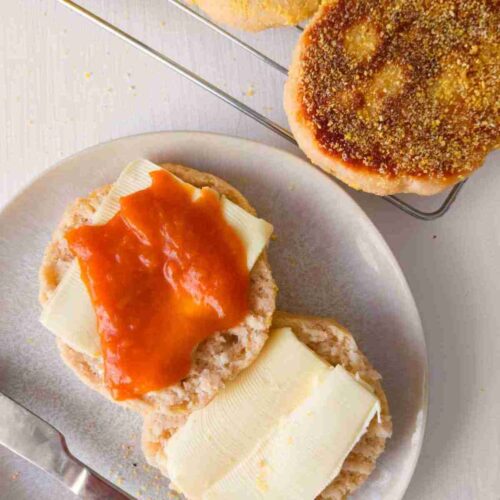
- Flavor. No grittiness here! Tastes just like a good old dinner roll. You can also use them as hamburger buns. For xanthan gum-free buns check out my sourdough buns recipe!
- Easy. These dinner rolls only need one rise before baking!
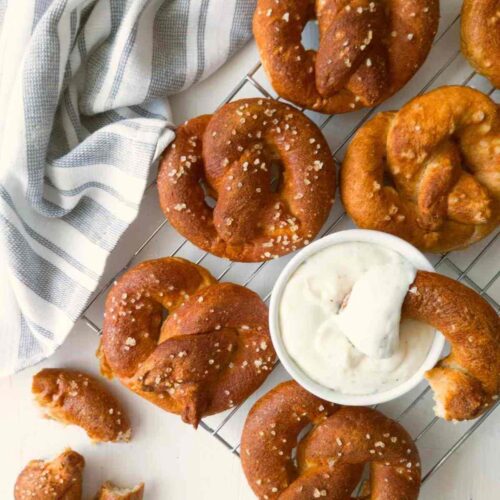
Note: you might also like my sourdough naan bread, bagels with discard, and sourdough soft pretzels!
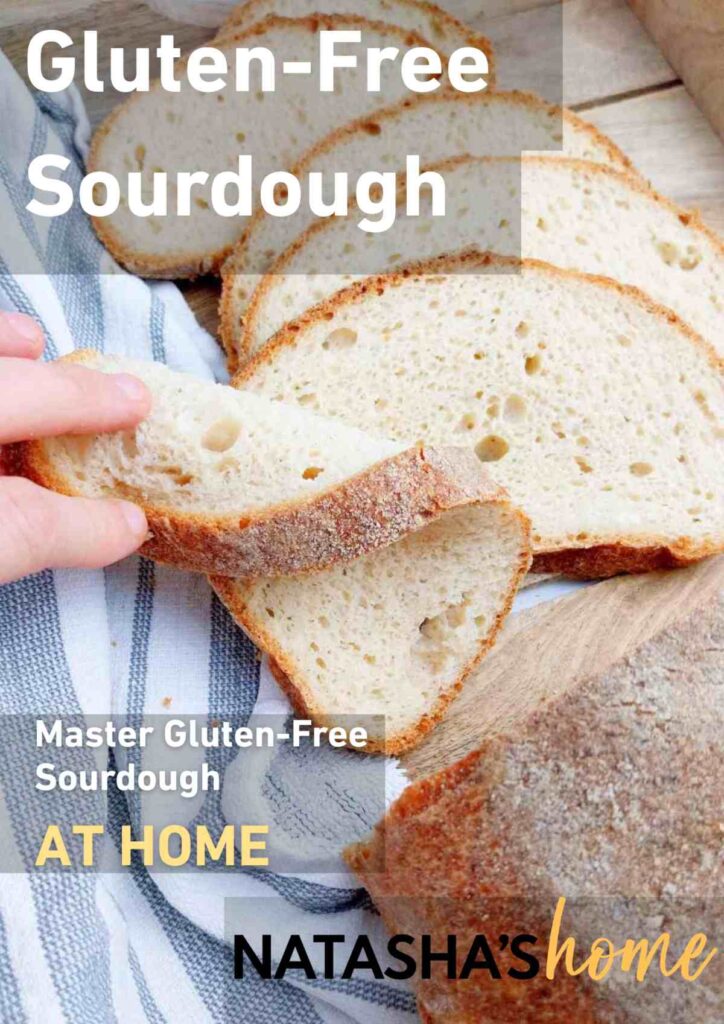
New to gluten-free sourdough? Watch my 16-minute video tutorial for beginners!
What Is A Sourdough Starter?
A sourdough starter is a wild yeast that is used to bake sourdough bread. You can easily make it at home with flour, water, and a little bit of patience! For more details, read my gluten-free starter guide.
Ingredients
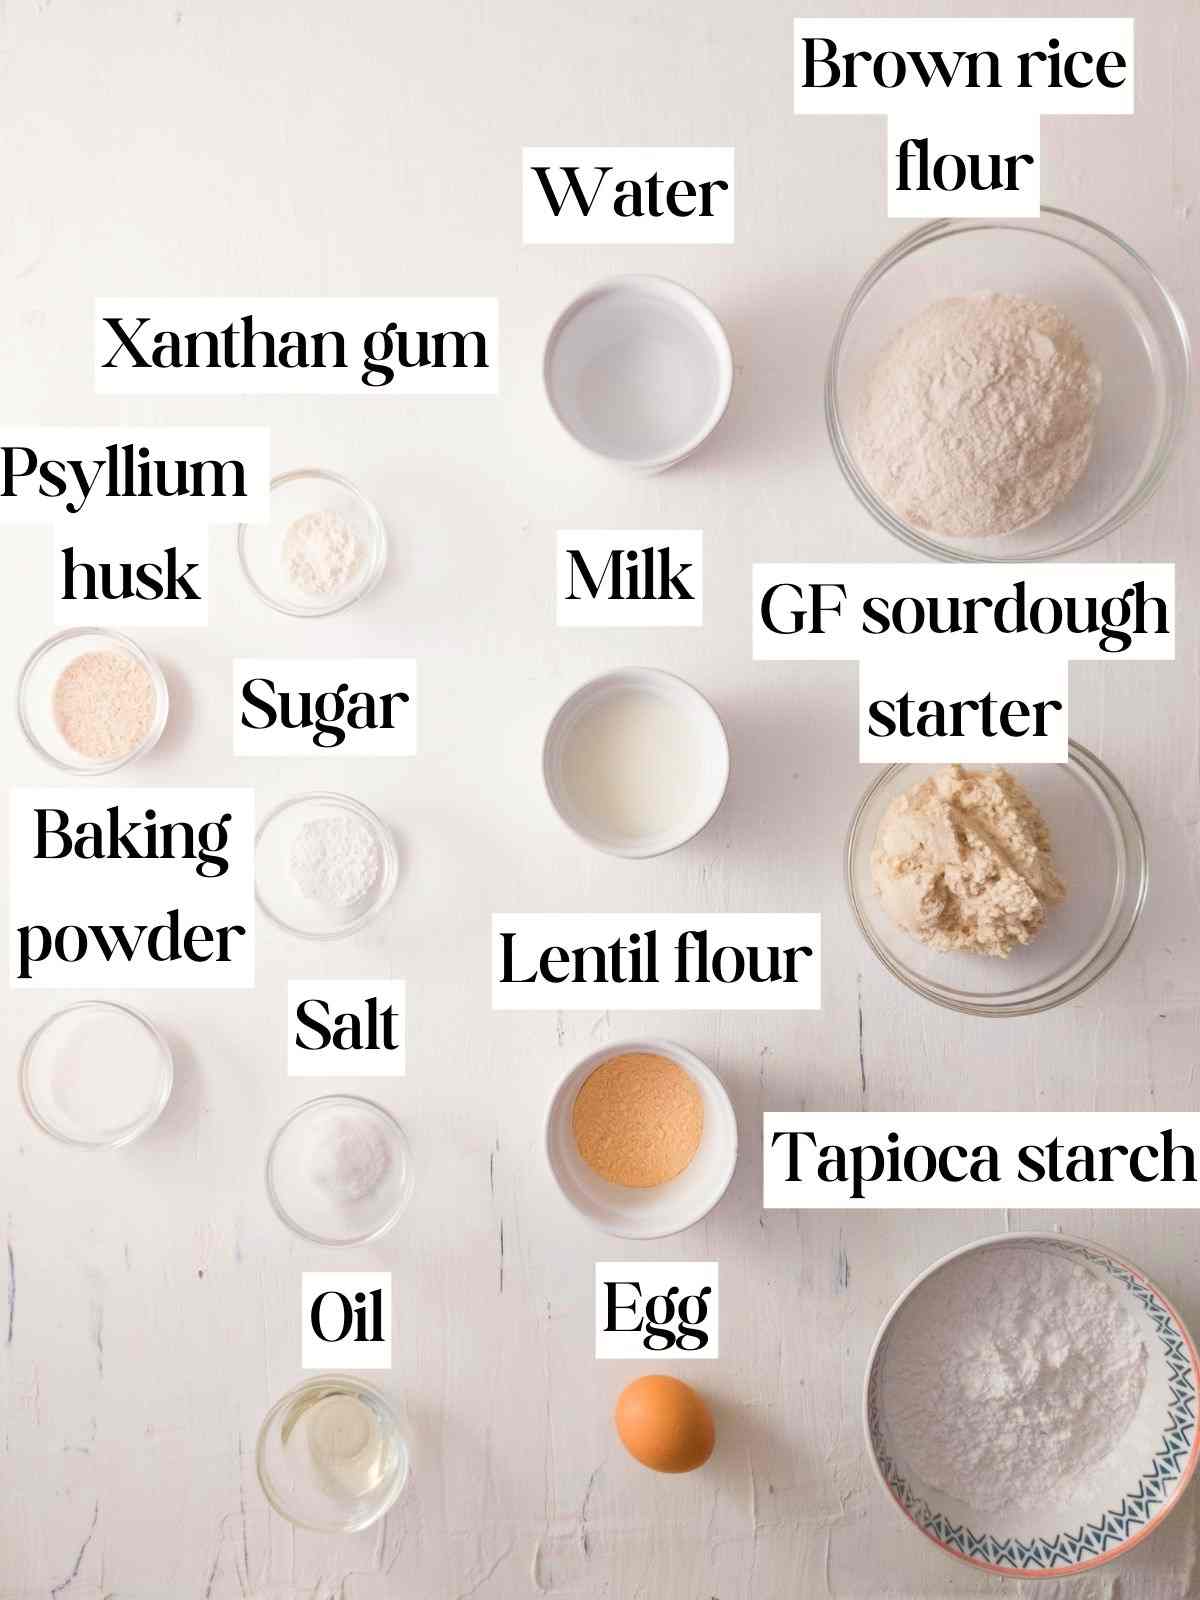
Psyllium husk - you can use whole husks or powder. There are two types of psyllium powder, one is finer than the other. Normally they won't tell you on the package which type it is but they do behave differently. If you are using the super fine type, you need less of it! To see the difference go to my psyllium husk instructions post.
Xanthan gum - I am using both psyllium husk and xanthan gum in this recipe for the best texture!
Egg - use a room-temperature egg.
Oil - I used sunflower oil.
Gluten-free sourdough starter - you can use a mature starter at its peak activity or starter discard with the addition of regular yeast.
Substitutions
Tapioca starch (same as tapioca flour) - you can use arrowroot starch. You can also use cornstarch/potato starch but your rolls might not be as chewy.
Brown rice flour - you can use millet flour instead.
Lentil flour - use gluten-free oat flour, sorghum flour, or white teff flour instead.
Sourdough starter - you can make these gluten-free dinner rolls with yeast instead of sourdough starter, for that, omit the starter and use 8g of active dry yeast.
Psyllium husk - there is no good substitute for psyllium husk other than psyllium husk powder. If using powder, use 8.5 grams and add it to the dry ingredients instead of the water. Do not reduce the water amount! You will need to let the dough sit for psyllium husk to absorb the liquids.
Xanthan gum - I am using both psyllium husk and xanthan gum in this recipe for the best texture. For the best results, use both.
Milk - use plant-based milk for a dairy-free version.
Egg - you can use ¼ cup of applesauce or a chia (or flax) egg.
Sugar - you can use honey or maple syrup instead.
Step-By-Step Instructions
Step 1 - Mix the dough
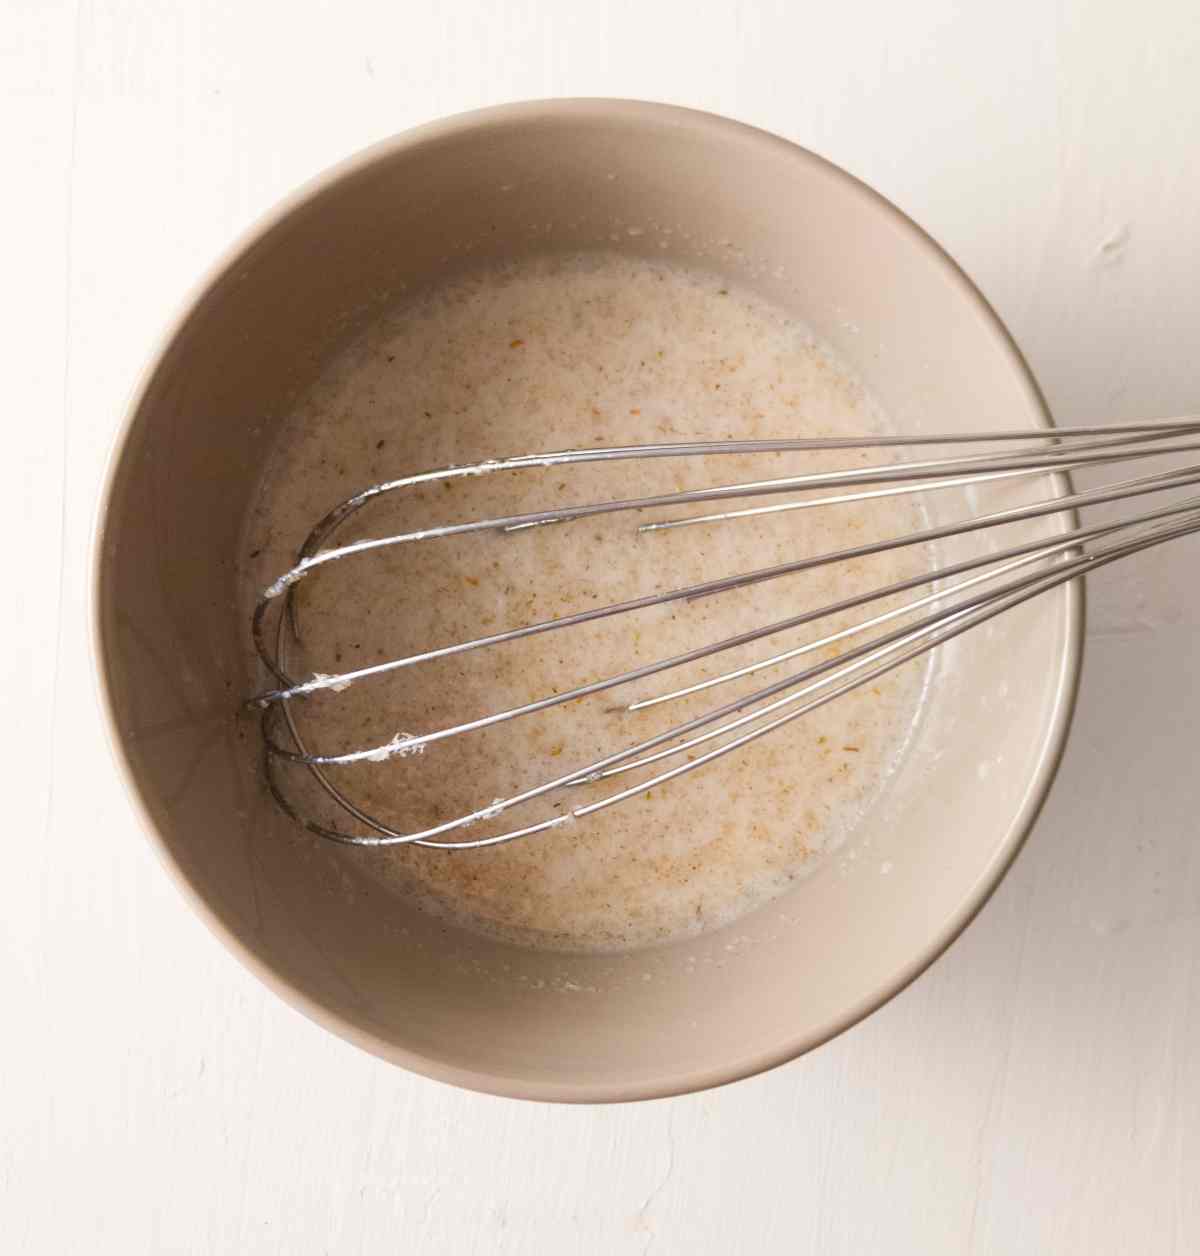
Add psyllium husk, sugar, oil, milk, and water to a medium-sized bowl and whisk to combine. Set aside for a couple of minutes for psyllium gel to form.
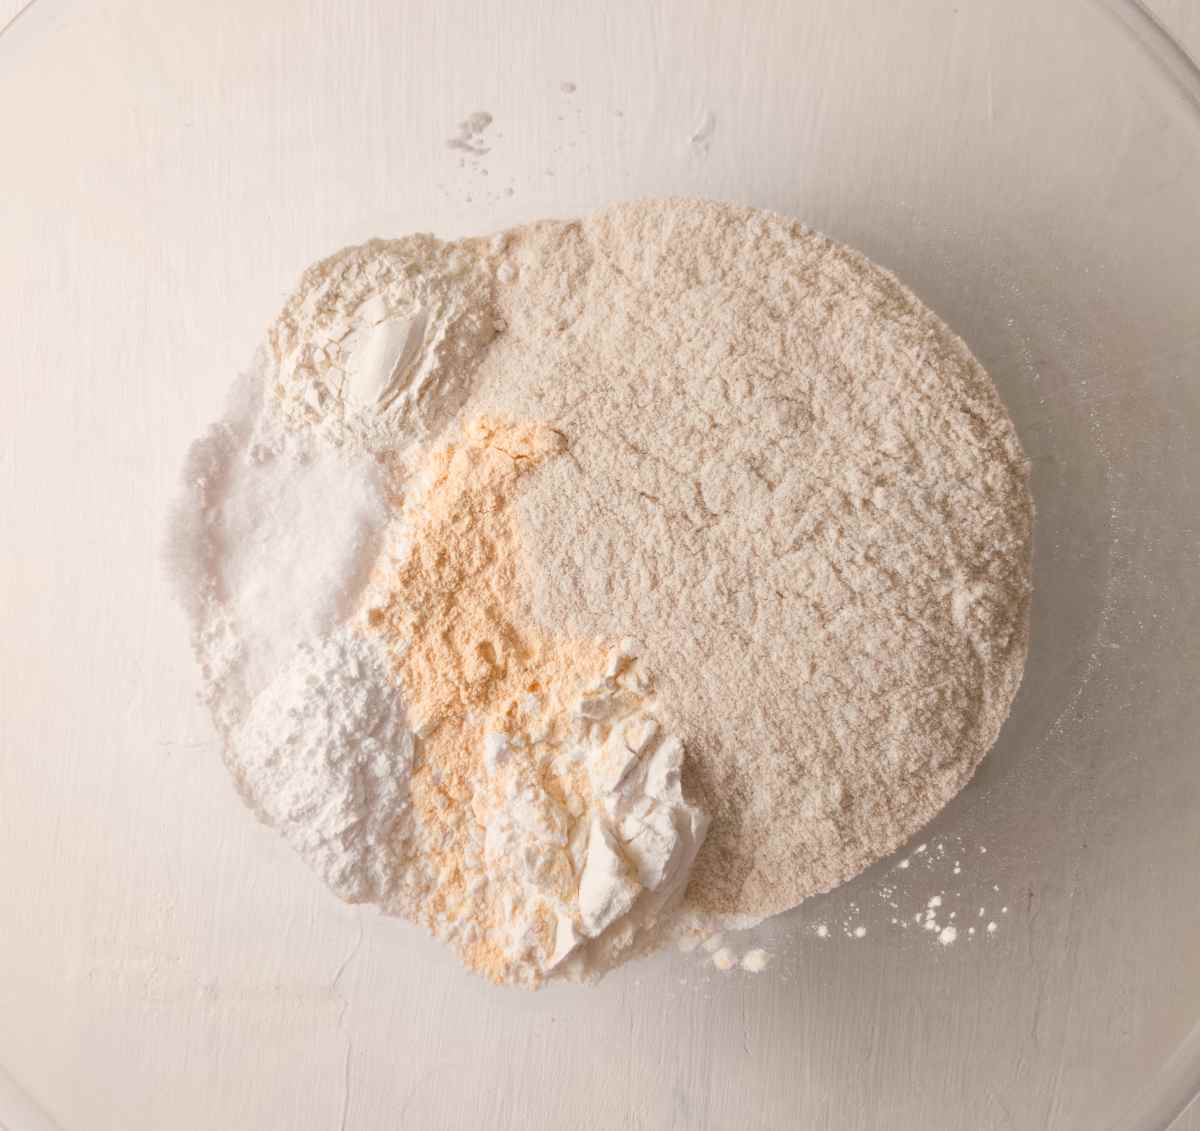
Add dry ingredients to the bowl of a stand mixer (or a large mixing bowl) and whisk to combine.
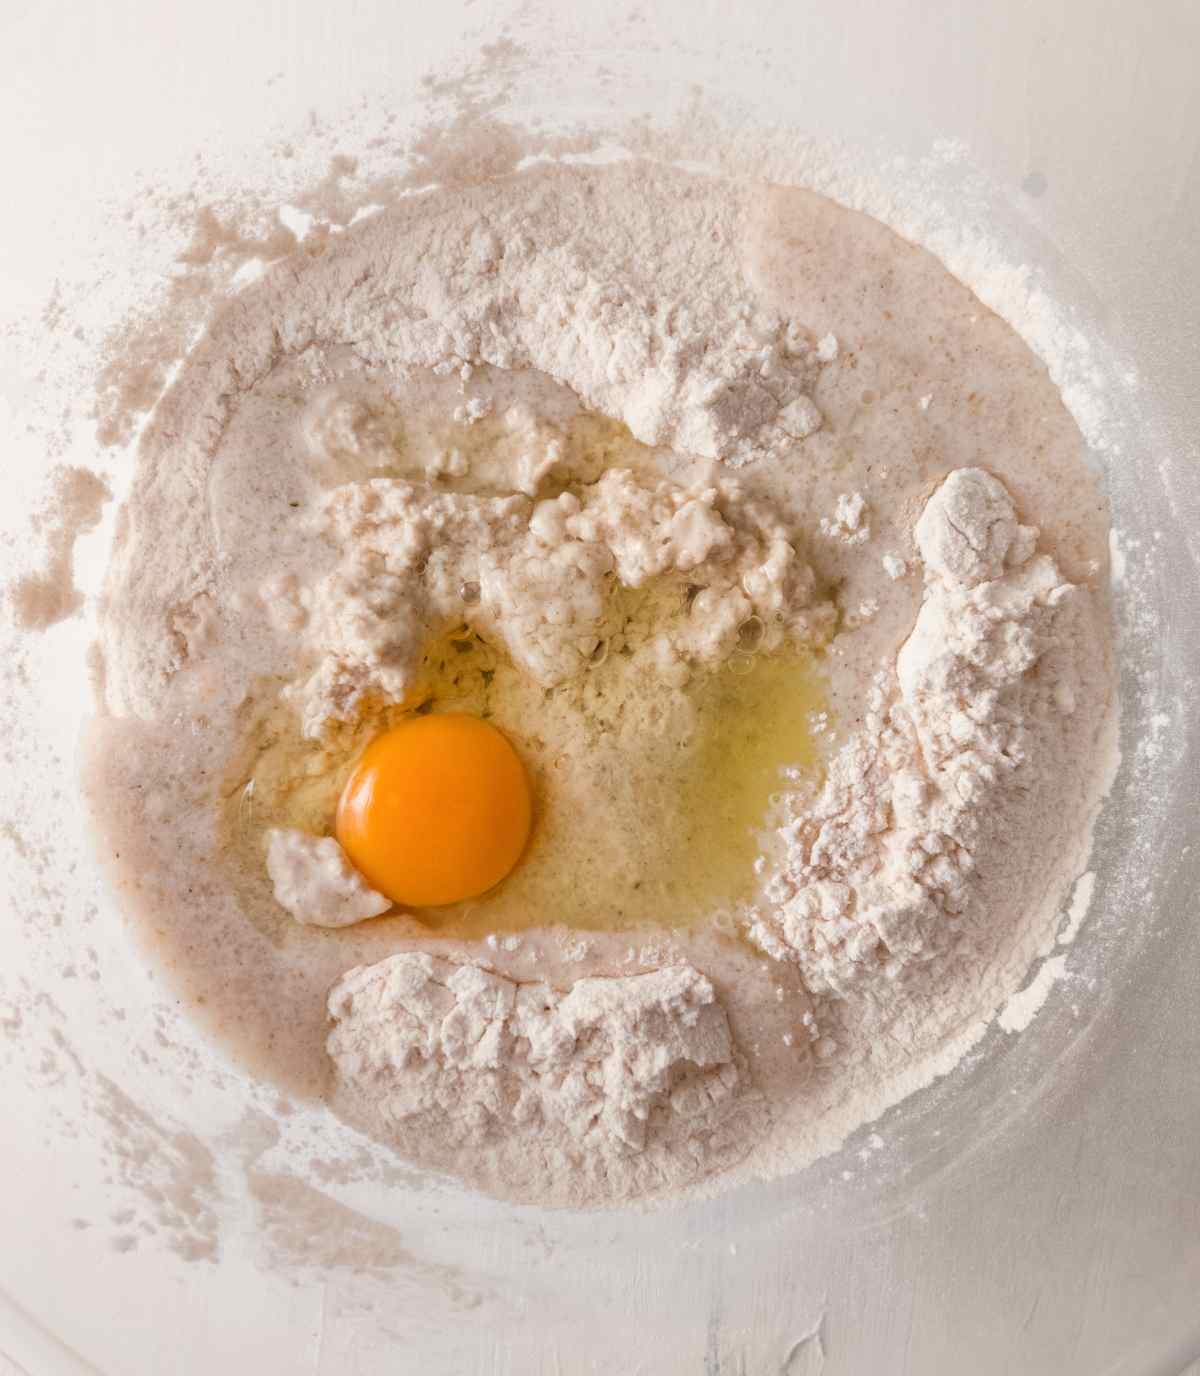
Once psyllium gel is ready, add it to the dry ingredients along with the egg and the sourdough starter. If you are using starter discard, then add 7g of dry active/instant yeast or 20g of fresh yeast at this point.
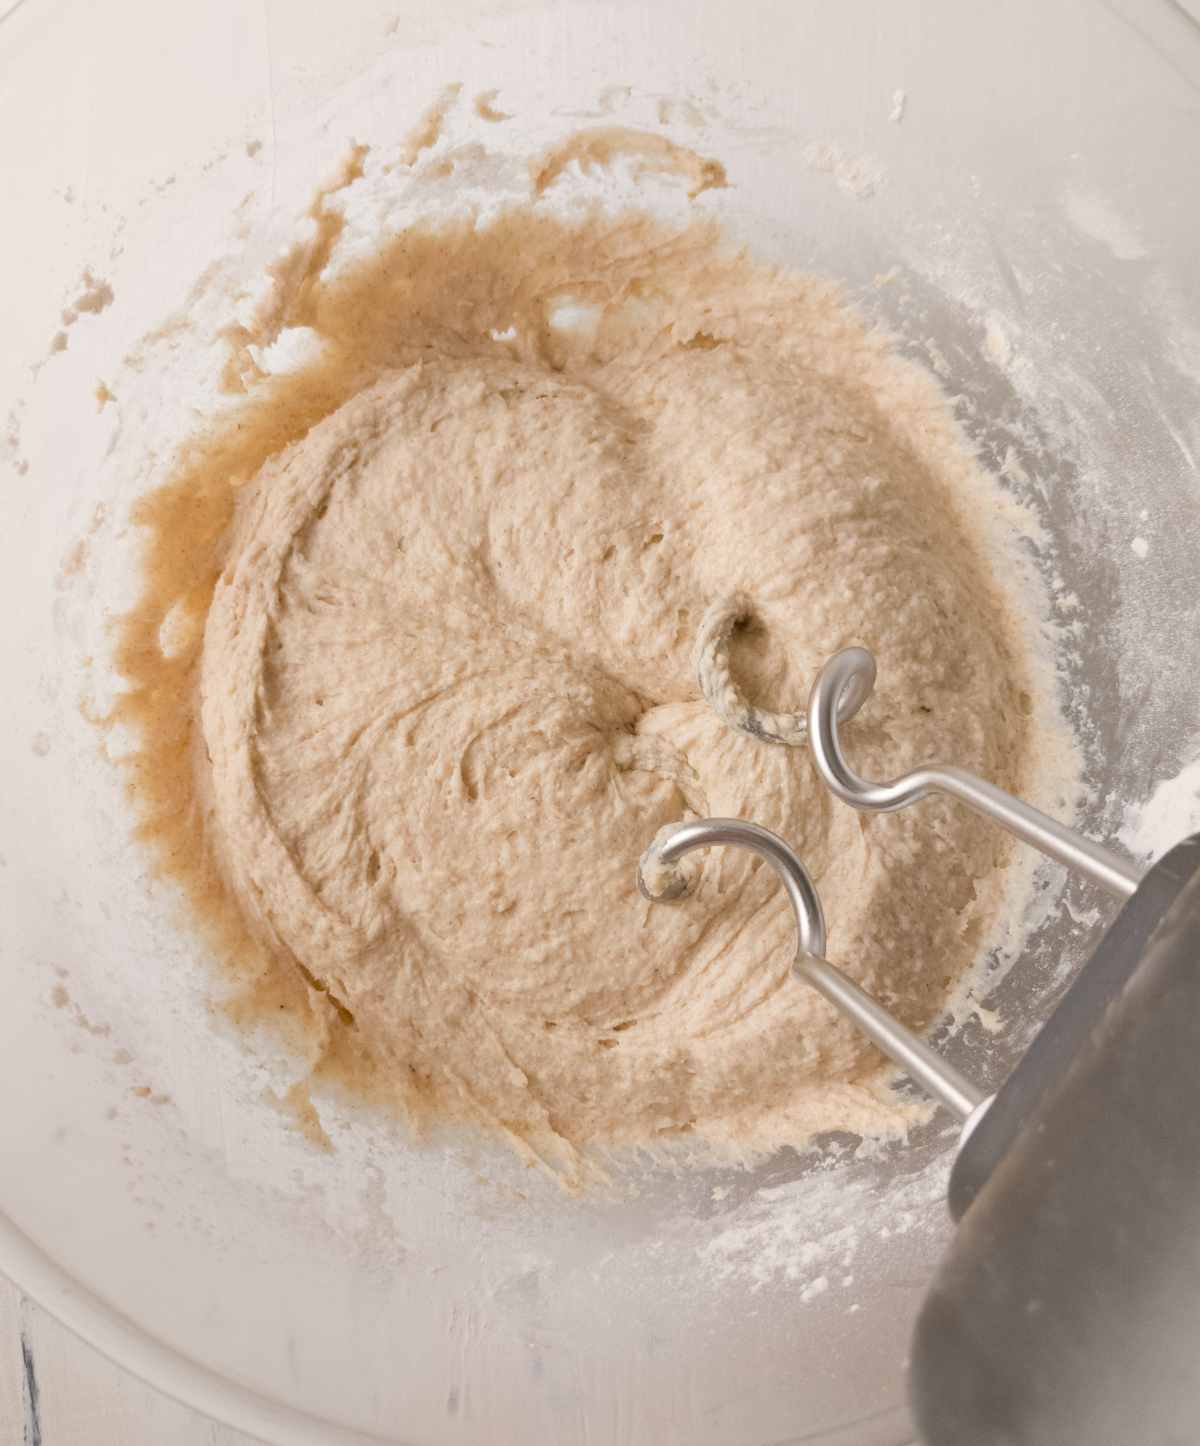
Knead the dough for 5 minutes with a stand or hand mixer and 10 minutes if you are mixing by hand. Kneading for a longer time allows the rolls to have an extra smooth surface without bumps!
Step 2 - Shape the rolls
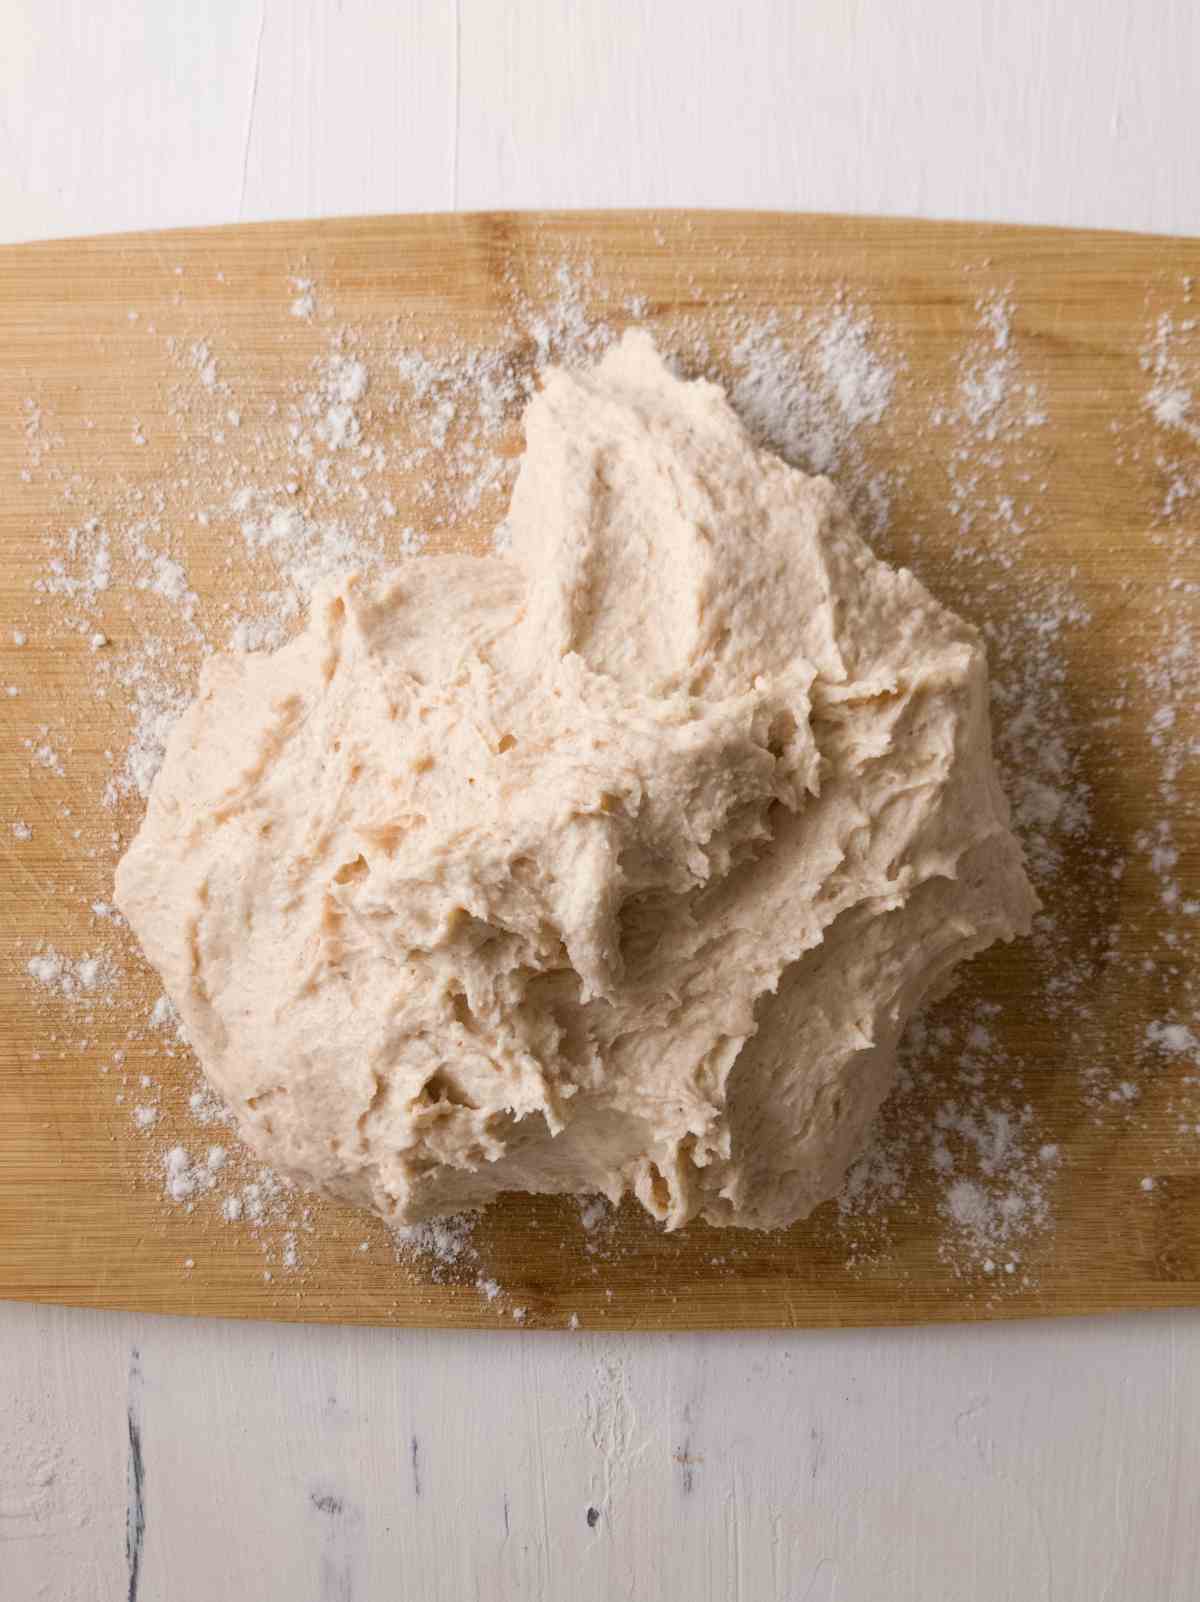
Grease a medium-sized baking dish with butter, margarine, lard, or oil and set aside. Turn the dough onto the floured surface. The dough will be very sticky! Avoid the urge to add more flour. Rather, grease your hands with oil to prevent sticking. Keep greasing your hands if the dough starts sticking again!
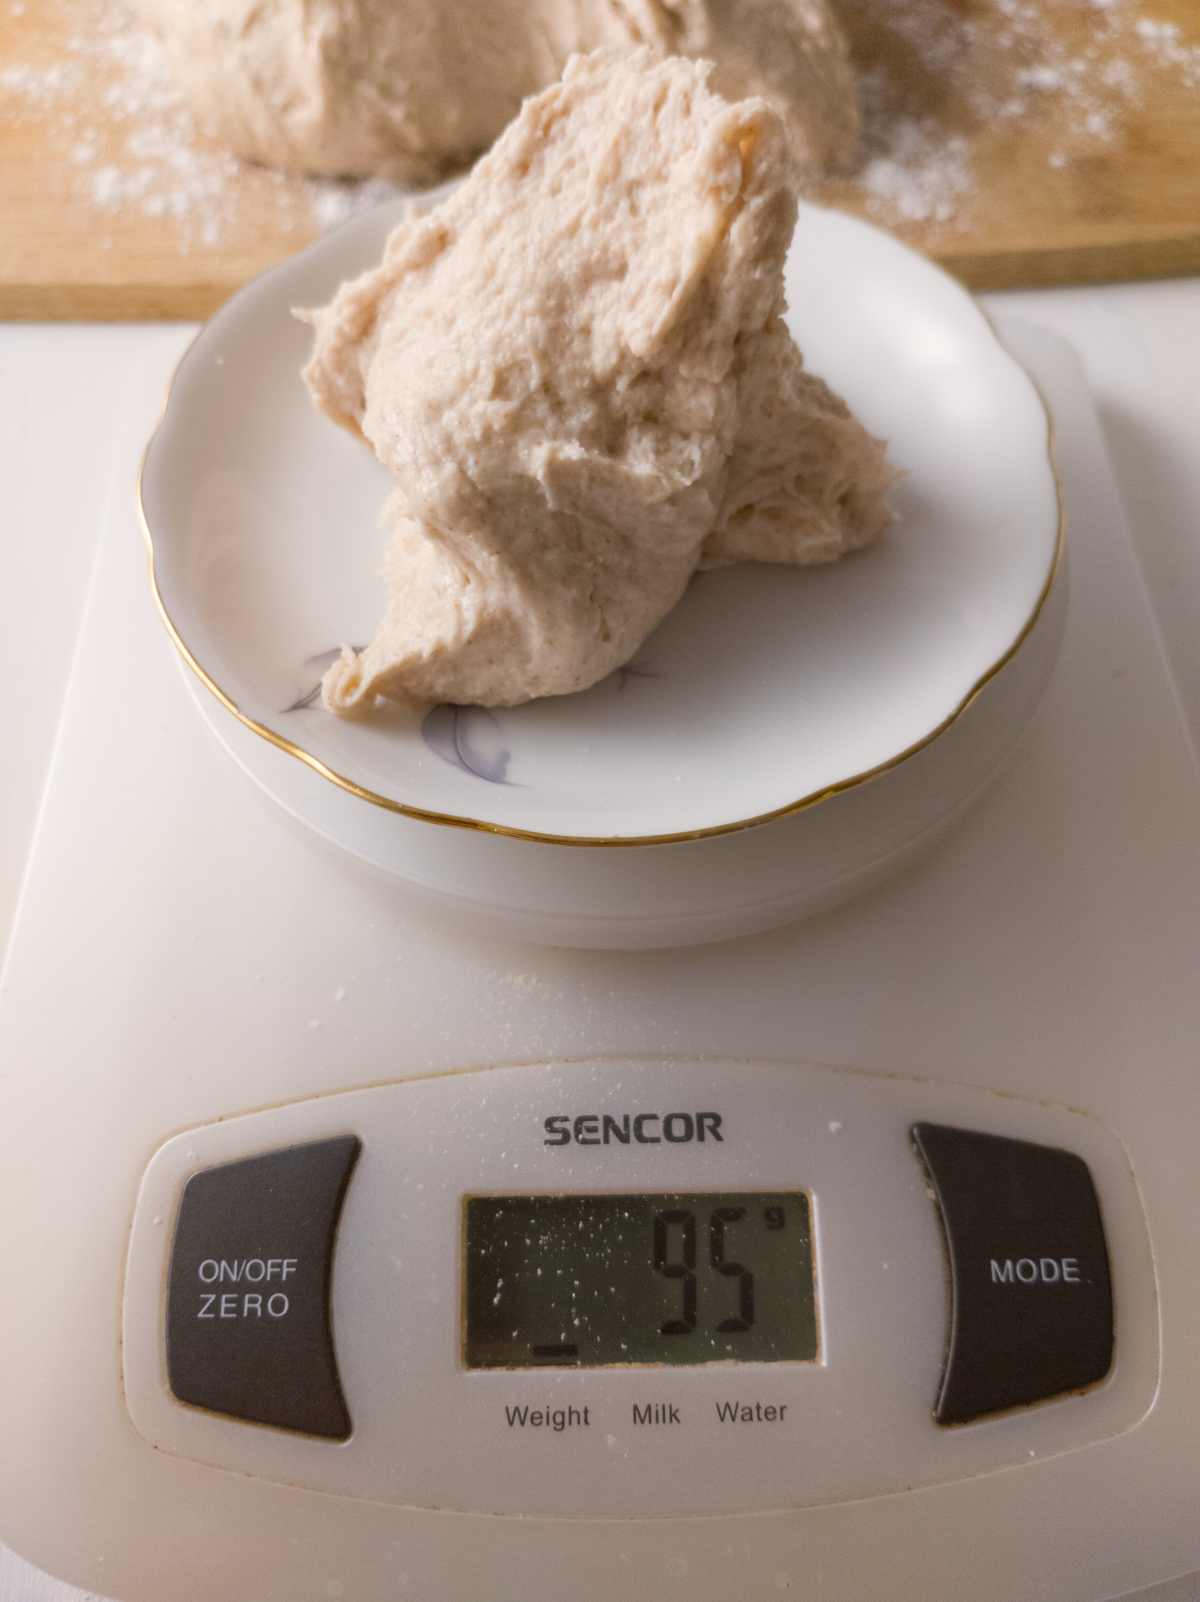
Separate the dough into 9 balls. I recommend using a digital scale to make sure all rolls are about the same weight. Mine are around 95 grams per ball.
Finally, grease your hands with oil and shape each piece of the dough into a ball in between the palms of your hands.
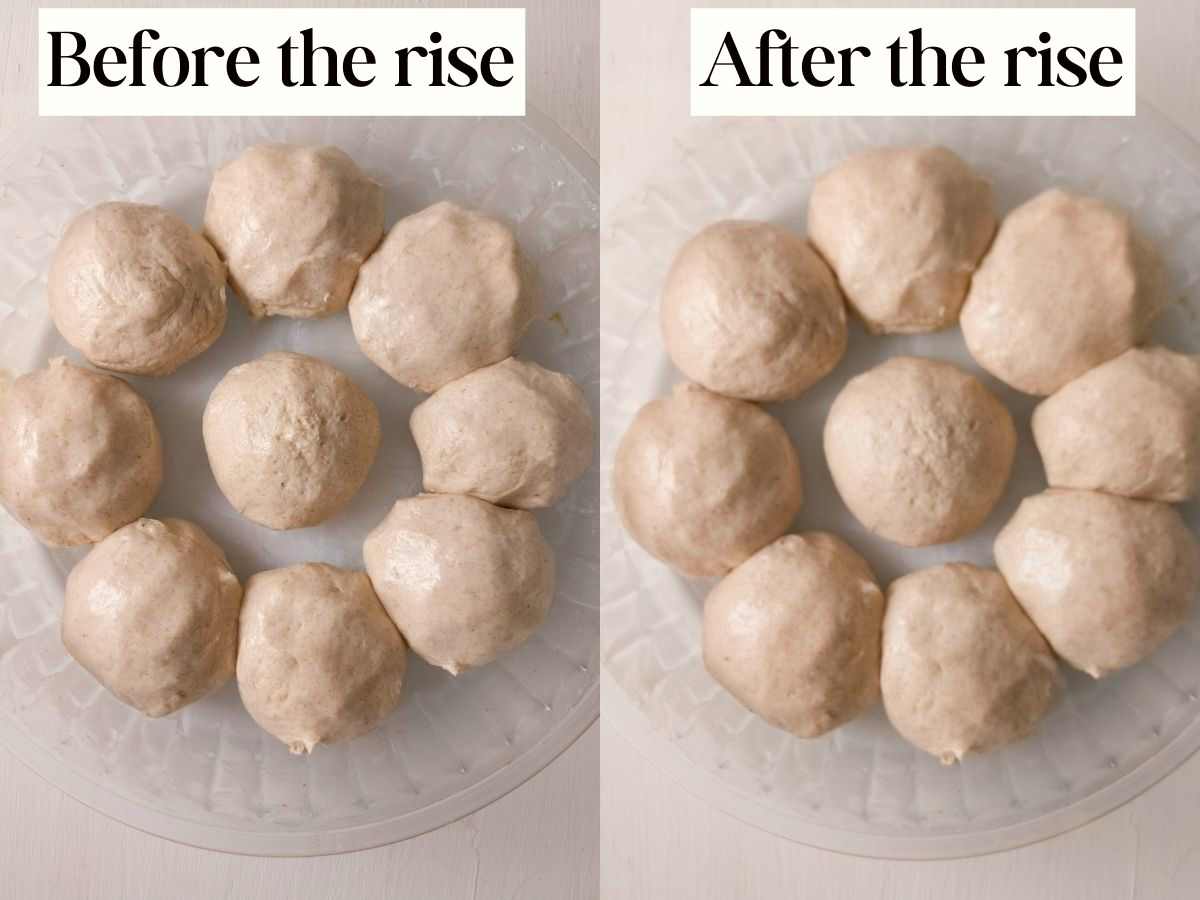
Place each ball into the greased baking dish, cover with a tea towel, and leave to rise for 3-3 ½ hours. The rolls won't rise as much in this stage but they will puff up significantly during baking.
If you are using starter discard with yeast, let the rolls rise for only 1 hour.
Step 3 - Bake the rolls

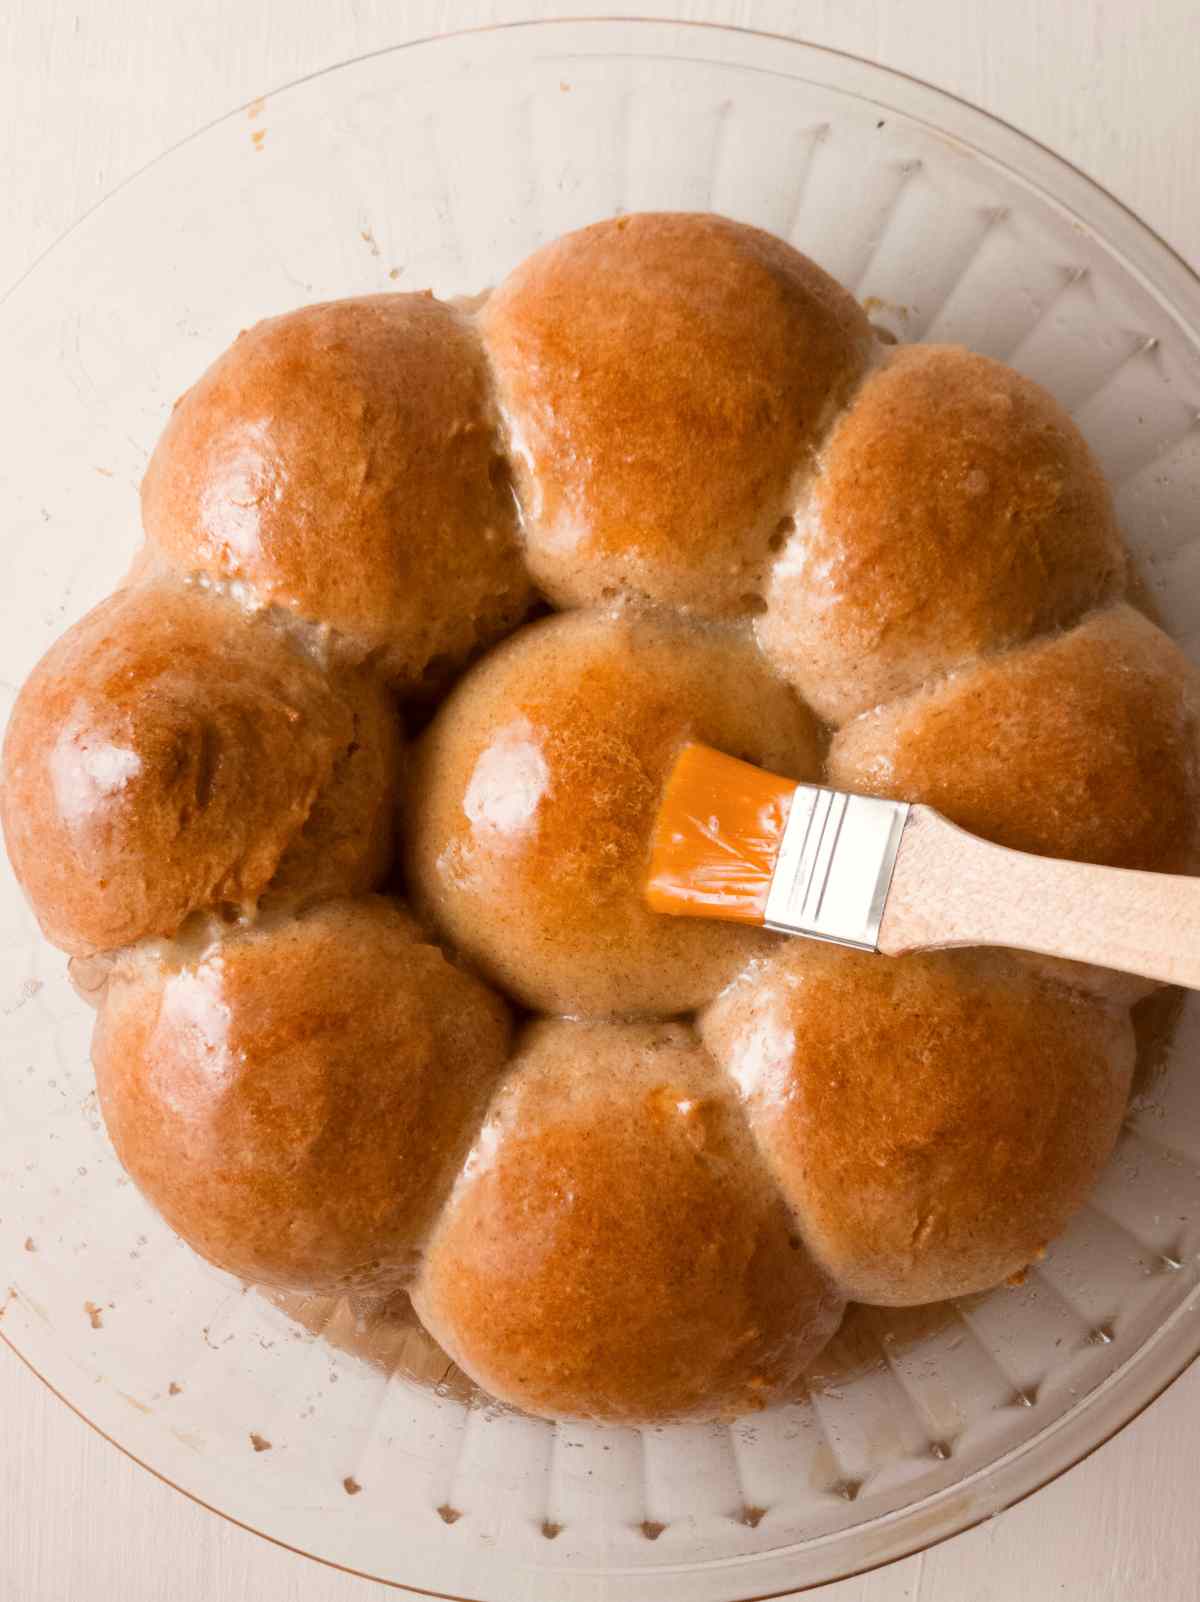
30 minutes before the rolls are done rising, start preheating the oven to 375F/190C. Once the rolls are ready (they will puff up a bit, but not much), prepare the egg wash and brush the rolls with it to encourage browning.
To make the egg wash just whisk 1 egg with a fork in a small bowl, then brush the rolls with it using a silicone or a baking brush. Don't use the whole egg, use just enough to cover the entire surface of the dough.
Place a medium-sized dish with water on the bottom of the oven. The steam will encourage the oven spring (rising) and prevent the crust from forming. Your rolls will be very soft!
Bake for 25 minutes, then remove the water and bake for an additional 5 minutes. In these last 5 minutes, the rolls will brown more and finish baking. The internal temperature of baked-through rolls is 210F/100C. A toothpick should come out without raw dough sticking to it (a couple of crumbs is okay).
As soon as the rolls come out of the oven, generously brush them with melted butter while they are still hot. You can eat the rolls right away, no need to wait for them to cool!
How To Store
The rolls are best on the day of baking but they can be kept at room temperature for 2-3 days in a textile bread bag or a sealed container. You can keep the dinner rolls in the refrigerator for 4-5 days or freeze them for up to 3-5 months.
To defrost, let them thaw at room temperature or warm them up in a microwave. If you are defrosting a few sourdough rolls at the same time, you can pop them into the oven at 375F/175C for 5-10 minutes or until ready. Brush with more butter for a better texture.
Expert Tips
- Use a digital kitchen scale for the best results. If you accidentally overpack or underpack the measuring cups (which is very easy to do, especially if you are in a hurry), you might end up with gummy or dense dinner rolls. A kitchen scale will also save you time (and dishes to wash!).
If you are using measuring cups, make sure to fluff up the flour in the jar first, then spoon it into the cups without pressing the flour into them, and then brush off the extra flour by swiping a knife over the top of the cup.
- Use an oven thermometer to avoid underbaking or burning. A lot of ovens run hot or cold (mine does!), so a thermometer allows you to have consistent results!
- Use a mature sourdough starter. If your starter is weak, only bubbles a little, or is not mature, the rolls will still be delicious, they just won't have as many air pockets. A mature sourdough starter is a starter at its peak activity that is still bubbling (it hasn't fallen flat yet). If you prefer using starter discard, add 7g of active dry/instant yeast or 20g of fresh yeast.
- If you want more sourness to your rolls, let them ferment overnight in the refrigerator.
- Keep greasing your hands if the dough gets sticky. The only time you need to use extra flour is to flour the working surface. Otherwise, avoid the urge to add flour!
FAQ
Why Did My Sourdough Rolls Burn?
Your oven might be running hot. Use an oven thermometer to make sure you are baking at 375F/190C and not higher.
Why Are My Rolls Gummy?
Your rolls might be gummy due to the type of flour you are using. If you are not using my homemade flour recipe, then increase the amount of flour you are using by 40g at a time.
Why Are My Rolls Not Rising?
If you followed the recipe, yet, the rolls are not rising, your sourdough starter might not be as active as it needs to be to raise the dough. Although you don't need to see a big rise for the rolls to turn out great!
Is Sourdough Gluten-Free?
Sourdough is only gluten-free if you make it with gluten-free flour, otherwise sourdough is not gluten-free.
More like this

Get my new gluten-free sourdough recipes eBook
The top 32 recipes of 2026!
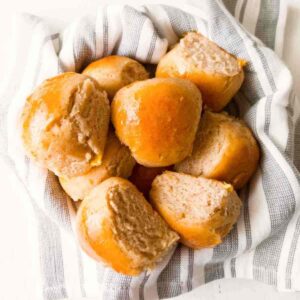
Gluten-Free Sourdough Rolls
Equipment
- 1 whisk
- 1 spatula
- 1 oven thermometer optional
- 1 baking dish medium size
Ingredients
Wet Ingredients
- 10 grams (5 tsp) psyllium husk 8 grams if using powder, for more info look at this psyllium husk guide
- 150 grams (⅗ cups) water room temperature
- 20 grams (1½ tbsp) oil I used sunflower oil
- 25 grams (2 tbsp) sugar maple syrup/honey
- 90 grams (⅓ cup + 2 tbsp) milk warm, not hot
- 200 grams gluten-free sourdough starter if you are using starter discard, add 7g of instant/active dry yeast or 20g of fresh yeasr
- 1 egg room temperature
Dry Ingredients
- 160 grams (1⅓ cups + 1 tbsp) tapioca starch arrowroot starch, potato starch, or cornstarch will work, too
- 130 grams (1 cup) brown rice flour or millet flour
- 25 grams (⅛ cup) lentil flour sorghum flour, GF oat flour, or white teff flour will work, too
- 2 teaspoon xanthan gum
- 2 tsp baking powder check the package to make sure it is GF
- 1½ teaspoon salt
You Will Also Need
- 1 egg for the egg wash
- 20 grams butter for brushing the buns after baking
SAVE THIS RECIPE!💌
Instructions
- Add psyllium husk, sugar, oil, milk, and water to a medium-sized bowl and whisk to combine. Set aside for a couple of minutes for psyllium gel to form.
- Add dry ingredients to the bowl of a stand mixer (or a large mixing bowl) and whisk to combine. Once psyllium gel is ready, add it to the dry ingredients along with the egg and the sourdough starter. If you are using starter discard, add 7g of instant/active dry yeast or 20g of fresh yeast at this point.Knead the dough for 5 minutes with a stand or hand mixer and 10 minutes if you are mixing by hand. Kneading for a longer time allows the rolls to have an extra smooth surface without bumps!
- Grease a medium-sized baking dish with butter, margarine, lard, or oil. Turn the dough onto the floured surface. The dough will be very sticky! Avoid the urge to add more flour. Rather, grease your hands with oil to prevent sticking. Keep greasing your hands if the dough starts sticking again!
- Separate the dough into 9 balls. I recommend using a digital scale to make sure all rolls are about the same weight. Mine are around 95 grams per ball.
- Finally, grease your hands with oil and shape each piece of the dough into a ball in between the palms of your hands. Place each ball into the greased baking dish, cover with a tea towel, and leave to rise for 3-3 ½ hours. The rolls won't rise as much in this stage but they will puff up significantly during baking.If you are using starter discard with additional yeast, let the dough rise for 1 hour only.
- 30 minutes before the rolls are done rising, start preheating the oven to 375F/190C. Once the rolls are ready (they will puff up a bit, not much), prepare the egg wash and brush the rolls with it to encourage browning. To make the egg wash just whisk 1 egg with a fork in a small bowl, then brush the rolls with it using a silicone or a baking brush. Don't use the whole egg, use just enough to cover the entire surface of the dough.
- Place a medium-sized dish with water on the bottom of the oven. The steam will encourage the oven spring (rising) and prevent the crust from forming. Your rolls will be very soft! Bake for 25 minutes, then remove the water and bake for additional 5 minutes. In these last 5 minutes, the rolls will brown more and finish baking. The internal temperature of baked-through rolls is 210F/100C. A toothpick should come out without raw dough sticking to it (a couple of crumbs is okay).
- As soon as the rolls come out of the oven, generously brush them with melted butter while they are still hot. You can eat the rolls right away, no need to wait for them to cool!

Diana L Melin says
Hi Natasha! I don't have lentil flour. Do you think lupin or chickpea flour would work instead?
Natasha Levai says
Hi Diana! I haven't tried those flour types but I think it would be worth a go. The amount of lentil flour used is not significant, so the substitutes might work just fine!
Ms Bigs says
Loved these! Better tasting than store bought. They took a bit of time to make, but I love knowing what is in them, and they freeze well. I will add these to my list of things I bake instead of buy.
Ya Ya says
could these be made larger for a sandwich roll?
Natasha Levai says
I wouldn't increase the volume for the fear of making a denser and wetter roll!
Nicole says
Would I be able to sub almond or
Coconut flour for the lentil flour? Or possibly use more brown rice flour? I’m not able to eat lentils or beans. These look delicious. Thank you!
Sherry says
This is an awesome recipe, and I’m very excited for dinner! I’m wondering if I wanted to add cherries and almonds- is there a starting amount? Like how many of grams? Or is it to taste? I’m very careful weighing all my ingredients, and I’m not sure how to figure for the extra ingredients. I’d sure appreciate your help with this. Winging it feels counter productive to success with Gf. Thank you so much for even reading this! You are my GF hero💞
Laila says
Could I substitute 315g of King Arthur GF All Purpose Flour blend for the flours/starches in this recipe? My starter is GF from LivingDough.com and fed with brown rice flour.
Natasha Levai says
Hi Laila! I don't bake with King Arthur's flour because it's not sold in Europe as much. I suppose it should work, just keep an eye on the dough - if it is too wet, add more flour, if it is too stiff, add more water. Let me know how it turned out!
Emily says
I’ve noticed many of your recipes include psyllium husk and xantham gum. May I ask why? I thought psyllium husk was a replacement for the gum, so I don’t have it. Could I increase the psyllium husk and have similar results? Thanks!
Natasha Levai says
Hi Emily! Adding both xanthan gum and psyllium husk creates the perfect elastic and soft texture that comes the closest to the regular bread. If you only use xanthan gum, the loaf will be stiffer, and if you only use xanthan gum, the loaf will be more crumbly. You cannot substitute one for another due to how they absorb moisture! If you need a recipe without xanthan gum, see this gluten-free sourdough recipe: https://www.natashashome.com/gluten-free-sourdough-bread/
Kate Yamada says
This worked REALLY well - great texture and lovely soft, delicious rolls. Good gluten free bread recipes are hard to come by but this was the perfect way to try out my finally successful gf sourdough starter. Thank you!
Nikki says
Would a 1:1 flour work for this recipe? My first loaf of bread was a flop…
Natasha Levai says
Hi Nikki! 1:1 has a different build up, so I can't guarantee the results. I would recommend sticking with the flour indicated in the recipe and if you need a recipe with a 1:1 flour, I'm sure you can find one online!
Nicole says
Could I substitute almond or coconut flour for the lentil flour?
Stephanie says
Soft and delicious.
Maria Nicholson says
These turned out great.
KC says
Great recipe and just in time for Thanksgiving. The only sub I used was sorghum flour instead of lentil. I also used a very young starter (8 days) so I included yeast to the batter. The rolls came out tall, spongy and beautiful - not gummy or dry at all. Rise time for me was 1 hour and bake time was closer to 35 mins. Looks just like the pics. Wish I could give this a 4.5 star rating 🙂 Would have been 5 stars if it was a little less doughier. Maybe tangzhog method might help?
Callan says
These are fantastic!!! I made hotdog buns by using about 125g of the dough. I got 6 buns, and they were absolutely perfect! They held up to sauerkraut and didn't fall apart like commercially available buns do. I also made rolls from the dough, and those are the best burger buns I've had!
I've recently converted to plant based eating, so I'm going to try to make these with an egg replacer. Do you think a flax egg might work? I was thinking about using JustEgg, too.
Thank you so much for all the amazing recipes!!!
Natasha Levai says
Hi Callan! I am honored you liked them! I doubt flax egg will work although you can experiment with it. It is on my to-do list as well!
Kate Yamada says
I used chia egg and came out fine!
Brandi Duncan says
Would this recipe work as a loaf bread? I found this recipe from a post in one of my FB groups where I think someone said they used it to make a loaf so I saved the recipe link but now I can’t find the post to see what she did differently to make it a loaf.
Natasha Levai says
Hi Brandi, I would recommend this recipe for a loaf: https://www.natashashome.com/gluten-free-dutch-oven-bread/
Jenn Dahmer says
I was just wondering this!!! Did you have any luck with a flax or chia “egg”?!