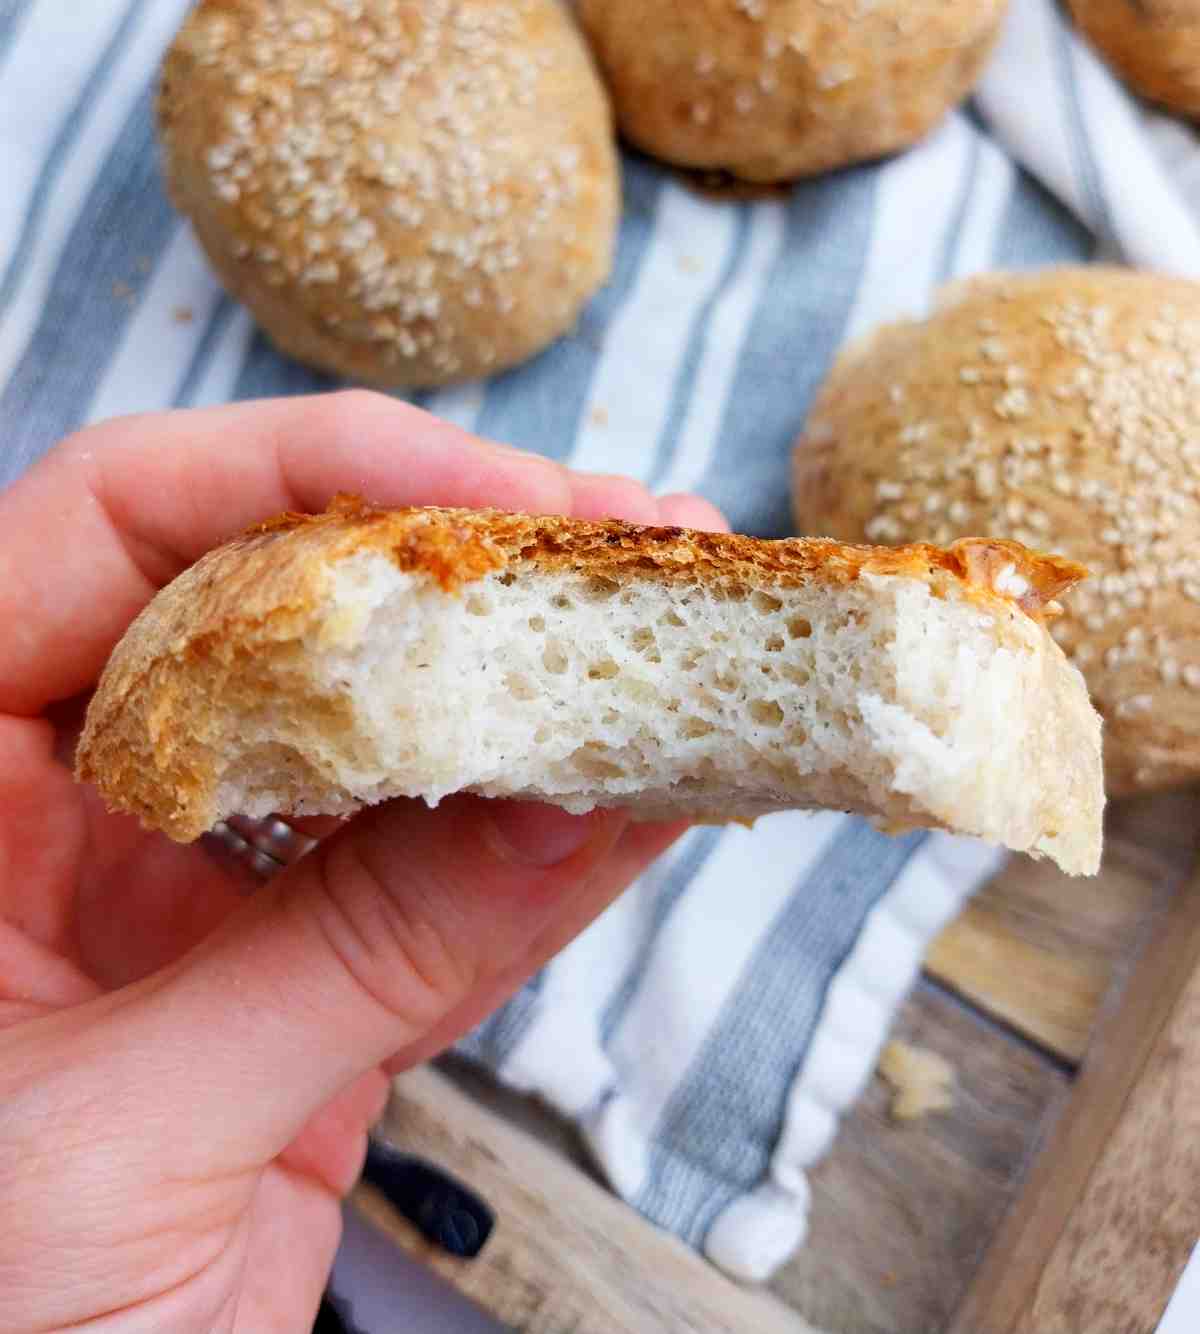
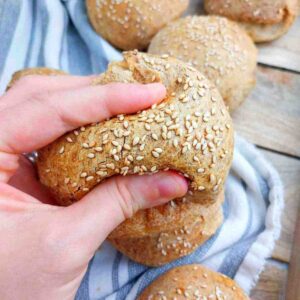
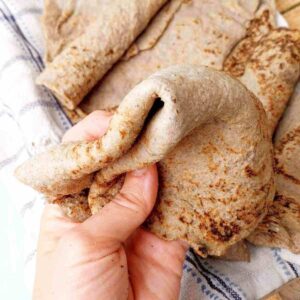
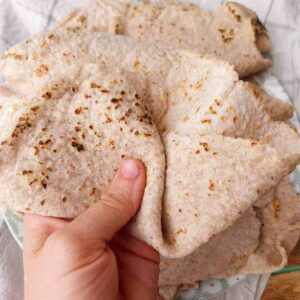
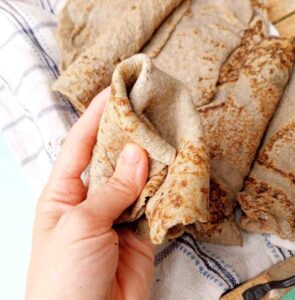
These gluten-free sourdough hamburger buns are soft, fluffy, and so rich in flavor! This is a revamped recipe with improved texture and a more open crumb. Use these to make burgers for the next tailgate party! To make sliders, see instructions on my gluten-free slider buns.
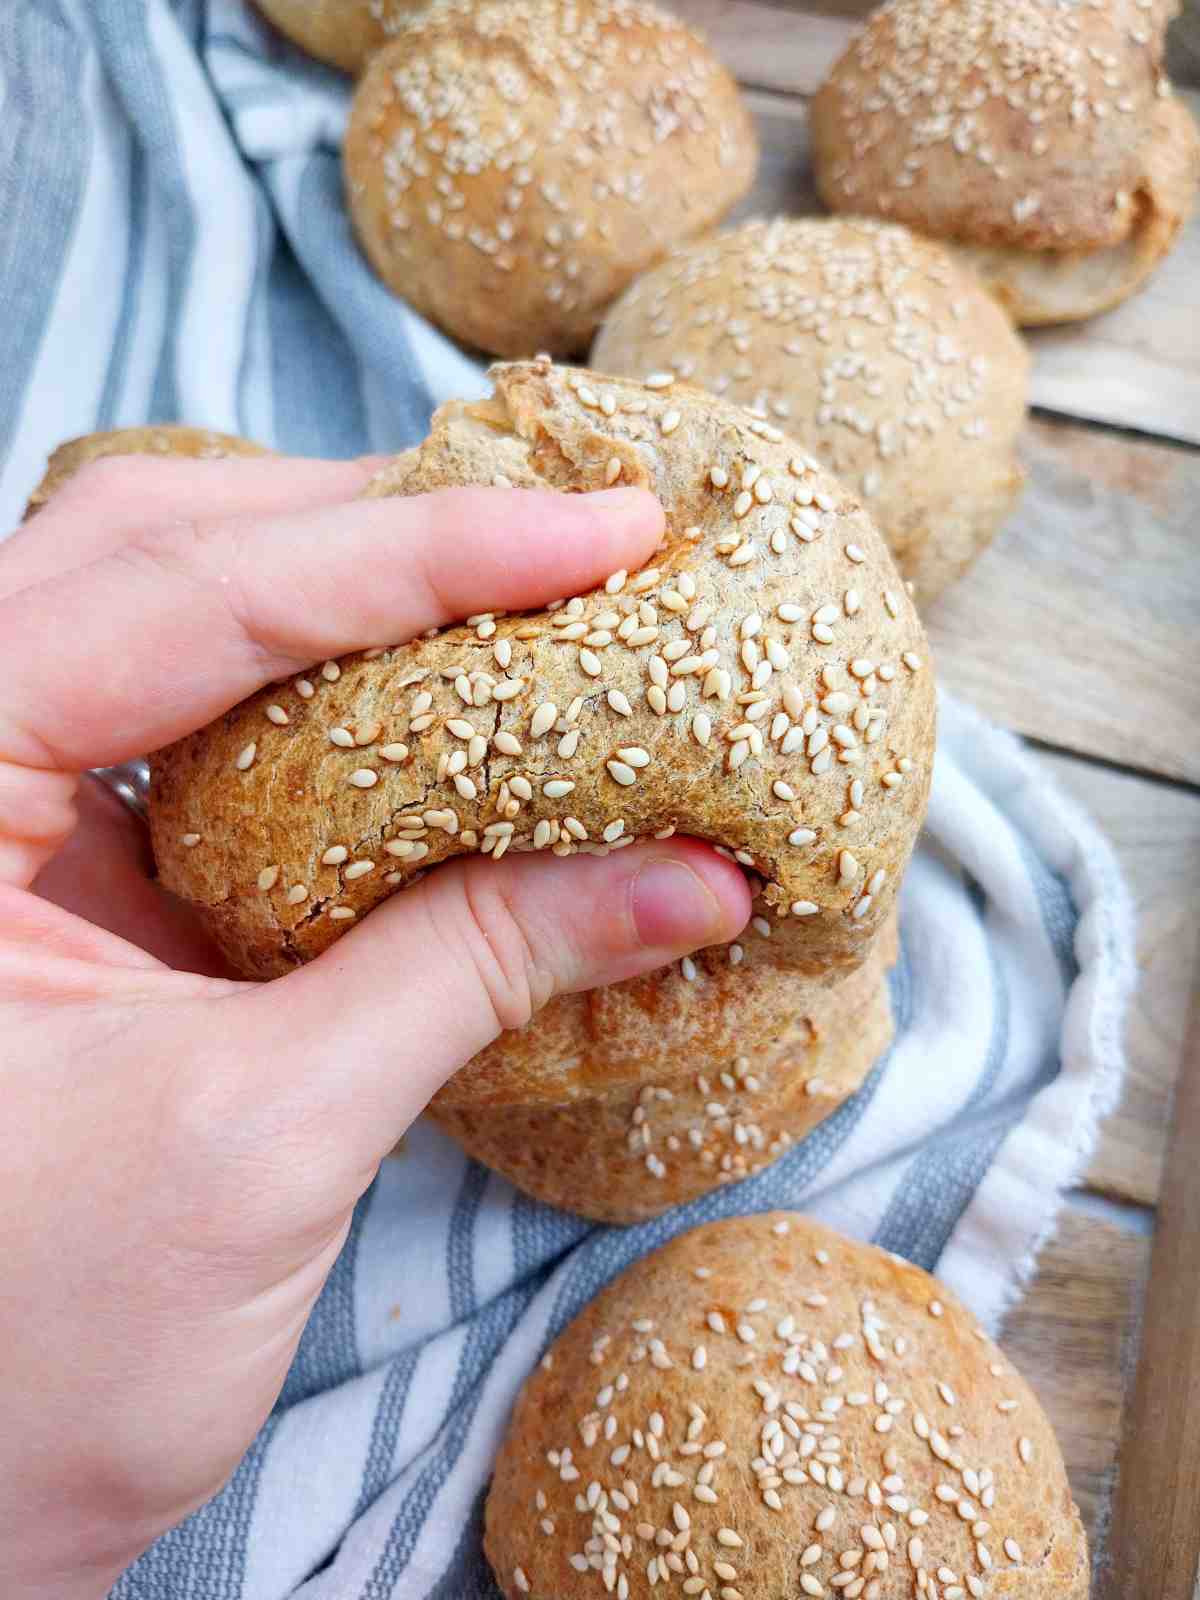
This recipe has been inspired by the Loopy Whisk's burger buns! Now they are softer and fluffier and closer to my soft sourdough dinner rolls in texture.
Jump to:
What Is Gluten-Free Sourdough?
I remember a few years back when I was wondering if it was possible to grow a gluten-free sourdough starter at home. After a few failed attempts I decided to try more expensive flours (brown rice, sorghum, millet, buckwheat, etc.) and I was pleasantly surprised by the results!
Ever since then I make my vegan gluten-free sourdough bread on repeat and enjoy experimenting with recipes like sourdough cinnamon rolls, sourdough bagels, baguettes, pretzels, etc. I especially like the process of braiding this sourdough challah!
Starters tend to have a lot of discard which I love adding to sourdough flatbreads, chocolate chip scones, brown sugar cookies, and even sourdough cornbread.
Ingredients

- Gluten-free sourdough starter - you can use any starter (sorghum, brown rice, buckwheat, millet, etc.) other than a starter made with potato flakes or keto flours like almond and coconut.
- Gluten-free flour - I don't recommend using a store-bought blend as it will affect the texture of the buns. There are, however, some substitutes for the flour types I used (see section below).
- Psyllium husk - although there are some acclaimed psyllium substitutes, I don't recommend using them in this recipe. I have successfully tried Konjac in gluten-free bread, but it won't work with these burger buns. For more details, read my psyllium husk guide!
- Xanthan gum - it is used to add fluffiness and softness to the buns.
- Oil - oil enriches the dough and allows for a lighter crumb vs. the crumb you would get with butter.
- Eggs - add flavor to the buns.
- Baking powder - helps raise the buns for an airier crumb.
- Milk - enriches the dough.
- Sugar - helps the yeast bacteria and adds a slightly sweet flavor like in the traditional burger buns.
Substitutes
- Psyllium husk - don't substitute this ingredient.
- Xanthan gum - if you skip this ingredient, reduce the water by 40g. Alternatively, you can use guar gum.
- Eggs - you can use 70g aquafaba or 2 chia/flax eggs instead, although I have not tested this recipe with an egg substitute.
- Tapioca starch (same as tapioca flour) - use arrowroot starch/flour instead.
- Potato starch - use cornstarch instead.
- Milk - use plant-based milk.
- Baking powder - don't substitute for baking soda. You can leave it out if you must but the buns might not be as tall and airy.
- Sugar - you can use honey/maple syrup instead.

my favorite
Digital scale
This is a good and affordable kitchen scale for baking!
Step-By-Step Instructions
Step 1
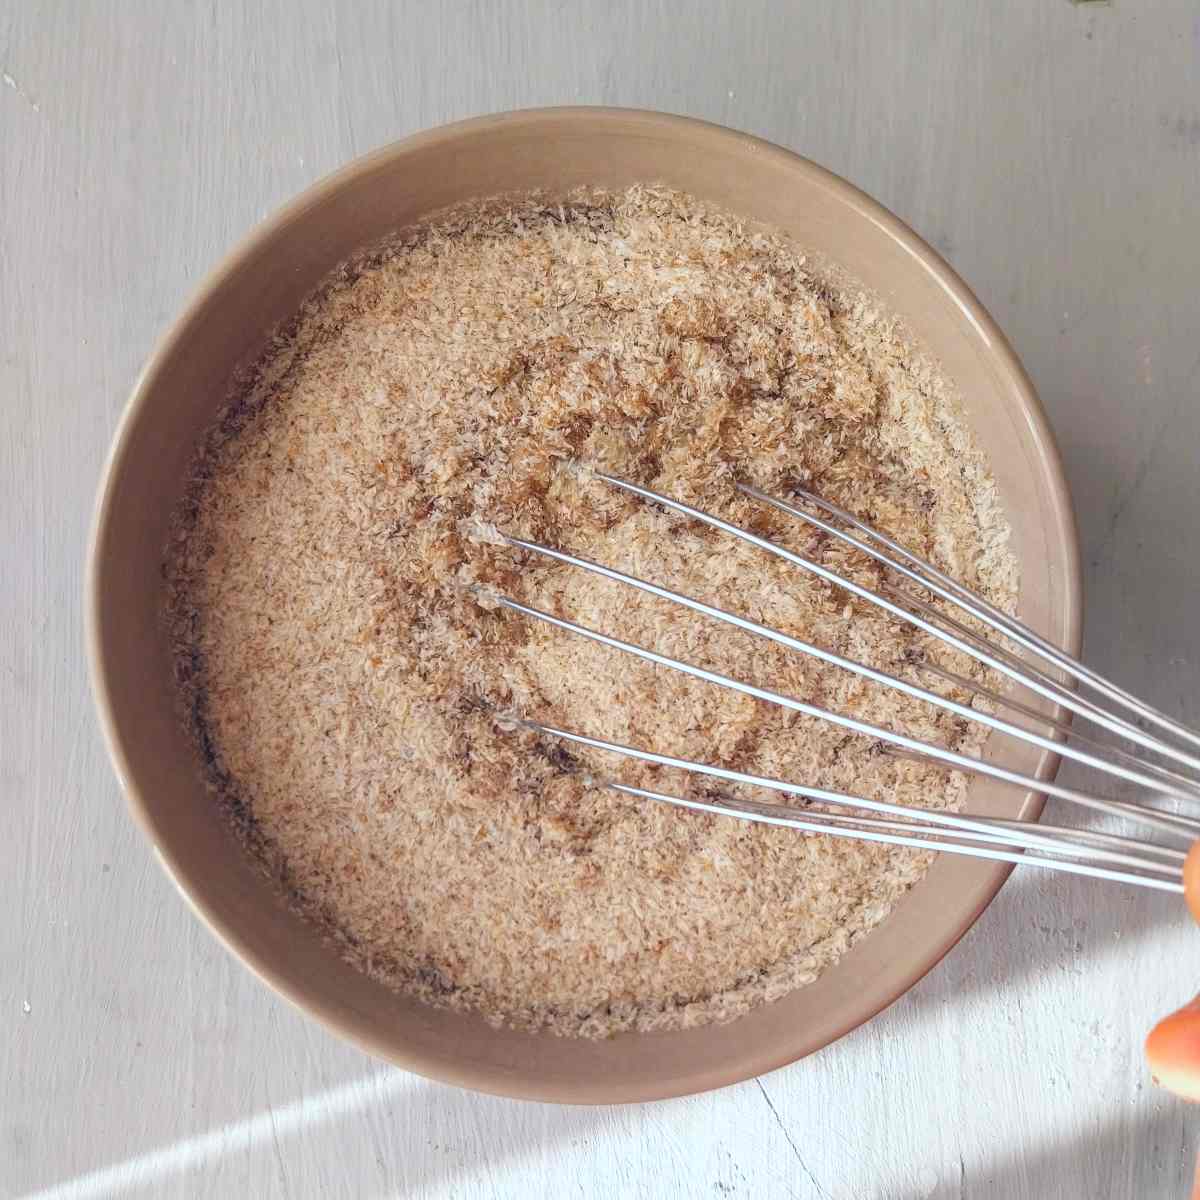
Add water and psyllium husk to a medium-sized bowl and whisk to incorporate.
Set the bowl aside to let the psyllium gel form (2 min).
Step 2

In a large mixing bowl combine all of the dry ingredients including sugar and whisk thoroughly to incorporate.
Step 3

Finally, add all the wet and dry ingredients together and mix using an electric mixer with dough hooks.
I recommend mixing for at least 5 minutes to ensure a smoother dough.
Alternatively, you can mix with hands or a wooden spoon but the buns might turn out less smooth on the top.
The dough will be very sticky but don't add any extra flour!
Step 4
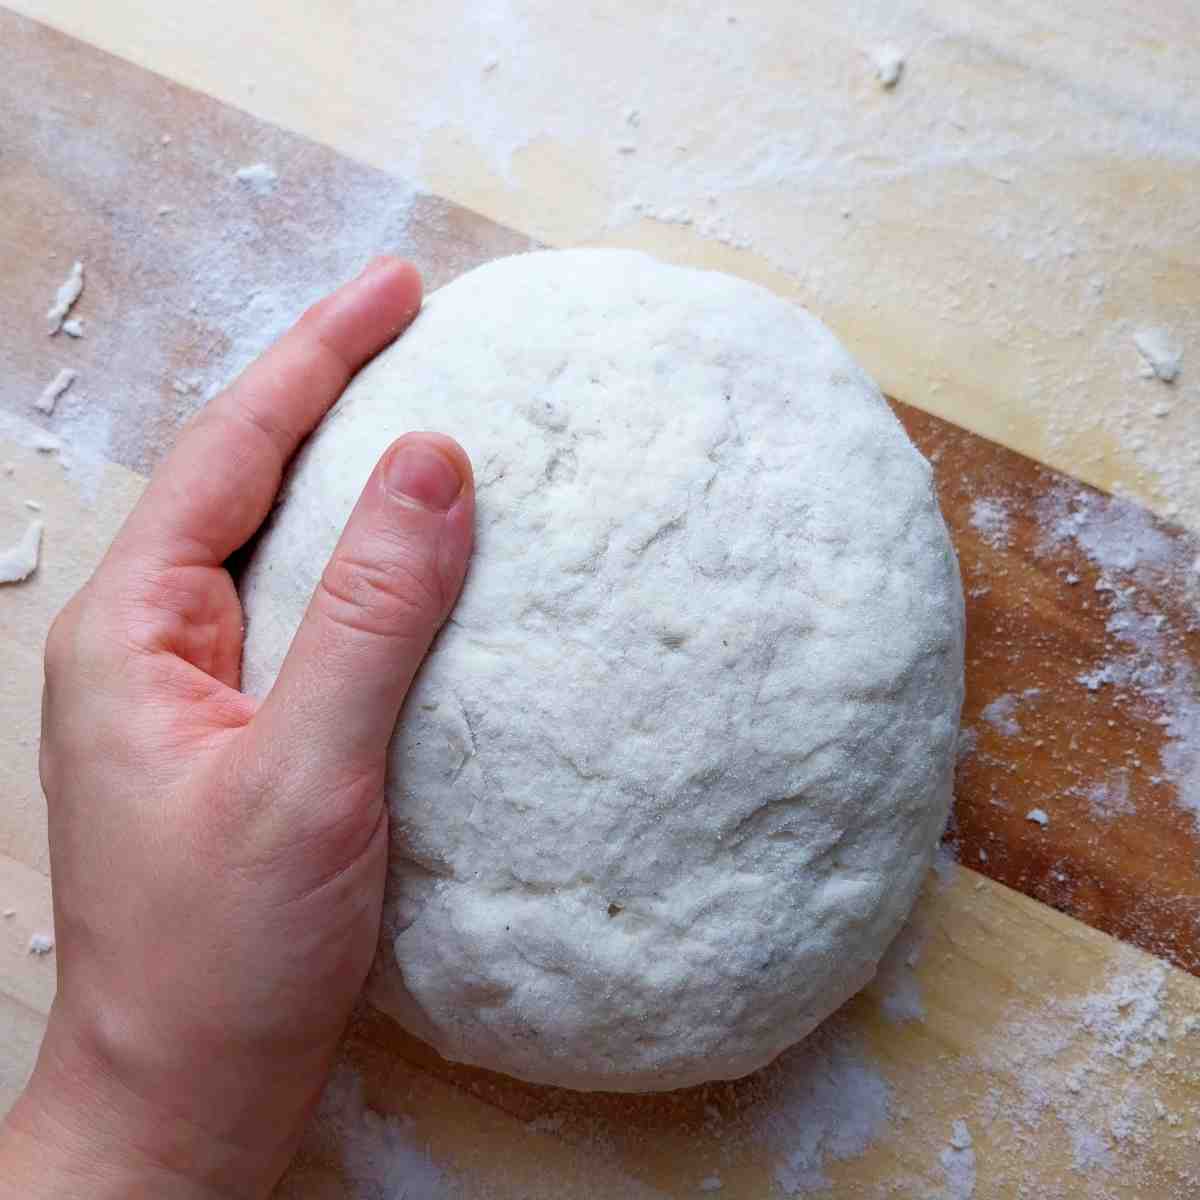
Turn the dough onto a floured working surface and shape into a ball. Grease your hands with some oil to prevent sticking or use extra flour for dusting.
Step 5
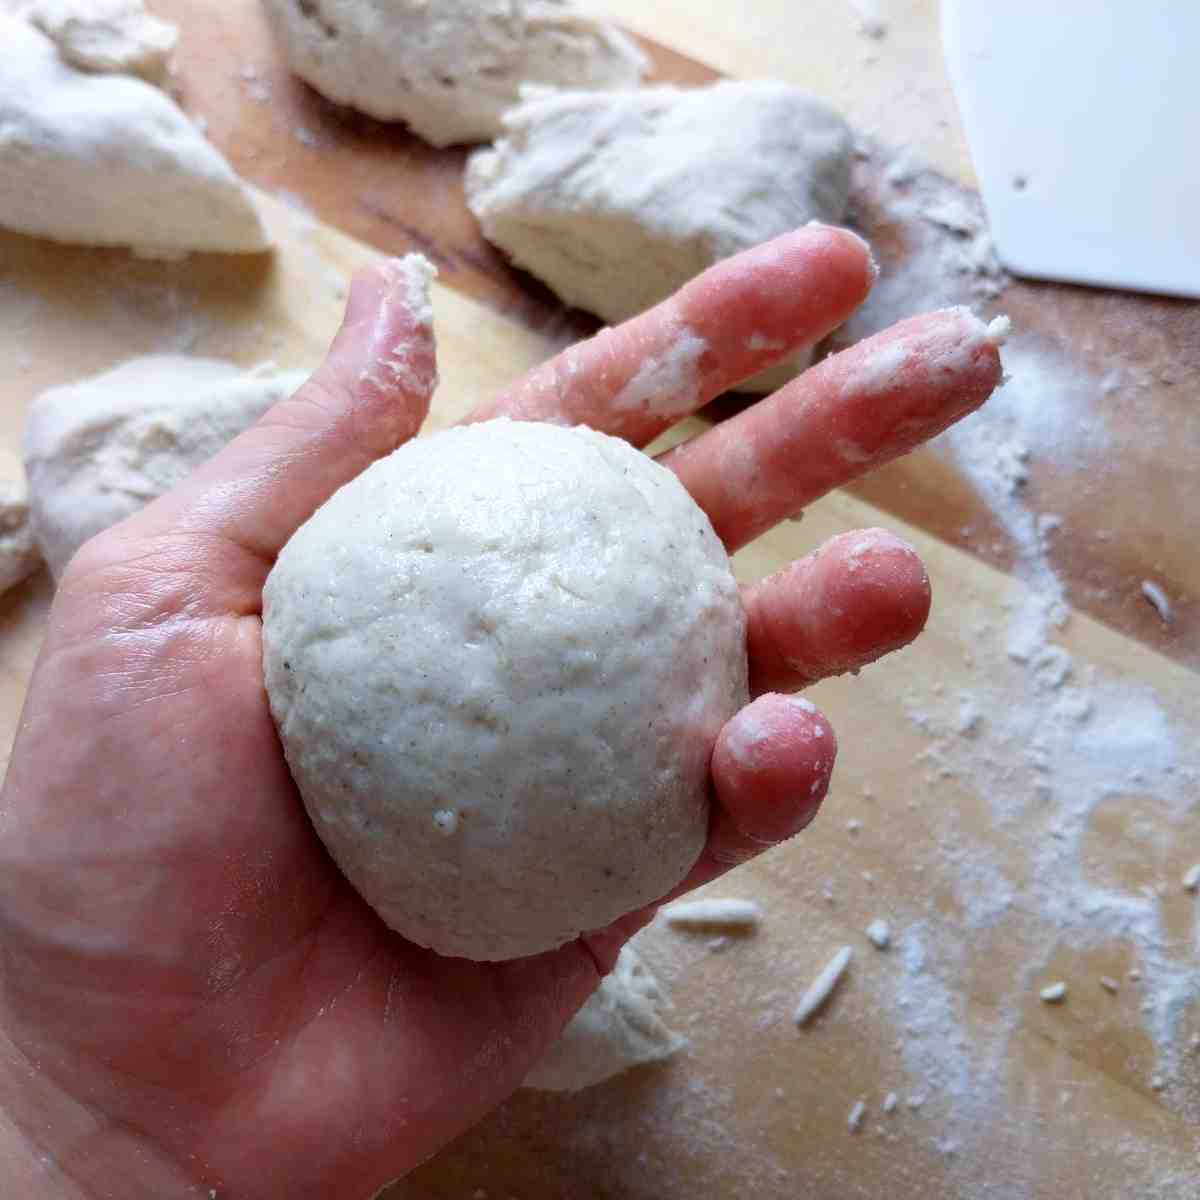
Separate the dough into 8 equal pieces, about 130g per piece. Shape each piece into a small ball using extra flour for dusting and oil for your hands to prevent sticking.
Step 6
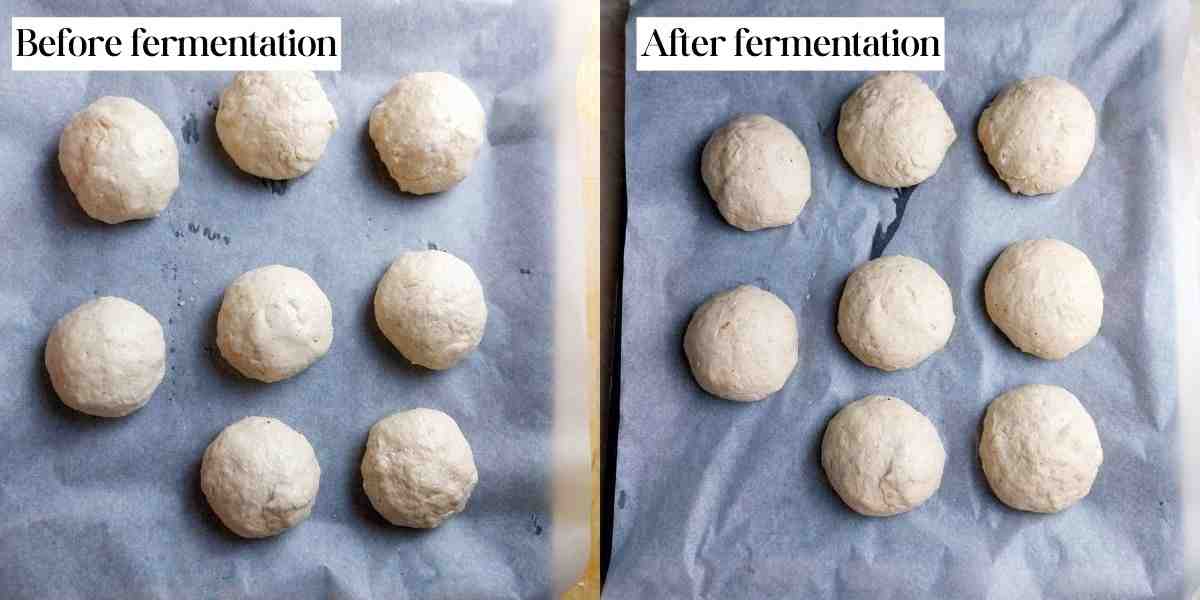
Then, place the buns onto a baking sheet lined with parchment paper, cover them with a tea towel, and let them ferment for 5-7 hours at room temperature.
You can proof the buns in the fridge overnight (12-18h) if you need to!
In either case, the buns will not double in size but they will puff up some.
Step 7

Once the buns are done proofing, preheat the oven to 375F/190C (no fan). Brush the buns with egg wash and top with sesame seeds.
To make the egg wash, simply whisk 1 egg with a fork until the yolk and the white incorporate with each other. Then, brush with a silicone or a baker's brush.
If you don't have sesame seeds, check out these sesame seed substitutes for topping buns!
Bake for 40-45 minutes on the middle rack. Once the buns are done baking, transfer them to a cooling rack and enjoy warm or cooled!
How to Store
You can store these hamburger buns at room temperature for 2-3 days, in the refrigerator for 4-5 days, and in the freezer for up to 3-4 months.
It is best to keep the buns in a textile bread bag or a bread box to prevent them from drying out. If you freeze the buns, place them in a freezer bag or an air-tight container.
To defrost, simply place the buns into a microwave for 1-2 minutes!
Expert Tips
- Don't add extra flour if the dough seems a bit sticky. Rather, grease your hands to prevent excessive sticking.
- If you want sweeter buns, add 25g of sugar.
- Don't open the oven during baking or the buns will deflate.
- Use a digital scale if at all possible!
- Get an oven thermometer to ensure the correct temperature.
Get my new gluten-free sourdough recipes eBook
The top 32 recipes of 2026!
Gluten-Free Sourdough Hamburger Buns
Ingredients
- 20 grams whole psyllium husks, use 18g if using powder
- 260 grams water, room-temperature
- 130 grams tapioca starch, or arrowroot starch
- 100 grams potato starch, or cornstarch
- 170 grams sorghum flour, brown rice, millet, or oat flour can be used istead.
- 25 grams sugar, or honey/maple syrup
- 7 grams xanthan gum, or guar gum. If you choose to leave it out, reduce the water by 40g
- 8 grams baking powder, NOT baking soda
- 12 grams sea salt
- 120 grams milk, use plant-based for dairy-free
- 2 medium-large eggs, room temperature
- 50 grams sunflower oil, or any other neutral vegetable or seed oil
- 60 grams gluten-free sourdough starter, active, not from the fridge
SAVE THIS RECIPE!💌
Instructions
- Add water and psyllium husk to a medium-sized bowl and whisk to incorporate.Set the bowl aside to let the psyllium gel form (2 min).
- In a large mixing bowl combine all of the dry ingredients including sugar and whisk thoroughly to incorporate.
- Finally, add all the wet and dry ingredients together and mix using an electric mixer with dough hooks.I recommend mixing for at least 5 minutes to ensure a smoother dough. Alternatively, you can mix with hands or a wooden spoon but the buns might turn out less smooth on the top. The dough will be very sticky but don't add any extra flour!
- Turn the dough onto a floured working surface and shape into a ball. Grease your hands with some oil to prevent sticking or use extra flour for dusting.
- Separate the dough into 8 equal pieces, about 130g per piece. Shape each piece into a small ball using extra flour for dusting and oil for your hands to prevent sticking.
- Then, place the buns onto a baking sheet lined with parchment paper, cover them with a tea towel, and let them ferment for 5-7 hours at room temperature.You can proof the buns in the fridge overnight (12-18h) if you need to! In either case, the buns will not double in size but they will puff up some.
- Once the buns are done proofing, preheat the oven to 375F/190C (no fan). Brush the buns with egg wash and top with sesame seeds.To make the egg wash, simply whisk 1 egg with a fork until the yolk and the white incorporate with each other. Then, brush with a silicone or a baker's brush.If you don't have sesame seeds, check out these sesame seed substitutes for topping buns!Bake for 40-45 minutes on the middle rack. Once the buns are done baking, transfer them to a cooling rack and enjoy warm or cooled!
Notes
-
- Don't add extra flour if the dough seems a bit sticky. Rather, grease your hands to prevent excessive sticking.
-
- If you want sweeter buns, add 25g of sugar.
-
- Don't open the oven during baking or the buns will deflate.
-
- Use a digital scale if at all possible!
-
- Get an oven thermometer to ensure the correct temperature.

Becca says
We love these buns and the dinner rolls on your website! When I wanted to bake these for the first time, I didn’t have potato starch yet and opted to do extra tapioca starch instead. They still came out pretty good. Looking forward to trying it with the potato starch once I get some! Also!!! They taste the best fresh and hot! We love them later, but they taste so fancy and good hot out of the oven 💕
I was soooo happy to have a burger bun and not just a protein style burger ♥️
Becca says
Wanted to add that since I have egg allergy, I used bobs Red Mill egg replacer for the eggs called for. Still great!
Wendy Lambie says
If I were served these in a restaurant I would be afraid to eat them. They turned out that delicious. I used discard and followed the recipe as written. Thank you!
Susanne MacNeil says
Can this recipe possibly be put into cup measurements? There's so many recipes like this and I will just skip over them, I rather not try and figure it out. And just find one that is.
Thanks, Susanne
Natasha Levai says
Hi Susanne! Yes, just click Us Customary button in the recipe card and the measurements will show in cups.
Stephanie says
The tops of mine had deep cracks and were kind of hard. The insides were just barely cooked. I followed the recipe exactly...no substitutions. They still tasted good, just looked nothing like your picture of them being soft and squishy.
Natasha Levai says
Hi Stephanie! Once the rolls bake, they do crack and harden on top, but once cooled, they get much softer and squishier like on the picture.
Elsie says
very happy!
came out as stated.- looks perfect.
tried one while cooling and texture was good.
Alex says
I'm making these right now. Is it 2 eggs + another for the egg wash? Because the 3rd egg isn't listed in the ingredients. Thanks!
Natasha Levai says
Yes, that is correct! The third egg is for the egg wash.
Angie Drake says
Delicious taste and great texture. I did some flour swaps as I didn’t have enough potato starch and my starter is rather wonky so I added a tsp of instant yeast to ensure success. These are definitely the best gf burger buns I’ve ever had, by a long shot.
Natasha Levai says
Hi Angie! So happy you liked the buns!
Bailey says
Made these today and they were great! I didn’t use xantham gum and they were still awesome. Do you have more gluten free sourdough recipes that are rice and gum free?
Natasha Levai says
Hi Bailey! I have plenty of gluten-free sourdough recipes and mostly rice flour can be substituted with another type. Most of the recipes are gum free! Here you can find the whole collection: https://www.natashashome.com/category/gluten-free-bread/gluten-free-sourdough/
Debbie Lastowski says
These hamburger buns are so soft and moist that you would never believe they are GF.
Natasha Levai says
So happy you liked them!