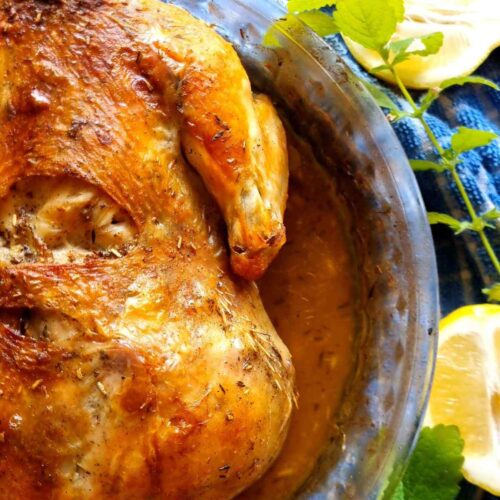
This delicious Gluten-Free Tsoureki is the softest gluten-free brioche bread with a distinct Greek Easter flavor that only requires 30 minutes of hands-on work! It is a perfect addition to your Easter feast to serve after glazed ham with roasted veggies.

Tsoureki is a traditional Greek Easter bread made with mahlepi and mastiha spices along with orange zest to create a unique flavor. You can bake it as a braided bread, a regular loaf, or even as buns! Check out these gluten-free sourdough hot cross buns for inspiration.
Jump to:
Why You Will Love This Recipe
- The crumb is as soft as a cloud just like my gluten-free sourdough dinner rolls!
- Adds a unique flavor to the Easter table. You can serve it with homemade condensed milk for extra sweetness!
- It is naturally dairy-free and perfect for lactose-intolerant folks just like my millet sandwich bread.
Ingredients for Gluten-Free Tsoureki

Cardamom is used in place of traditional mahlepi. You can use original mahlepi instead if it's available in your area!
Vanilla - is used as a substitute for mastiha. If mastiha is easily available to you, use it instead of vanilla.
Psyllium husk - use whole husks or coarsely ground powder. Check out my psyllium husk guide for more details!
Instant yeast - I don't recommend active dry yeast because it needs to be activated before using.
Orange and lemon zest - I used store-bought dried zest for both.
Oil - I used sunflower oil but any neutral vegetable or seed oil can be used instead.
Substitutes
- Psyllium husks - I don't recommend using psyllium husks substitutes in this recipe.
- Xanthan gum is crucial to the fluffy texture of gluten-free Tsoureki, it can only be swapped for guar gum!
- Sorghum flour - you can use buckwheat or brown rice flour instead.
- Tapioca starch - use arrowroot starch instead.
- Potato starch can be swapped with cornstarch or more tapioca starch.
How to Make Gluten-Free Tsoureki

Step 1. Start by adding water and psyllium husk to a medium-sized mixing bowl, then whisk until well combined. Let the mixture sit for a couple minutes to allow psyllium husks to form a gel.
Step 2. In a large mixing bowl, add all of the dry ingredients and stir to combine.
Step 3. Separate the egg yolks and add them to the bowl with the psyllium gel. Then, add vanilla, oil, and the remaining whole egg. Whisk until fully incorporated.
Step 4. Add the wet and dry ingredients together and mix using an electric mixer with dough hooks for about 5 minutes until the dough looks smooth. It will have a sticky consistency, so you will need to wet your hands or use extra flour when handling it.

Step 5. Separate the dough into three equal parts (about 320g per part) and shape each one into a ball. Use extra gluten-free flour to prevent sticking while shaping.

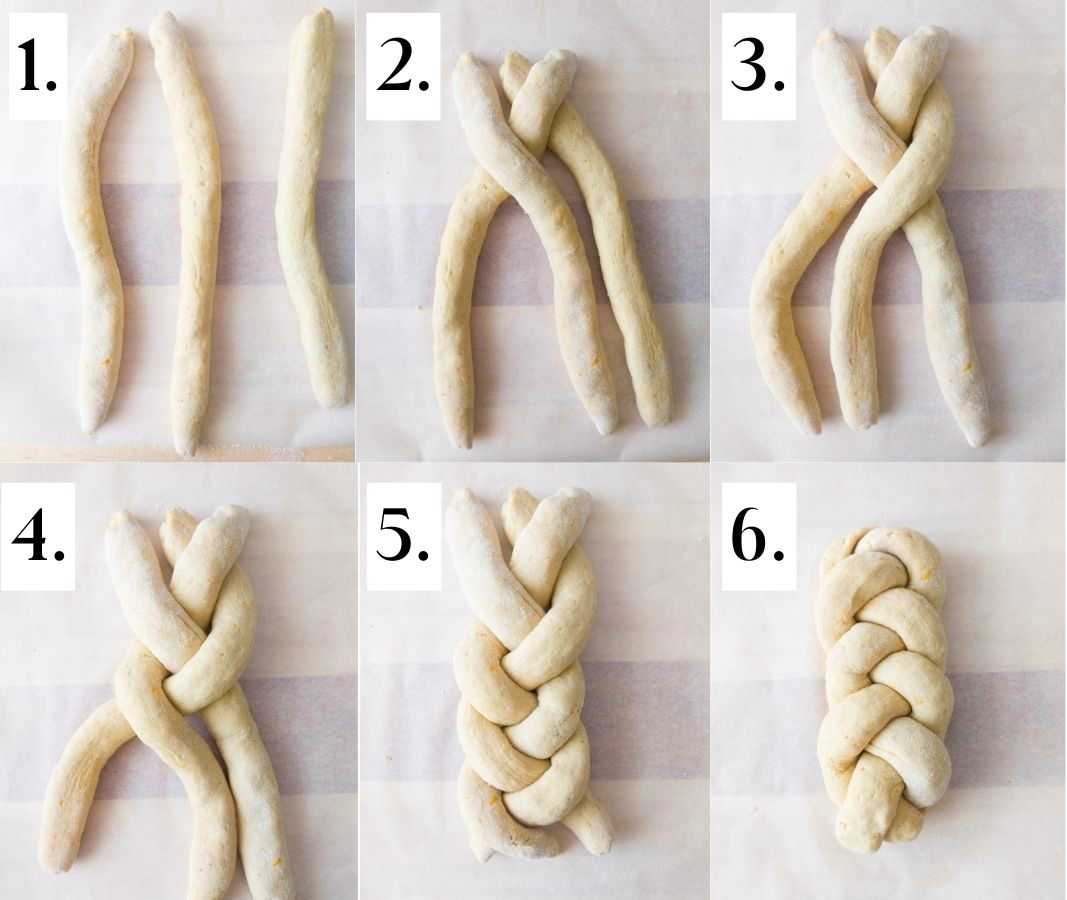
Step 6. Roll each ball into a rope of about 13-14in/35cm and place them onto a piece of parchment paper parallel to each other. Braid the loaf as you see in the pictures. If the loaf turns out too long, compress it carefully until it fits the length of the baking pan.

Step 7. Transfer the braided dough to the baking pan (9x5in/23x12cm) together with the parchment paper. Cover the dough with a kitchen towel and leave it to rise for 1.5-2.5h until the dough comes up to the top of the pan.
Note that the perfect temperature for proofing dough is 74F/25C. You can place the loaf into the oven with the light on to create an ideal environment and promote faster proofing!

Step 8. Start preheating the oven to 350F/175C about 20 minutes before the dough is done proofing. Brush the loaf with some leftover egg whites and top with sesame seeds.
Bake Tsoureki for 1 hour. Check on the bread after 30 minutes and cover it with foil shiny side up if the top starts to brown too much. Once Tsoureki is done, take it out of the oven and let it sit in the baking pan for 15-20 minutes, then carefully lift the bread out, remove the paper, and transfer the loaf to a cooling rack.
Handle the loaf carefully while it's hot to prefer misshaping it. Let gluten-free Tsoureki cool entirely before slicing. Enjoy!
How to Braid Gluten-Free Tsoureki
If you have trouble with properly braiding gluten-free Tsoureki, here is a more detailed step-by-step guide to help you with this step!
Expert Tips
- Don't add extra flour to the dough even if it seems too wet. Instead, use flour while shaping to prevent sticking.
- Use a digital kitchen scale for the best results!
- You can skip braiding and bake the dough in a loaf shape instead.
- Add raisins or candied peel for extra sweetness and a bite.
Common Questions
Traditionally mastiha and mahlepi are used in Tsoureki along with orange zest to give it an authentic Greek Easter flavor. However, these spices are not easily available worldwide, so vanilla and cardamom are often used as substitutes. This variation makes tsoureki taste closer to the Western Gluten-Free Easter Bread.
Challah is similar to Tsoureki in that both are braided brioche-style breads. The main difference is that Tsoureki uses mahlepi (mahleb) and mastiha (Greek spices) along with an orange zest for its distinctive flavor. Here is a great gluten-free sourdough challah recipe for comparison!
Handling the loaf too much before it cools down might encourage gumminess. Another common cause is not letting your dough proof long enough.
It is normal for gluten-free Tsoureki to deflate some after baking. The dough is too tender and soft and the gluten-free flour lacks sufficient elements to hold up the shape. Deflating should not cause gumminess in the bread!

More Gluten-Free Easter Recipes You Will Love!


Storage
Gluten-free Tsoureki will keep at room temperature for 3-4 days in an air-tight container.
Slice and freeze it to keep it fresh for up to 3 months! To freeze, place the cooled down slices into an air-tight bag, label, and freeze. To defrost, place a few slices in the microwave for 1 minute!
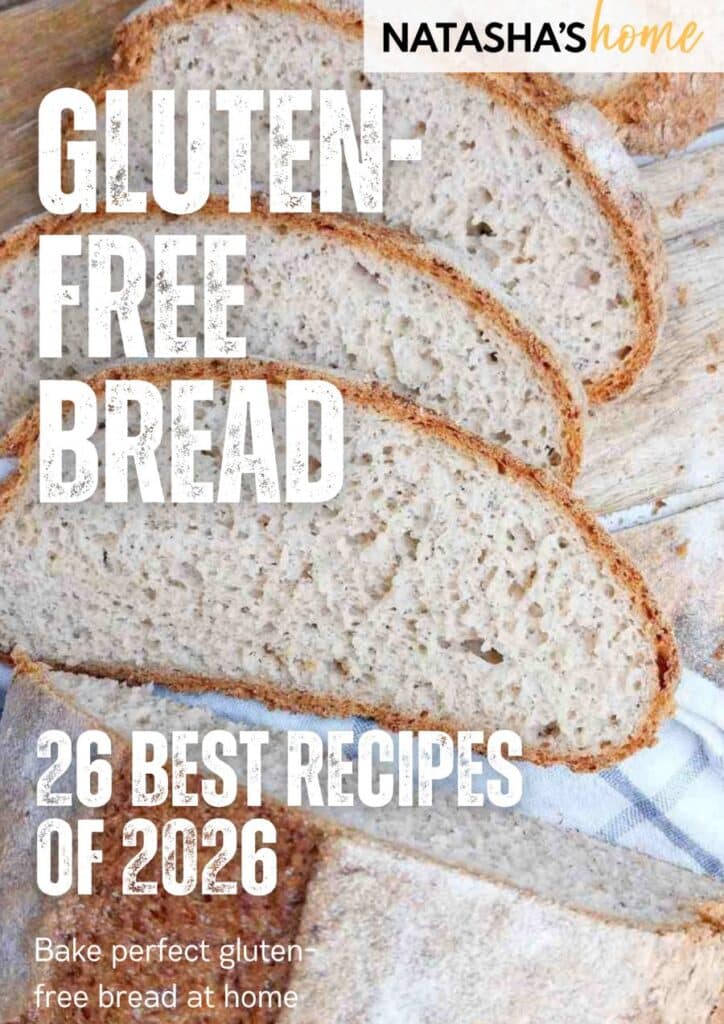
Get my new
Gluten-Free Bread Recipes eBook
The top 26 recipes of 2026! Includes a bonus conversion chart for gluten-free flour.

Gluten-Free Tsoureki
Equipment
Ingredients
Psyllium Gel
- 16 grams whole psyllium husk or 14g powder, see my psyllium husk guide for details
- 310 grams room temperature water
Dry Ingredients
- 90 grams tapioca starch or arrowroot starch
- 100 grams potato starch or cornstarch
- 160 grams sorghum flour or buckwheat or brown rice flour
- 8 grams baking powder
- 6 grams xanthan gum or guar gum
- 6 grams salt
- 110 grams granulated sugar
- 7 grams instant yeast not active dry yeast
- zest of 1 orange or 1 tablespoon of store-bought orange zest
- zest of 1 lemon (optional) or ¾tbsp of store-bought lemon zest
- 2 teaspoon cardamom or mahlepi
Wet Ingredients
- 2 egg yolks use the whites to brush the loaf before baking and the rest for Rocher Coco
- 1 egg
- 70 grams oil any neutral vegetable or seed oil
- 1 teaspoon vanilla paste or mastiha
You Will Also Need
- sesame seeds for topping
SAVE THIS RECIPE!💌
Instructions
- Start by adding water and psyllium husk to a medium-sized mixing bowl, then whisk until well combined. Let the mixture sit for a couple minutes to allow psyllium husks to form a gel.16 grams whole psyllium husk, 310 grams room temperature water
- In a large mixing bowl, add all of the dry ingredients and stir to combine.90 grams tapioca starch, 100 grams potato starch, 160 grams sorghum flour, 8 grams baking powder, 6 grams xanthan gum, 6 grams salt, 110 grams granulated sugar, 7 grams instant yeast, zest of 1 orange, zest of 1 lemon (optional), 2 tsp cardamom
- Separate the egg yolks and add them to the bowl with the psyllium gel. Then, add vanilla, oil, and the remaining whole egg. Whisk until fully incorporated.2 egg yolks, 1 egg, 70 grams oil, 1 tsp vanilla paste
- Add the wet and dry ingredients together and mix using an electric mixer with dough hooks for about 5 minutes until the dough looks smooth. It will have a sticky consistency, so you will need to wet your hands or use extra flour when handling it.
- Separate the dough into three equal parts (about 320g per part) and shape each one into a ball. Use extra gluten-free flour to prevent sticking while shaping.
- Roll each ball into a rope of about 13-14in/35cm and place them onto a piece of parchment paper parallel to each other. Braid the loaf as you see in the pictures. If the loaf turns out too long, compress it carefully until it fits the length of the baking pan.
- Transfer the braided dough to the baking pan (9x5in/23x12cm) together with the parchment paper. Cover the dough with a kitchen towel and leave it to rise for 1.5-2.5h until the dough comes up to the top of the pan.Note that the perfect temperature for proofing dough is 74F/25C. You can place the loaf into the oven with the light on to create an ideal environment and promote faster proofing!
- Start preheating the oven to 350F/175C about 20 minutes before the dough is done proofing. Brush the loaf with some leftover egg whites and top with sesame seeds.sesame seeds for topping
- Bake Tsoureki for 1 hour. Check on the bread after 30 minutes and cover it with foil shiny side up if the top starts to brown too much. Once Tsoureki is done, take it out of the oven and let it sit in the baking pan for 15-20 minutes, then carefully lift the bread out, remove the paper, and transfer the loaf to a cooling rack.
- Handle the loaf carefully while it's hot to prefer misshaping it. Let gluten-free Tsoureki cool entirely before slicing. Enjoy!
Notes
- Don't add extra flour to the dough even if it seems too wet. Instead, use flour while shaping to prevent sticking.
- Use a digital kitchen scale for the best results!
- You can skip braiding and bake the dough in a loaf shape instead.
- Add raisins or candied peel for extra sweetness and a bite.

Olivia says
In the recipe step by step pictures it shows an egg involved in the mixture of the dough but it is never stated in the directions. Do I add an egg to the dough or just the egg wash?
Natashashome says
Hi Olivia! Thank you so much for your question. Yes, you should add the egg to the dough. I will edit the recipe card to make it clear!