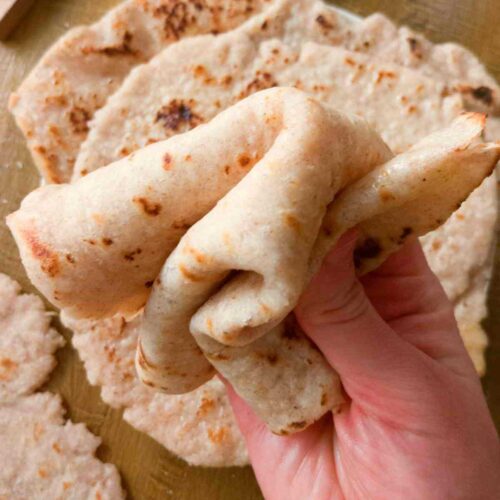
I love this gluten-free Lebanese bread because it is easy to make and it has large pita pockets to stuff with your favorite fillings. Homemade gluten-free pitas are way healthier (and cheaper) than their store-bought alternative and yet, they are light, tender, fluffy, and pillowy-soft!

Pita (or pitta) bread has its roots in the Middle East and is very popular in the Mediterranean, which is why it is often called Greek pita. In some cultures and cuisines pitas are made without pockets but in most other countries pitas and pockets are synonyms!
So, this recipe makes the traditional Arabic gluten-free pita pocket bread that can be stuffed with anything from salads to falafel to kebab!
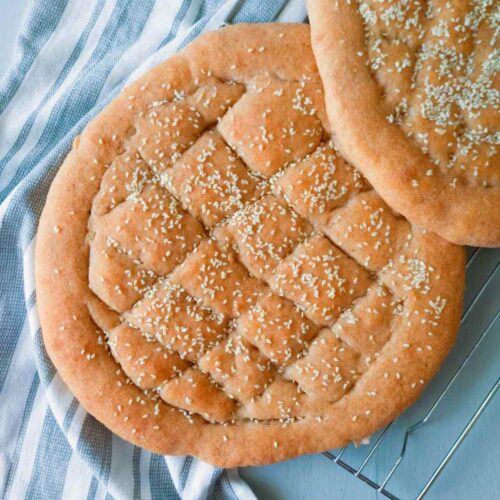
If you are looking for a pocketless pita, I'd recommend you check out my gluten-free pull-apart Turkish bread or unleavened lavash instead. Here in Hungary, pita is also called gyro or gyros and is commonly filled with grilled meat, vegetables, and tzatziki sauce.
These pitas are gluten-free which means they are suitable for celiacs, people with gluten allergies or intolerances.
Jump to:
Ingredients
These pitas are dairy-free, egg-free, vegan, and xanthan-gum-free as well! I only included the absolutely necessary ingredients to keep it simple.
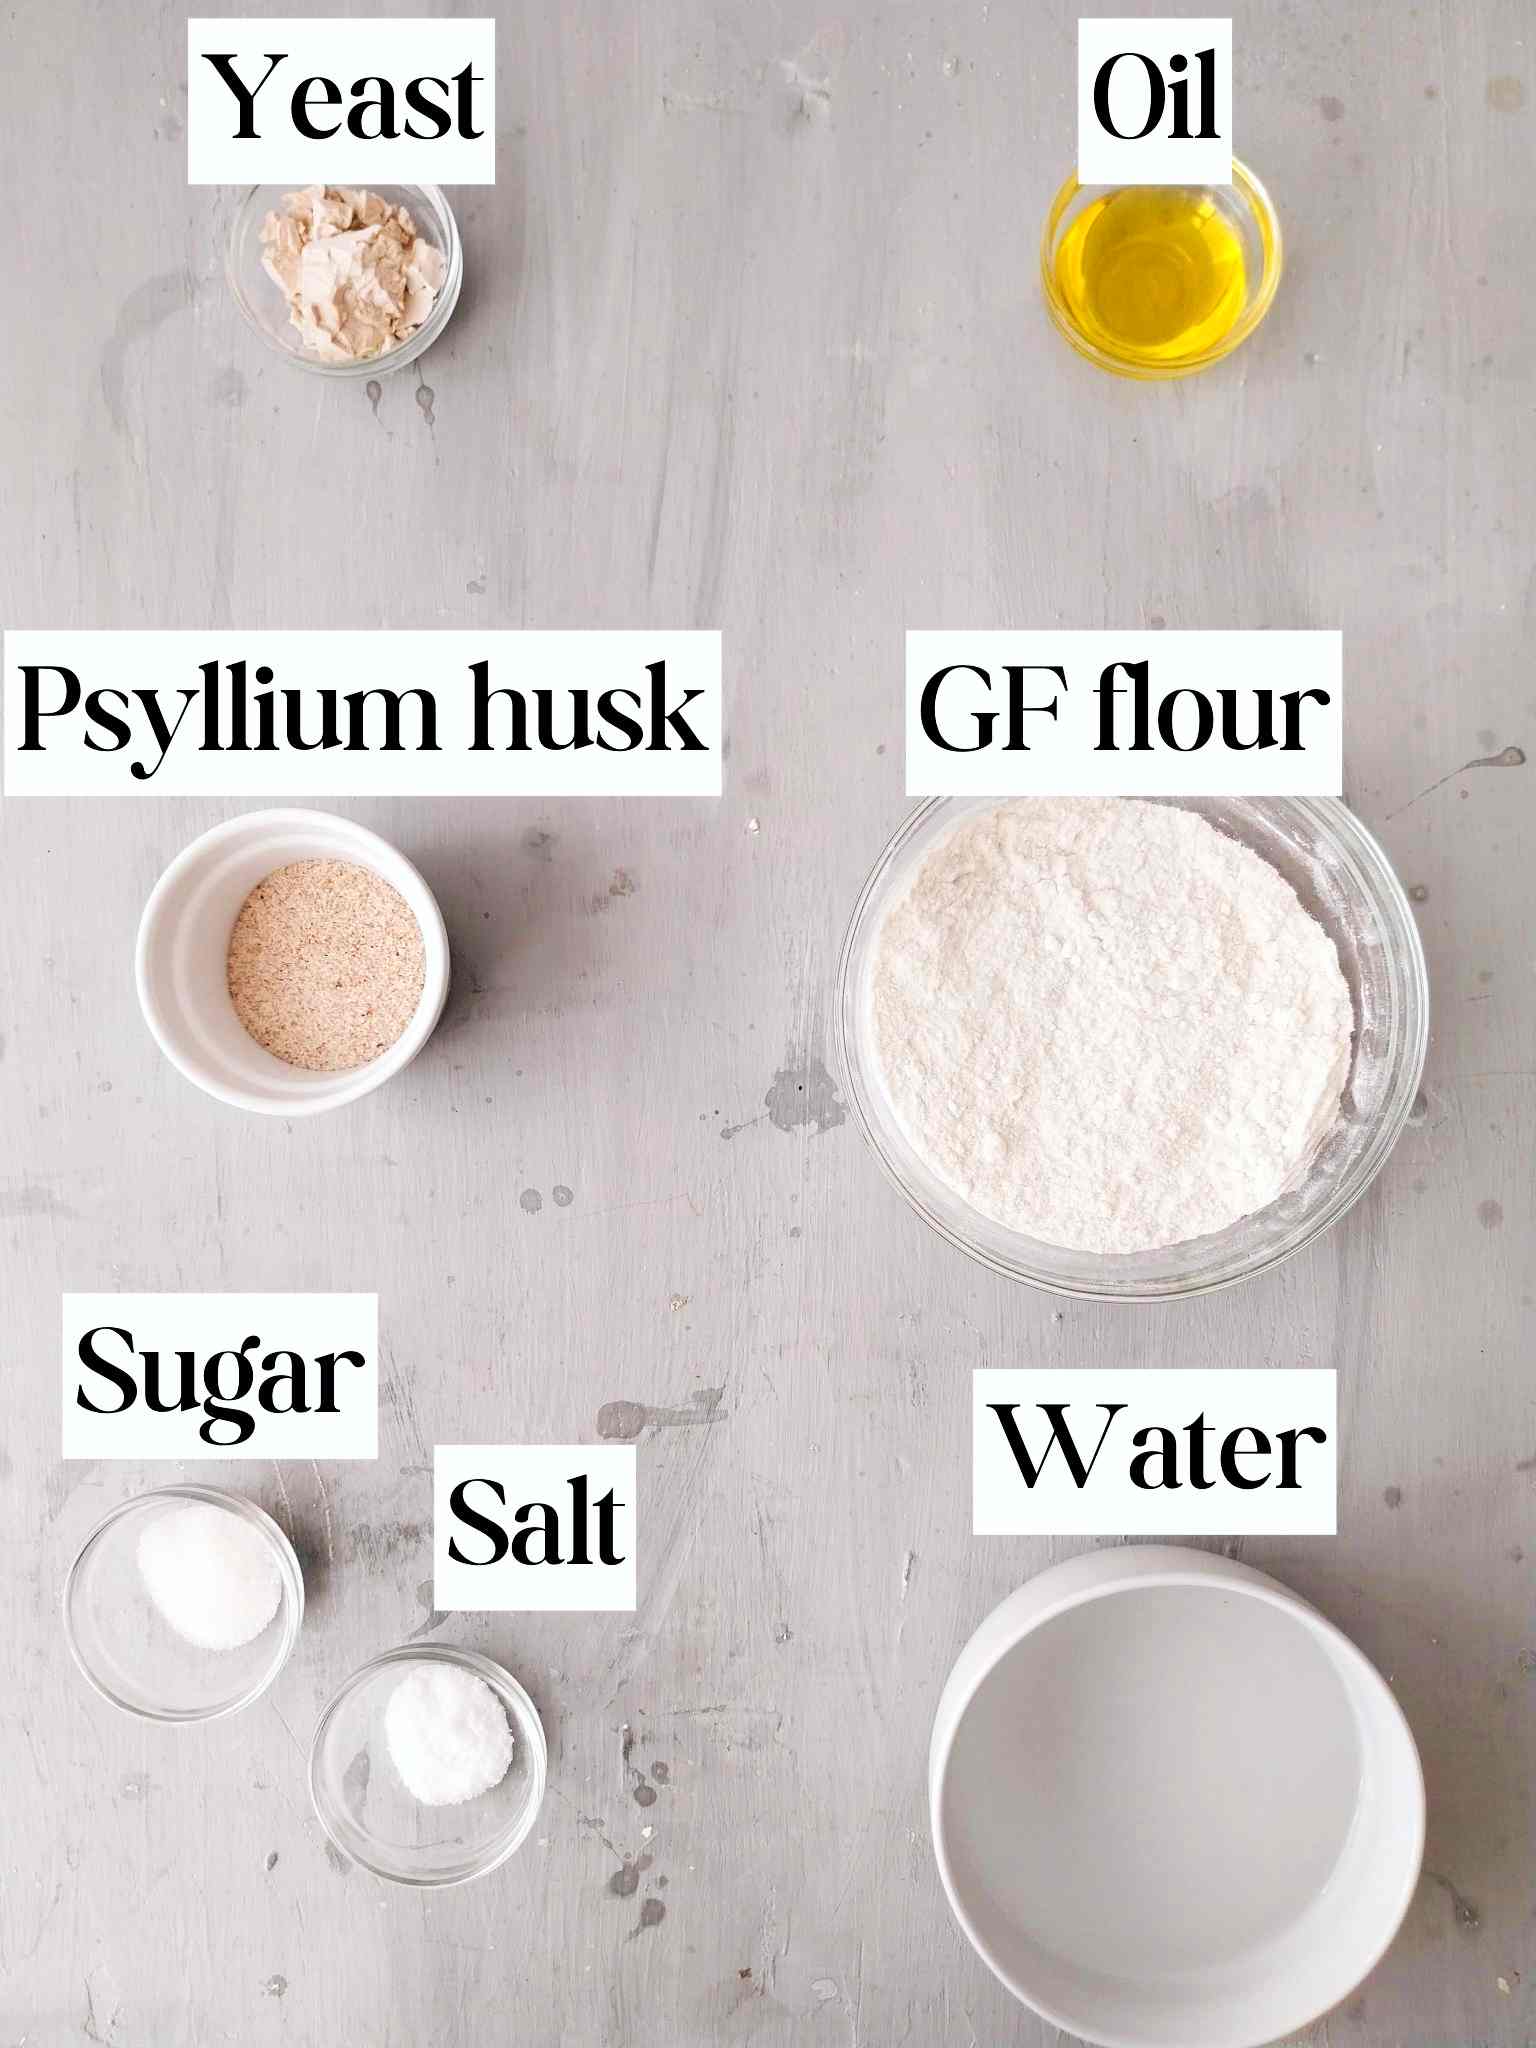
Gluten-free flour - I used my homemade potato-free blend because it has a 50/50 ratio of flour to starches which contributes to both a soft texture and a better durability. Most other recipes call for a rather starchy combination which makes pita breads dry out quicker.
Psyllium husk - I highly recommend using whole husks vs. powder. If you only have powder though, you can still use that, just make sure to adjust the ratios accordingly!
Yeast - I always use fresh yeast (a moist crumbly block of yeast) because it works best for me (and is often used in professional bakeries), but you can use active dry yeast instead. Fresh yeast doesn't need activating which makes it easier to use!
Oil - you can use coconut, olive, grapeseed, canola, or any vegetable oil you prefer, or even substitute it for melted butter.
Sugar - it will be processed by the bacteria which means you aren't eating pure sugar as is. You can use maple syrup, honey, coconut sugar, or cane sugar instead.
See the recipe card for exact quantities!
Substitutions
Gluten-free flour - you can use any other gluten-free all-purpose blend you have. Cup4Cup, King Arthur, Bob's Red Mill blends should work, although you might need to adjust the amount based on how well they absorb liquids!
I have a rice-free flour blend with millet flour you can also try.
Psyllium husk - although there are psyllium husk substitutes, I don't recommend using them in gluten-free bread. Psyllium husk is the whole reason gluten-free bread can be so stretchy, soft, and moist!
Yeast - if you are intolerant to yeast, I have a gluten-free sourdough naan recipe you can try!
Step-by-step instructions
This recipe is designed to be baked in the oven, although you can try cooking pitas in a greased cast-iron skillet over high heat (450F/200C).
Step 1

First, we need to make psyllium gel by combining water and psyllium husk in a medium-sized bowl.
If you are using active dry yeast, you will need some of the water for activating the yeast. So, take 100g of water and warm it up to about 100F/40C. Then, add the yeast and sugar and let it sit for 10 minutes.
Yeast should look bubbly and frothy if it is indeed active. If it doesn't look active, get a fresh pack for this recipe!
Use the remaining water to form psyllium gel. To make the gel, you simply need to mix psyllium husk and water and let it sit for a couple of minutes.
Step 2
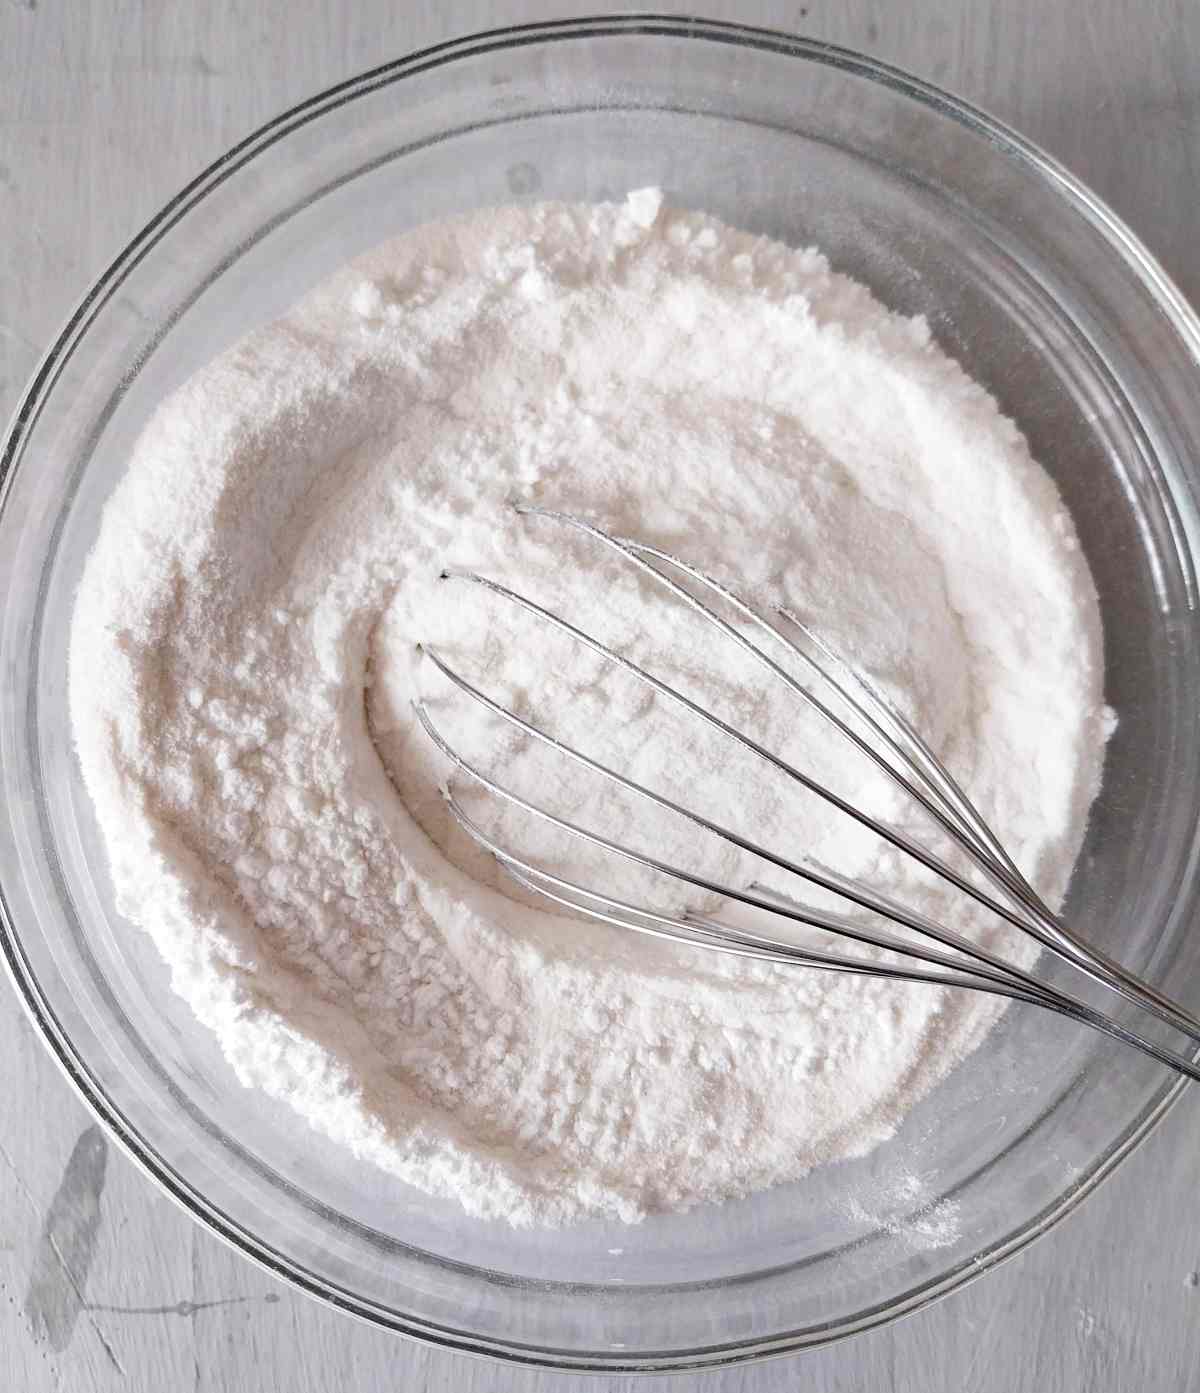
Combine all of the dry ingredients in a separate large mixing bowl and stir to incorporate.
Step 3
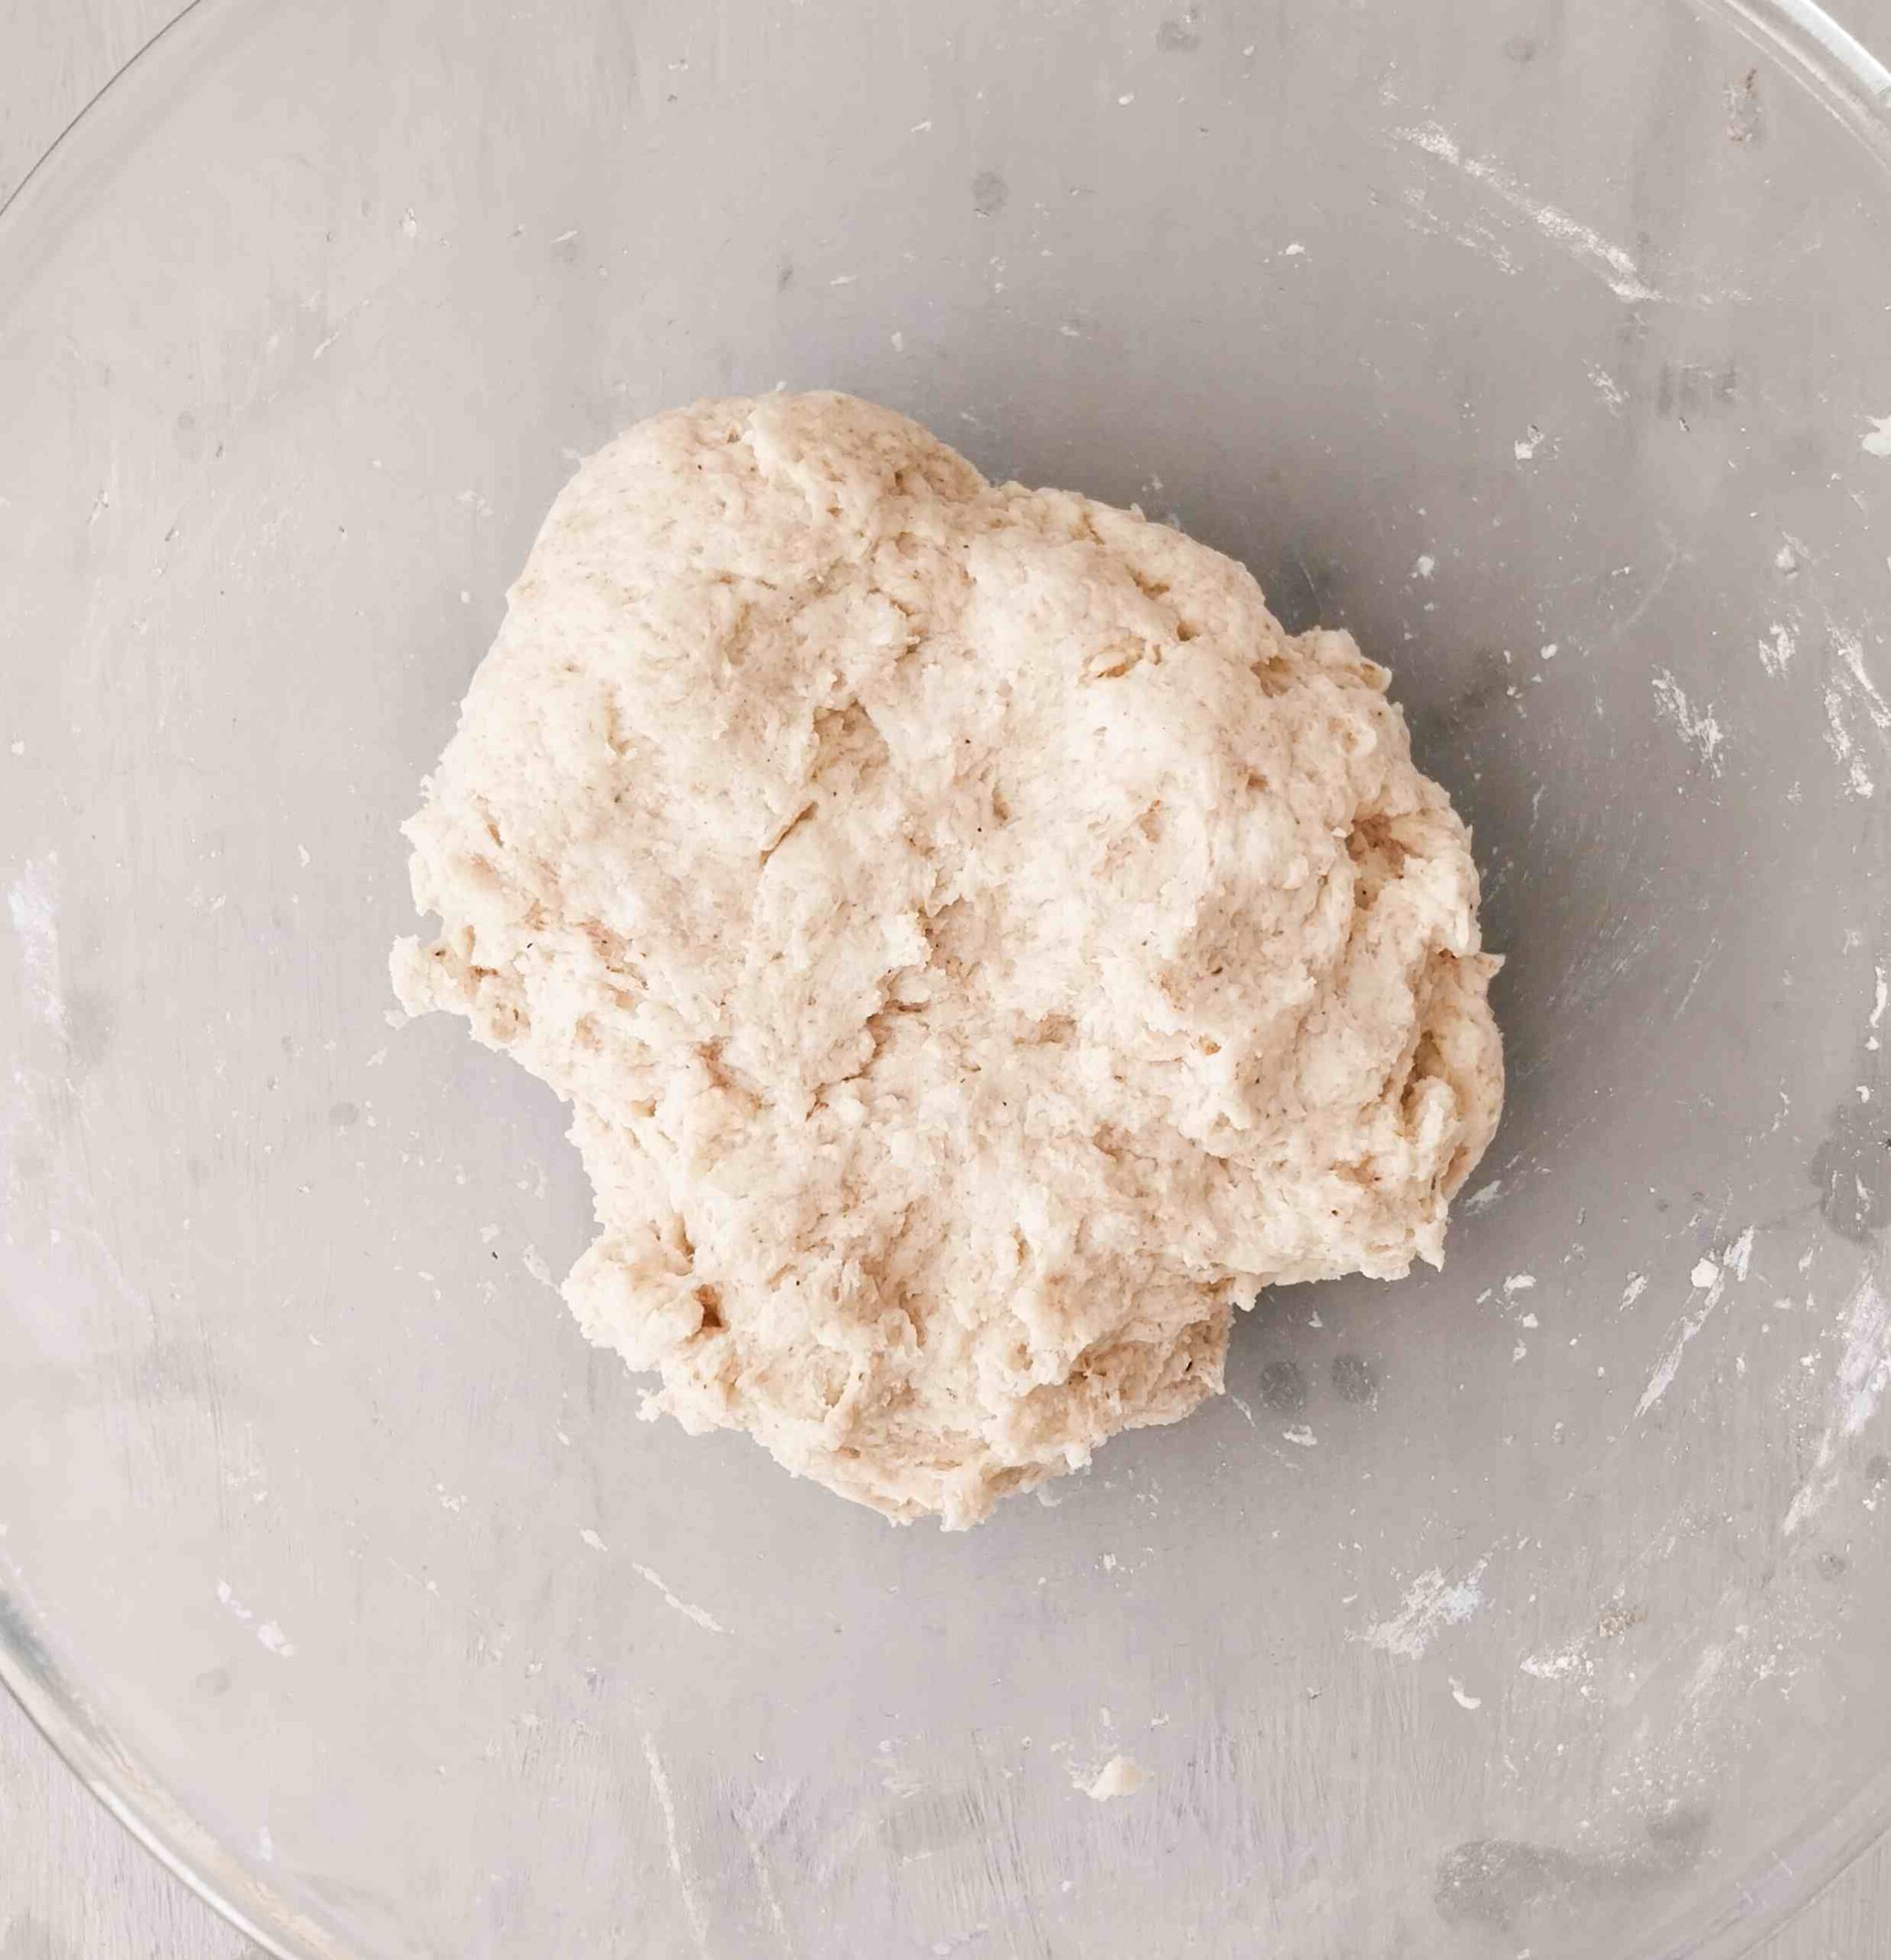
Then, once psyllium gel forms (1-2 minutes), add it to the dry ingredients, then add oil and yeast.
Knead the dough by hand until smooth or use an electric mixer with a dough hook or a paddle attachment to do the work for you!
You should have a thick but elastic dough.
Step 4
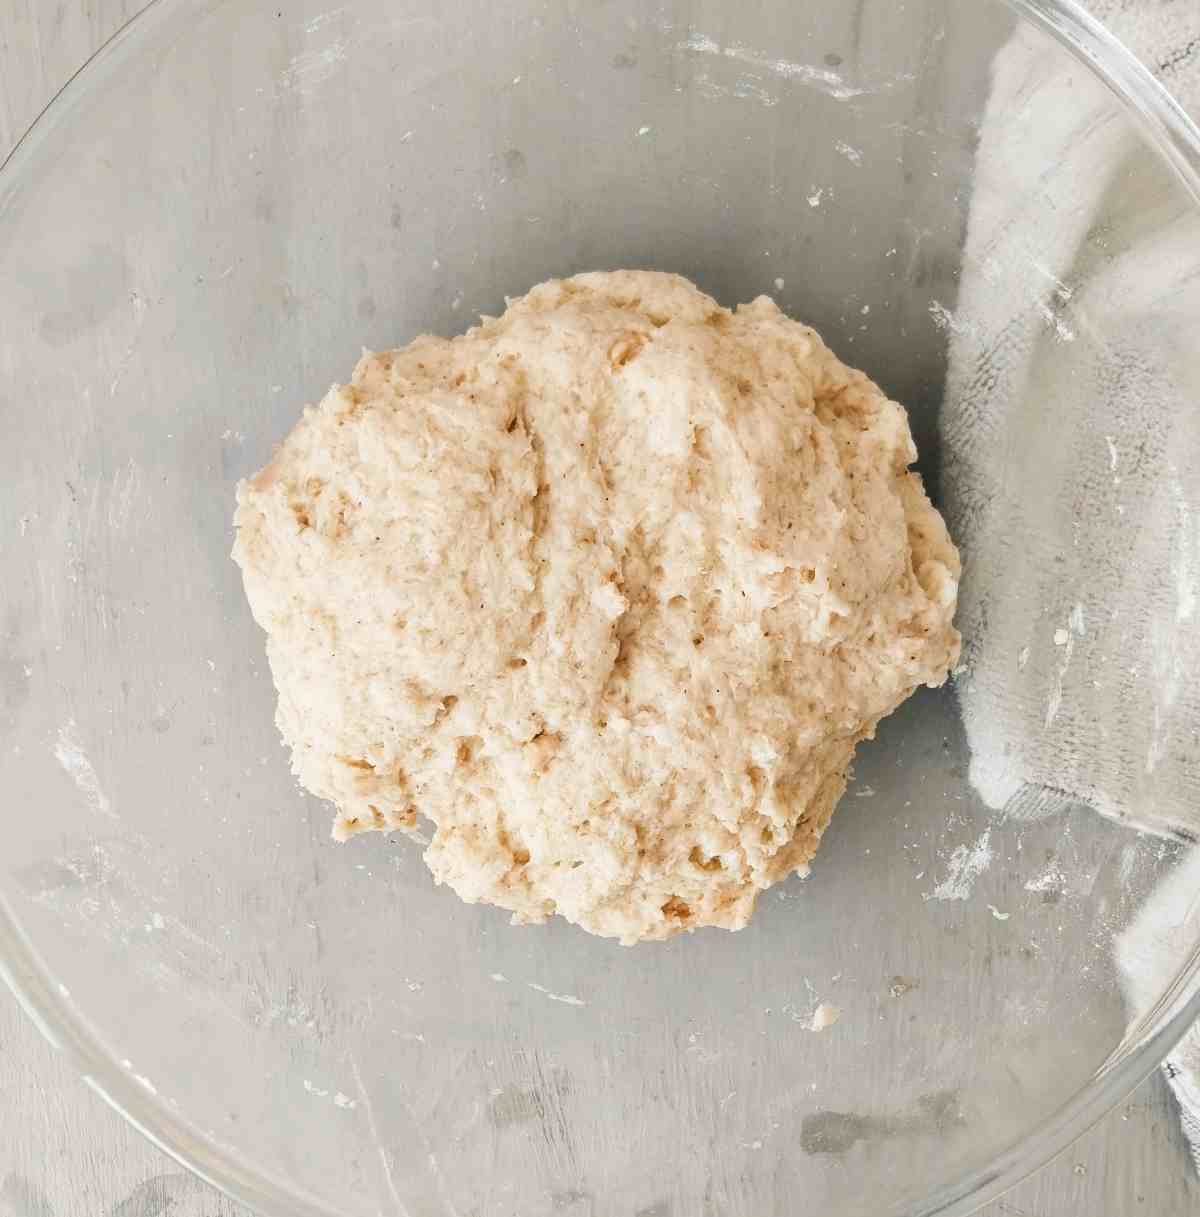
Shape the dough into a ball and cover the bowl with a kitchen towel. Place it in a draft-free area and let it rise for 45-60 minutes until it increases in volume and puffs up.
The perfect temperature for proofing dough is 68-75F/20-24C.
Step 5
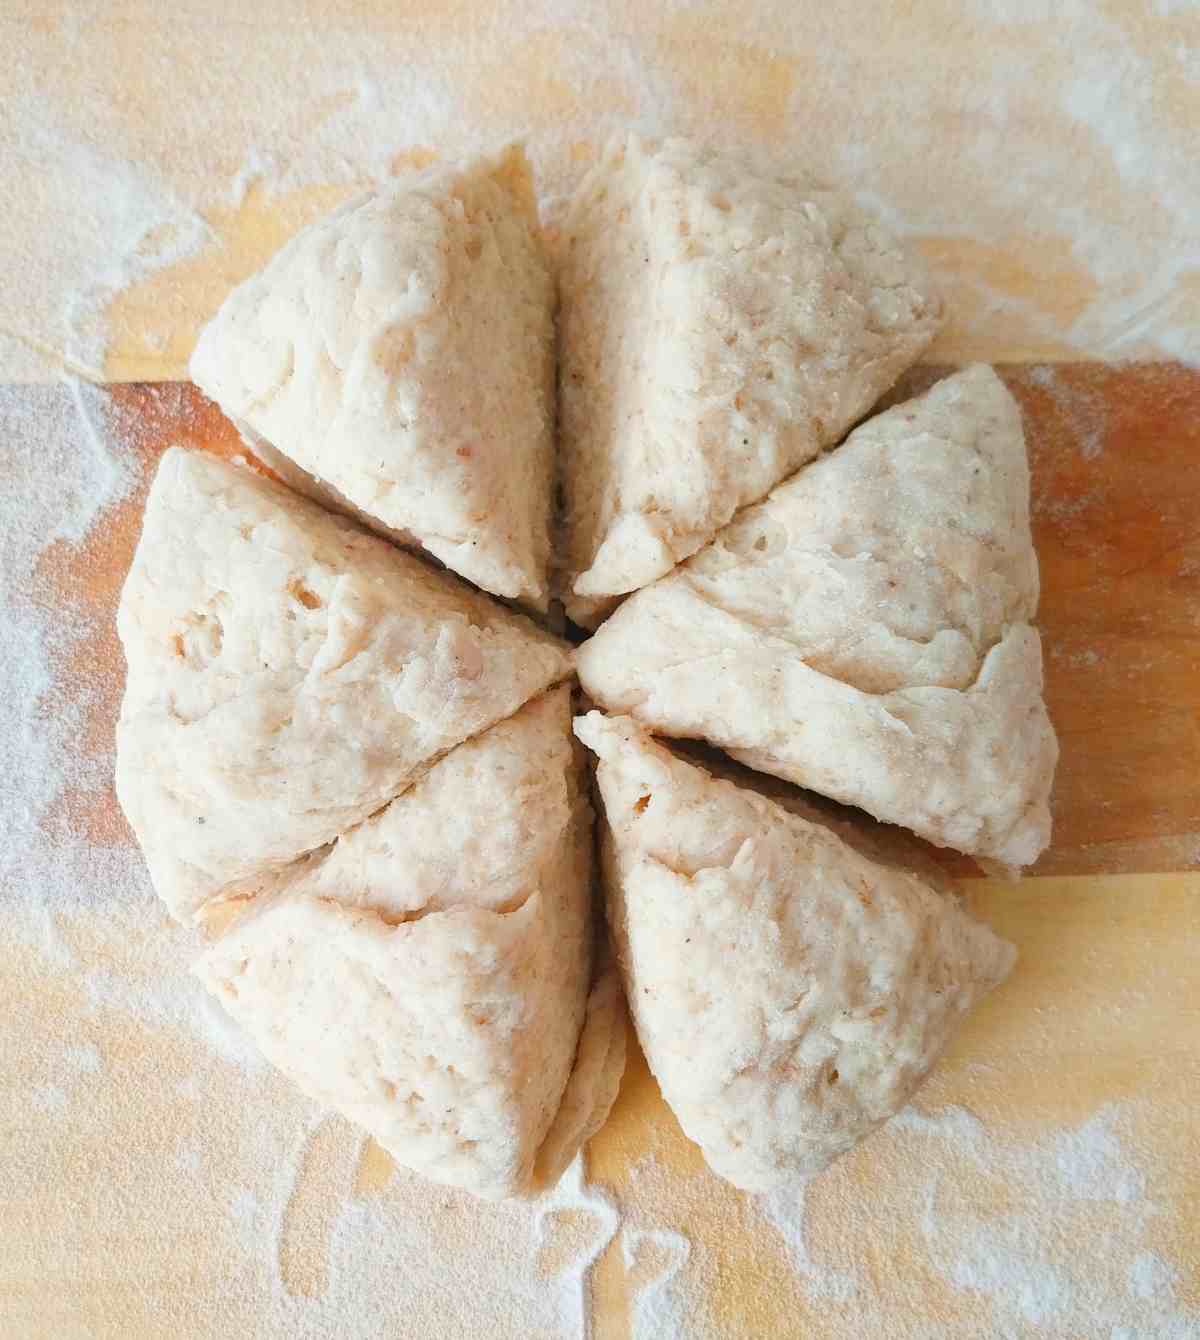
Once the dough is ready, start preheating the oven to 450F/240C.
Turn the dough oven onto a lightly floured working surface and divide it into six equal parts. I like using a bench scraper for this!
Step 6
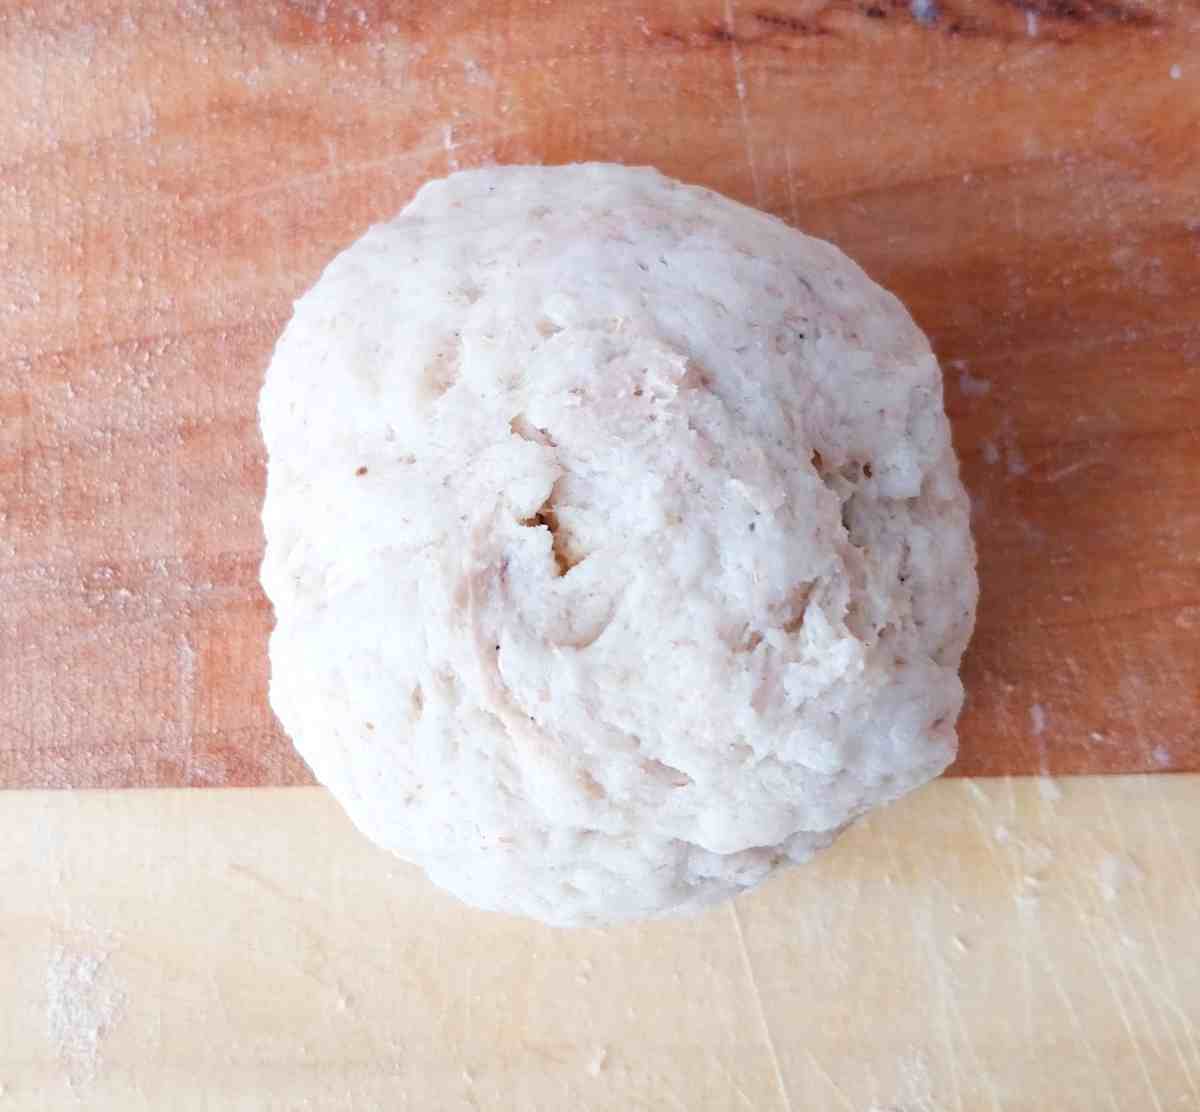
Then, take one piece and shape it into a small ball.
Step 7
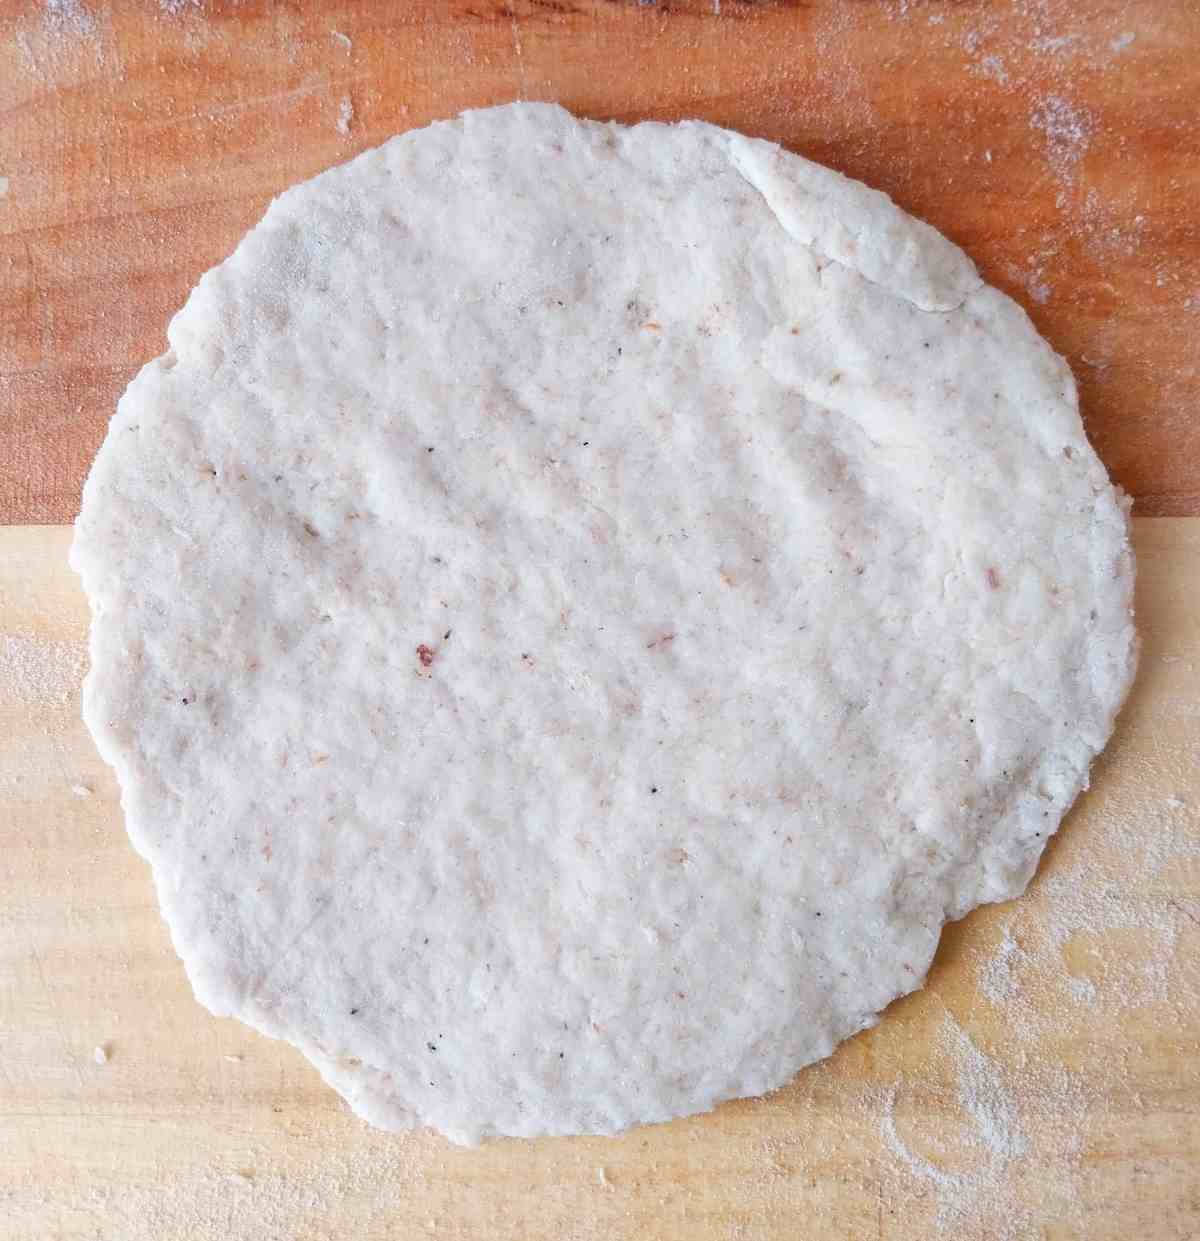
Then, flatten it into a circle using a rolling pin. It should be about 6in/15cm in diameter. My bench scraper actually has in/cm indicator on it, so I don't have to use a ruler to know my pitas are the right size!
These pitas will be a little bit thicker than all the other recipes because I find that if I roll my pita ¼ inch thin, it becomes quite hard to create pockets without cracks.
Step 8
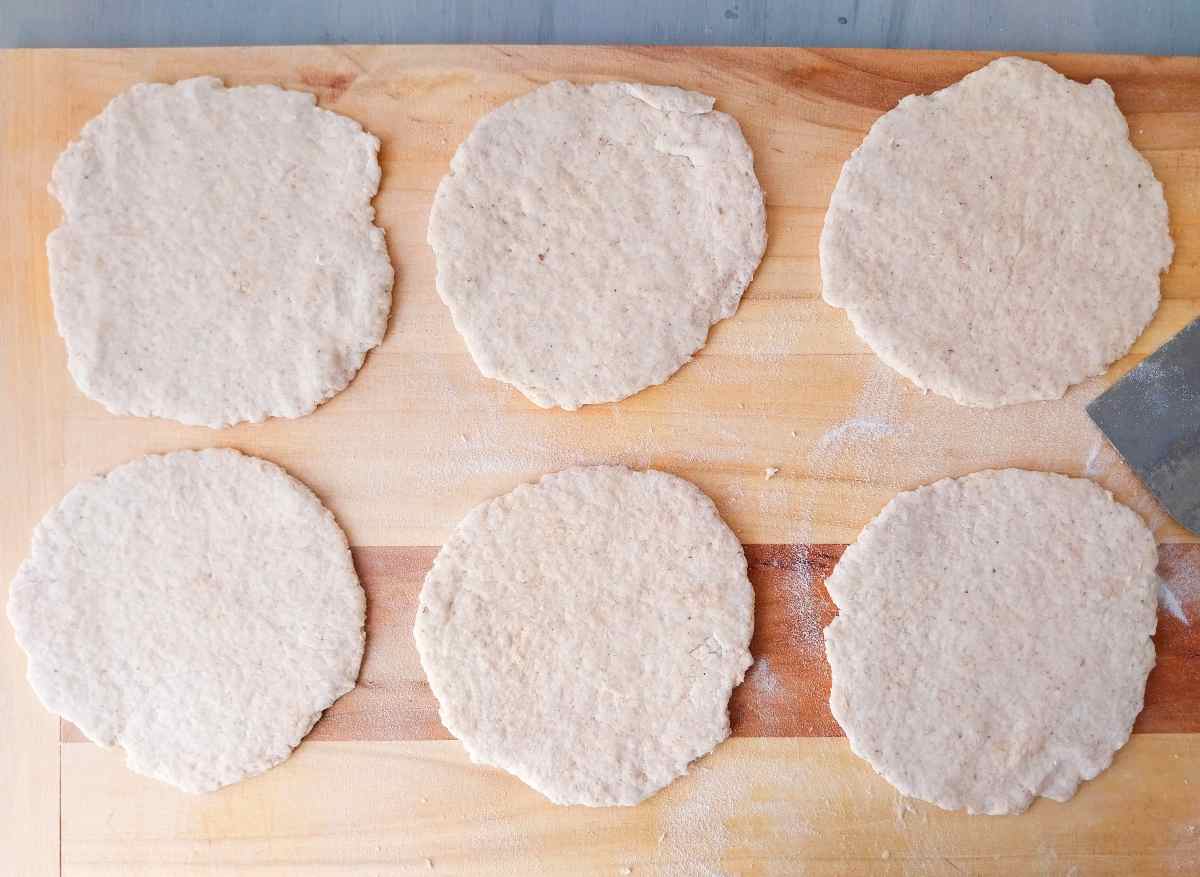
Repeat with all the other pieces of the dough and let them rest until the oven is ready.
Once the oven is preheated, arrange two pitas on a baking sheet lined with parchment paper and bake for 5-7 minutes.
Be careful not to overcook because overcooking will dry out the dough and make the bread less tender and soft.
Step 9

Your pitas won't pop because they are thicker than normal. If you would like them to pop, roll them out no thicker than ¼ of an inch.
Once ready, let the pitas cool before creating pockets. No need to place them on a wire rack!
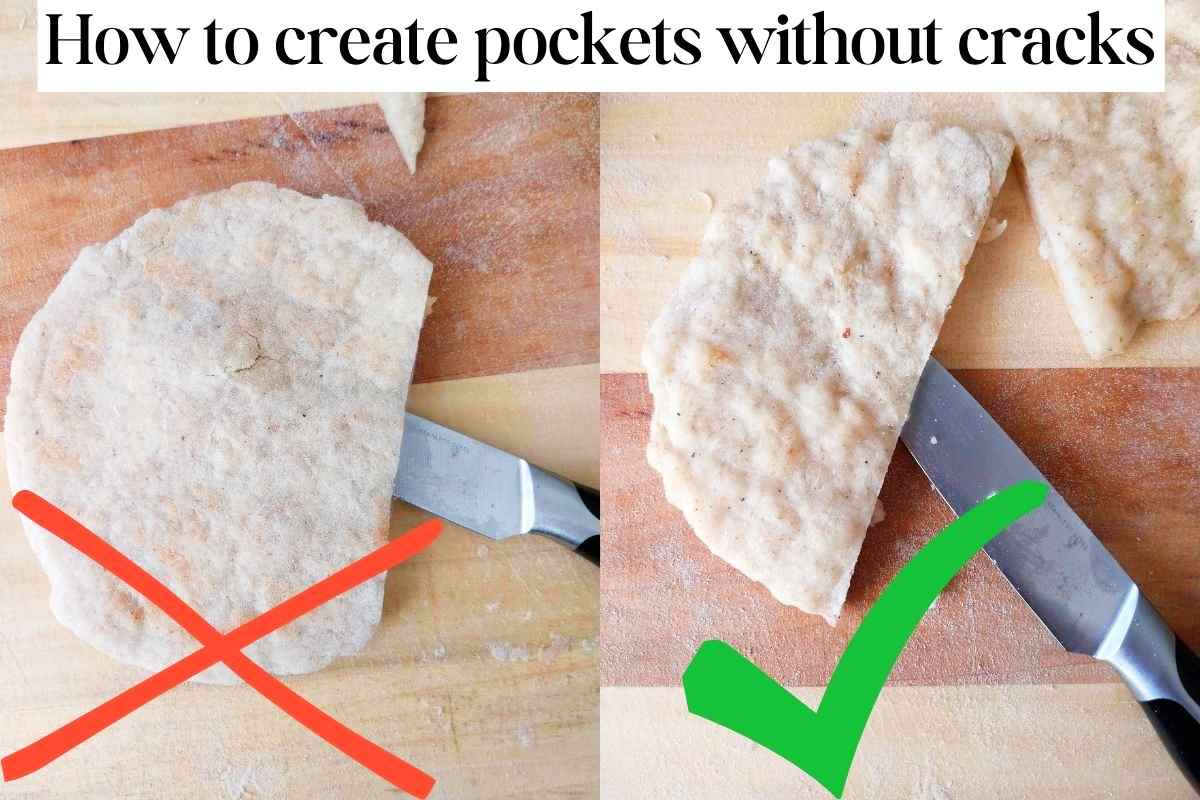
Once the pitas have cooled, it is time to create those deep pockets we are after! You will need to cut each pita in half and use a very sharp knife to cut the inside of them.
Move slowly and be very careful not to tear the pitas as you go. Don't try to make the whole pita into one large pocket as it will certainly crack and only cause you frustration!

Make ahead & store
Eat these Lebanese pita breads as fresh as possible! They do become drier with time. If you know you won't eat them the day of baking, freeze them instead.
Make the pockets ahead of time, then wrap them in cling film (or place them in an air-tight freezer-friendly container) and place into the freezer. They will keep for up to 1 month.
To defrost:
- splash with water and microwave for 30 seconds OR
- bake for a few minutes at 350F/175C OR
- pop them into a toaster OR
- hold them over an open stove flame and flip frequently to prevent burning OR
- thaw at room temp.
You can make the dough ahead of time and keep it wrapped in the refrigerator for 2-3 days. I don't recommend storing baked pitas in the fridge as it will dry them out.
Expert tips
- If you want your pitas to pop and form a hollow pocket, roll them thinner (no thicker than ¼ of an inch). I prefer baking my pitas thicker and separating them with a knife.
- Make sure to bake/fry Lebanese pita bread at a very high temperature (450F/240C), otherwise, it won't puff up as much. You can use a pizza stone, a regular baking sheet, or a cast iron skillet for baking.
- Eat pitas fresh. They lose their softness and flexibility fairly soon!
- I always highly recommend using a digital kitchen scale for measuring your ingredients. If you do use cups, make sure to use the spoon & level method.
Variations
- Try adding sesame or poppy seeds to the dough for more flavor.
- Substitute part of the water for milk and/or egg for a richer dough.
- If the pockets crack use these pitas as a pizza base, add toppings of choice, and broil for a few minutes until the cheese melts!
- You can make a double batch to feed a larger crowd!
How to eat pita

- You can stuff pitas with falafel, tahini sauce, salads, or shawarma kebab.
- Make Lebanese Fattoush salad.
- Cut the pitas and make pita chips if they become dry and stale. Serve them with your favorite dips!
- You can stuff these with taco or enchilada fillings.
- Use them as a hamburger bun alternative.
- Serve these with hummus as a snack!
More like this
FAQ
Gluten-free bread is not always better because depending on the flour it was made with, it might miss some nutrients wheat flour provides. However, making gluten-free bread at home is healthier than buying it because homemade bread lacks all the additives and preservatives store-bought versions are full of.
This recipe calls for rice flour, tapioca, and cornstarch, along with some other basic ingredients, which are low FODMAP. So, while not all gluten-free products are low FODMAP, these Lebanese pitas are!
You can find them on Amazon or in your grocery store. Generally, those don't have very good reviews, so I'd recommend making your own!
Yeast is essential for these pitas to have the flavor and texture of the original Lebanese bread. Instead, check out my yeast-free almond loaf and rice bread.
Get my new
Gluten-Free Bread Recipes eBook
The top 7 recipes of 2024!
📖 Recipe
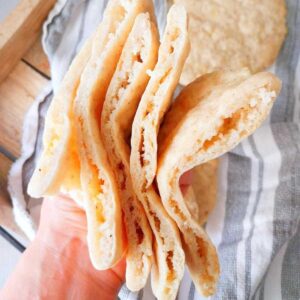
Gluten-Free Lebanese Bread (Pita Pockets)
Ingredients
- 290 grams water
- 10 grams active dry yeast or 20 grams of fresh yeast
- 20 grams whole psyllium husk use 18 grams if using powder
- 12 grams sugar or maple syrup, honey, coconut sugar
- 276 grams gluten-free flour I used my own blend which for this recipe would be 69g brown rice flour, 69g white rice flour, and 138g starch of choice.
- 8 grams sea salt
- 1½ tablespoon olive oil any other vegetable oil will work, too
Instructions
- First, we need to make psyllium gel by combining water and psyllium husk in a medium-sized bowl. If you are using active dry yeast, you will need some of the water for activating the yeast. So, take 100g of water and warm it up to about 100F/40C. Then, add the yeast and sugar and let it sit for 10 minutes. Yeast should look bubbly and frothy if it is indeed active. If it doesn't look active, get a fresh pack for this recipe!Use the remaining water to form psyllium gel. To make the gel, you simply need to mix psyllium husk and water and let it sit for a couple of minutes.
- Combine all of the dry ingredients in a separate large mixing bowl and stir to incorporate.
- Then, once psyllium gel forms (1-2 minutes), add it to the dry ingredients, then add oil and yeast. Knead the dough by hand until smooth or use an electric mixer with a dough hook or a paddle attachment to do the work for you! You should have a thick but elastic dough.
- Shape the dough into a ball and cover the bowl with a kitchen towel. Place it in a draft-free area and let it rise for 45-60 minutes until it increases in volume and puffs up. The perfect temperature for proofing dough is 68-75F/20-24C.
- Once the dough is ready, start preheating the oven to 450F/240C. Turn the dough oven onto a lightly floured working surface and divide it into six equal parts. I like using a bench scraper for this!
- Then, take one piece and shape it into a small ball.
- Then, flatten it into a circle using a rolling pin. It should be about 6in/15cm in diameter. My bench scraper actually has in/cm indicator on it, so I don't have to use a ruler to know my pitas are the right size! These pitas will be a little bit thicker than all the other recipes because I find that if I roll my pita ¼ inch thin, it becomes quite hard to create pockets without cracks.
- Repeat with all the other pieces of the dough and let them rest until the oven is ready. Once the oven is preheated, arrange two pitas on a baking sheet lined with parchment paper and bake for 5-7 minutes. Be careful not to overcook because overcooking will dry out the dough and make the bread less tender and soft.
- Your pitas won't pop because they are thicker than normal. If you would like them to pop, roll them out no thicker than ¼ of an inch. Once ready, let the pitas cool before creating pockets. No need to place them on a wire rack!
- Once the pitas have cooled, it is time to create those deep pockets we are after! You will need to cut each pita in half and use a very sharp knife to cut the inside of them. Move slowly and be very careful not to tear the pitas as you go. Don't try to make the whole pita into one large pocket as it will certainly crack and only cause you frustration!
Notes
- splash with water and microwave for 30 seconds OR
- bake for a few minutes at 350F/175C OR
- pop them into a toaster OR
- hold them over an open stove flame and flip frequently to prevent burning OR
-




Comments
No Comments