Coconut flour is one of the most absorbent flours out there, this is why baking with coconut flour can be a bit tricky. But I made sure to do all the testing to give you the best recipe possible and save you time on trial and error!
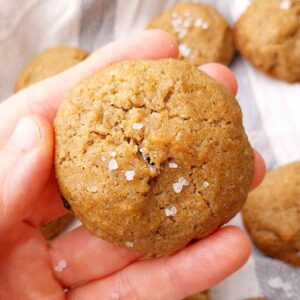
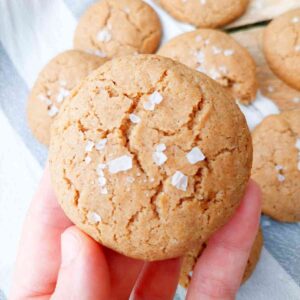
Macarons are traditionally made with ground almonds (almond flour) but not everyone can have almonds, so coconut flour macarons were created! Yet, even though these macarons are made with coconut, they are still different from coconut macaroons (coconut rocks) baked with desiccated coconut and homemade sweetened condensed milk.
Jump to:
Why You Will Love This Recipe
- The process is the same as with the Swiss macarons
- A great coconut flavor just like in Raffaello coconut balls
- Low expense (you only need a tiny bit of coconut flour)
Ingredients
Coconut flour - finely ground.
Egg whites - use egg whites from the eggs, not boxed egg whites as they might be slightly contaminated and not whip up.
Sugar - there is A LOT of sugar in this recipe, and I hear you, you want it to be less. But truth be told, if you want those nice-looking macarons, you really need all the sugar this recipe calls for!
Powdered sugar - make sure your confectioner's sugar is gluten-free.
For more coconut flour recipes check out my low-carb cookies with coconut flour, coconut flour cakes, and delicious coconut flour desserts!
Step-by-step instructions
Step 1
Measure out all of the ingredients and place them into separate bowls.
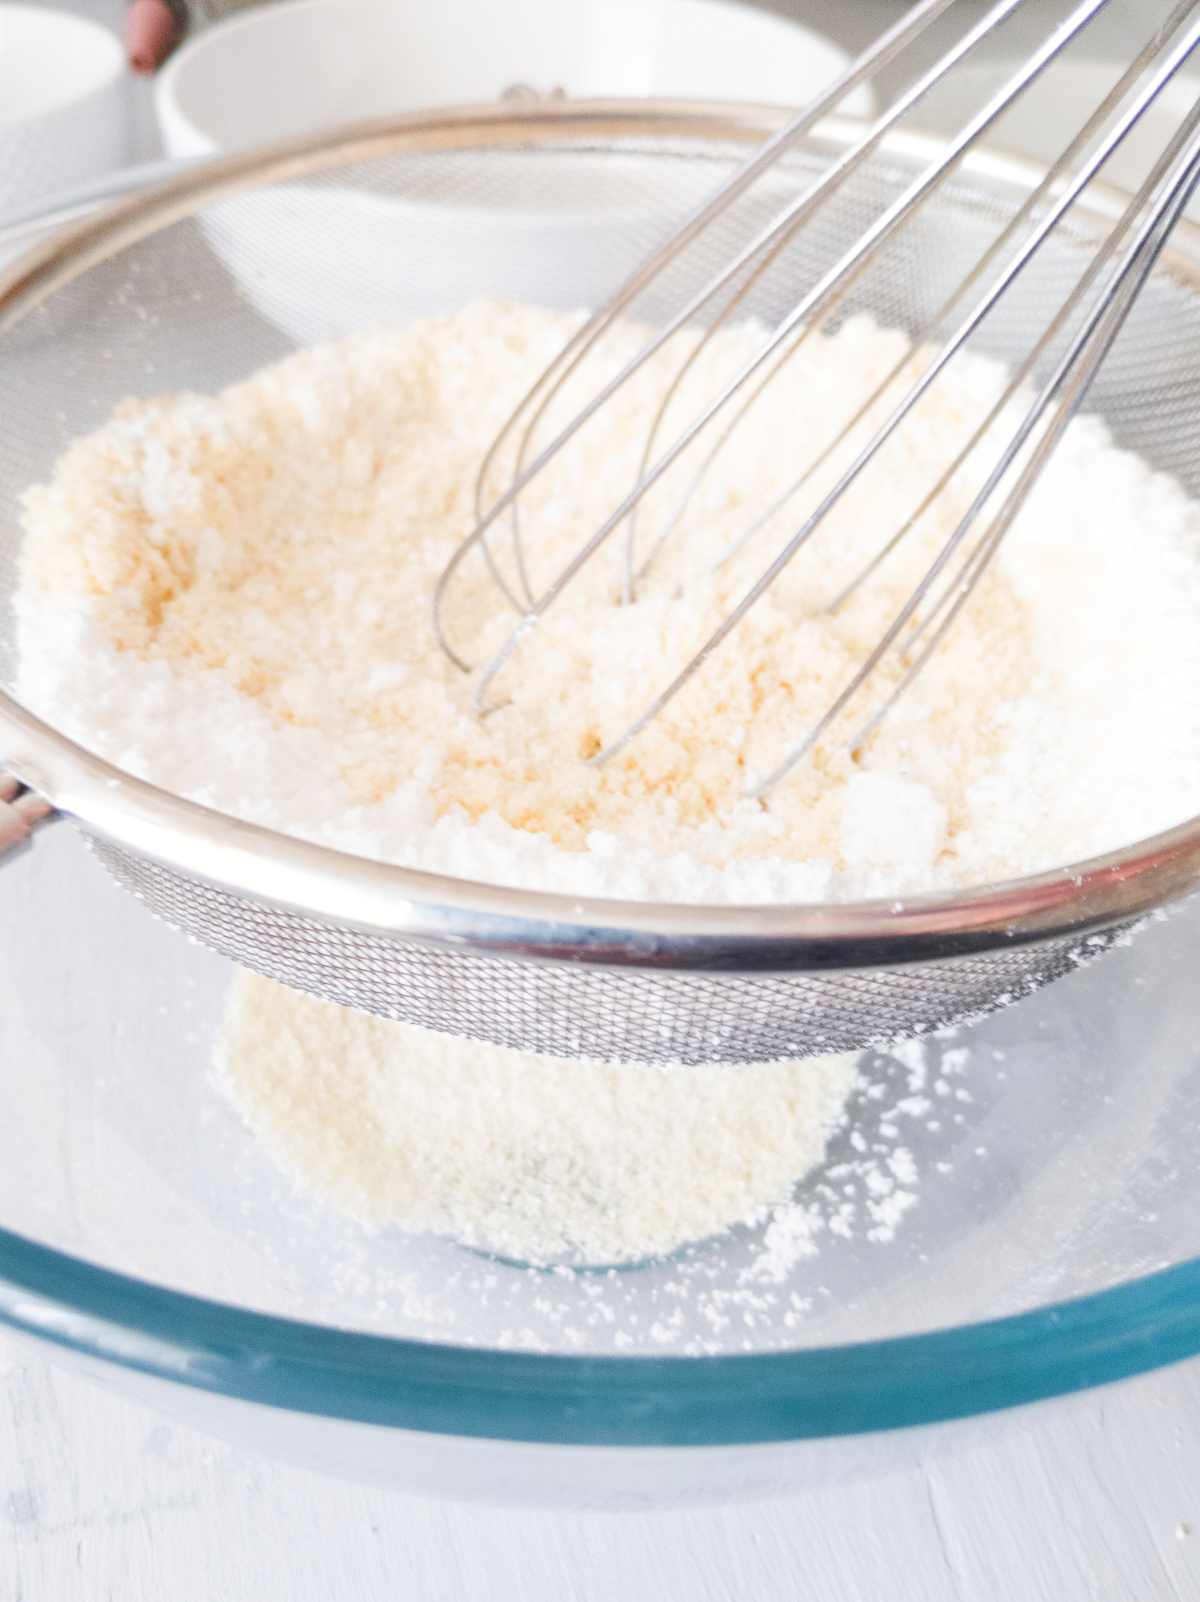
Sift powdered sugar with coconut flour using a fine-mesh sieve and a whisk. You shouldn't have any leftover bits left in the sieve.
Step 2
Place about 1 cup of water into a small-medium size saucepan and place it on the stove over medium-high heat.
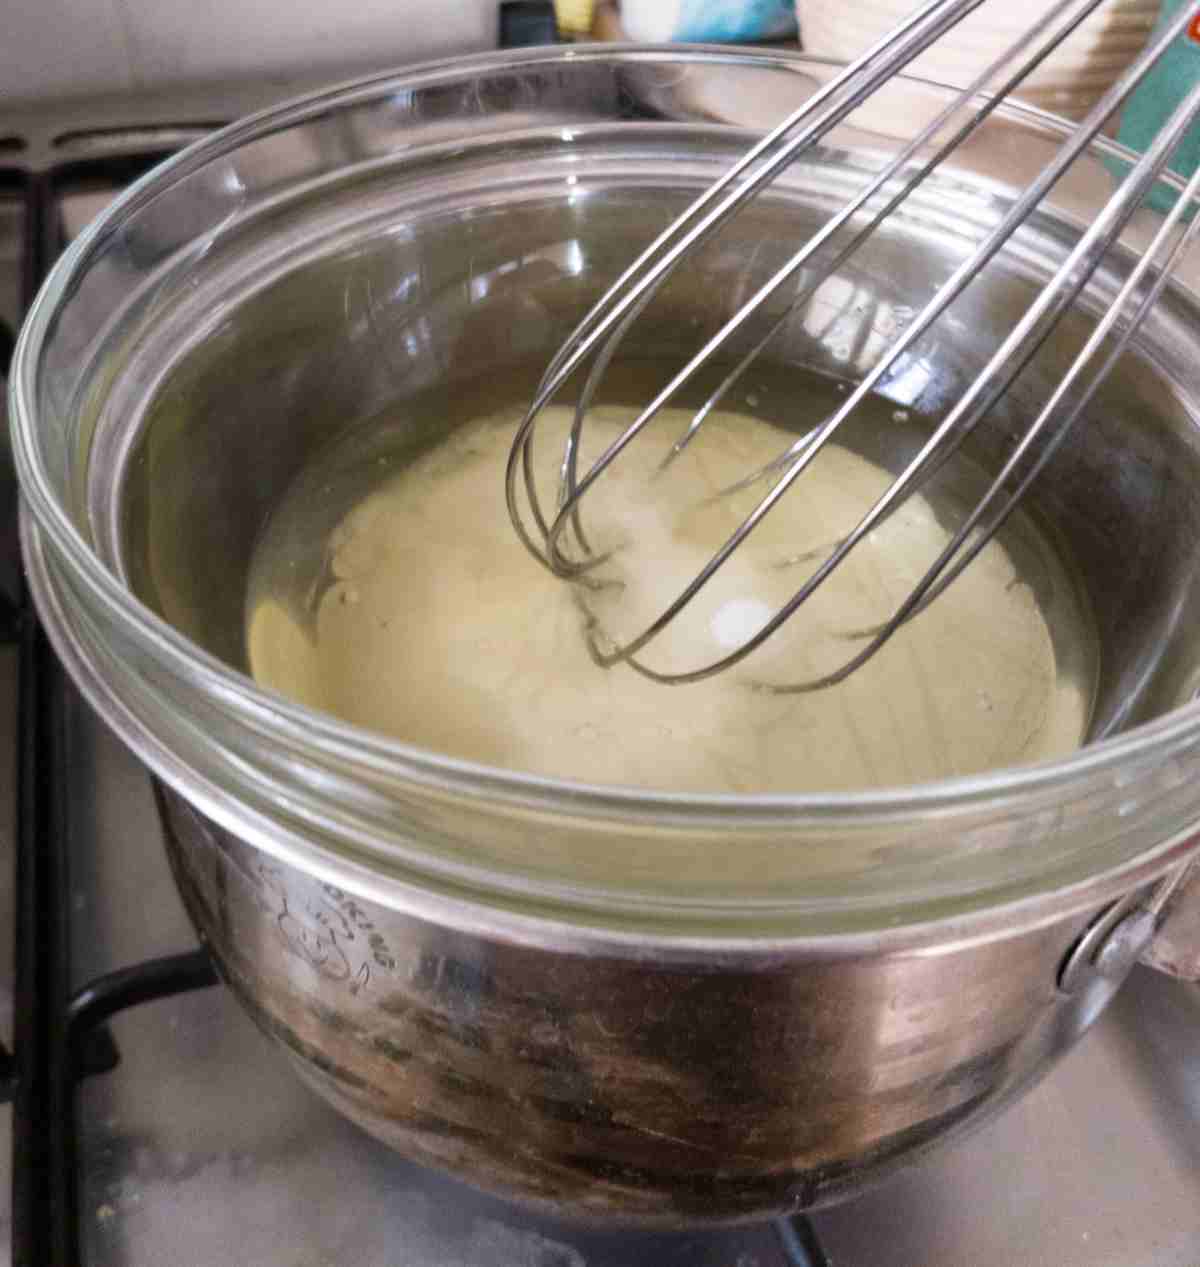
Then, place the egg whites and granulated sugar into a heat-proof glass bowl (the bowl should be bigger than the saucepan).
Place the glass bowl over the saucepan and keep whisking the egg whites until all the sugar dissolves.
Step 3

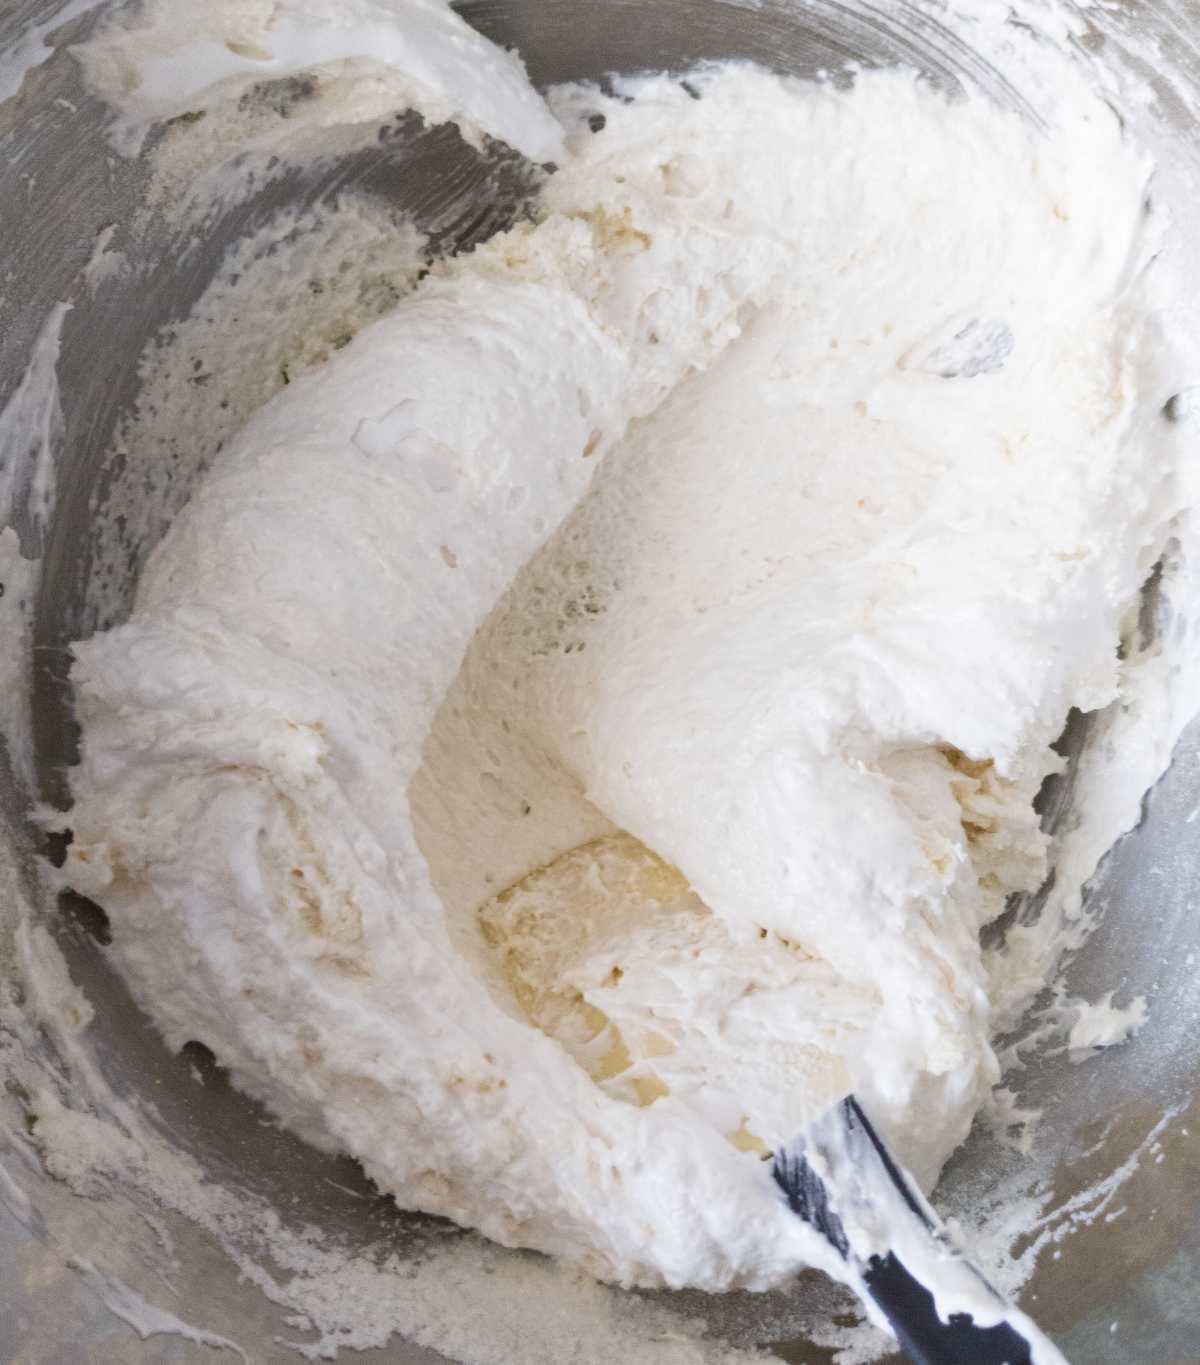
Once the sugar has dissolved, start beating the egg whites on a low speed for about 3 minutes.
Increase the speed to the medium and continue whipping for another 7-10 minutes until stiff peaks form.
Step 4
Transfer all of the coconut flour and powdered sugar to the bowl with whipped egg whites.
Start incorporating the mix by folding the flour into the egg whites. Scrape the bowl on the side, then press the batter in the middle and repeat.
Move the spatula in a J pattern.
Step 5
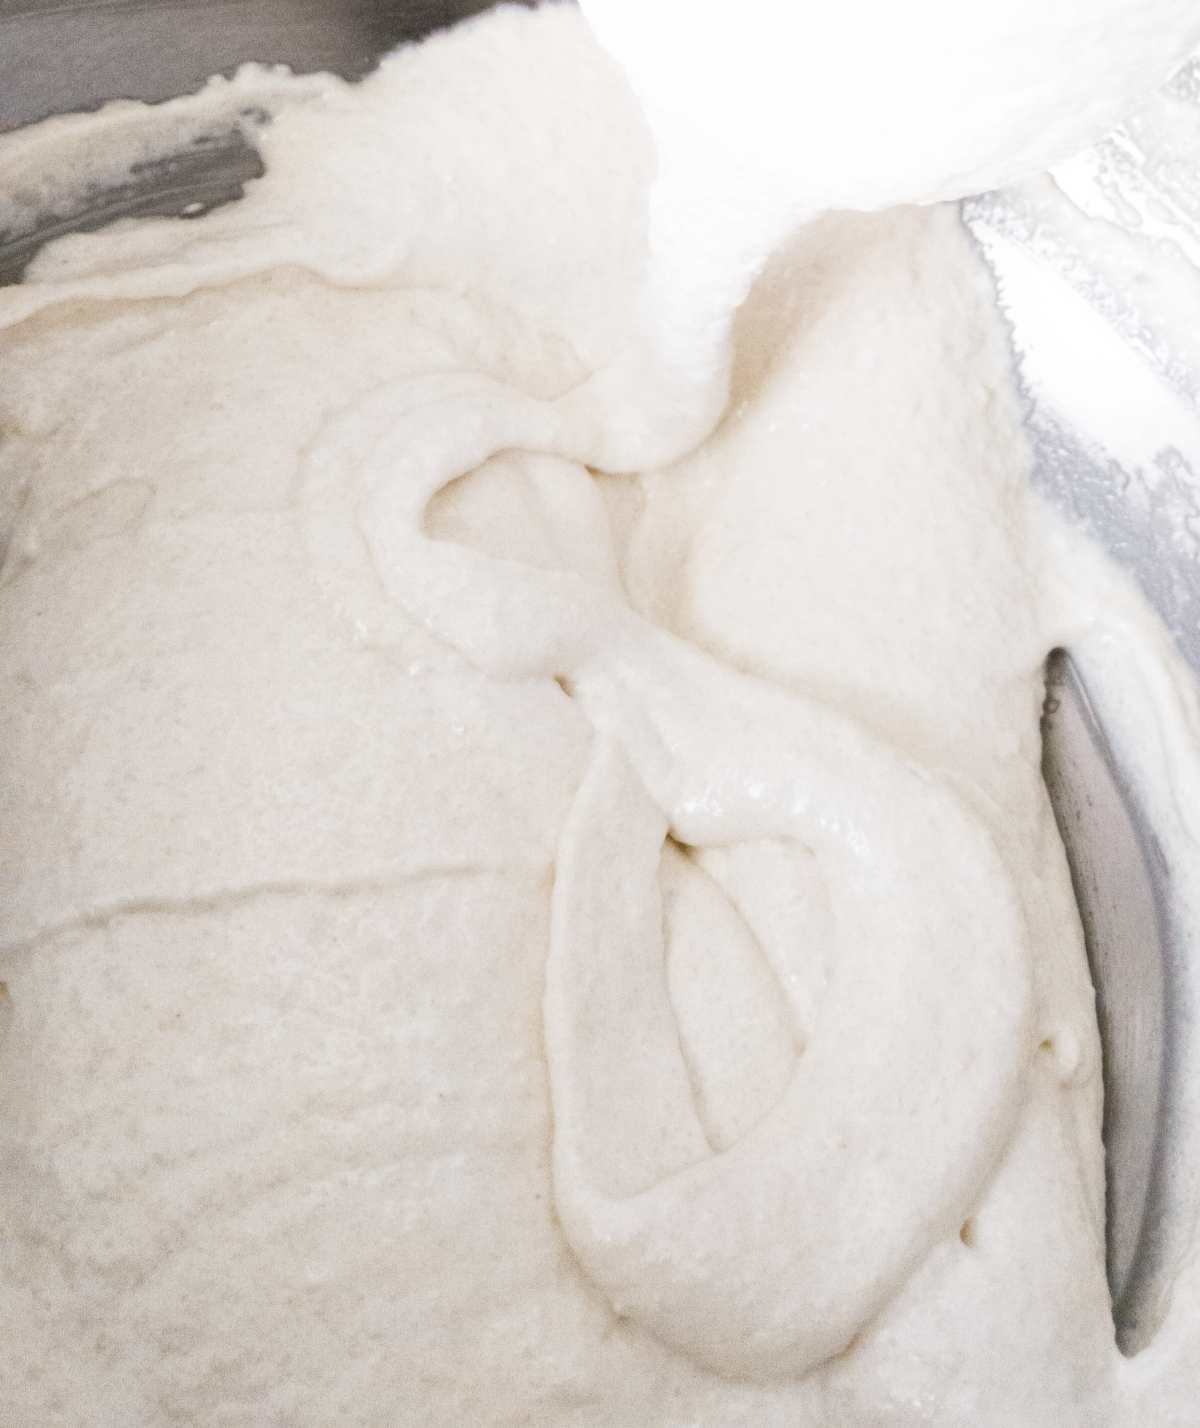
Keep up the macaronage (the folding) until you can draw a couple of 8 figures one after the other with the same scoop of the meringue.
If you can only draw one figure eight, keep folding!
Step 6
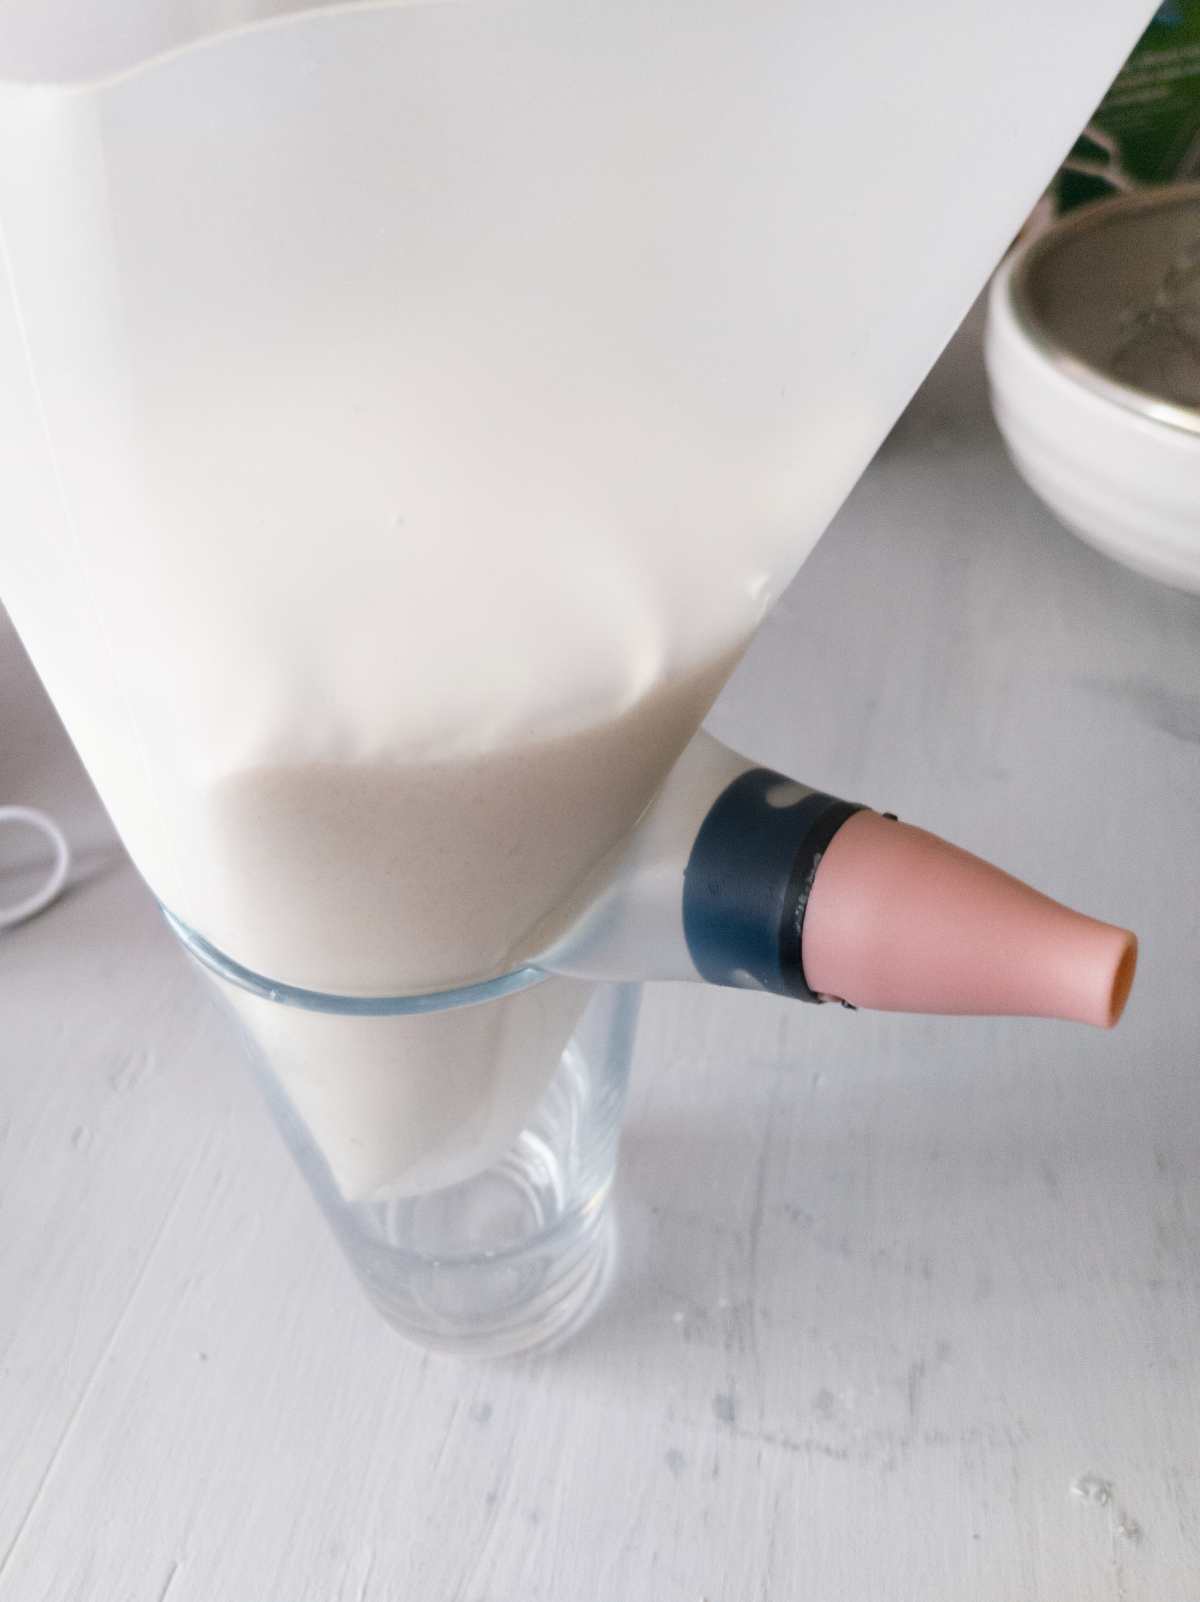
Place the piping bag into a large glass with the tip hanging out like you see in the pic. Use a medium size piping tip!
Prepare the baking sheets with the silicone mats. I recommend avoiding parchment paper at all costs!
Make sure to turn the baking sheets upside down to ensure an even heat reach.
Step 7
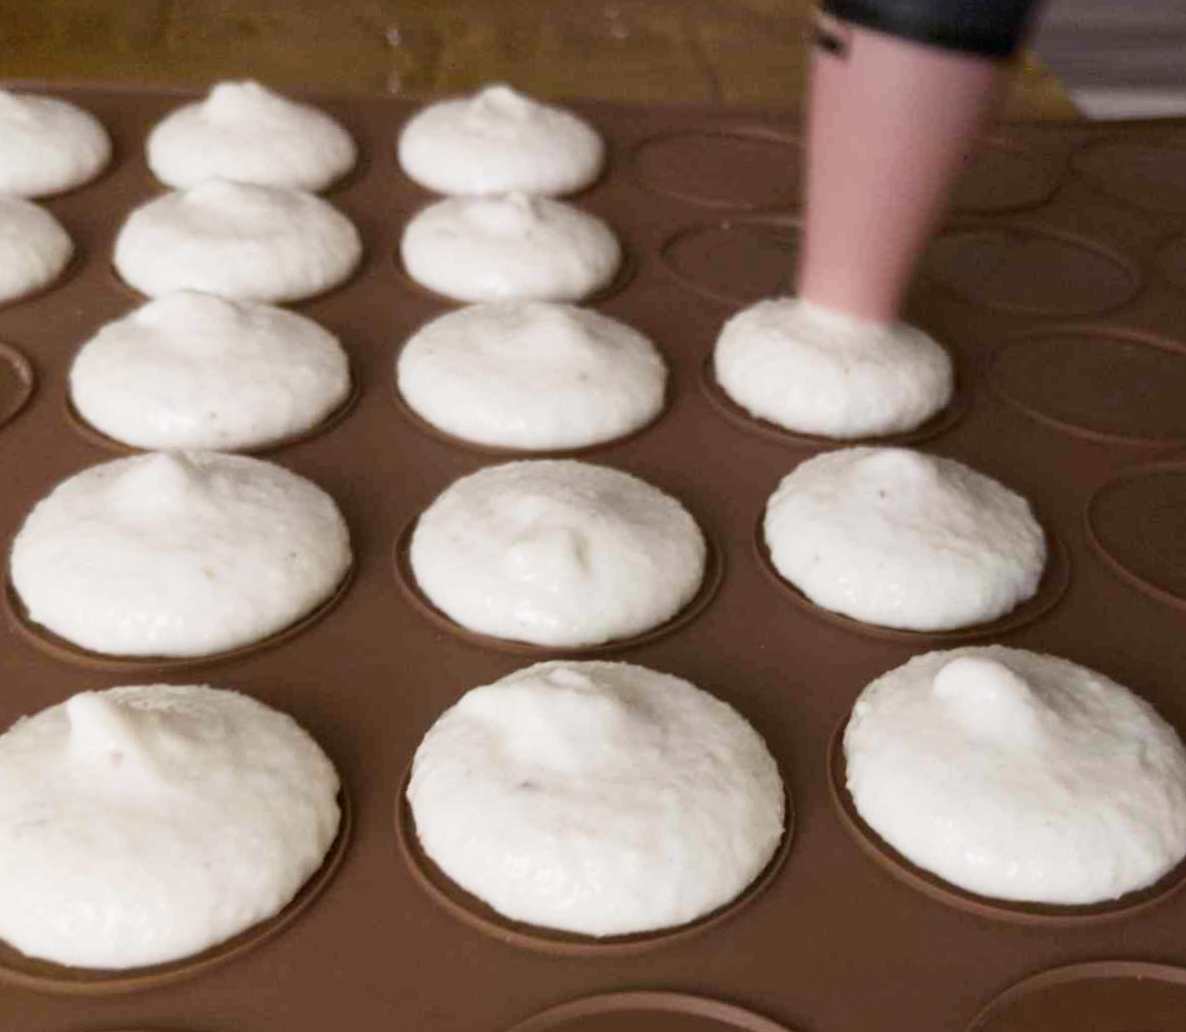
Step piping out the macarons by holding the bag parallel to the mat. Push the bag until enough batter comes out, then stop pushing.
Slide the tip to the side to smooth out the top (coconut flour macarons will have tips in most cases).
Repeat with the rest of the batter.
Step 8
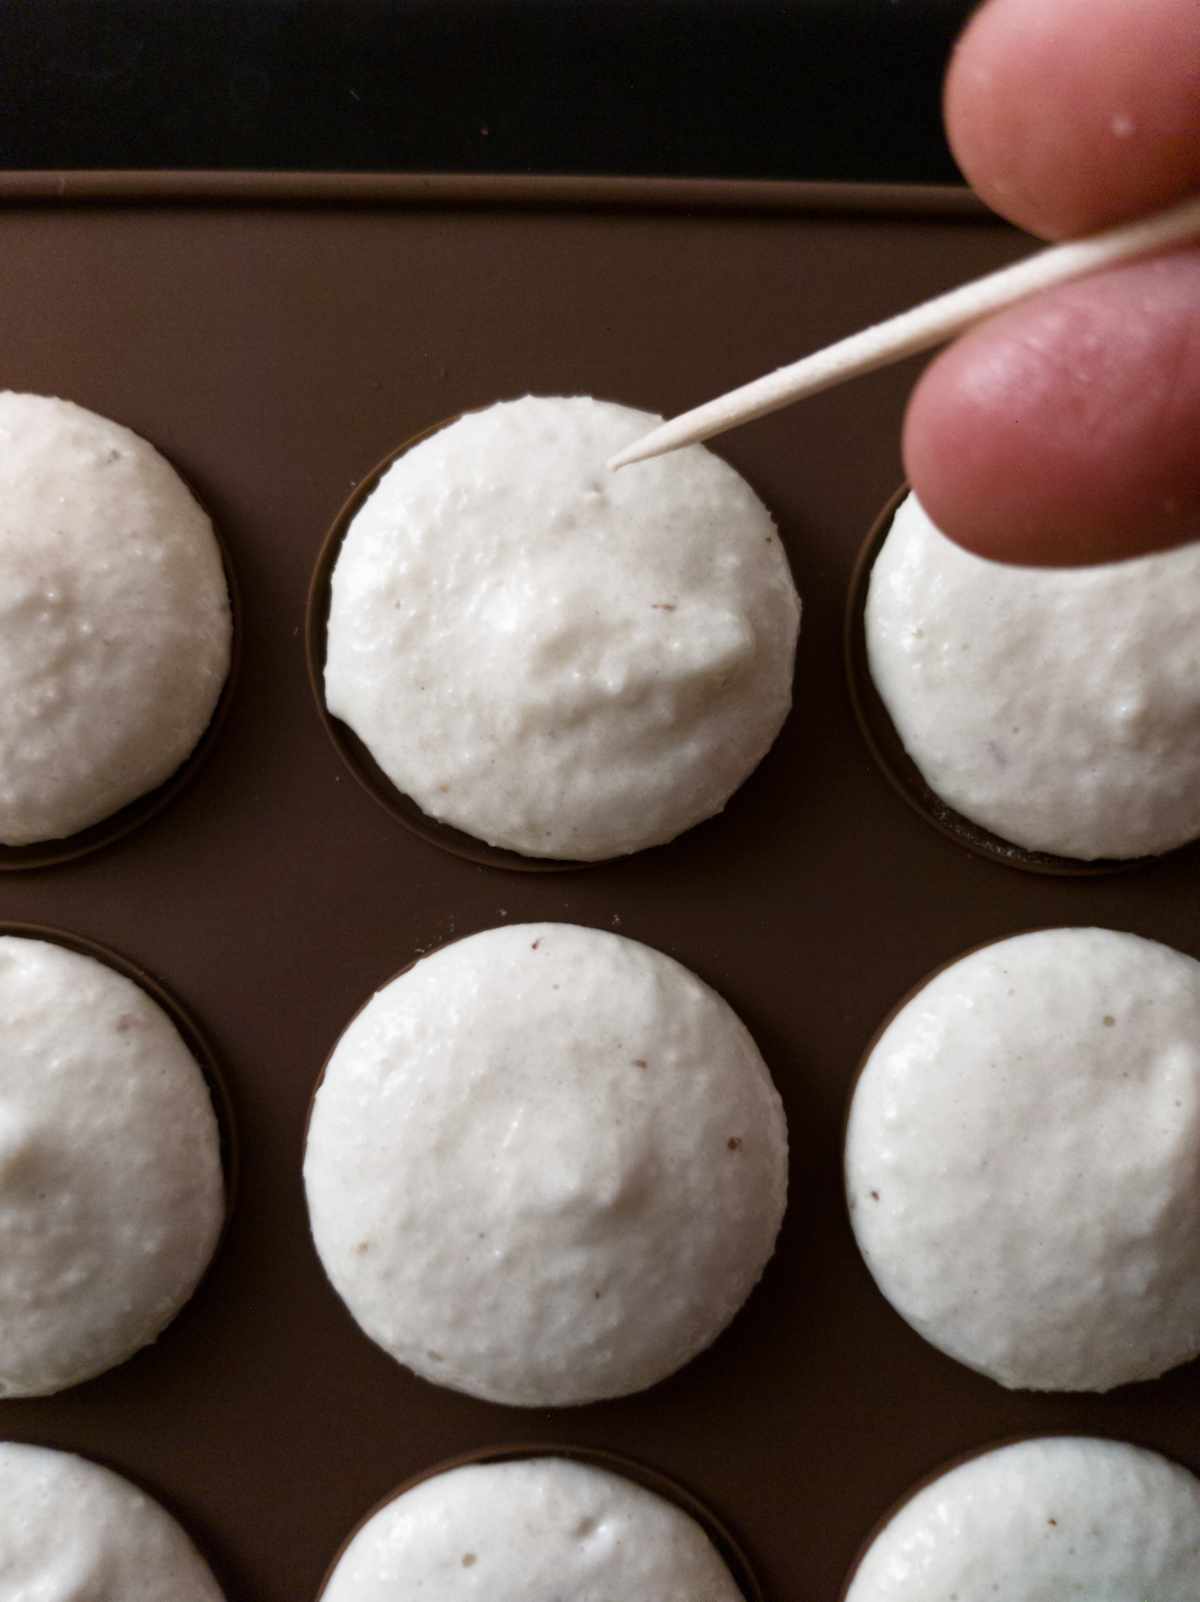
Tap the baking sheets against the table 10 times each to get rid of the air in the shells.
Use a toothpick to pop any bubbles that come up and to smooth out the tips on the macaron shells.
Step 11
Let the shells rest until they develop a skin. You will notice that the shells are matt and the batter won't stick to your finger if you touch it.
This might take anywhere from 40 minutes to a few hours depending on the humidity levels in your house.
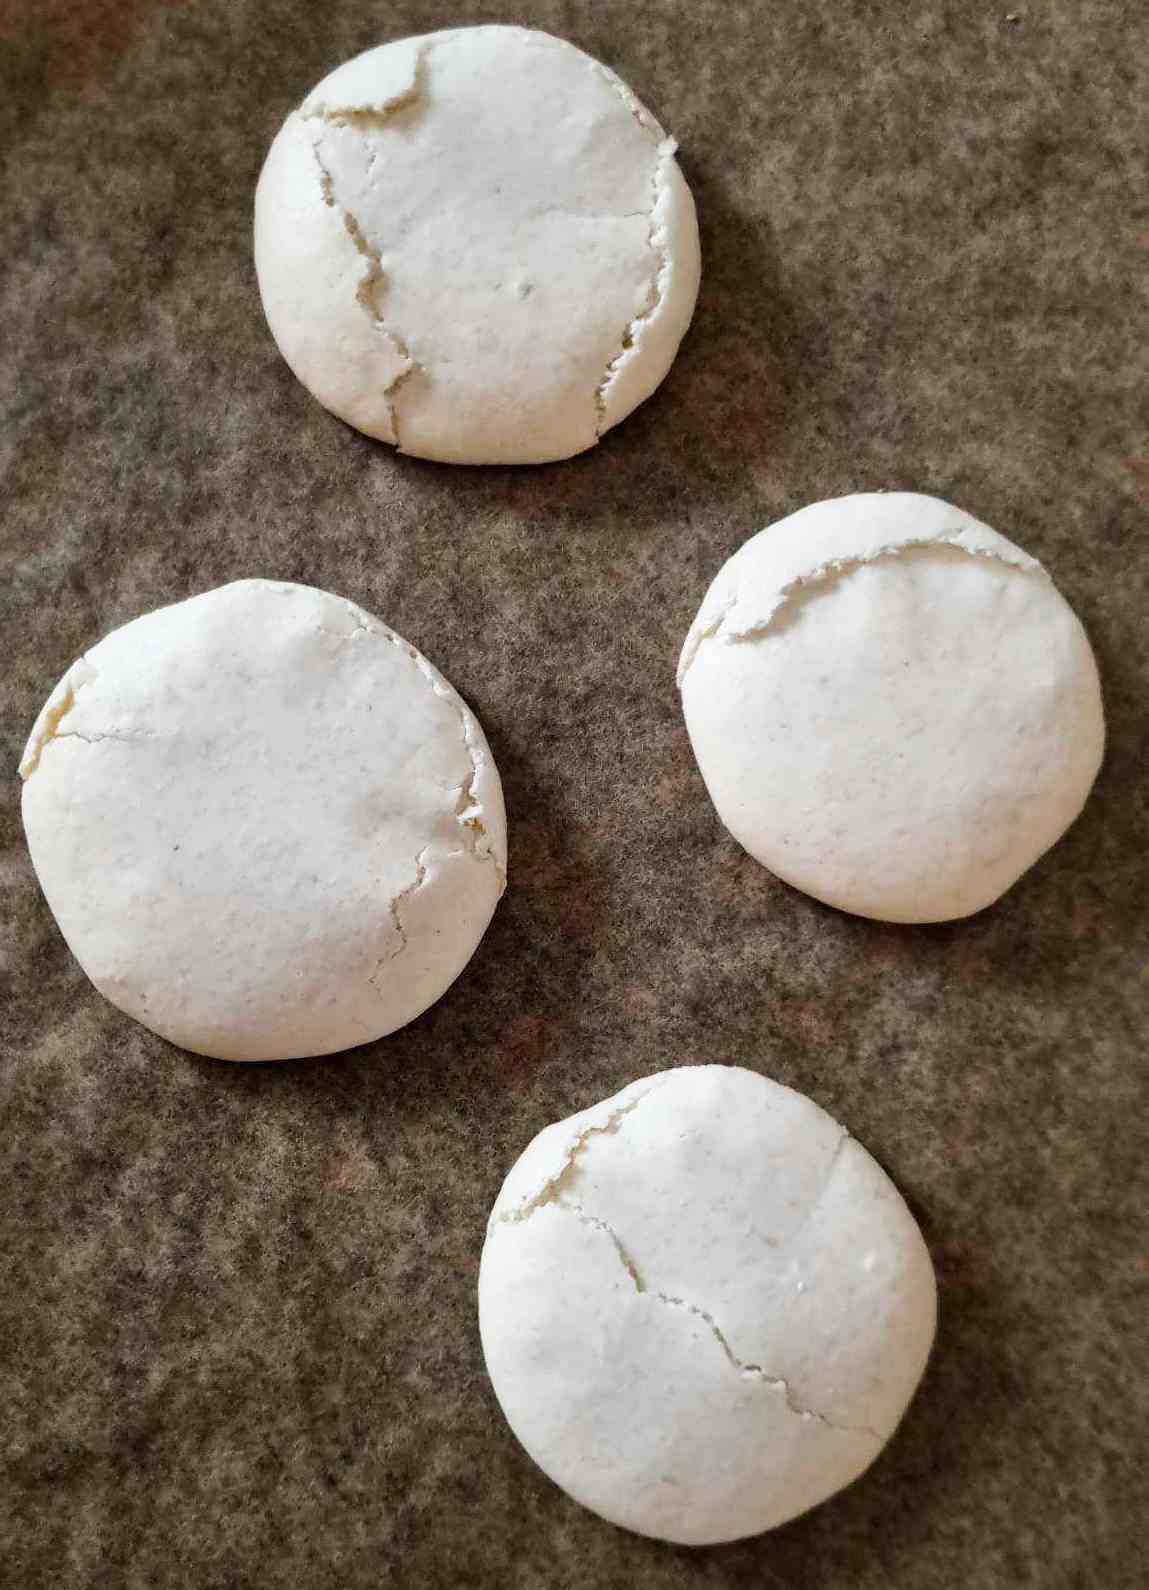
Make sure to wait until the skin forms, otherwise the shells will crack!
Preheat the oven to 150C/300F (no fan) and please, please, use an oven thermometer!
Most oven run run either hot or cold and the right temperature is crucial for macarons!
Bake for 12-15 minutes. Check your macarons at the 12-minute point and see if the tops are sturdy.
If they are still moving around, keep baking for another minute or two!
Step 10
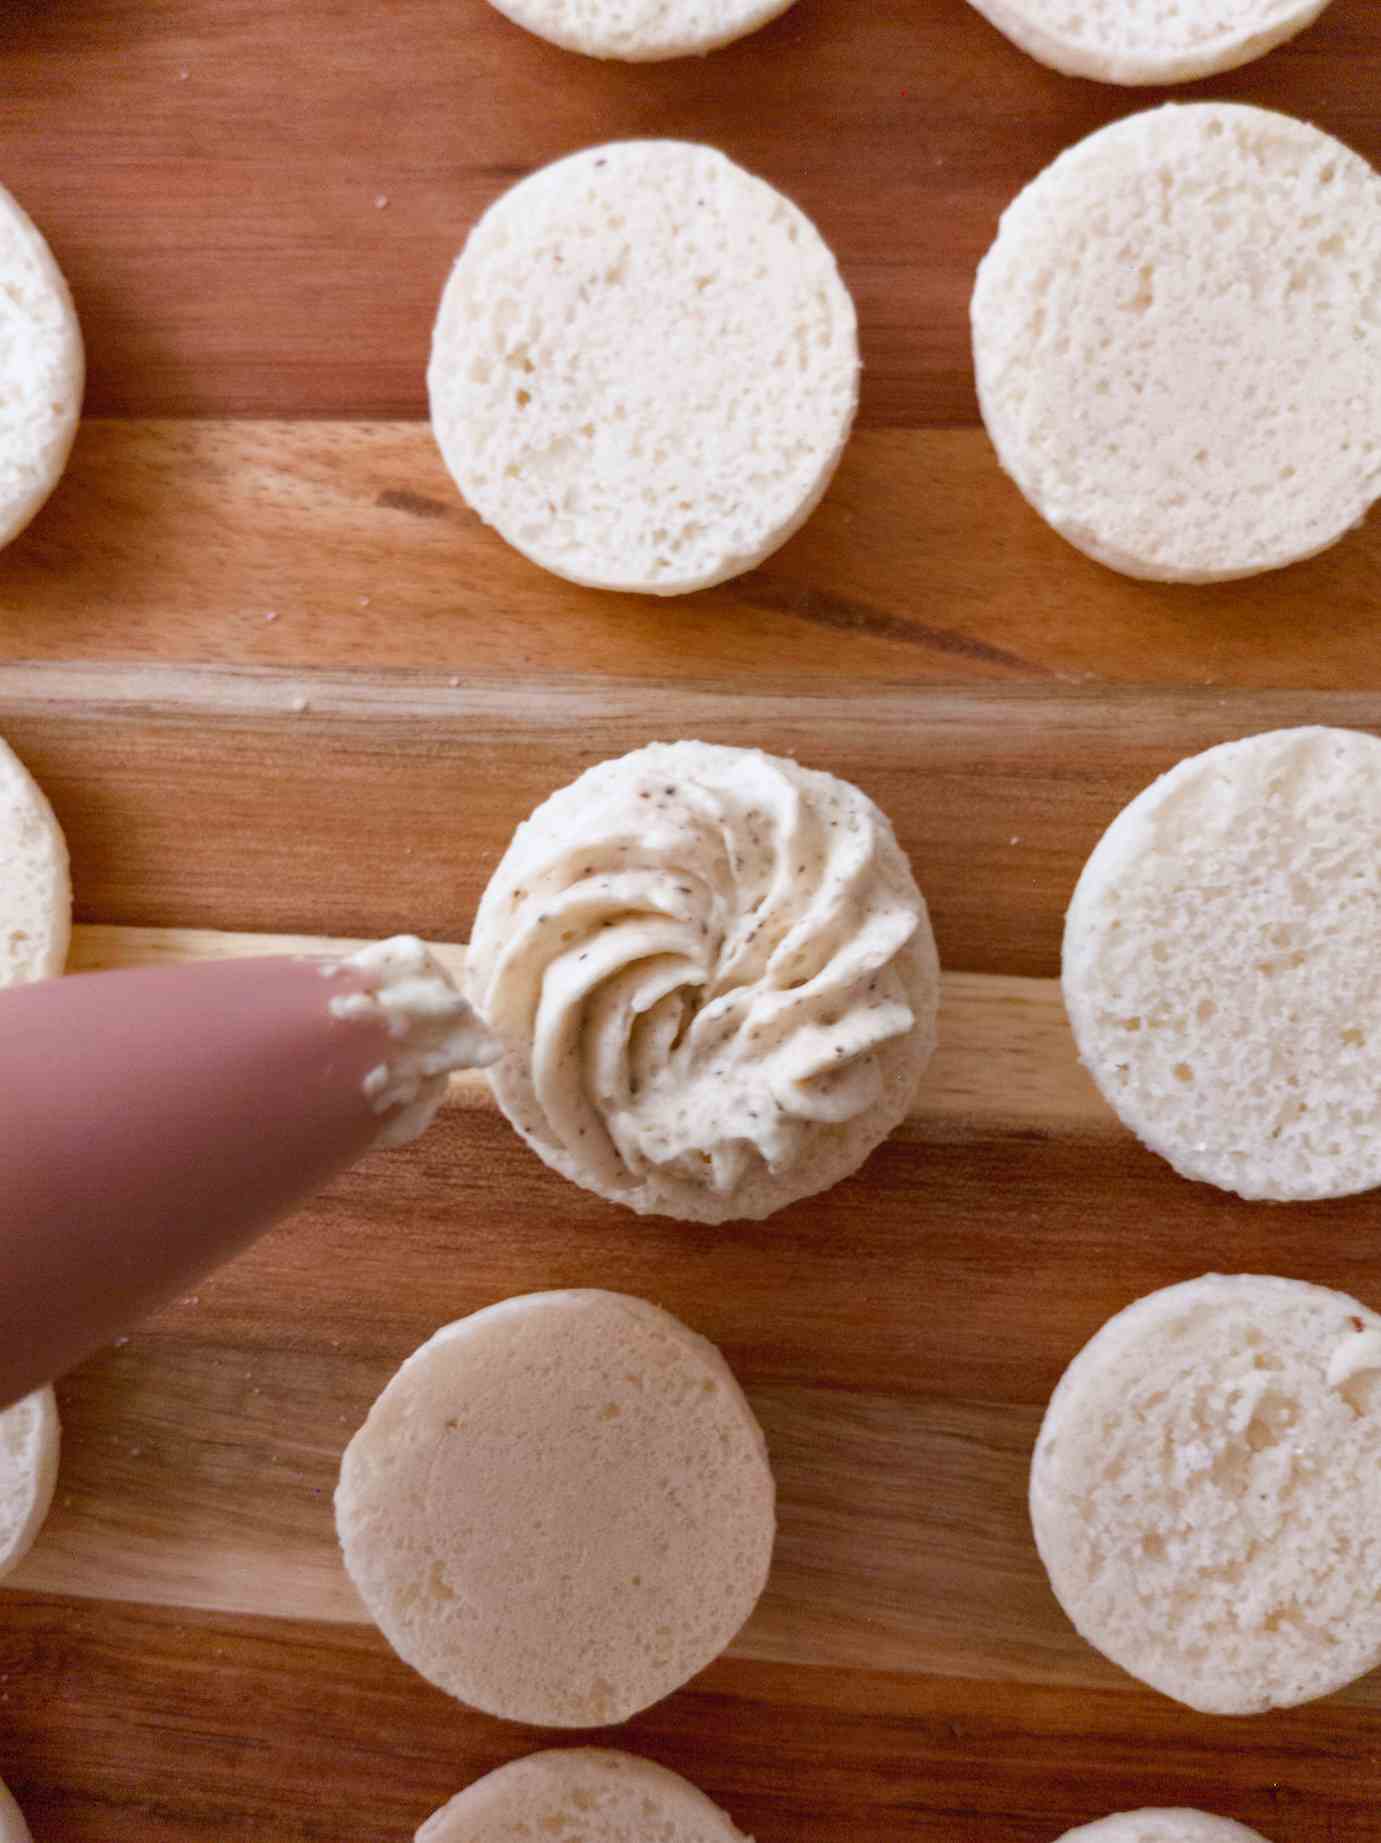
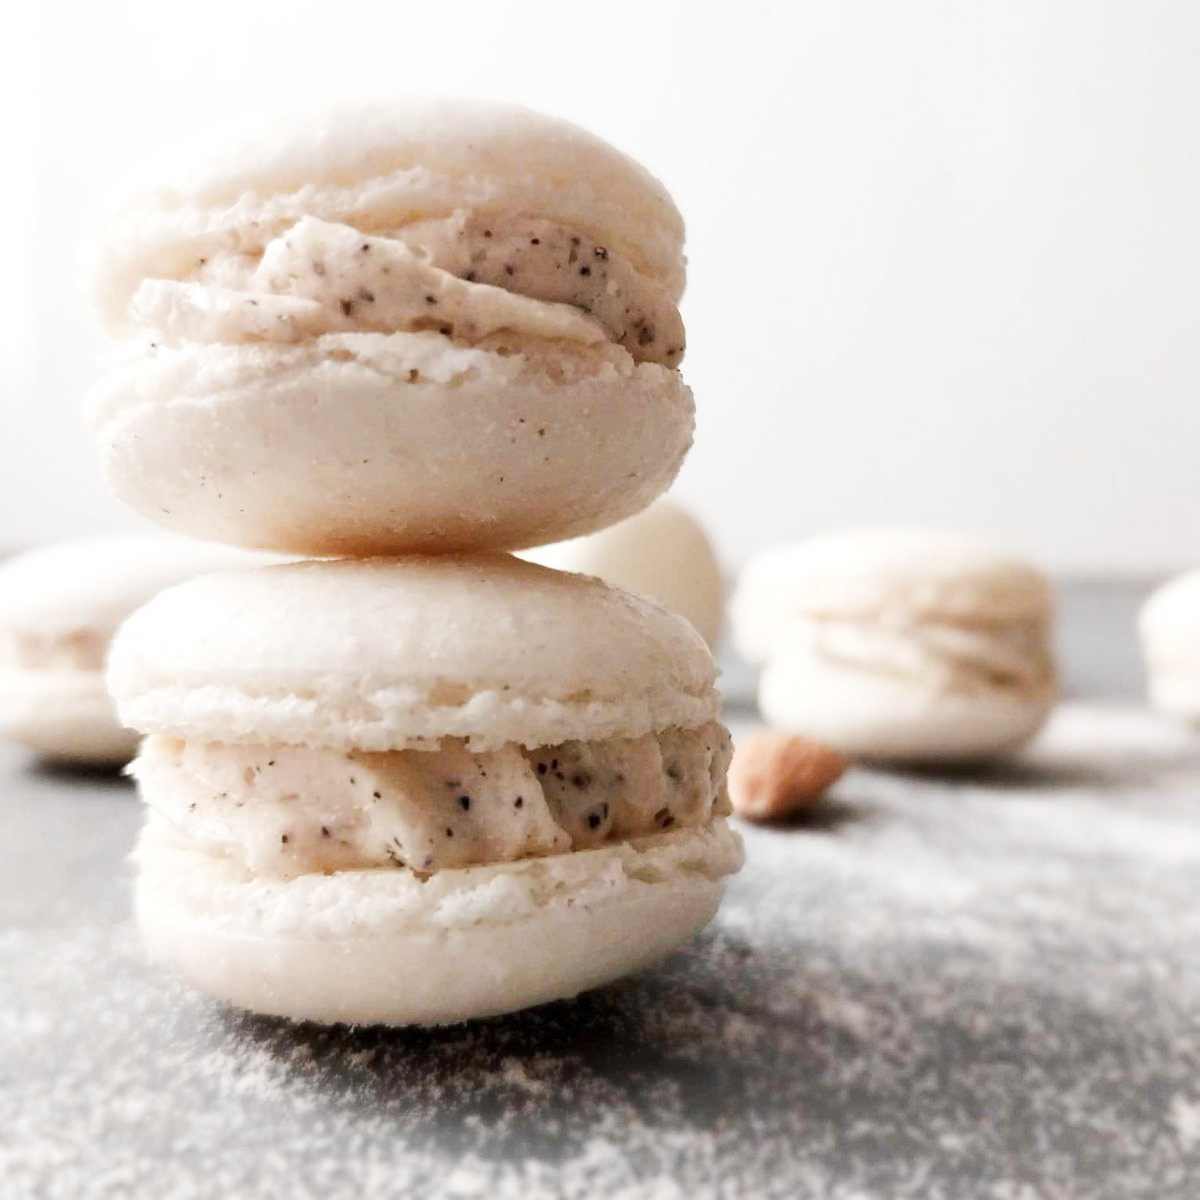
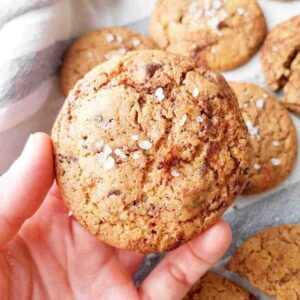
Once the shells are baked and cooled, you can fill them up with any buttercream of your choice!
Make sure to let the macarons rest on the baking tray until cooled, then you can start filling them up!
Alternatively, you can keep the shells in the fridge or the freezer until you are ready to work with them.
Fill the shells with the buttercream and press a matching shell on top of the filling gently. Let macarons mature for 24 hours in the refrigerator before serving them!
Filling suggestions
Dulce de leche is one of my favorite fillings for any and all desserts! I have two filling options with Dulce de Leche for you to check out:
Dulce de leche buttercream filling and
For more macaron filling ideas, check out these macaron recipes!
Storage
You can keep the shells in the fridge in an air-tight container for a couple of weeks. Once filled with the buttercream, they will keep for about a week in the fridge!
You can also freeze the shells without the filling for up to 3 months in an air-tight container.
Do not freeze macarons with the filling as it will make them soggy!
Expert Tips
- You need to work fast. Coconut flour will start absorbing the liquids and the batter will start stiffening. So, try to move as fast as you can!
- Don't try to substitute almond flour with coconut flour in a macaron recipe. Coconut flour is extremely absorbent, so if you simply swap the ingredients, you will end up with cement!
- Wait until the macarons form a skin before baking them. If the humidity levels are high, it might take a few hours to get to that stage. If you don't wait, your macarons will crack!
- Preferably, bake on a less humid day. If it's raining, your batter might never settle and the macarons won't turn out!
- Be patient. It takes time to learn how much to whip the egg whites and how long to do the macaronage. The skill comes with practice!
- Avoid using parchment paper. I use silicone mats, they work so much better!
- Make sure to turn your baking trays upside down to ensure even heat access to the shells.
Troubleshooting
My batter is too dry! The chances are you used too much coconut flour (make sure to use a scale!) or you let the batter sit for too long so the flour absorbed a lot of liquids.
Cracked shells. Cracked shells could be a sign of underworked batter (not enough macaronage), or the shells did not rest long enough. You can also try beating at a lower speed next time to make sure less air gets incorporated.
Macarons didn't develop feet. Make sure to rest the macarons until they form a skin! Then, if that is not the issue, your oven temp might be too low. Another possible solution is to add ½ teaspoon of cream of tartar to the egg whites as it will help the shells hold their structure.
On another note, letting the shells rest for too long will also result in not having feet. Macaron making is tough, but with due perseverance, you will get there!
Macarons won't develop skin. This is a common problem with high humidity levels. When it is very hot in the summer or if it's raining outside, I can't bake macarons because the skin will not form.
This might be frustrating, but what can I say, macarons are high-maintenance!
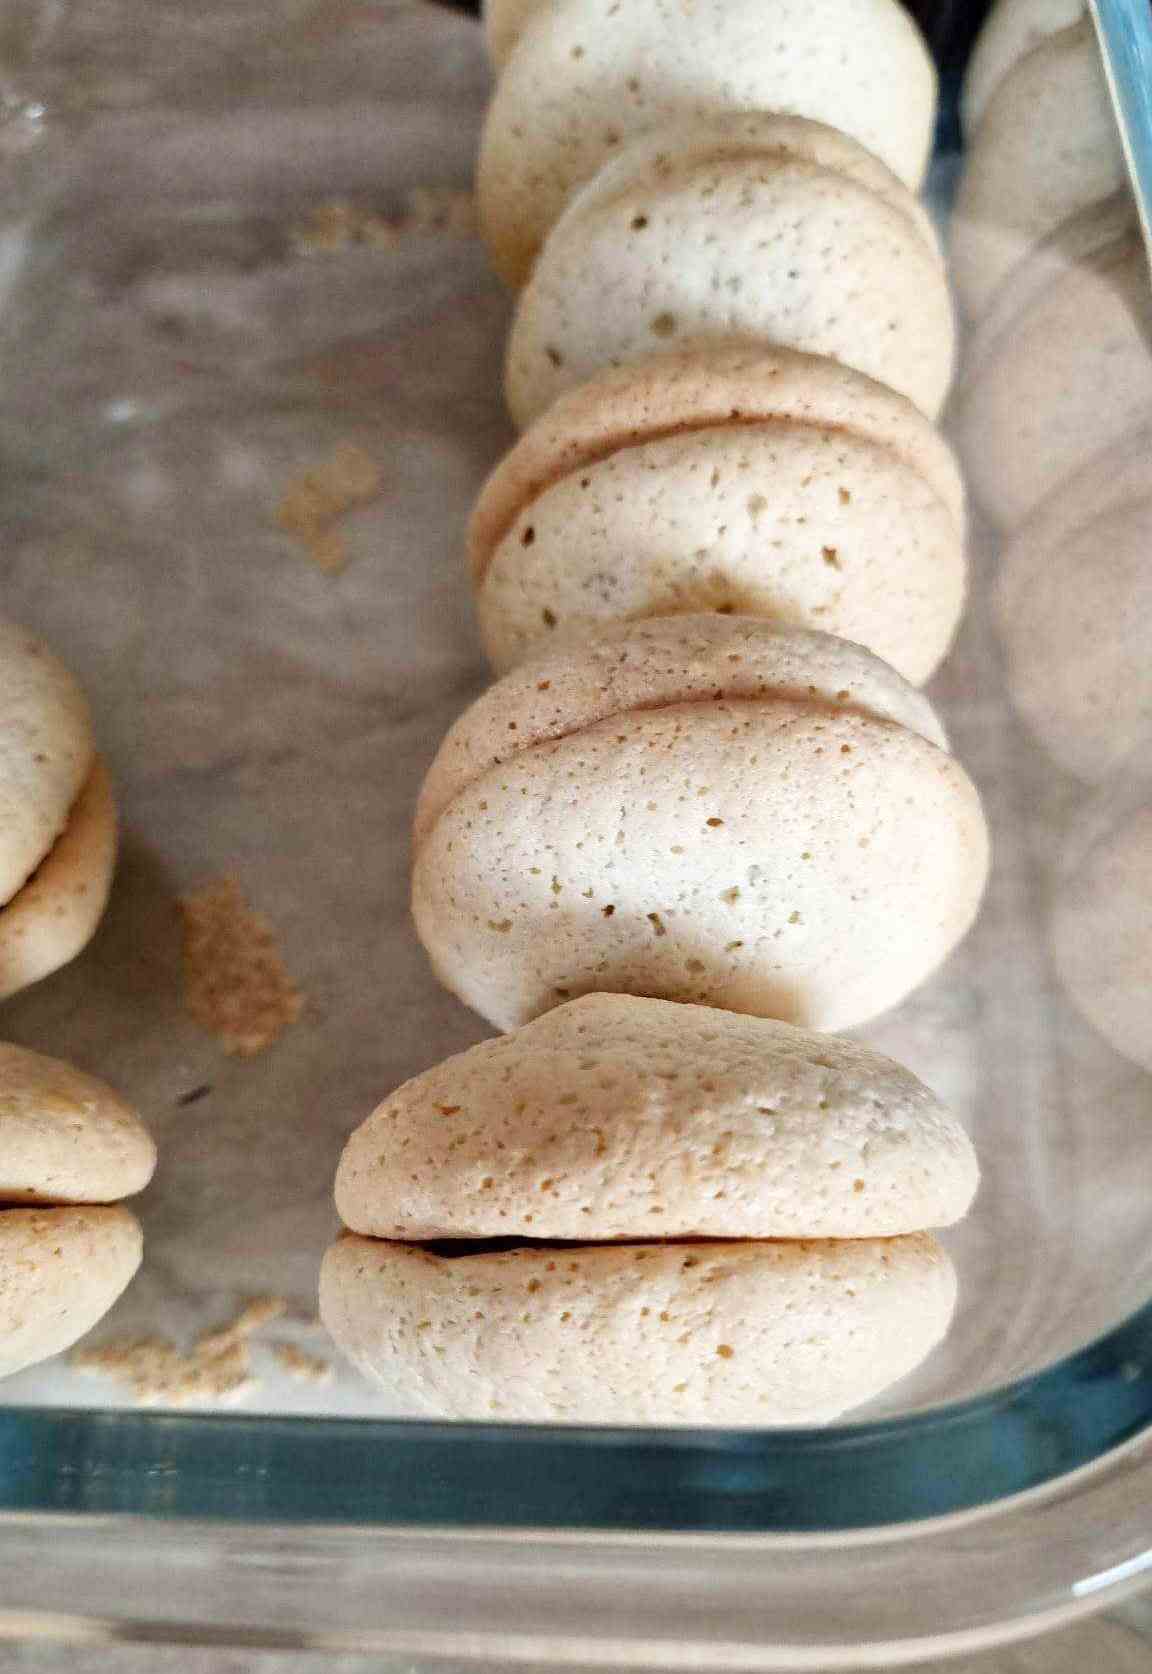
My macarons have tips. Coconut flour macarons have not yet turned out without tips for me. I guess it has to do with the consistency of the coconut flour vs. almond flour!
You can smooth out the tips by using medium-large piping tips and by swirling the shells with a toothpick a little bit.
Frequently Asked Questions
No, because the structure of the macarons depends on it! I know how frustrating it is to see all the calories you eat but with coconut flour, you gotta add all the sugar!
No, no, no! Your macarons will turn out harder than bricks.
Yes, you can freeze the shells in an air-tight container for up to 3 months. Don't freeze the macarons with the filling as it will make them soggy!


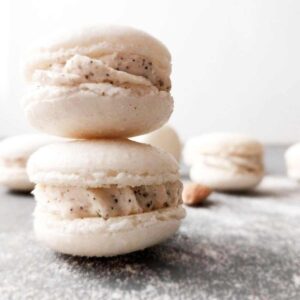
Coconut Flour Macarons
Ingredients
- 110 grams egg whites
- 110 grams granulated sugar
- 30 grams coconut flour 120
- 120 grams powdered sugar
SAVE THIS RECIPE!💌
Instructions
- Measure out all of the ingredients and place them into separate bowls.Sift powdered sugar with coconut flour using a fine-mesh sieve and a whisk. You shouldn't have any leftover bits left in the sieve.
- Place about 1 cup of water into a small-medium size saucepan and place it on the stove over medium-high heat.Then, place the egg whites and granulated sugar into a heat-proof glass bowl (the bowl should be bigger than the saucepan).Place the glass bowl over the saucepan and keep whisking the egg whites until all the sugar dissolves.
- Once the sugar has dissolved, start beating the egg whites on a low speed for about 3 minutes.Increase the speed to the medium and continue whipping for another 7-10 minutes until stiff peaks form.
- Transfer all of the coconut flour and powdered sugar to the bowl with whipped egg whites.Start incorporating the mix by folding the flour into the egg whites. Scrape the bowl on the side, then press the batter in the middle and repeat.Move the spatula in a J pattern.
- Keep up the macaronage (the folding) until you can draw a couple of 8 figures one after the other with the same scoop of the meringue.If you can only draw one figure eight, keep folding!
- Place the piping bag into a large glass with the tip hanging out like you see in the pic. Use a medium size piping tip!Prepare the baking sheets with the silicone mats. I recommend avoiding parchment paper at all costs!Make sure to turn the baking sheets upside down to ensure an even heat reach.
- Step piping out the macarons by holding the bag parallel to the mat. Push the bag until enough batter comes out, then stop pushing.Slide the tip to the side to smooth out the top (coconut flour macarons will have tips in most cases).Repeat with the rest of the batter.
- Tap the baking sheets against the table 10 times each to get rid of the air in the shells.Use a toothpick to pop any bubbles that come up and to smooth out the tips on the macaron shells.
- Let the shells rest until they develop a skin. You will notice that the shells are matt and the batter won't stick to your finger if you touch it.This might take anywhere from 40 minutes to a few hours depending on the humidity levels in your house.
- Make sure to wait until the skin forms, otherwise the shells will crack!Preheat the oven to 150C/300F (no fan) and please, please, use an oven thermometer!Most oven run run either hot or cold and the right temperature is crucial for macarons!
- Bake for 12-15 minutes. Check your macarons at the 12-minute point and see if the tops are sturdy.If they are still moving around, keep baking for another minute or two!
- Once the shells are baked and cooled, you can fill them up with any buttercream of your choice!
- Make sure to let the macarons rest on the baking tray until cooled, then you can start filling them up!Alternatively, you can keep the shells in the fridge or the freezer until you are ready to work with them.
- Fill the shells with the buttercream and press a matching shell on top of the filling gently. Let macarons mature for 24 hours in the refrigerator before serving them!

rachel says
first time making macarons and they turned out perfect after following this recipe! thanks for the helpful tips and clear, easy-to-follow recipe.
Elaine McCracken says
Are you able to add flavoring to the actual cookie? Like vanilla or raspberry?
Elaine McCracken says
Can I use flavoring in this recipe? Like vanilla or raspberry extract?
Karen Klein says
COCONUT FLOUR MACARONS:
My husband is not supposed to have sugar. Can I make your macarons with alternative sugar (which is like confectioner's sugar in consistency) and Splenda which is similar to granulated sugar in consistency? Your filled macarons look so "bootiful".
Natasha Levai says
Hi Karen! Unfortunately, macarons rely on sugar for structure, so an artificial sweetener won't work. You can check out these macarons that are sugar-free https://www.wholesomeyum.com/keto-macarons/
Natalie says
Great recipe for those who can't have almond flour!
Mols says
I had hollow shells. Will try again 🤞 they will be perfect
Baishakhi says
It looks awesome. Thank you for sharing this recipe.