
This easy Sorghum Flour Bread is soft and flavorful, perfect for sandwiches and toast! It is naturally vegan, dairy-free, and xanthan gum-free, which makes it perfect for celiacs and gluten intolerant people! The flavor of sorghum is fantastic and works great in bread like this one or my sorghum sourdough.
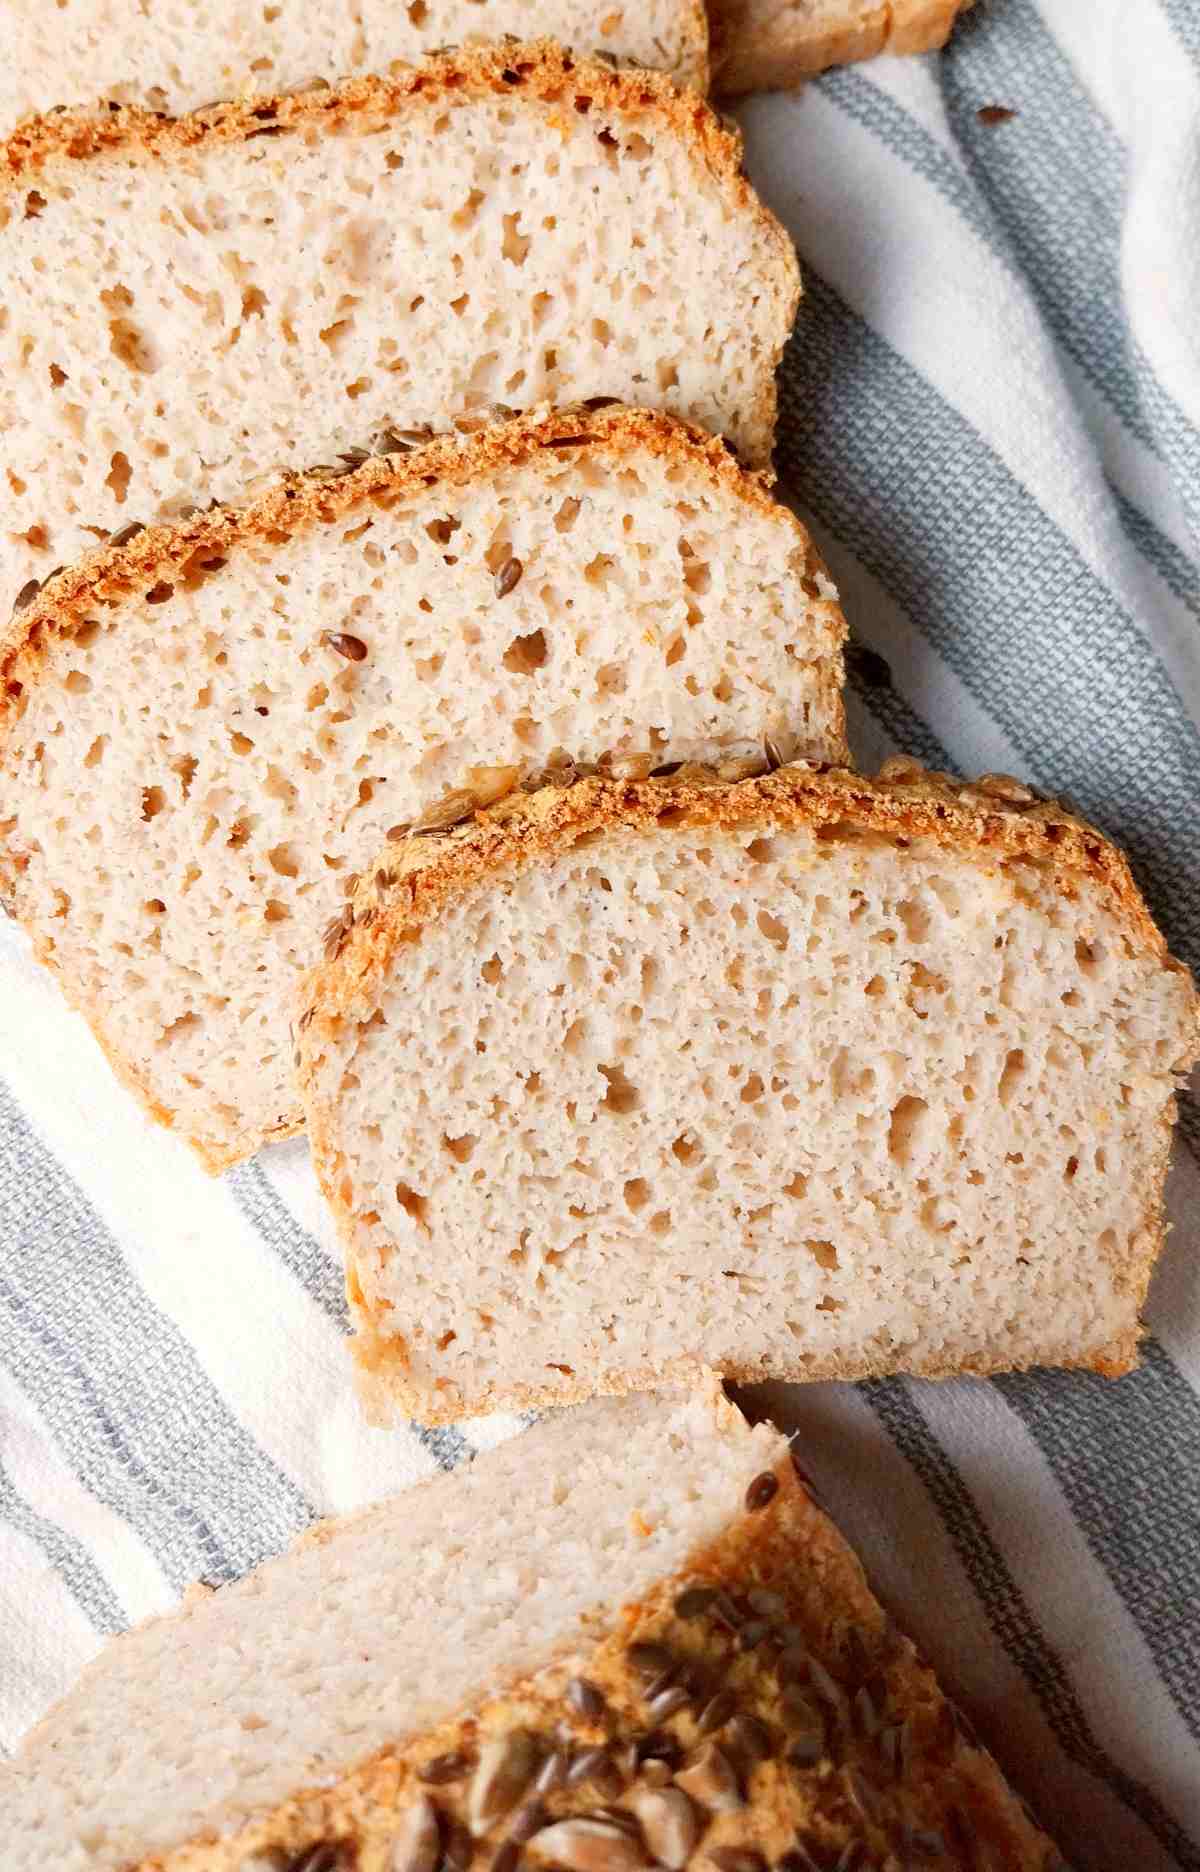
This recipe was in part inspired by my 100% millet bread, which readers love! This sorghum bread further inspired my 100% brown rice loaf that bakes up perfectly airy and soft.
Jump to:
Ingredients for Sorghum Bread
For measurements, see the recipe card at the end of the post or use the "Jump to Recipe" button at the beginning of the post!

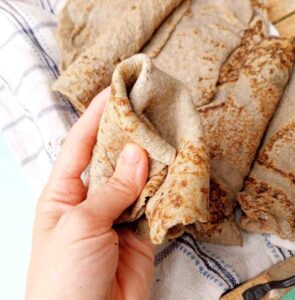
- Sorghum flour - make sure it is not millet flour. Sometimes, those two are confused for each other, but they aren't the same. Millet flour is yellow (see bajra roti), while sorghum flour is white-ish grey (see jowar roti).
- Psyllium husk - serves as a binding agent that replaces gluten and creates elasticity in the dough. I highly recommend using whole husks (not psyllium husk powder) for this recipe, as they hydrate quickly and are generally easier to work with.
- Yeast - I recommend using yeast that doesn't require activating (instant yeast or fresh yeast). Active dry yeast will need to be activated before use.
Substitutes
Psyllium husk - I don't recommend using psyllium husk substitutes, but if you absolutely can't have psyllium husk, try making my Konjac bread instead.
Sugar - use honey, coconut sugar, or maple syrup.
How to Make Sorghum Bread

Step 1. In a medium-sized mixing bowl, add the water and psyllium husks and whisk to incorporate. Set aside for a couple minutes to let the gel set.

Step 2. Combine the flour, sugar, salt, instant yeast, and baking powder in a large mixing bowl and stir to combine.

Step 3. Add the psyllium gel and oil to the dry ingredients and mix the dough. You can use an electric mixer with dough hooks or a wooden spoon, or simply mix by hand.
The longer you mix, the smoother the loaf will end up. For best results, mix with an electric mixer for 5 to 10 minutes.

Step 4. Line a 9x5in metal loaf pan with parchment paper and transfer the dough to it. Note: don't use a glass baking pan, or the loaf will stay raw on the bottom. I recommend aluminum, cast iron, or ceramic pans!
Smooth the top out with a silicone spatula and cover the pan with a kitchen towel. Leave the dough to rise for 1-2 hours until it comes up to the pan's rim. 75F/24C is the best proofing temperature for bread.
Don't let the bread rise too much above the pan, or it will collapse during baking!
Step 5. Start preheating the oven to 350F/175C about 20 minutes before the dough is done rising.
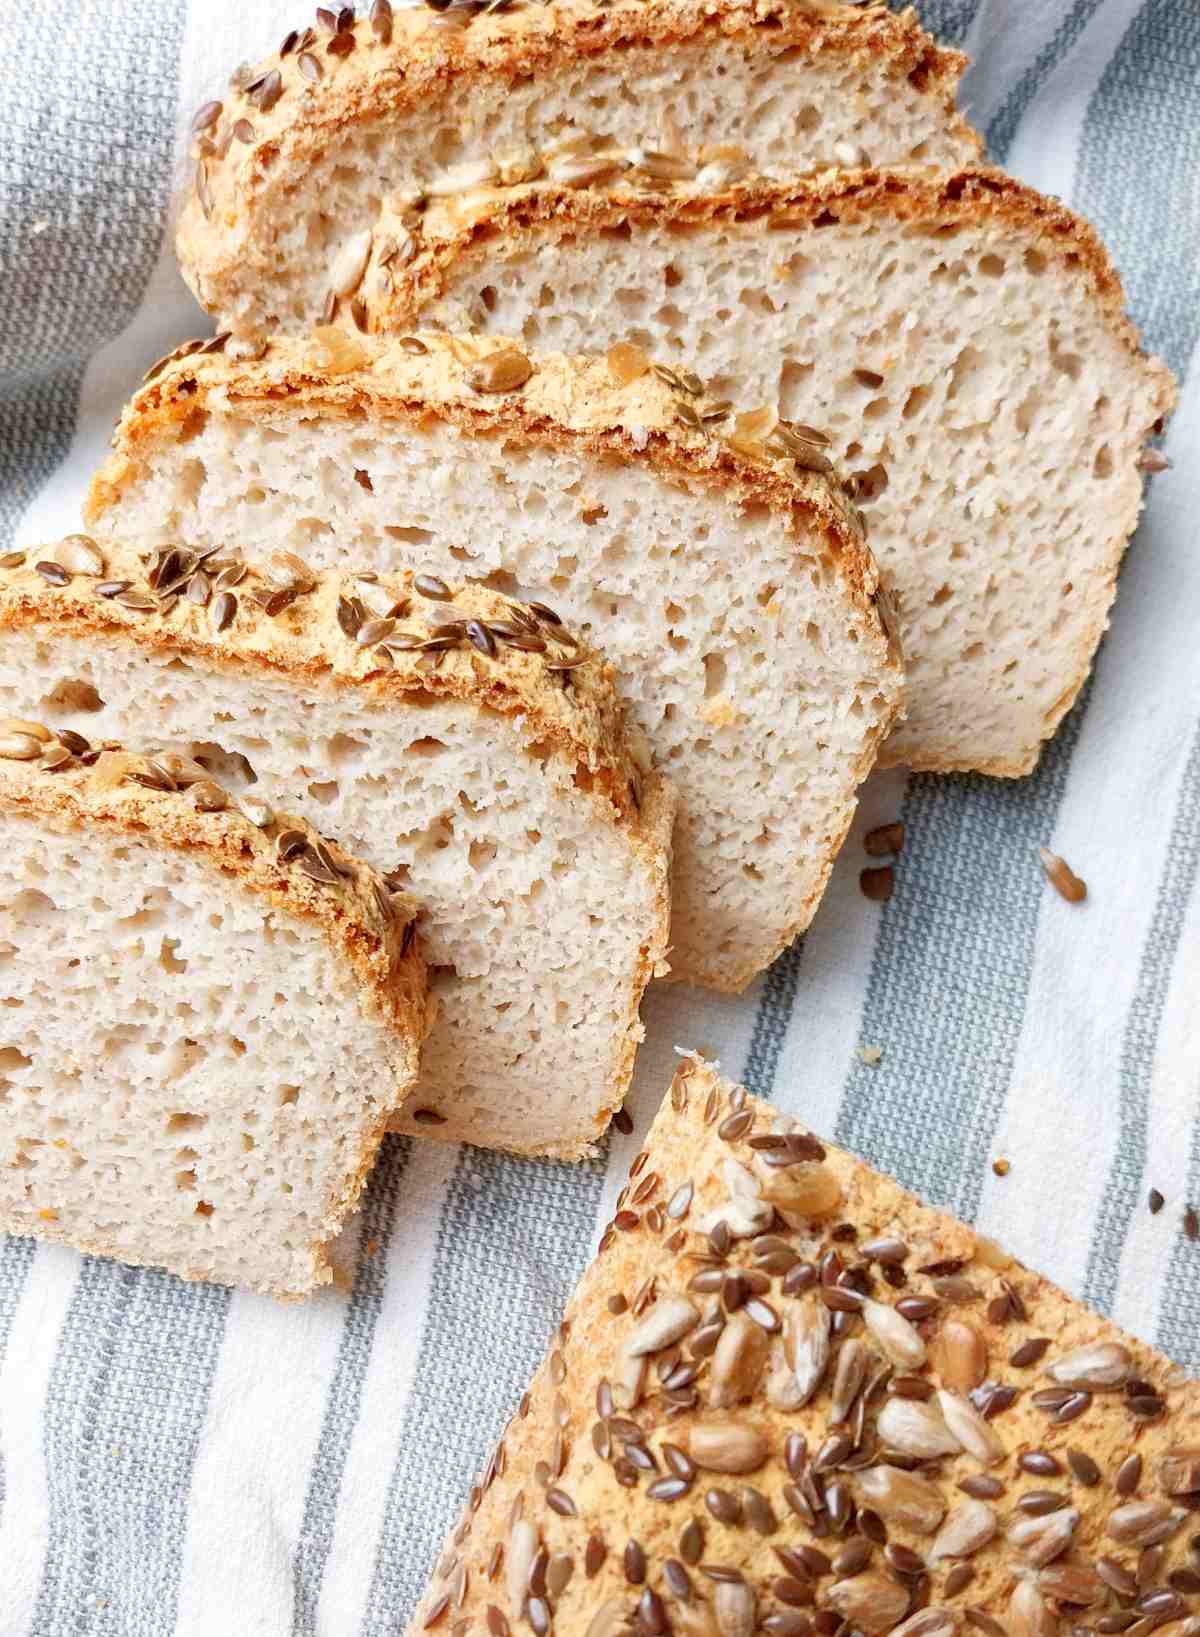
If you want to add seeds, brush the top of the loaf with whisked egg and sprinkle the seeds on top. This will prevent them from falling off the loaf after baking!
Bake the bread for 1h 45m, then take it out and let the loaf sit in the pan for 5-10 minutes. Then, remove the loaf from the pan and transfer it to a cooling rack. Only slice the sorghum bread once it has cooled down completely (4-5 hours). Enjoy!
Expert tips
- Don't add extra flour to the dough, even if it seems wet.
- Don't open the oven while the bread is baking to prevent collapsing.
- Wait for the bread to cool down completely before slicing, or it will end up gummy.
- Don't use glass pans.
- Don't use the convection setting on your oven.
- Use a digital kitchen scale to measure the ingredients by weight because measuring by volume using cups might not always give you the same results.
Common Questions
Millet flour has a tendency to develop a bitter flavor if left out too long, in which case, sorghum bread will taste better. Otherwise, it comes down to personal preference! I like the sorghum flavor in sweet bakes like this gluten-free Easter bread or sorghum cookies.
No, sorghum and buckwheat are two different types of grains/seeds. They differ in color, flavor, and nutritional build-up. For reference, see my buckwheat flour bread and buckwheat flour flatbread!
Yes, sorghum flour bread will rise if mixed with yeast. Make sure you use instant yeast because active dry yeast needs activating before use. Alternatively you can use baking powder and soda for leavening. Note that if the dough is too dry, sorghum flour will have a harder time rising!
Storing and freezing
You can store this bread at room temperature for 3-4 days. Store it in a bread box or bread bag to prevent it from drying out!
You can keep the bread in the fridge for up to 5 days. Make sure it is sealed in a plastic bag or a container.
If you know you won't eat the bread within 3-4 days, I recommend freezing it.
To freeze:
- Slice the bread with a bread knife;
- Arrange the slices on a tray or a piece of parchment and freeze for 30 min.;
- Transfer the slices into a freezer-safe bag or container for up to 3 months.
- Alternatively, you can simply place a piece of parchment in between each slice and freeze the loaf this way.
To defrost, simply place a slice or two in the microwave for 30-60 seconds!
More Gluten-Free Bread Recipes You Will Love!


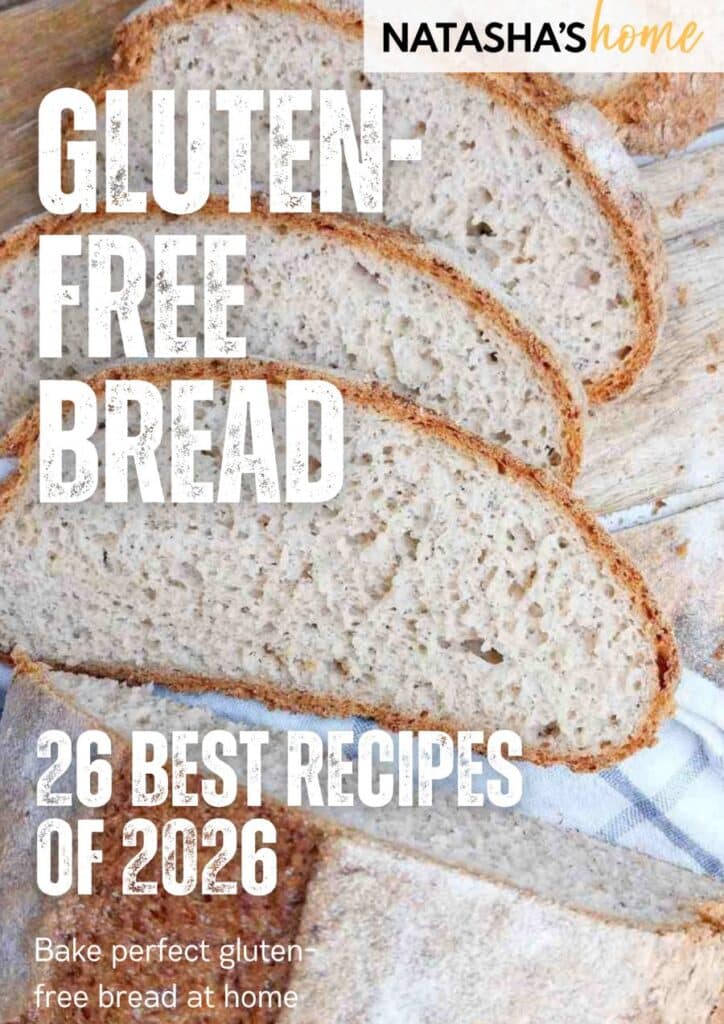
Get my new
Gluten-Free Bread Recipes eBook
The top 26 recipes of 2026! Includes a bonus conversion chart for gluten-free flour.
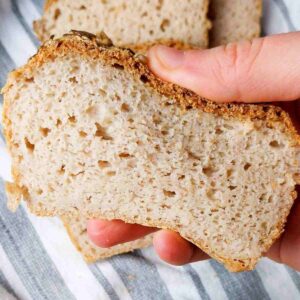
Easy 100% Sorghum Bread (Gluten-Free)
Ingredients
Wet Ingredients
- 26 grams whole psyllium husk, not powder
- 600 grams water, warm or room temperature, not hot
- 20 grams oil any neutral vegetable or seed oil will work
Dry Ingredients
- 7 grams instant yeast
- 450 grams sorghum flour
- 15 grams sugar, honey or maple syrup can be used instead
- 1 teaspoon baking powder
- 10-12 grams salt
For topping
- seeds of choice (sesame seeds, linseeds, sunflower seeds, etc.)
SAVE THIS RECIPE!💌
Instructions
- In a medium-sized mixing bowl, add the water and psyllium husks and whisk to incorporate. Set aside for a couple minutes to let the gel set.600 grams water,, 26 grams whole psyllium husk,
- Combine the flour, sugar, salt, instant yeast, and baking powder in a large mixing bowl and stir to combine.7 grams instant yeast, 450 grams sorghum flour, 15 grams sugar,, 1 tsp baking powder, 10-12 grams salt
- Add the psyllium gel and oil to the dry ingredients and mix the dough. You can use an electric mixer with dough hooks or a wooden spoon, or simply mix by hand.The longer you mix, the smoother the loaf will end up. For best results, mix with an electric mixer for 5 to 10 minutes.20 grams oil
- Line a 9x5in metal loaf pan with parchment paper and transfer the dough to it. Note: don't use a glass baking pan, or the loaf will stay raw on the bottom. I recommend aluminum, cast iron, or ceramic pans!Smooth the top out with a silicone spatula and cover the pan with a kitchen towel. Leave the dough to rise for 1-2 hours until it comes up to the pan's rim. 75F/24C is the best proofing temperature for bread. Don't let the bread rise too much above the pan, or it will collapse during baking!
- Start preheating the oven to 350F/175C about 20 minutes before the dough is done rising.If you want to add seeds, brush the top of the loaf with whisked egg and sprinkle the seeds on top. This will prevent them from falling off the loaf after baking!Bake the bread for 1h 45m, then take it out and let the loaf sit in the pan for 5-10 minutes. Then, remove the loaf from the pan and transfer it to a cooling rack. Only slice the sorghum bread once it has cooled down completely (4-5 hours). Enjoy!seeds of choice (sesame seeds, linseeds, sunflower seeds, etc.)
Notes
-
- Don't add extra flour to the dough, even if it seems wet.
-
- Don't open the oven while the bread is baking.
-
- Wait for the bread to cool down completely before slicing or it will end up gummy.
-
- Don't use glass pans.
-
- Don't use the convection setting on your oven.
-
- Use a digital kitchen scale to measure the ingredients by weight because measuring by volume using cups might not always give you the same results.

Ellyn Brannan says
Hello! Due to food allergies, I need a no gluten or rice option. I tried this recipe and it’s very hard on the top. The top of your recipe calls for baking time to be 1 hr 10 mins and the written out calls for 1 hr 45 mins. Can you clarify? I pulled it out at 1 hr 35 mins and it’s really hard and internal temp of 207. Any help would be great. Thanks.
Natasha Levai says
Hi Ellyn! I at some point updated the recipe and increased its volume, so the baking time went up for that reason. If the top is too hard, you can cover the loaf with foil after 50min of baking!
Ibrahim says
Hello from Riyadh
We bake gluten-free bread quite often, but I would add a bit of sorghum for taste and texture. This was a new recipe for me, so I wanted to try it.
I had only 420 grams of sorghum, so I added 30 grams tapioca flour with a teaspoon of xanthan gum.
I also did not have psyllium husk, so I used flaxseed instead.
Otherwise, followed the recipe faithfully, including not using the convection option in the oven.
The dough was too thin, I think, and when I opened the oven after 1:45 minutes, I found that the dough had spilled over to the oven floor, and the top crust was too hard.
The taste was good, however, and below the crust the texture was nice.
What do you think caused the dough to spill over?
Natasha Levai says
Hi Ibrahim, the reason was 100% your substitutes. You can't use anything else in place of psyllium husk for this recipe, plus adding tapica and xanthan gum also mess with the ratios of liquid vs. flour. If you can, try following the recipe as it is written and see if you like the bread that comes out of your oven! 🙂
Amreen Banu says
Hi
I couldn't find the whole psyllium husk in Qatar, can I use the psyllium powder?
Thanks
Natasha Levai says
Hi Amreen, yes, you can use powder! Add it to cold water to prevent clumping and use 15% less than indicated for whole husks.
Tannaz says
please let me know the calories for the entire loaf.
this recipe works beautifully, the hread is v flavourful, but I need to count the calories
Natasha Levai says
Hi Tannaz! The calories under the recipe card are for the entire loaf. Hope that helps!
ravneet says
you have mentioned not to use convection setting, i dont have oven. I have microwave with convection setting. can i use the same for this bread?
Natasha Levai says
No, microwave cannot be used for this recipe, unfortunately!
Christine says
Can you make this in a bread maker overnight? Which setting would I use please?
Natasha Levai says
Hi Christine! I don't use a bread maker and can't tell you how to make this one in a bread machine. However, here are recipes designed for a bread machine: https://www.natashashome.com/gluten-free-bread-machine-recipes/
Ben W says
do you think this could be made in a bread machine?
Natasha Levai says
Hi Ben! I don't use a bread machine, so can't help you on this one!
Tanya says
Do you have a similar thin crust pizza dough recipe?
Natasha Levai says
Hi Tanya! I have a thin pizza crust recipe with cassava flour here: https://www.natashashome.com/cassava-pizza-dough/
kalpana says
I remember couple of months ago this recipe was different. It has apple cider vinegar , no backing soda and 2 1/3 cup Sourgam flour. It came out good. But now the recipe is different and is coming out dense. Any thoughts?
Natasha Levai says
Hi Kalpana! I've adjusted the recipe to make a larger loaf. The ACV was removed because I felt like it didn't make such a big difference but added baking powder because that affects the rise of the loaf. If the bread is too dense, you can simply reduce the ingredients by a third and the bread will have a lighter crumb!
Lizelle says
Would you mind sending me the original recipe? I made it almost 3 times per week and absolutely loved it. I stopped for a while and went back to it now and couldnt figure out why it looked so different. Also it used to have a cold start in the oven.
Natasha Levai says
Hi Lizelle! This recipe still works with the cold start! This loaf is just slightly bigger, otherwise it should work just as well as the previous recipe!
Lilly says
is the bake time one hour and 10 minutes that's at the top of the recipe or one hour and 45 minutes. which is at the end of the recipe?
Natasha Levai says
Hi Lilly! 1h 45min should be the correct one since I updated the recipe and made a larger loaf. I need to go in and edit that first part!
Linda says
I made your millet bread and it was great. I was wondering if I could add cinnamon and raisins to this recipe. I can’t find a good gluten free cinnamon raisin bread. If so, how much of each would you recommend?
Thanks,
Linda
Natasha Levai says
Hi Linda! You can try adding 50g raising and 1-2 tbsp of cinnamon and see how it turns out! Increase the add ins next time if necessary.
Margaret says
Perhaps it's supposed to be 30 minutes with steam and another 10 without for 45 minutes total? Mine got to 205 degrees after 30+20 min, 50 min total.
Natasha Levai says
If that works for you, great! I use a longer time to make sure the bread bakes through and doesn't end up too wet on the inside.
annwen mazetti says
Delicious! I wish I could post a pic. 4 stars as it is a bit heavy on salt so I will halve that next time.
F.y.i., I baked this in my vortex air fryer and it worked great!
Denise Dsouza says
Dear Natasha
Thank you for the recipe. I tried it today and it turned very good. Added a beaten egg and half a tsp of baking powder. Cut down on the salt to 7gms.
I can now go back to enjoying bread for breakfast.
Natasha Levai says
Hi Denise! So glad you are enjoying this bread! Thank you for your comment!
Dale Smith says
Hello Natasha,
My first run is a miss. After 2 1/2 hours it had risen just enough to round the top of the loaf. It was an idea location to rise. I use a high end scale and am confident of my measurements. After baking it came out as anticipated quite dense. It is also overly salty. If I oversalted I could have killed the yeast, But I’m pretty sure I recall my measuring correctly. Aside from that the sorghum flour is quite enjoyable. The one thing I might have done differently is I milled the sorghum flour myself from sorghum berries. Any thoughts?
Kindest regards.
Natasha Levai says
Hi Dale! The bread won't rise significantly during proofing, it will rise more during baking. You can add more water to try make the bread airier but it might also turn out gumimer.
Since the bread lacks starches, it wil be denser than a recipe with them.
Milling flour yourself might yeild different results if it is not finely milled, in that case you will simply need to adjust the water!
If you want a recipe with starches, check out this one: https://www.natashashome.com/gluten-free-bread-with-psyllium-husk-powder/
Shay says
Hi Natasha Can u plz share if this recipe can be used in the bread machine?
Natasha Levai says
Hi Shay, I have never tried it and I doubt it wlil work but you can give it a go and let me know how it went!
Val says
I tried using a Tefal bread machine with a gluten-free savoury bread program, and I also used chia seeds instead of psyllium husk (1:1) replacement.
The bread came out great! only thing is I had to put it an extra 20 mins than the gluten free bread program of my machine specified. So 2h long program with mixing, proofing and baking plus an additional 20mins cooking only
Rameshwar Saran says
I followed the instructions exactly and the bread is good, only the top and bottom crusts are hard. I did run the convection fan during 40-minute bake after removing water pan. Is the convection fan a reason for the crust to become hard or can there be any other reason? Also, I used 9-inch loaf pan as given in the instructions, but looking at the low-rise height I think 7-inch pan will be more suitable for the given quantity. Am I thinking correctly?
Natasha Levai says
I think the convection is the problem! Convection setting tends to dry out the outside of the bread faster. You can lower the tempearature if baking in a convection oven! You can safely use a 7-inch banneton if that works better for you, or, alternatively, you can increase the dough volume and make a larger loaf.