These easy no-bake chocolate oatmeal cookies are so soft, chewy, chocolaty, and altogether delicious that you will be surprised you can make them in under 20 minutes! These classic haystacks will make for a perfect snack at any party.
Jump to:
Why You Will Love This Recipe
- Quick recipe (20 minutes).
- Great recipe to make with kids.
- Easily adjustable for a vegan diet.
Ingredients
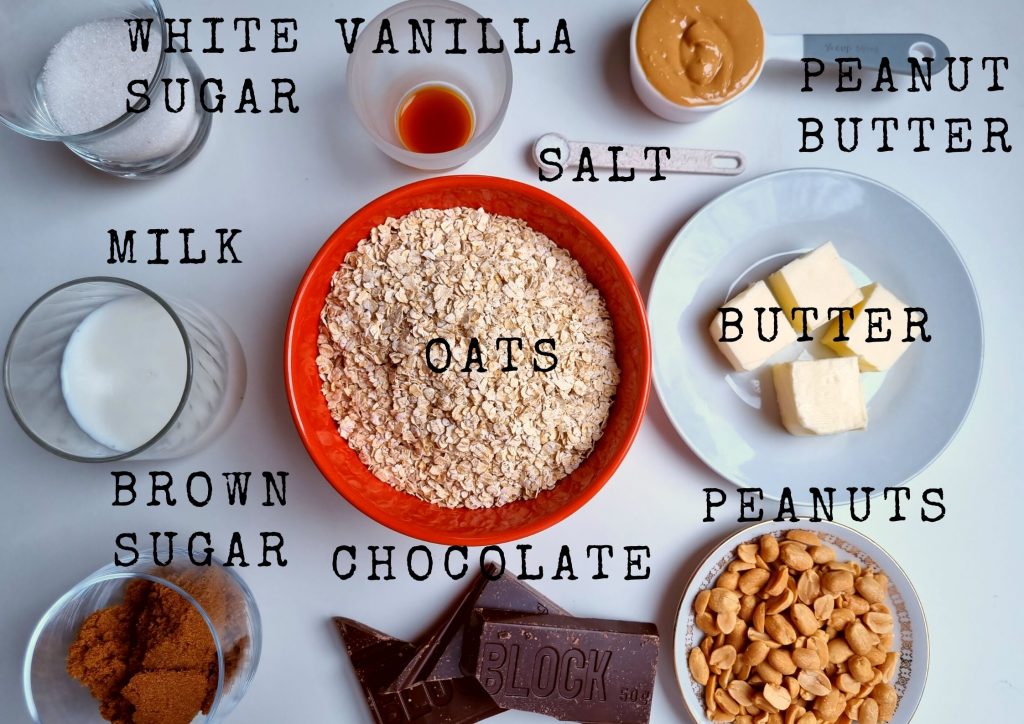
- To make vegan cookies use plant-based milk and coconut oil in place of butter.
- I used my 5-minute homemade peanut butter!
Note: if you like easy gluten free chocolate desserts, check out my easy chocolate-filled gluten-free pancakes!
Watch How to Make Gluten-Free Haystack Cookies!
Step-by-Step Instructions
Step 1 - prepare for quick action
You need to line a sheet pan with baking paper, or just spread the baking paper on a straight surface. You will not have time to do it later as the cookies need to be scooped out as soon as possible.
Prepare your kitchen towels and mittens to handle the hot pot with the hot milk and sugar mixture. You also need to have something to place the hot pot on so that you don’t damage the working surface.
Step 2 - mix dry ingredients
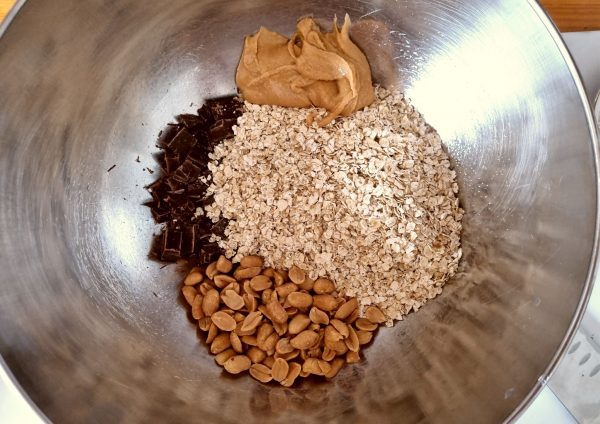
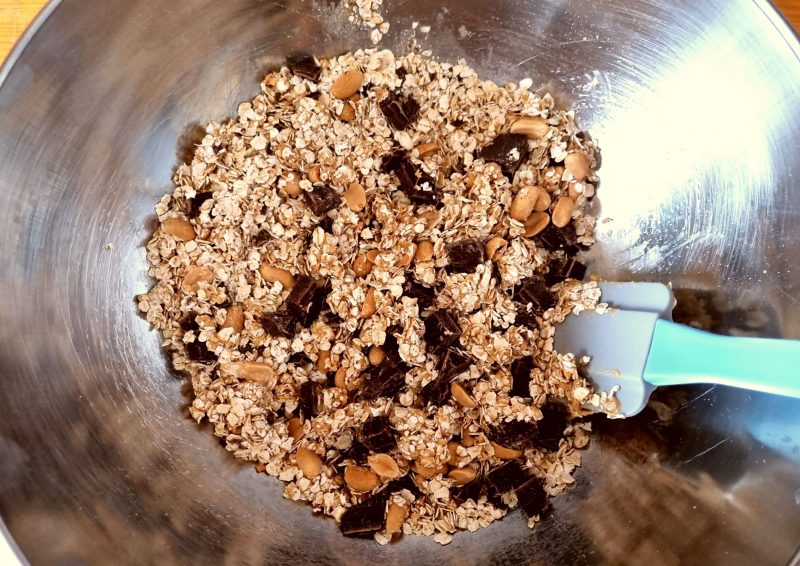
In a large mixing bowl combine oats, peanut butter, peanuts, and chocolate chunks (or chips). Mix to incorporate.
Step 3 - boil milk and sugars
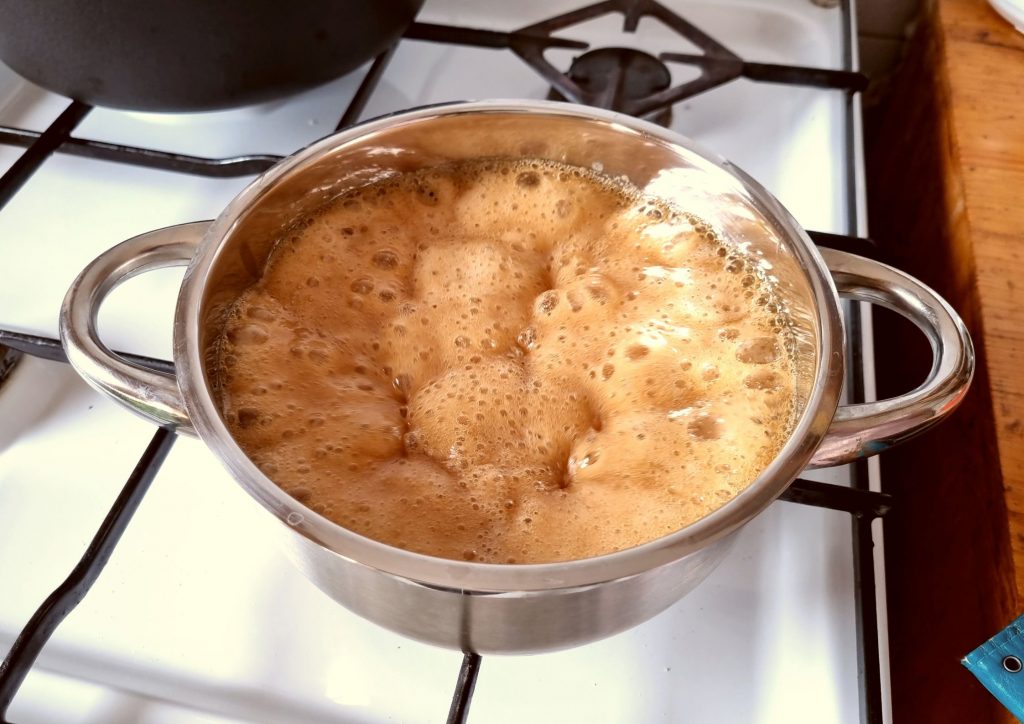
In a small/medium size saucepan combine butter, milk, sugars, salt, and vanilla and let all ingredients melt into a consistent mixture, don’t hurry with bringing up the heat!
As you see that your sugars dissolved and butter melted, slowly bring the mixture up to a rolling boil and continue boiling for exactly 2 minutes. After the 2 minutes are up, take the saucepan off the fire.
Step 4 - mix and shape
Pour the liquid into the oatmeal mixture and stir until all chocolate has melted. When the dough is well combined and the chocolate is melted, grab a spoon (you can use an ice cream scooper for prettier shapes) and scoop the cookies out onto the parchment paper. Don’t lose time at this stage as it is best to scoop the cookies out before they harden!
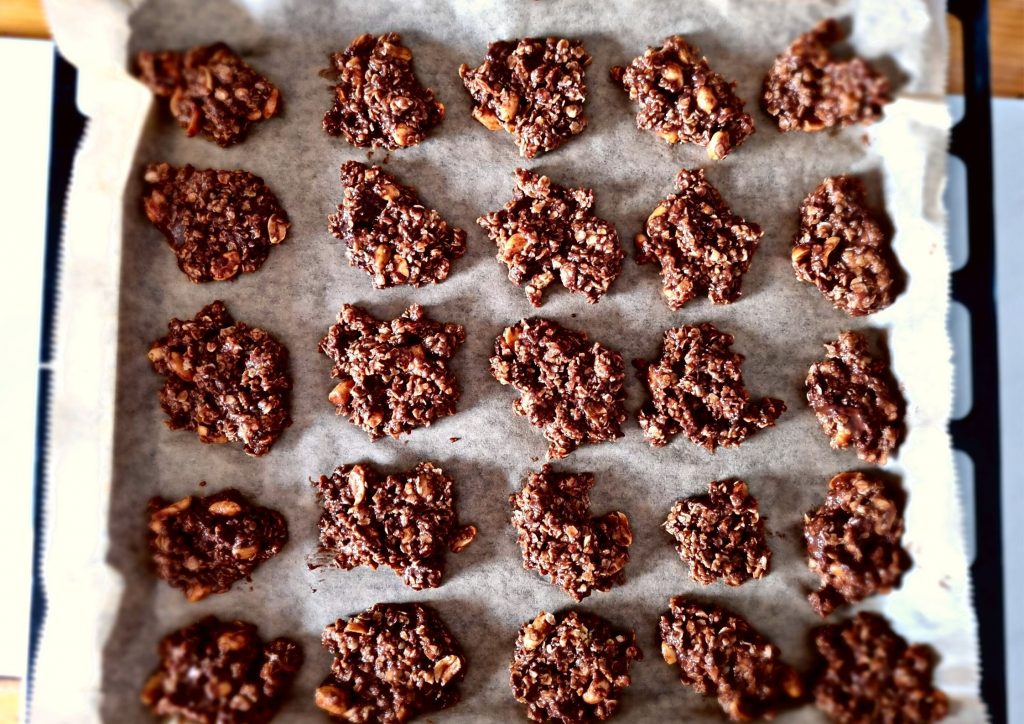
Step 5 - cool and enjoy!
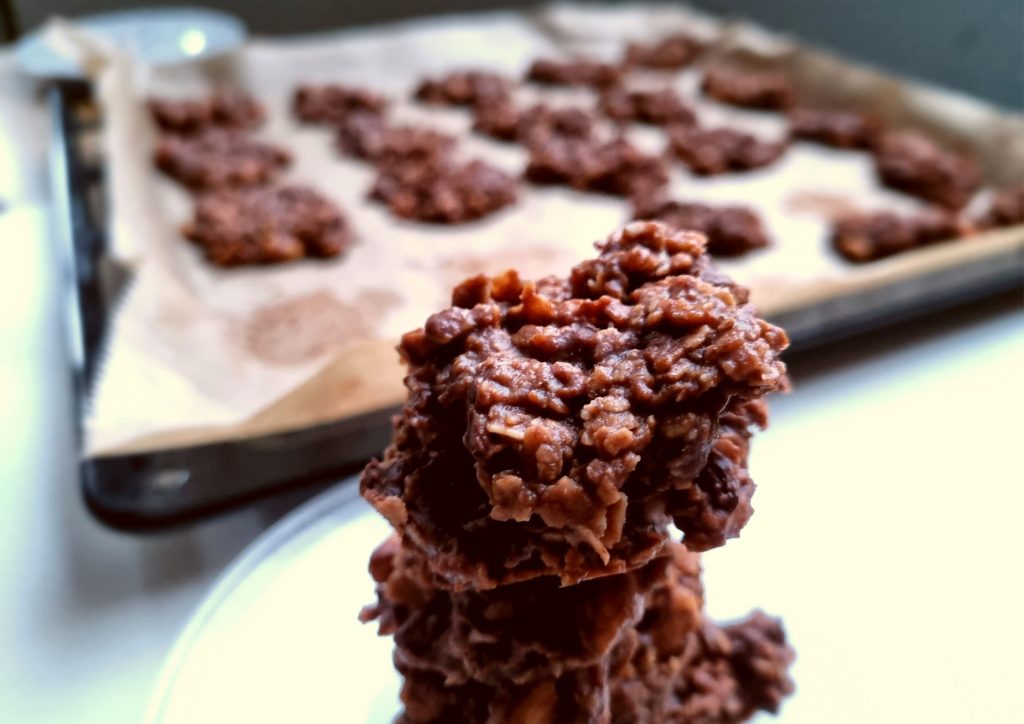
Let your cookies cool for at least 30 minutes. You can place the cookies to the refrigerator to speed up the process! If your no bake chocolate cookies are still warm and soft after 30 minutes, leave them to cool for longer!
Interestingly, if it is raining outside, there are chances your cookies won’t harden as fast, because the water vapor in the air will moisturize the no bake cookies.
Expert Tips
- Make sure the entire liquid mix is boiling hard before starting the 2-minute countdown. A slight simmer won’t do!
- Quick-cooking oats are your best bet because old-fashioned rolled oats are too hard and behave differently in the settling stage.
- If you think your cookies are too weak and wet – boil the milk, butter, and sugars for 30 seconds longer to reduce the water content and allow for firmer no bake cookies. If you think your cookies are a bit harder than you would like them to be, then only simmer for 1 ½ minute instead of 2 and see whether you like the results then!
- If you don't have peanut butter, make your own with this 5-minute peanut butter recipe.
- You can substitute butter for vegan butter or coconut oil but don’t substitute for margarine. As these cookies don’t have that many ingredients, butter really matters. Margarine will change the taste and the setting stage.
- Prepare all ingredients, kitchen towels, and mittens beforehand to ensure a smooth and quick process! Remember, you have to work quickly after the liquid mix is done boiling.
- Line up 1-2 sheet pans with parchment paper before you start the cooking process.
- You can give your cookies a boost by stirring in some coconut shreds, almond extract instead of vanilla, and any nuts for an extra crunch!
- You can easily double this recipe if you need to make a bigger batch! Freeze these haystack cookies for up to 3 months if needed.
FAQ
Why Did My Cookies Turn Out Gooey?
Gooey texture signals that you did not boil the milk, butter, and sugar mix long enough. You might have started your count down as you saw some simmering going on in the pot, but a simmer is not a rolling boil. Next time give the mixture a bit more time and see how it turns out!
Why Aren't My Cookies Getting Hard?
Same reasons as above! Try boiling the mixture a bit more next time and make sure it comes up to a rolling boil before you start the countdown.
Why are My Cookies Dry and Crumbly?
This can happen if you let the milk mixture boil for too long. If too much water evaporates, then you will not have enough moisture to soak your cookies!
How Long Do The Cookies Last?
These cookies will last for a week in the fridge and for months in the freezer!
Can I Make These Cookies Sugar Free?
You can make gluten free sugar free no bake cookies by using coconut sugar in place of the regular one!
Other Desserts You Might Like
- 2 Ingredient Easy Homemade Ice Cream Without Machine (gluten free) - with a vegan option!
- How to Make Healthy, Yet, Absolutely Delicious Breakfast Oatmeal - can be made gluten free
Join our community! Receive tips and tricks to becoming a better home cook & never miss a new recipe!
[convertkit form=2878495]
[convertkit form=2984496]
📖 Recipe
Easy No Bake Chocolate Oatmeal Cookies
Equipment
- 1 small size saucepan
- 1 sheet pan
- 1 sheet of parchment paper
Ingredients
- ⅓ cup white sugar
- ⅓ cup packed brown sugar
- 75 grams (5½ tbsp) butter (coconut oil for vegan version)
- ½ cup milk (plant based milk for vegan version)
- 2 cups oats (gluten free oats for GF version)
- ¼ cup peanut butter
- 60 grams peanuts (or more, to taste)
- 100 grams dark chocolate (or chocolate chips)
- 1 teaspoon vanilla
- ¼ teaspoon salt (omit if using salted butter)
Instructions
- You need to line a sheet pan with baking paper, or just spread baking paper on a straight surface. You will not have time to do it later as the cookies need to be scooped out as soon as possible.
- Prepare your kitchen towels and mittens to handle the hot pot with the hot milk and sugar mixture. You also need to have something to place the hot pot on so that you don’t damage the working surface.
- In a large mixing bowl combine oats, peanut butter, peanuts, and chocolate chunks (or chips). Mix to incorporate.
- In a small / medium size saucepan combine butter, milk, sugars, salt, and vanilla and let all ingredients melt into a consistent mixture, don’t hurry with bringing up the heat!
- As you see that your sugars dissolved and butter melted, slowly bring the mixture up to a rolling boil and continue boiling for exactly 2 minutes. After the 2 minutes are up, take the saucepan off the fire.
- Pour the liquid into the oatmeal mix and stir until all chocolate has melted. When the dough is well combined and the chocolate is melted, grab a spoon (you can use an ice cream scooper for prettier shapes) and scoop the cookies out onto the parchment paper. Don’t lose time on this stage as it is best to scoop the cookies out before they harden!
- Let your cookies cool for at least 30 minutes. You can place the cookies to the refrigerator to speed up the process! If your no bake chocolate cookies are still warm and soft after 30 minutes, leave them to cool for longer!
- Interestingly, if it is raining outside, there are chances your cookies won’t harden as fast, because the water vapor in the air will moisturize the no bake cookies.
Video
Notes
Nutrition

Hi, I am Natasha! Glad to see you here. Hope you join along as I discover and share great recipes that make family cooking easier and more fun! To learn more about me, read my story of how I went from a world traveler to a countryside home cook. Read more...




Zhen
Looks so good