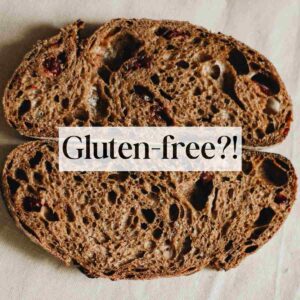
I know the struggle of not being able to eat a piece of whole-wheat bread! Unfortunately, whole wheat bread is not gluten-free. In fact, anything that has the word "wheat" in it contains gluten by default. But this doesn't mean you can't enjoy hearty gluten-free bread!

Jump to:
Is whole wheat gluten-free?
No, whole wheat is not gluten-free! There is no way to make wheat be gluten-free as wheat is almost a synonym for gluten. It is kind of like asking whether gluten can be gluten-free.
However, you can have whole-grain gluten-free bread! Whole-grain flour examples:
- Buckwheat flour;
- Brown rice flour;
- Gluten-free oat flour;
- Millet flour;
- Corn flour.
Gluten-free bread with whole-grain flours
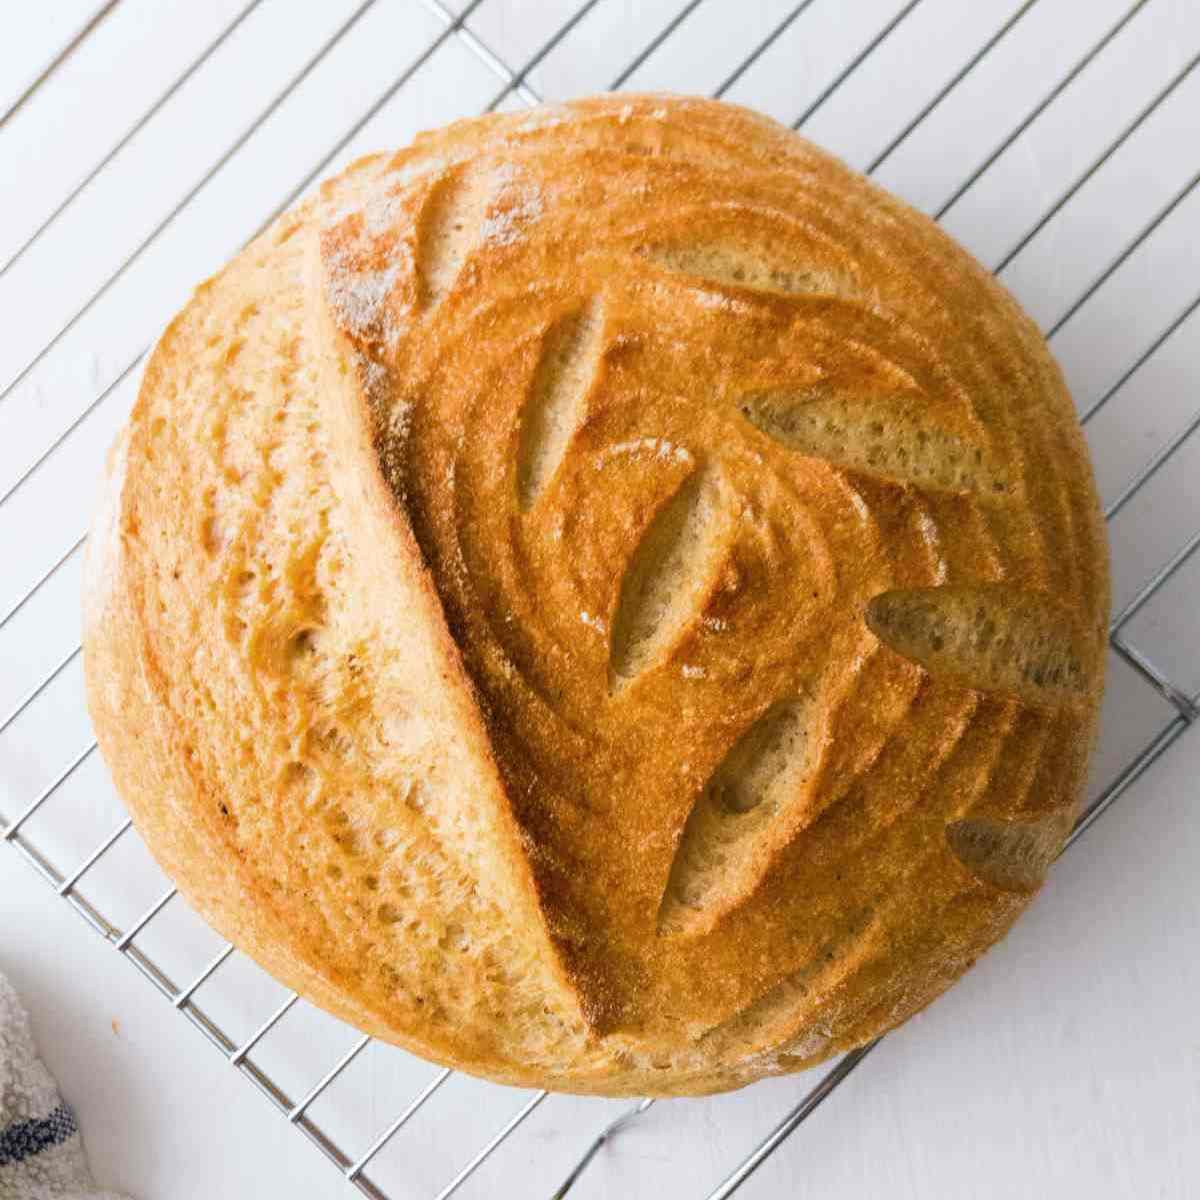
These are my top bread recipes that use a combination of gluten-free flours that include whole-grain flours like brown rice, millet, and buckwheat.
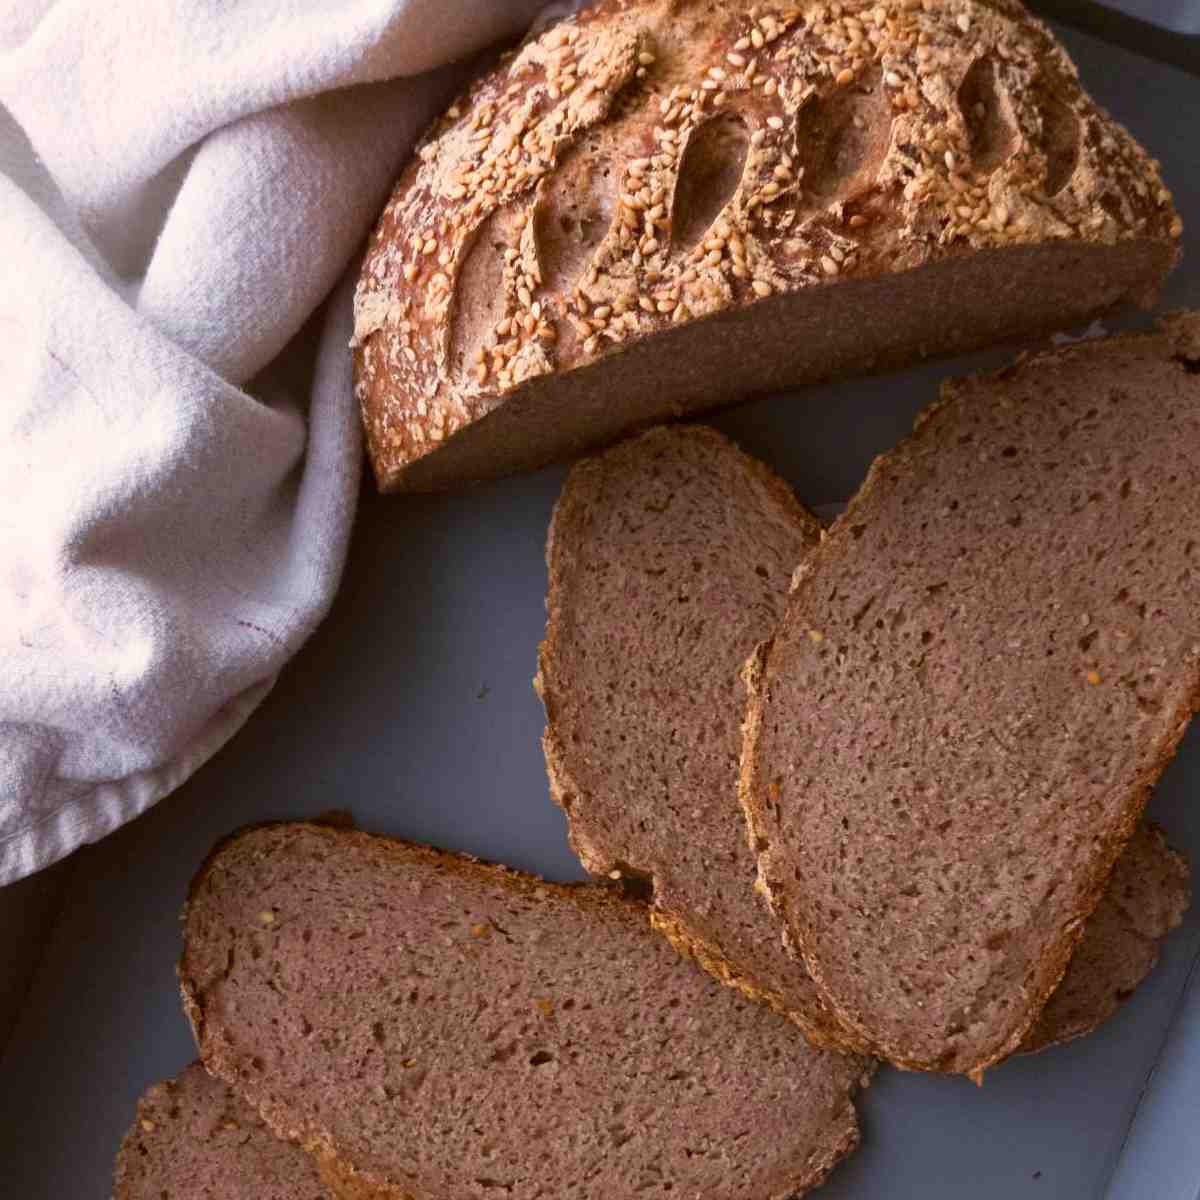
This recipe uses brown rice flour (whole-grain flour) together with white rice flour and starches. It is best to use a few types of flour in gluten-free bread!
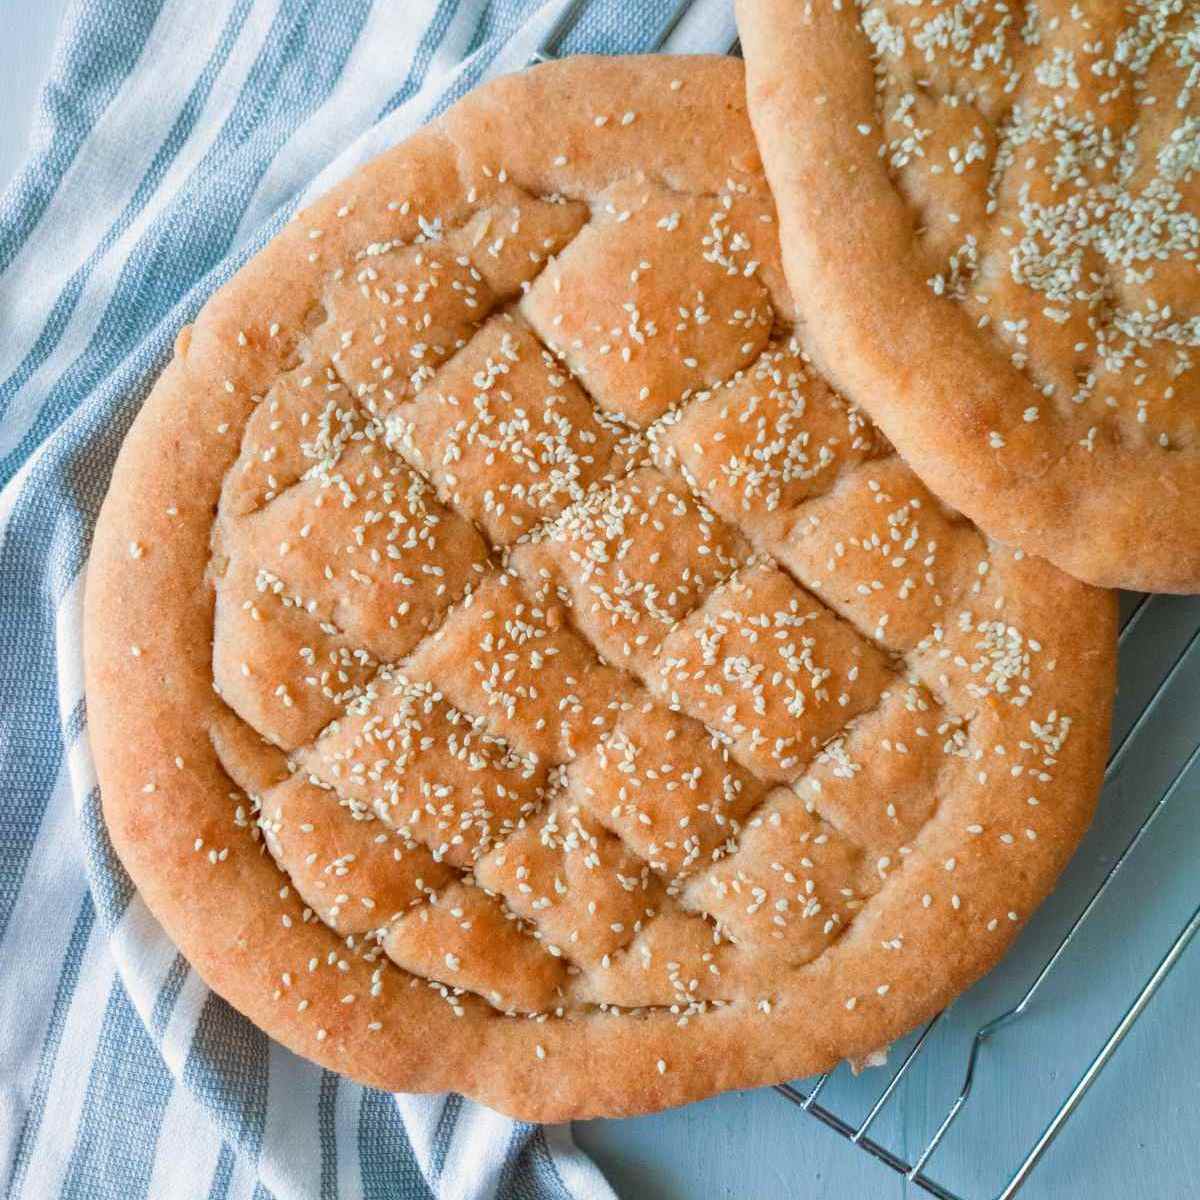
This recipe uses millet flour as a part of the flour build-up. Millet is a whole-grain gluten-free flour.
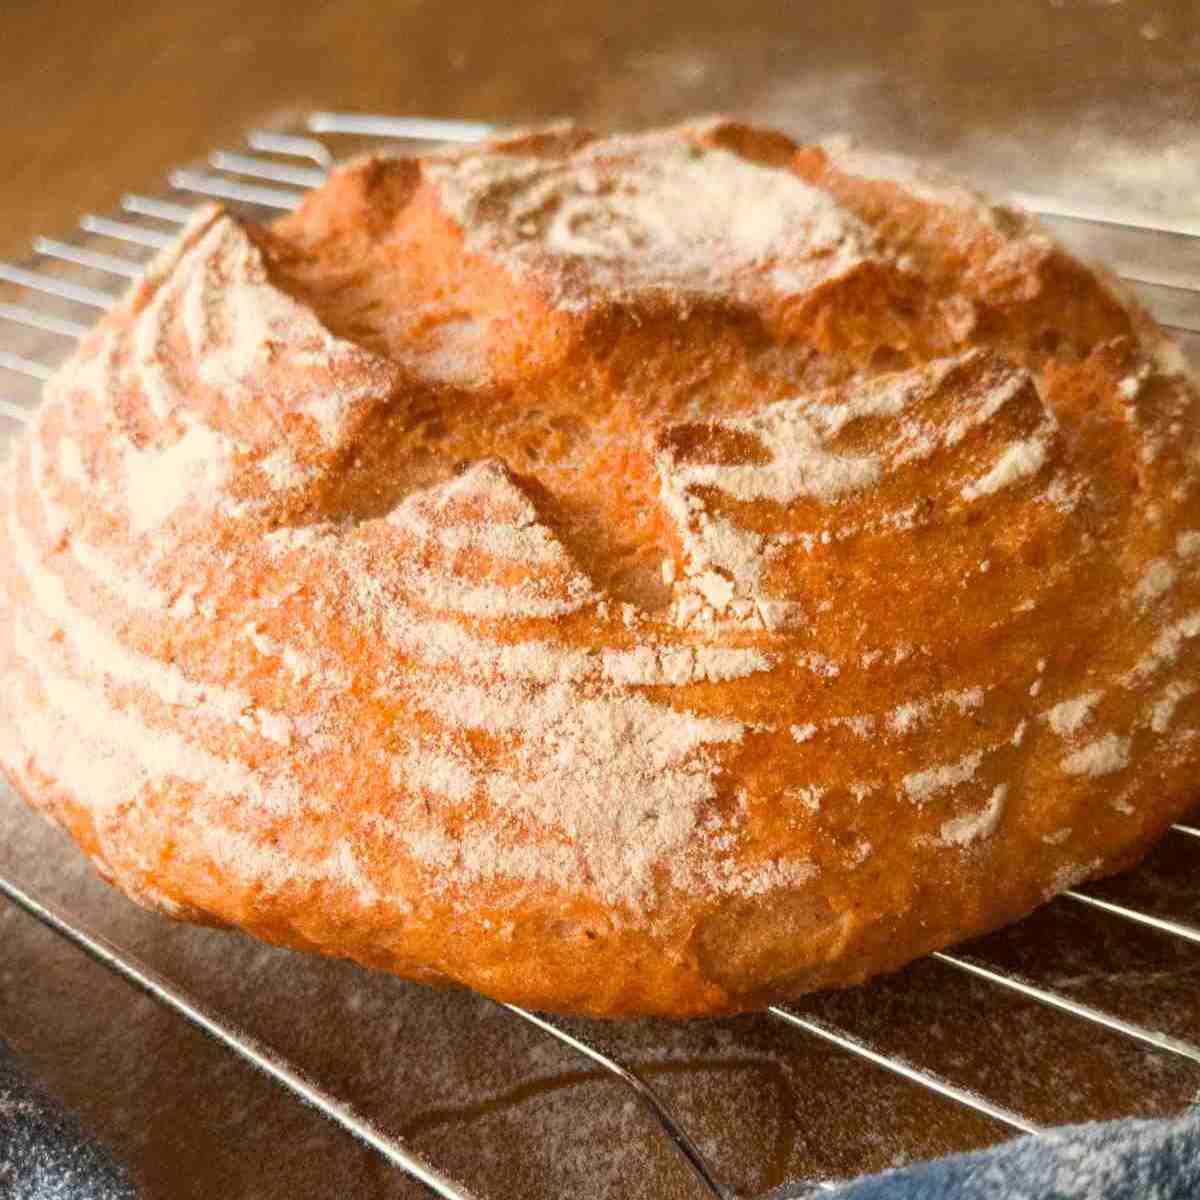
This bread is made with a brown rice sourdough starter. The recipe calls for buckwheat and brown rice flours (both are whole-grain) along with some starch.
Vegan and gluten-free sourdough
This recipe uses whole-grain gluten-free sourdough starter, brown rice flour, and sorghum flour along with some starches to make the bread fluffier!
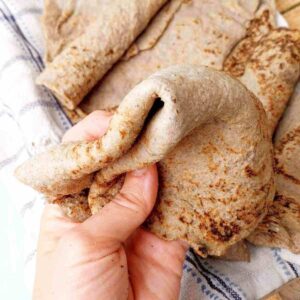
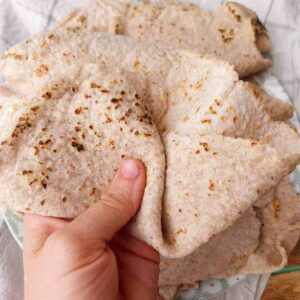
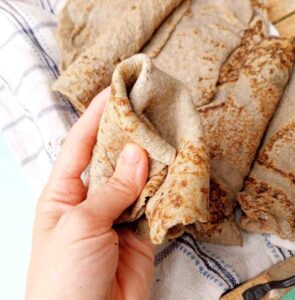
These are the basic bread recipes using whole grain flours. Note, that they aren't purely whole-grain because this bread needs a variety of flours in the dough!
Whole Wheat Gluten-Free Bread?
Ingredients
- Whole-grain gluten-free flour brown rice, millet, buckwheat, corn flour.
- Psyllium husk
- Water
- Salt
- Sugar
- Yeast
SAVE THIS RECIPE!💌
Instructions
- Choose a gluten-free bread recipe that uses whole-grain flours from the post.
- Follow the instructions and make necessary substitutions!

Andrea Lewinsky says
Hi Natasha, im from Brazil, your recipes is amazing, could you send me full recipe please? id like to make https://www.natashashome.com/whole-wheat-gluten-free-bread/#whole-wheat-gluten-free-bread
Natasha Levai says
This post contains a number of bread recipes, you just need to click on them and you will be taken to the whole grain bread recipes. Whole wheat is not gluten-free, so this post is written to tell that whole wheat gluten-free bread doesn't exist because wheat has gluten 🙂
nia says
Thank you for this recipe and the expert tips! I haven’t heard this cake to my knowledge but lighter cakes can be so yummy so would be excited to try this cake! Thanks for sharing! This looks delicious!
Natashashome says
Thank you so much for the feedback
Fransic verso says
We have all the ingredients for this but never thoughts to make it. I appreciate your sharing this yummy recipe!
Natashashome says
Thank you!
Kirsten Smith says
This looks so good!
Naomi says
Oh my goodness YUM! This recipe sounds so amazing. I love light and fluffy cakes. Ples topping it with biscoff cookies is such a great idea. Can't wait to try it out.
xo Naomi
https://happilydwell.com/
Natashashome says
Thank you so much! I hope you like the end result just as much! 🙂
Debbie says
Oh my! I absolutely LOVE biscoff cookies and this just sounds over the top delicious! I first fell in love with biscoff cookies while traveling and now always have some in my cupboard. Definitely gonna try this recipe out!
Natashashome says
I love Biscoff, too! Thank you for your feedback!