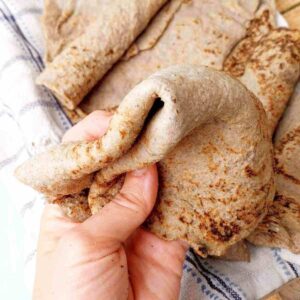
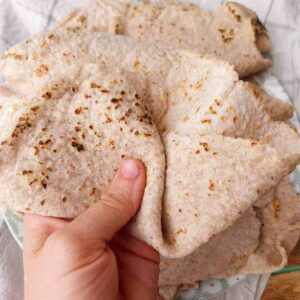
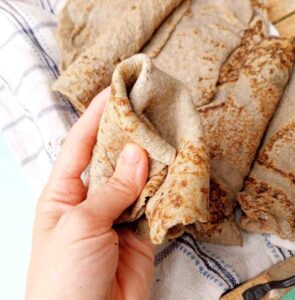
I am so excited to share this gluten-free Pelmeni recipe with you! These Russian meat dumplings can be tricky to make gluten-free as they need to hold up VERY well in order to not fall apart during cooking. Thankfully, I discovered one secret ingredient for GF cooking that changed everything. This ingredient is psyllium husk! Read my article on using psyllium husk in baking if you are new to it!

This is a traditional Ukrainian/Russian dish that is now available for gluten-free folks! Another great must-try Eastern gluten-free recipe is this Ukrainian borscht as well as my recent gluten-free Easter bread!
Jump to:
Why You Will Love This Recipe
- These pelmeni don't fall apart during cooking!
- The long process of shaping each dumpling gives you time to listen to your favorite podcast as you cook without having to constantly pay attention to detail.
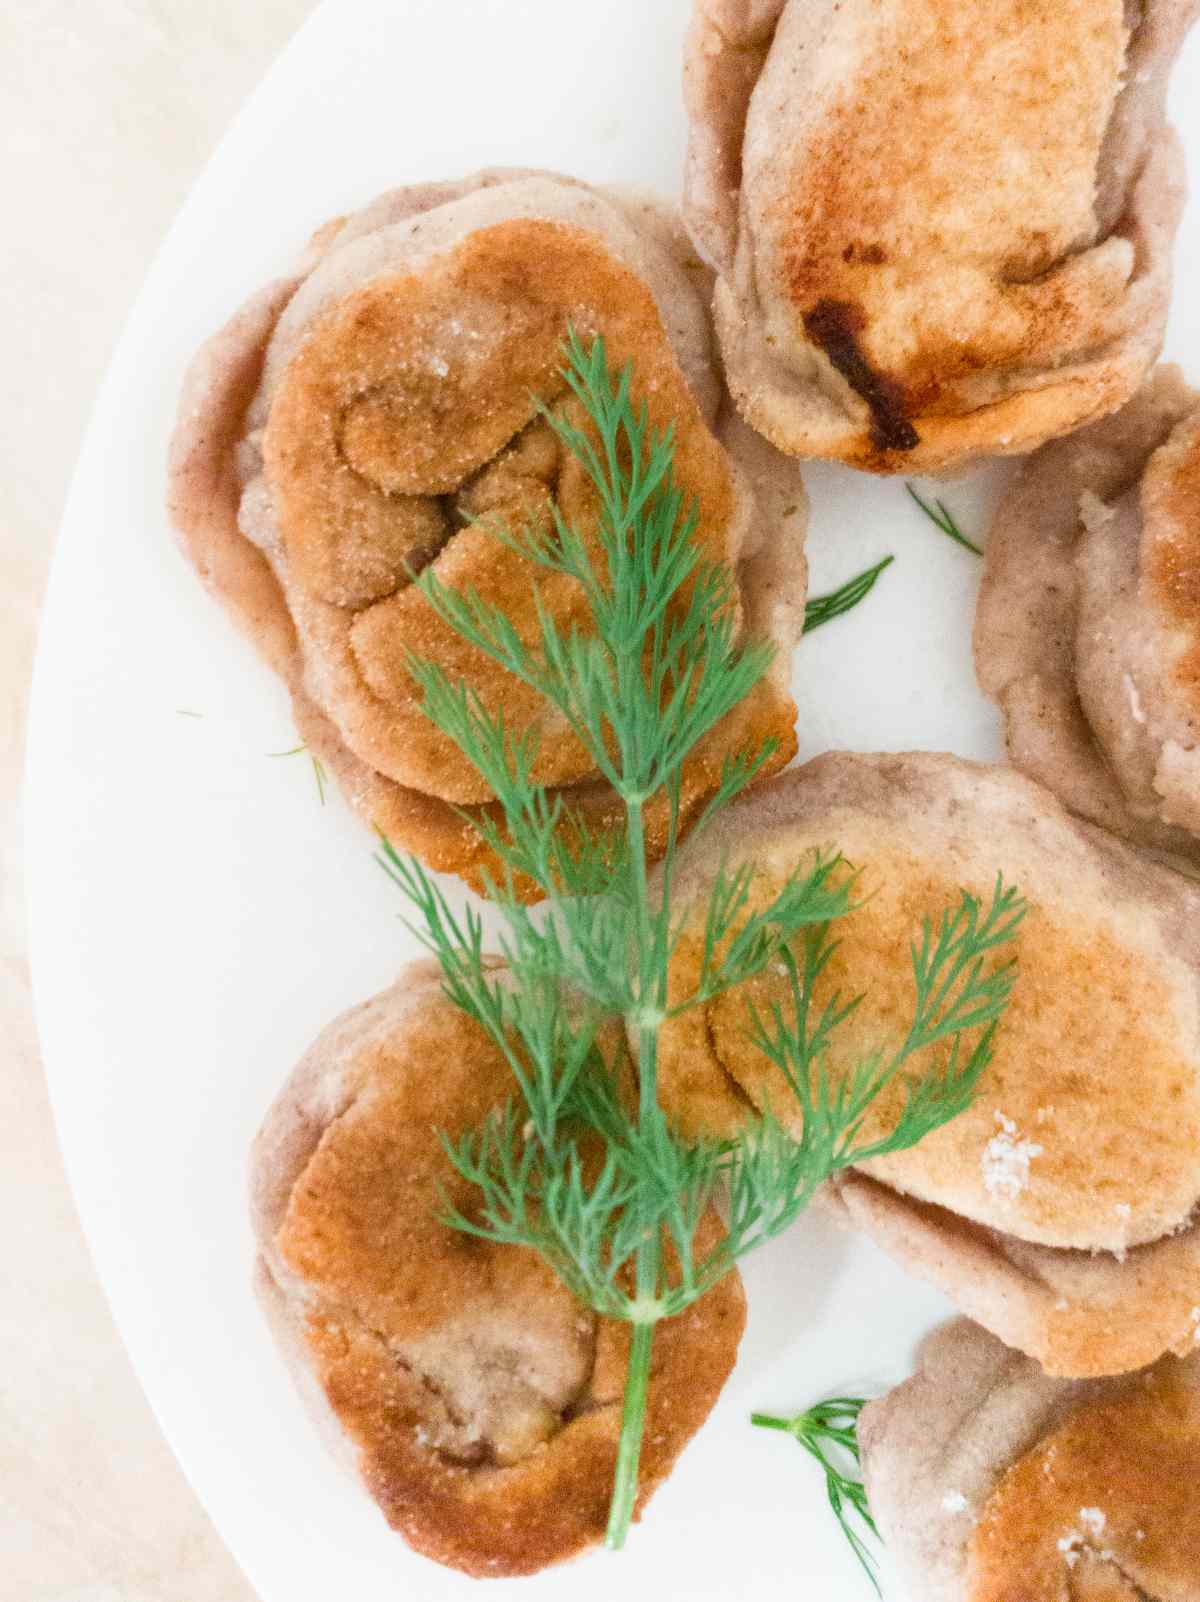
- You can fry pelmeni instead of cooking them to give them a crunch!
Pelmeni vs. pierogi and other dumplings
There are plenty of dishes that resemble pelmeni and some come pretty close, so close that you might wonder what the difference even is! If you are interested in all kinds of pelmeni variations in other cuisines, check out my pelmeni vs. pierogi post!
Ingredients for Gluten-Free Pelmeni
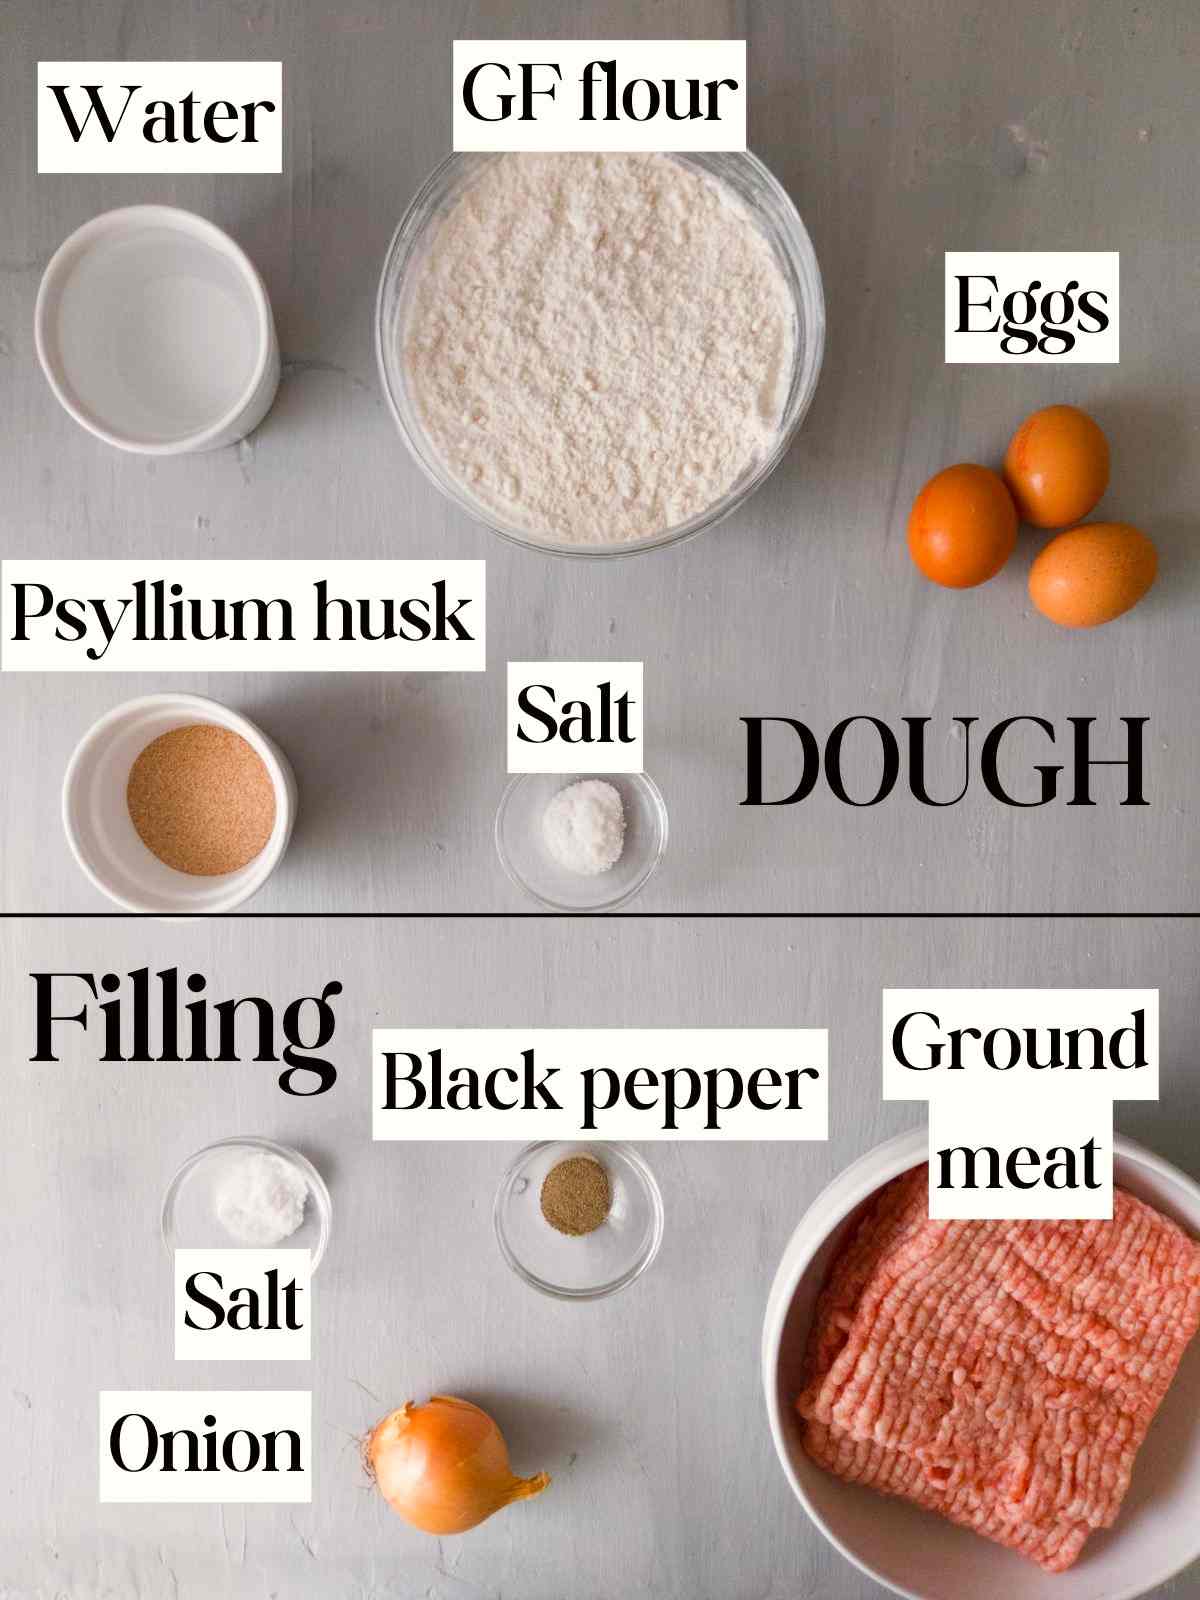
Gluten-free flour - you can use any GF flour blend. I used 25% brown rice flour, 25% white rice flour, and 50% potato starch. You can substitute these flours for the ones you like! I don't recommend adding a large amount of millet flour as it tends to be bitter. You might need to adjust the amount of water/flour if the dough consistency is not right as not all GF flours absorb water in the same way. If you want to make some GF blends at home here is a gluten-free flour blend without rice and a gluten-free flour without potato starch.
Psyllium husk - you REALLY need psyllium husk for this recipe. You can use either whole husks or powder, just make sure to adjust the amount if you are using powder (instructions in the recipe card).
Ground meat - you can use either pork, beef, turkey, even chicken, or a mix of them. If you are vegetarian or vegan, you can fill these with any other filling you like (potatoes, mushrooms, etc.)
Substitutes
For vegan pelmeni - you will need to omit the eggs and add more water instead! Eggs are for additional flavor, like in pasta. For the filling, choose any filling that seems good to you!
Psyllium husk - please, please, please, don't swap psyllium husk for xanthan gum! I made these with xanthan gum and they fell apart terribly during cooking. Flax seed might not be strong enough either. But if you have to use xanthan gum or flax meal, you can fry your pelmeni instead of cooking them to prevent them from falling apart!
How To Make Gluten-Free Pelmeni
Mix the Dough

In a medium mixing bowl add water and psyllium husk. If you are using powder, make sure to whisk psyllium into the water right away to prevent lumps. Let the mixture sit for about a minute to form a gel!
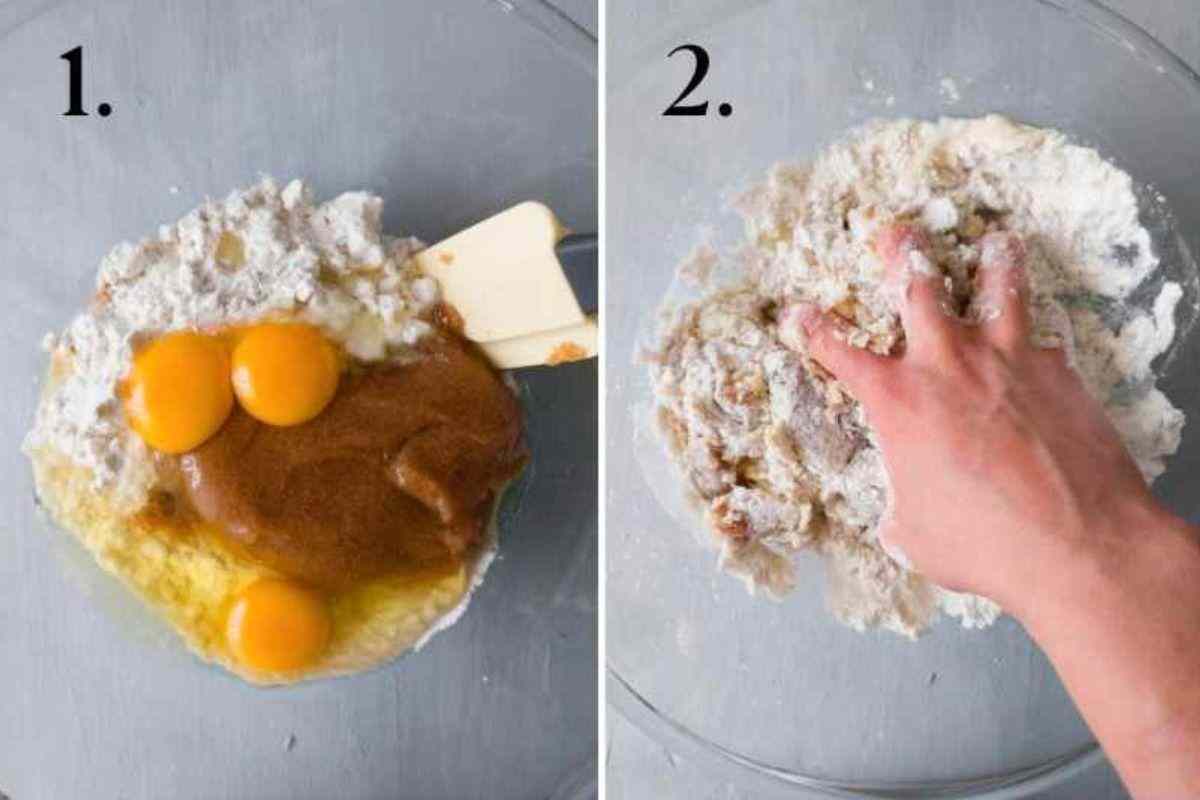
Add flour, salt, eggs, and psyllium gel to a large mixing bowl. Combine all the ingredients by hand or with an electric mixer until the dough is smooth and resembles play dough (shouldn't be very sticky or wet).
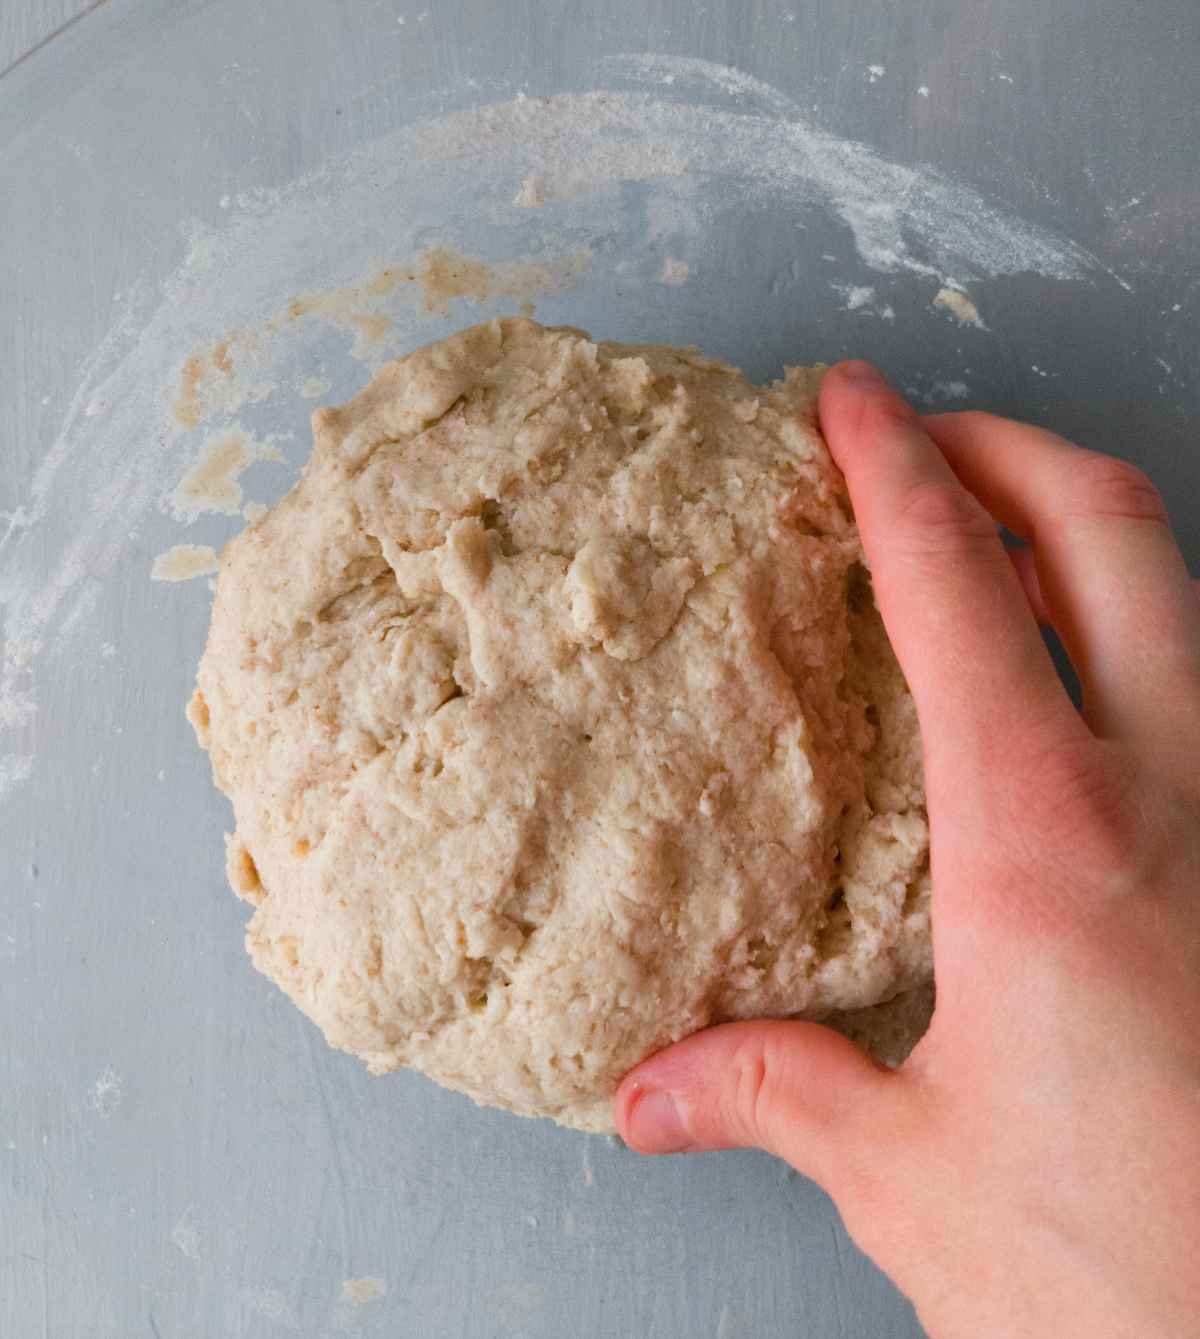
Shape the dough into a ball and let it sit while you prepare the filling.
Prepare the Filling
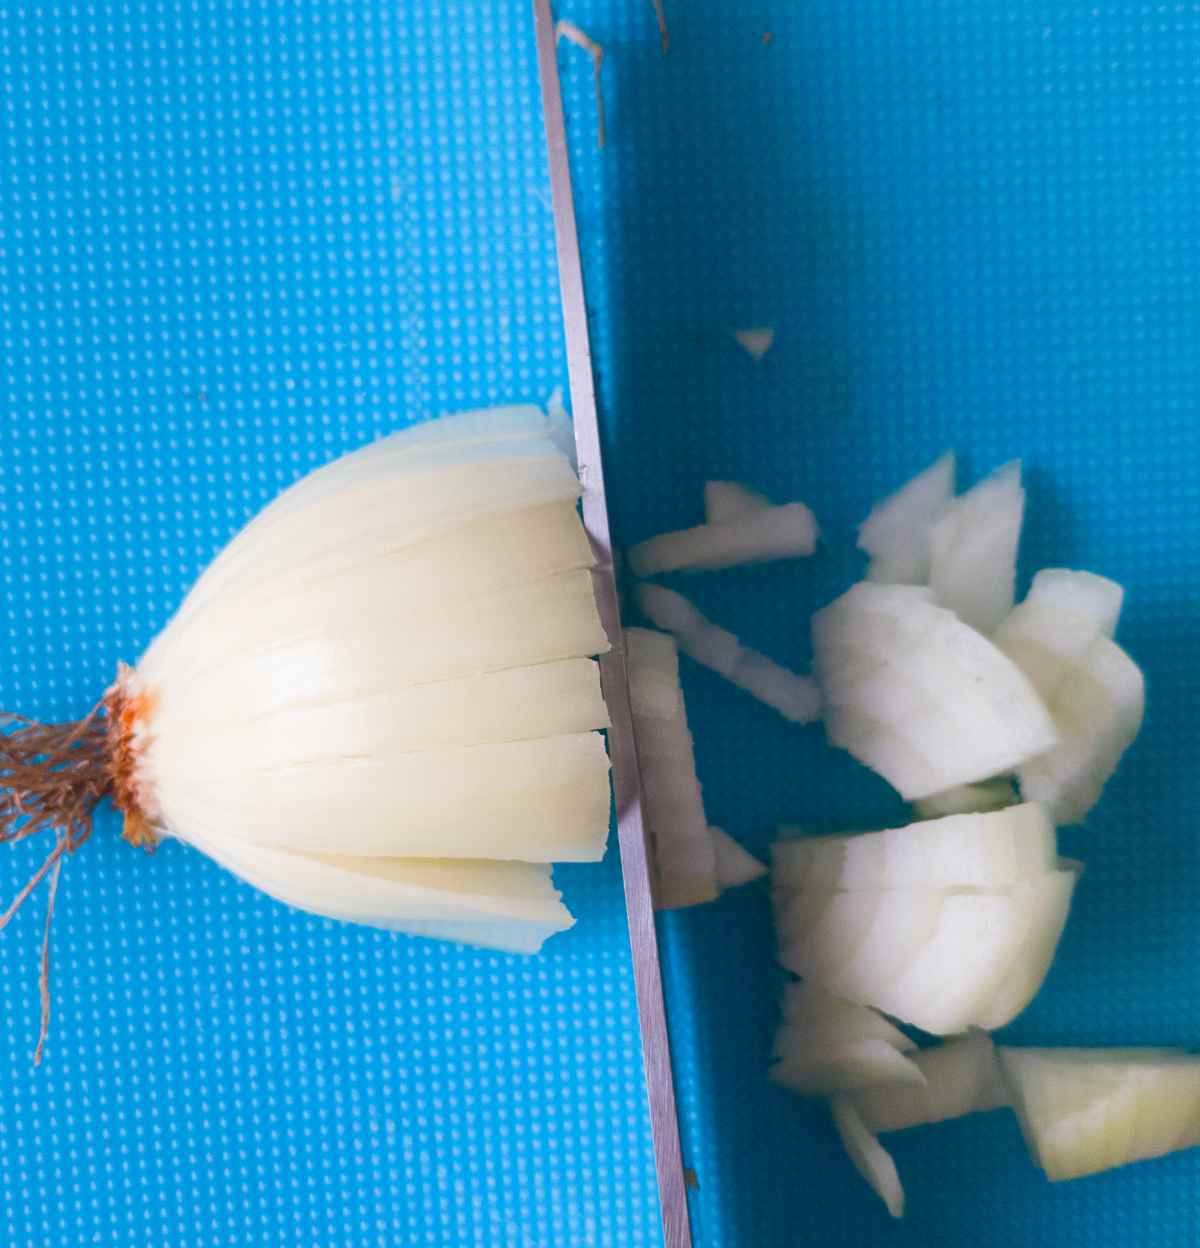
Chop the onions into small cubes. You can either fry them for extra flavor or add them raw to the meat. I added them raw as I was a bit impatient to try my pelmeni!
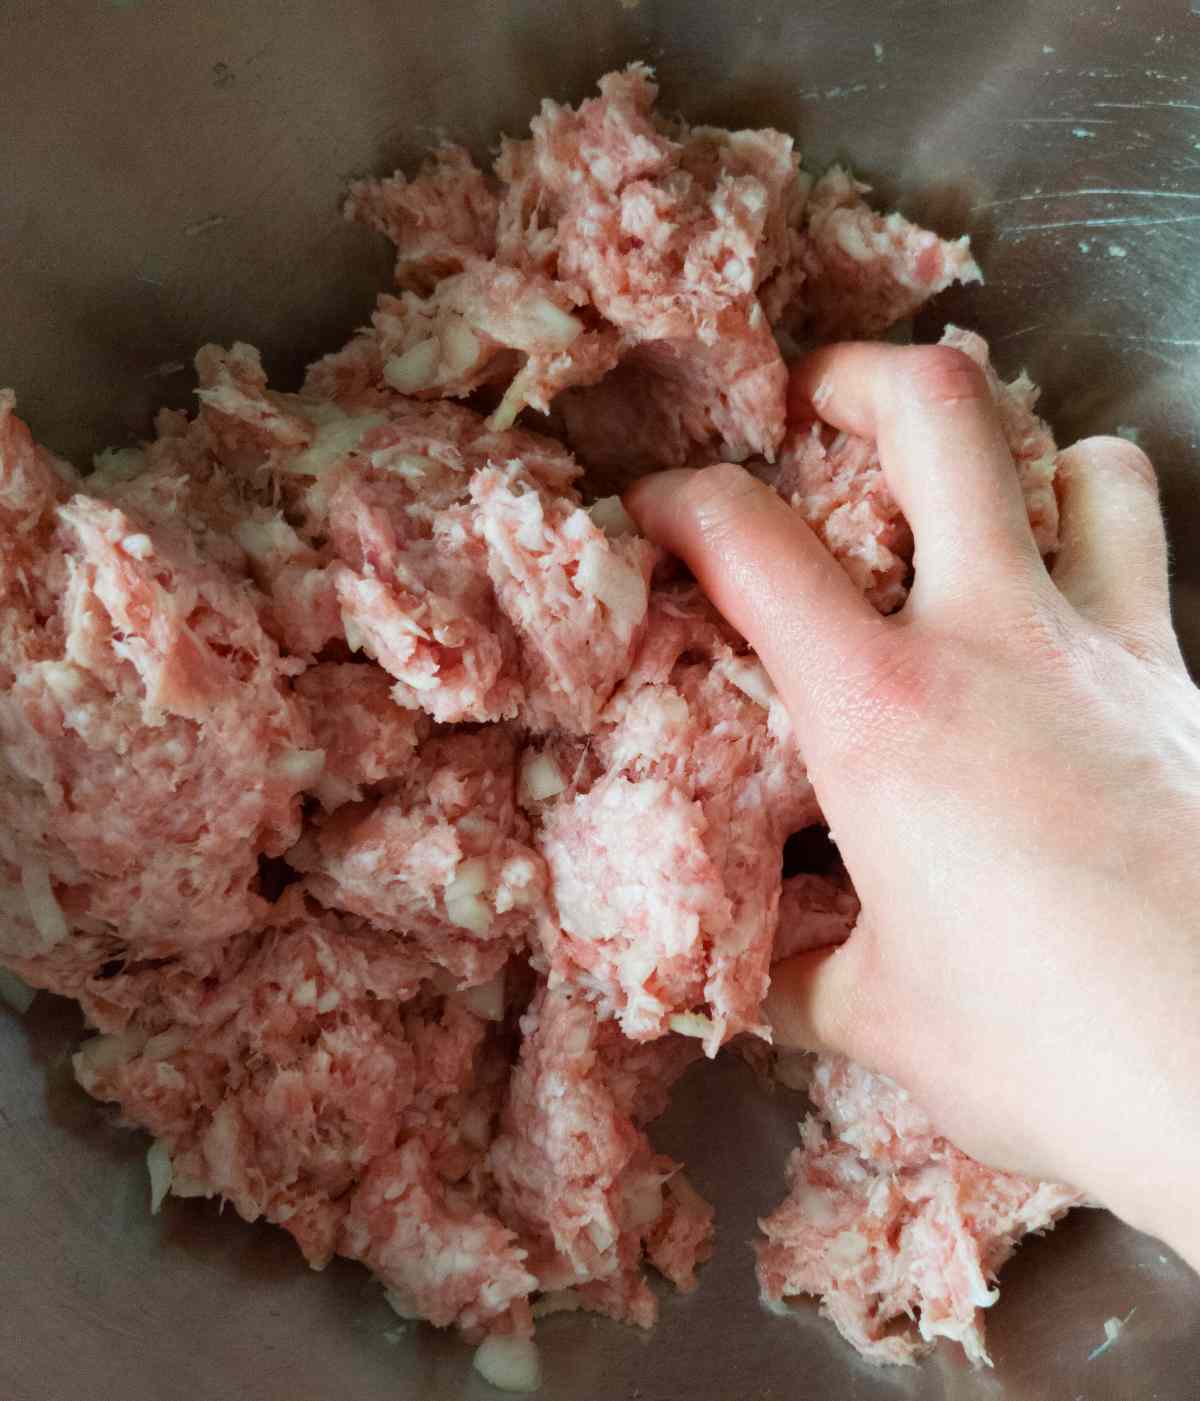
Add the meat, salt, pepper, and onions to a large bowl and mix by hand until incorporated. The filling is ready!
Shape the Dumplings

Place the dough onto a floured working surface and separate it into 4 relatively equal parts.

Take one part and roll it into a thick rope. Slice the rope into 8-10 equal pieces.
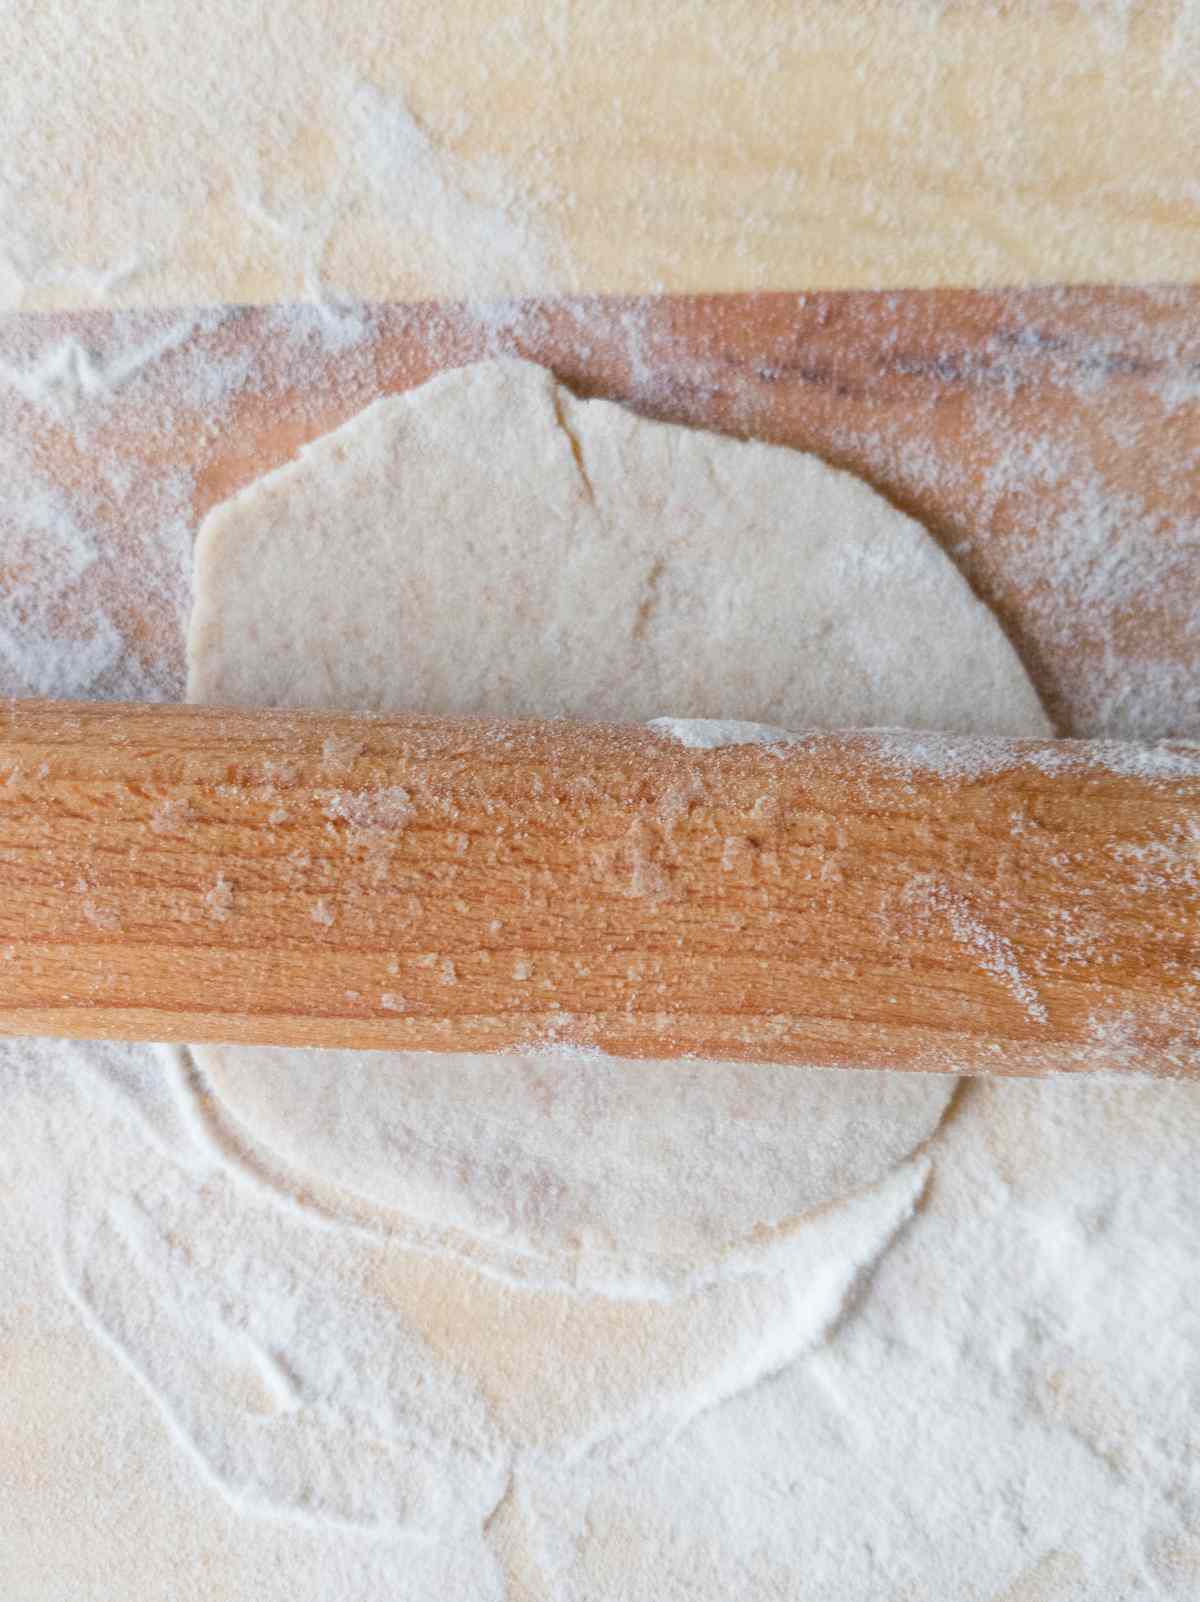
Take one piece and start rolling it out with a rolling pin. Rotate the dough frequently to make it evenly round. Don't roll out too thin or the dough will break.
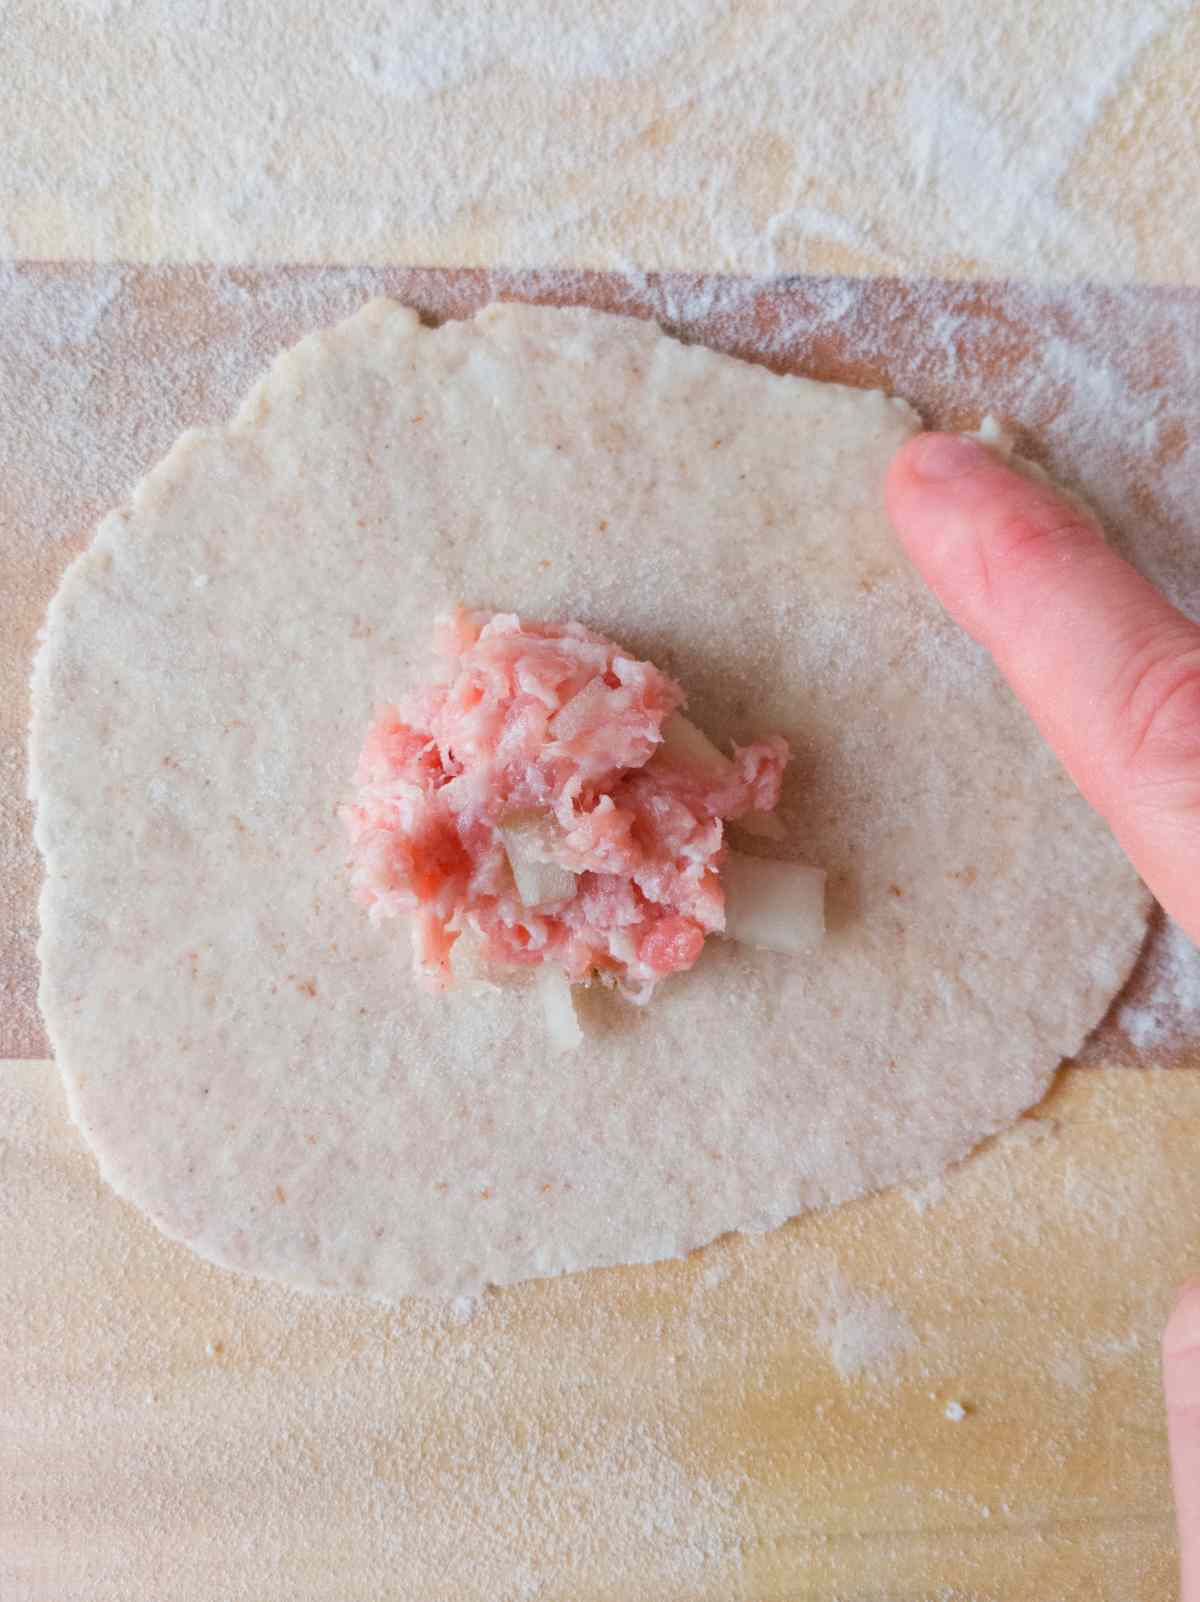
Then, place some filling in the middle. Don't put too much of it or the dough will tear! Slightly brush the edges of the dough with water (you can use your finger) for better sticking.
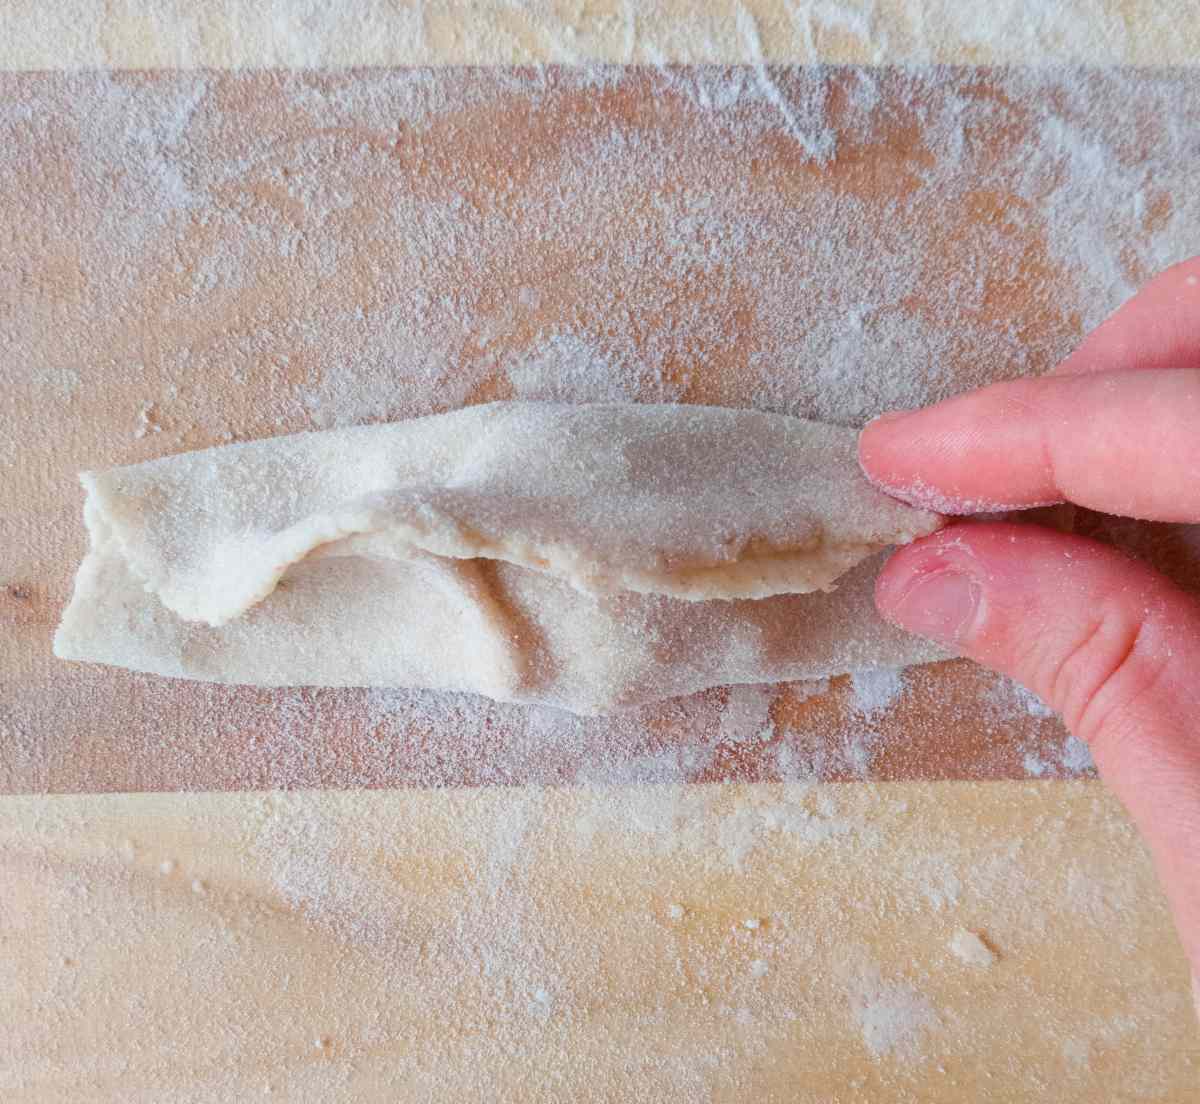
Then, connect the top and bottom sides of the dumpling.

Take the edges and fold them onto each other pressing them with your fingers to ensure a good seal.
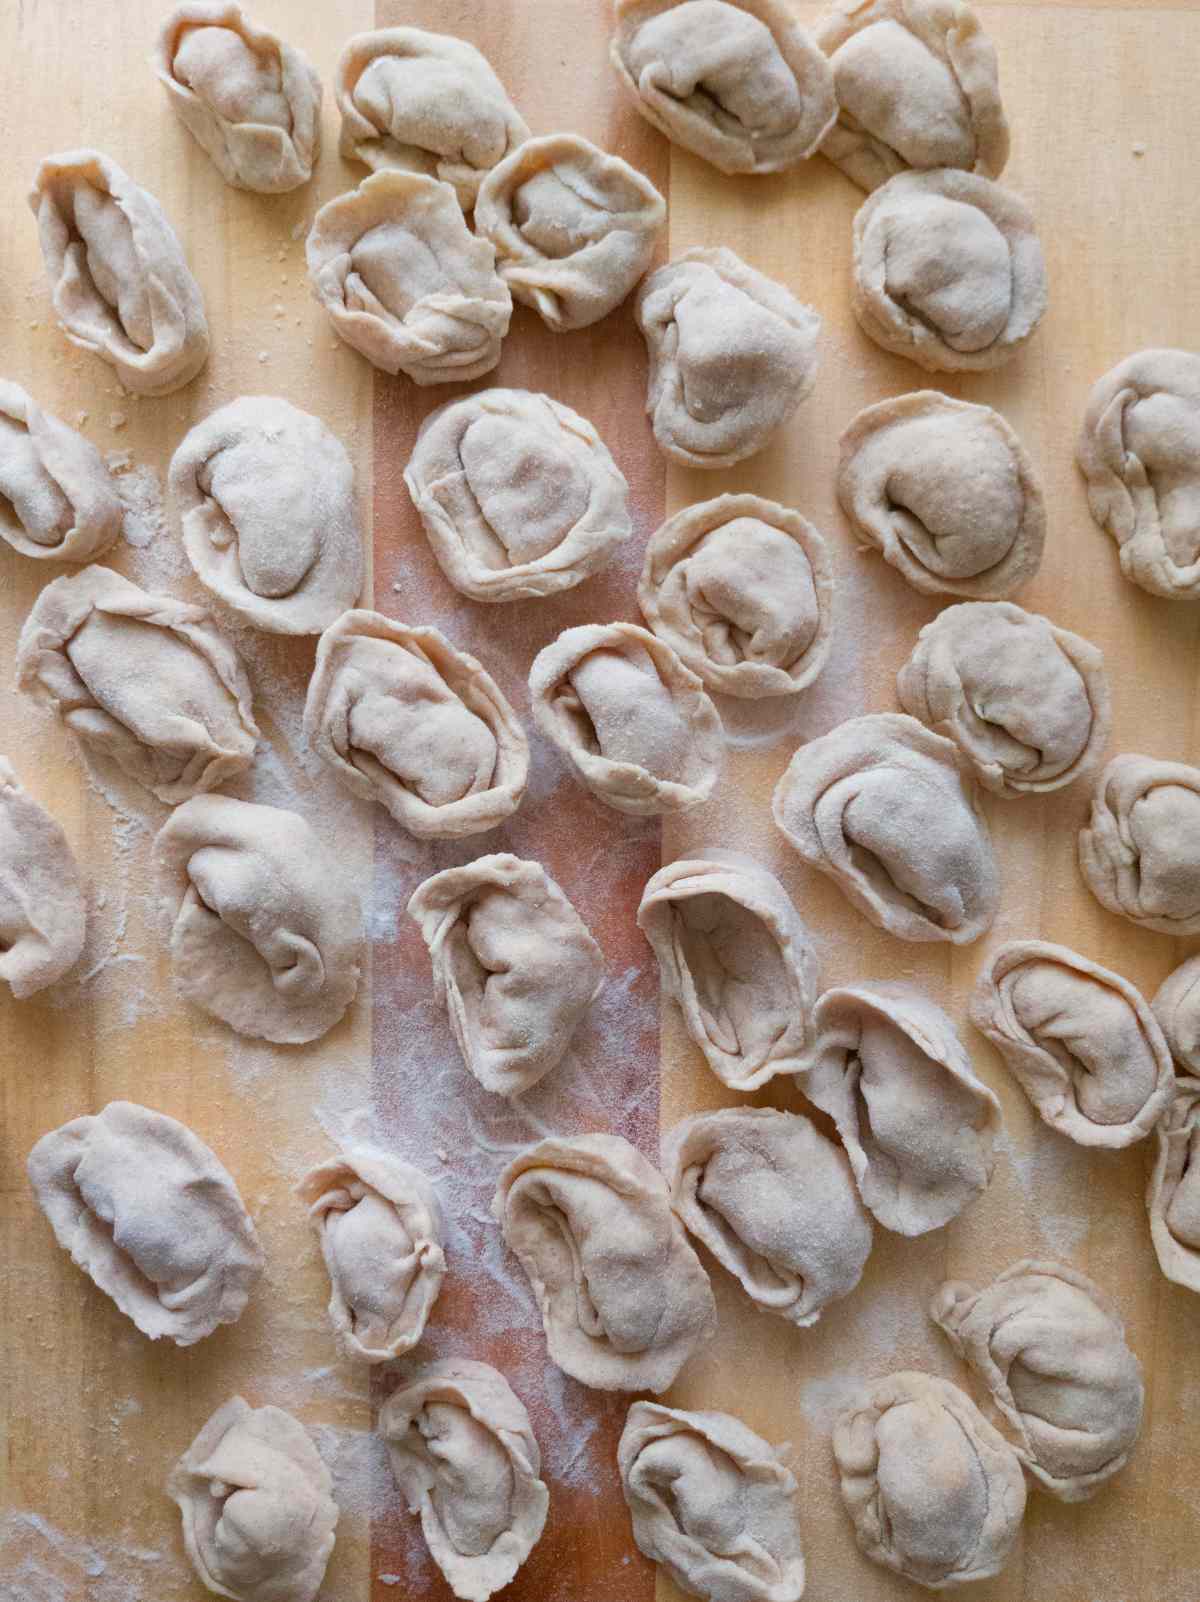
Repeat with the rest of the dough!
TIP: you can roll out all dough pieces first and then fill them or do it one by one. You can also roll out a part of the dough into a large sheet and cut out round pieces with a round object. I don't recommend using any specifically designed pelmeni tools for gluten-free pelmeni as they might not do a good enough job sealing the dough.
Cook/Fry/Freeze
Once all pelmeni are shaped you can either cook them right away in boiling water, fry them in a pan, or freeze them to eat later.
To cook pelmeni you will need to boil water in a medium-large pot and add a few teaspoon of salt. Place either fresh or frozen pelmeni into the boiling water and wait for it to return to boil. Once boiling with pelmeni inside the pot, give it 5 minutes and they should be ready. Take one dumpling out to try and see if it cooked through. If not, give pelmeni a couple more minutes!
To fry pelmeni, preheat a frying pan on a medium heat. Add oil and place fresh or frozen pelmeni in the pan. Fry for a few minutes on each side until brown. If you are frying frozen pelmeni, it will take a bit more time to fry them. When you think they are done, take one dumpling and taste it to see if it truly cooked through. If not, give it a few more minutes.
If you don't want to cook pelmeni right away, place them on a tray and freeze. Make sure to leave space between each dumpling to prevent them from sticking to each other. Don't stack them on top of each other either to prevent sticking. Once I froze all my pelmeni in a large container on top of each other and ended up with one huge dumpling. Not fun!
How to Store
You should either cook your pelmeni right away or freeze them for later. In the freezer, they will last for at least 2-3 months! You, of course, may leave them in the refrigerator for a couple of days but it is not a common practice!
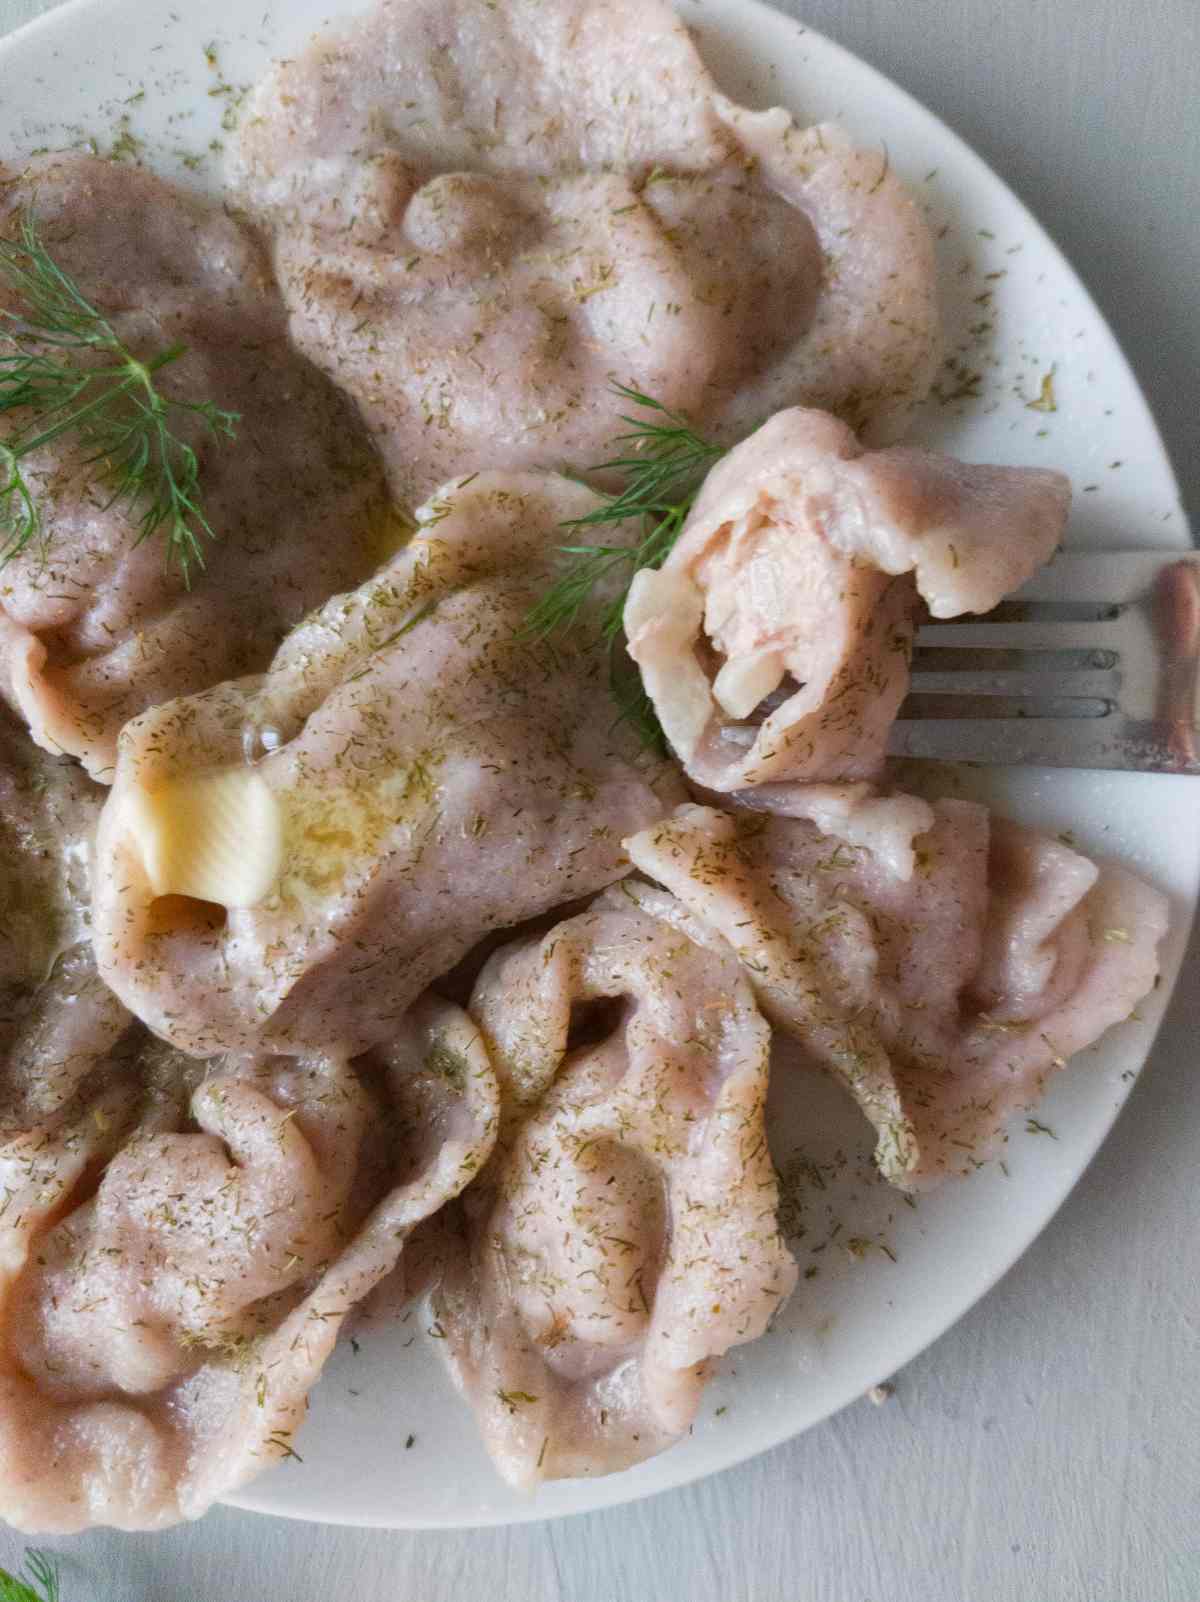
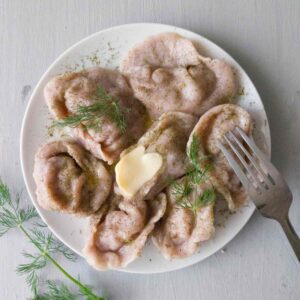
Serving Suggestions
- Sour cream and fresh dill;
- Melted butter;
- Homemade immersion blender mayonnaise;
- Ketchup;
Expert Tips
- Be prepared for a long shaping process. Get some music/podcast/audiobook ready to keep you entertained!
- Whatever you do, don't stack pelmeni on top of each other before freezing! I learned it the hard way!
- If the dough gets sticky as you roll it out, sprinkle more flour on it and keep rolling!
Recipe FAQs
Bread flour or a homemade mix. I have a couple of recipes for homemade blends: a blend with rice flour and a blend without rice flour. Definitely, no need to use a pastry GF blend for this recipe!
Good questions! The general rule is to not freeze any meat or dairy twice. So, if you used frozen meat to fill pelmeni it would be safer to avoid freezing them again. Having said that, I do freeze mine.
No! Pierogi are Polish and generally filled with vegetarian foods while pelmeni are Russian and are always filled with meat.
No! The meat will cook as you cook pelmeni.
The Best Gluten-Free Pelmeni
Equipment
- 1 Rolling Pin
- 2 large mixing bowls
Ingredients
Dough
- 240 grams water not cold
- 430 grams gluten-free flour I used 25% brown rice flour, 25% white rice flour, and 50% starch of choice (potato, corn, tapioca, arrowroot).
- 4 grams salt
- 3 eggs at room temperature
- 25 grams whole psyllium husk 20g powder
Filling
- ½ kg ground meat of choice pork, beef, chicken, turkey, or a mix
- 1 large onion
- 1 teaspoon salt
- 1 teaspoon pepper
SAVE THIS RECIPE!💌
Instructions
Mix the Dough
- In a medium mixing bowl add water and psyllium husk. If you are using powder, make sure to whisk psyllium into the water right away to prevent lumps. Let the mixture sit for about a minute to form a gel!
- Add flour, salt, eggs, and psyllium gel to a large mixing bowl. Combine all the ingredients by hand or with an electric mixer until the dough is smooth and resembles play dough (shouldn't be very sticky or wet).
- Shape the dough into a ball and let it sit while you prepare the filling.
Prepare the Filling
- Chop the onions into small cubes. You can either fry them for extra flavor or add them raw to the meat. I added them raw as I was a bit impatient to try my pelmeni!
- Add the meat, salt, pepper, and onions to a large bowl and mix by hand until incorporated. The filling is ready!
Shape the Dumplings
- Place the dough onto a floured working surface and separate it into 4 relatively equal parts.
- Take one part and roll it into a thick rope. Slice the rope into 8-10 equal pieces.
- Take one piece and start rolling it out with a rolling pin. Rotate the dough frequently to make it evenly round. Don't roll out too thin or the dough will break.
- Then, place some filling in the middle. Don't put too much of it or the dough will tear! Slightly brush the edges of the dough with water (you can use your finger) for better sticking.
- Then, connect the top and bottom sides of the dumpling.
- Take the edges and fold them onto each other pressing them with your fingers to ensure a good seal.
- TIP: you can roll out all dough pieces first and then fill them or do it one by one. You can also roll out a part of the dough into a large sheet and cut out round pieces with a round object. I don't recommend using any specifically designed pelmeni tools for gluten-free pelmeni as they might not do a good enough job sealing the dough.
Cook/Fry/Freeze
- Once all pelmeni are shaped you can either cook them right away in boiling water, fry them in a pan, or freeze them to eat later.
- To cook pelmeni you will need to boil water in a medium-large pot and add a few teaspoon of salt. Place either fresh or frozen pelmeni into the boiling water and wait for it to return to boil. Once boiling with pelmeni inside the pot, give it 5 minutes and they should be ready. Take one dumpling out to try and see if it cooked through. If not, give pelmeni a couple more minutes!
- To fry pelmeni, preheat a frying pan on a medium heat. Add oil and place fresh or frozen pelmeni in the pan. Fry for a few minutes on each side until brown. If you are frying frozen pelmeni, it will take a bit more time to fry them. When you think they are done, take one dumpling and taste it to see if it truly cooked through. If not, give it a few more minutes.
- If you don't want to cook pelmeni right away, place them on a tray and freeze. Make sure to leave space between each dumpling to prevent them from sticking to each other. Don't stack them on top of each other either to prevent sticking. Once I froze all my pelmeni in a large container on top of each other and ended up with one huge dumpling. Not fun!

Grace Tipikin says
I just had to come back and say how fantastic these turned out! I left a previous comment saying how excited I was to find the recipe and I just now got around to getting the ingredients and getting it done! 😊
The taste and texture is extremely similar to the traditional flour version. I used 25% briwn rice flour, 25% white rice flour and 50% potatoes starch. They held together beautifully both boiled fresh and frozen and then boiled.
They're definitely time-consuming but worth the wait, I personally found it easier to shape the rounds out by hand rather than rolling pin.
My husband and children were absolutely thrilled and cleaned their plates. Thank you so much!
Jarod says
I used a tortilla press and made them thin and very small. They were amazing! The bite is spot on. Thank you.
Grace Tipikin says
I am soooo happy to find this! my husband is Russian and this is one of his favorites but due to health issues has had to cut out gluten from his diet in recent years. he misses these a lot and I'm so excited to surprise him with these!
Natasha Levai says
Hi Grace! Yay! I am excited for him to try these! I am a Russian, too, and I really enjoy these.
Vika Chep says
I will give it a try. I wanted to ask if you would recommend making them in a pelmeni mold? Have you ever tried that instead of shaping them yourself? Thanks!!
Natasha Levai says
Hi Vika! I think you should be able to make these in a pelmeni mold, although I haven't tried it myself!
Kale says
No rating because I changed the recipe to be vegan, swapped eggs for aquafaba. That usually works with other doughs, it's a pretty direct substitute.
Unfortunately this dough was impossible to roll out and way too elastic. We tried again with half of the psyllium husk and less aquafaba, same result. I think the husk you're using is different - it looks way more brown in the pictures, and doesn't stick as much.
If you have any tips let me know. For now I'll be trying different dough recipes.