Gluten-free pierogies have never been easier to make! Thanks to psyllium husk, these pierogies don't break during cooking and can be easily shaped by hand. I made these pierogies with fried cabbage and egg but you can use the standard farmer's cheese and potatoes filling as well! Here is a similar recipe for gluten-free dumplings with meat if that is your favorite type of filling.

Jump to:
Perogies, also known as pierogi, are a beloved dish in many Eastern European homes (like Ukrainian borscht). Essentially, perogies are dumplings with various fillings (potato, mushrooms, cabbage, meat, cottage cheese, sweet fillings, etc.) that are typically boiled, fried, or baked. Pierogies are known to be a Polish dish, but they are also very common in Ukrainian and Russian cuisine.
There are many variations of pierogi in other cuisines. To see what they look like see my pierogi vs. other dumplings post! For more Slavic recipes check out this delicious gluten-free Easter bread!
Ingredients for Gluten-Free Pierogi
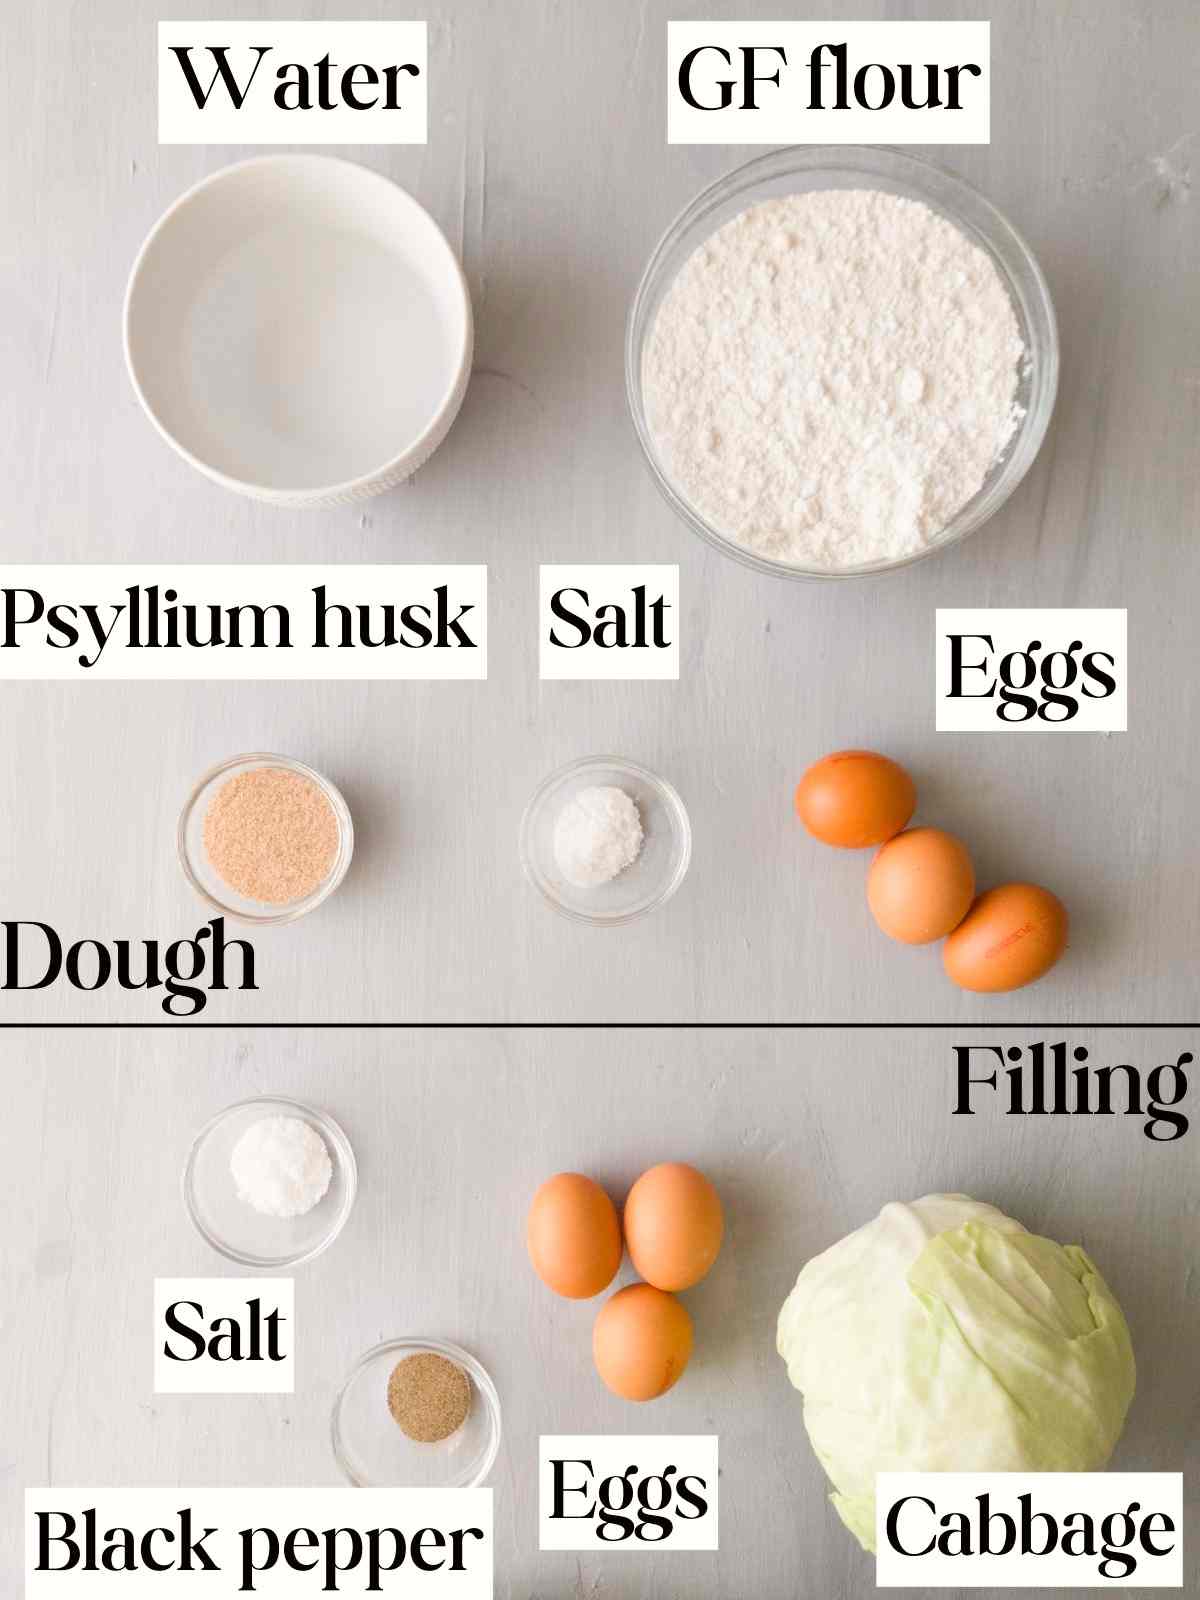
Gluten-free flour - I simply used a combination of brown rice flour, white rice flour, and starches. My general principle is to use 50% of flour and 50% of starches. I have a rice flour homemade blend recipe for you if you want to make your own! Otherwise, you can use a premade GF bread flour mix.
Psyllium husk - this is a crucial ingredient in this recipe! Psyllium husk ensures that the dough stays moist and flexible. You can use either whole husks or psyllium powder. There are two types of psyllium powder, one is finer than the other. If you use very fine powder that looks like flour, you will need to use less of it. You can buy psyllium husk in a local store or online!
Eggs - it is best to have the eggs for the dough to be at room temperature.
Substitutes
Eggs - to make vegan perogies omit all the eggs from both the dough and the filling. For the dough, you will need to add more water to reach the right consistency.
Psyllium husk - there is no good substitute for psyllium husk in this recipe but if you can't have psyllium husk, you can try flax meal or xanthan gum but I can't guarantee your pierogies will not fall apart during cooking.
Cabbage - you can use sour cream mashed potatoes and cheese as a filling instead of cabbage.
How to Make Gluten-Free Pierogi
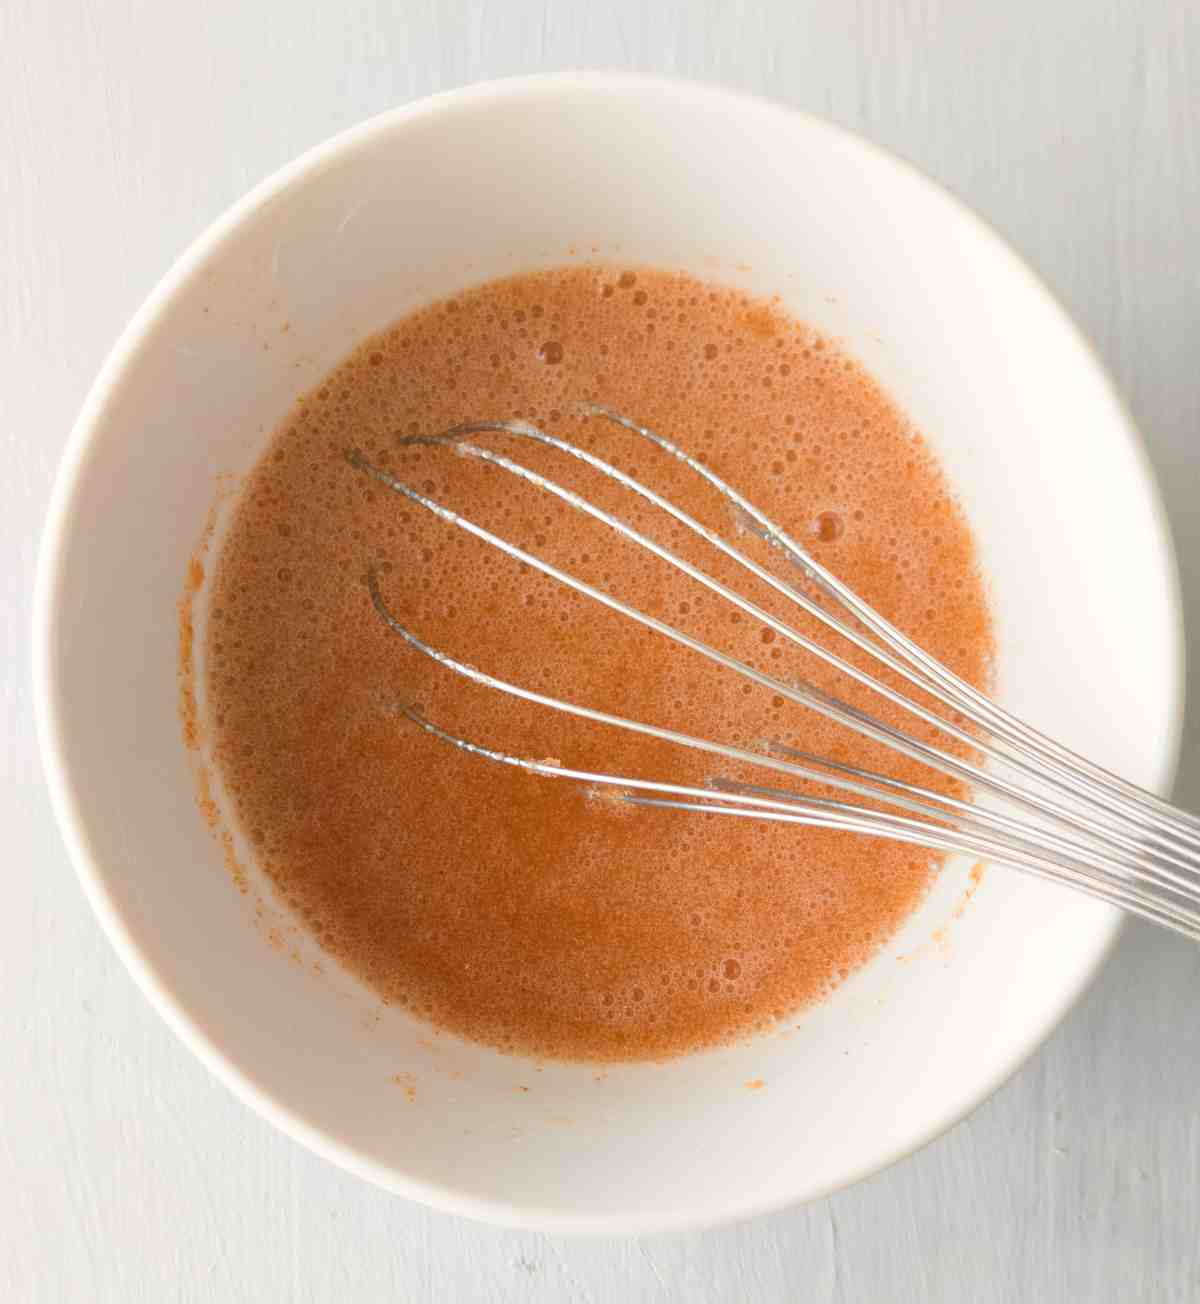
Step 1. Add the water and psyllium husk to a medium size bowl and whisk to combine. Let the mixture sit for 1-2 minutes until it forms a gel.
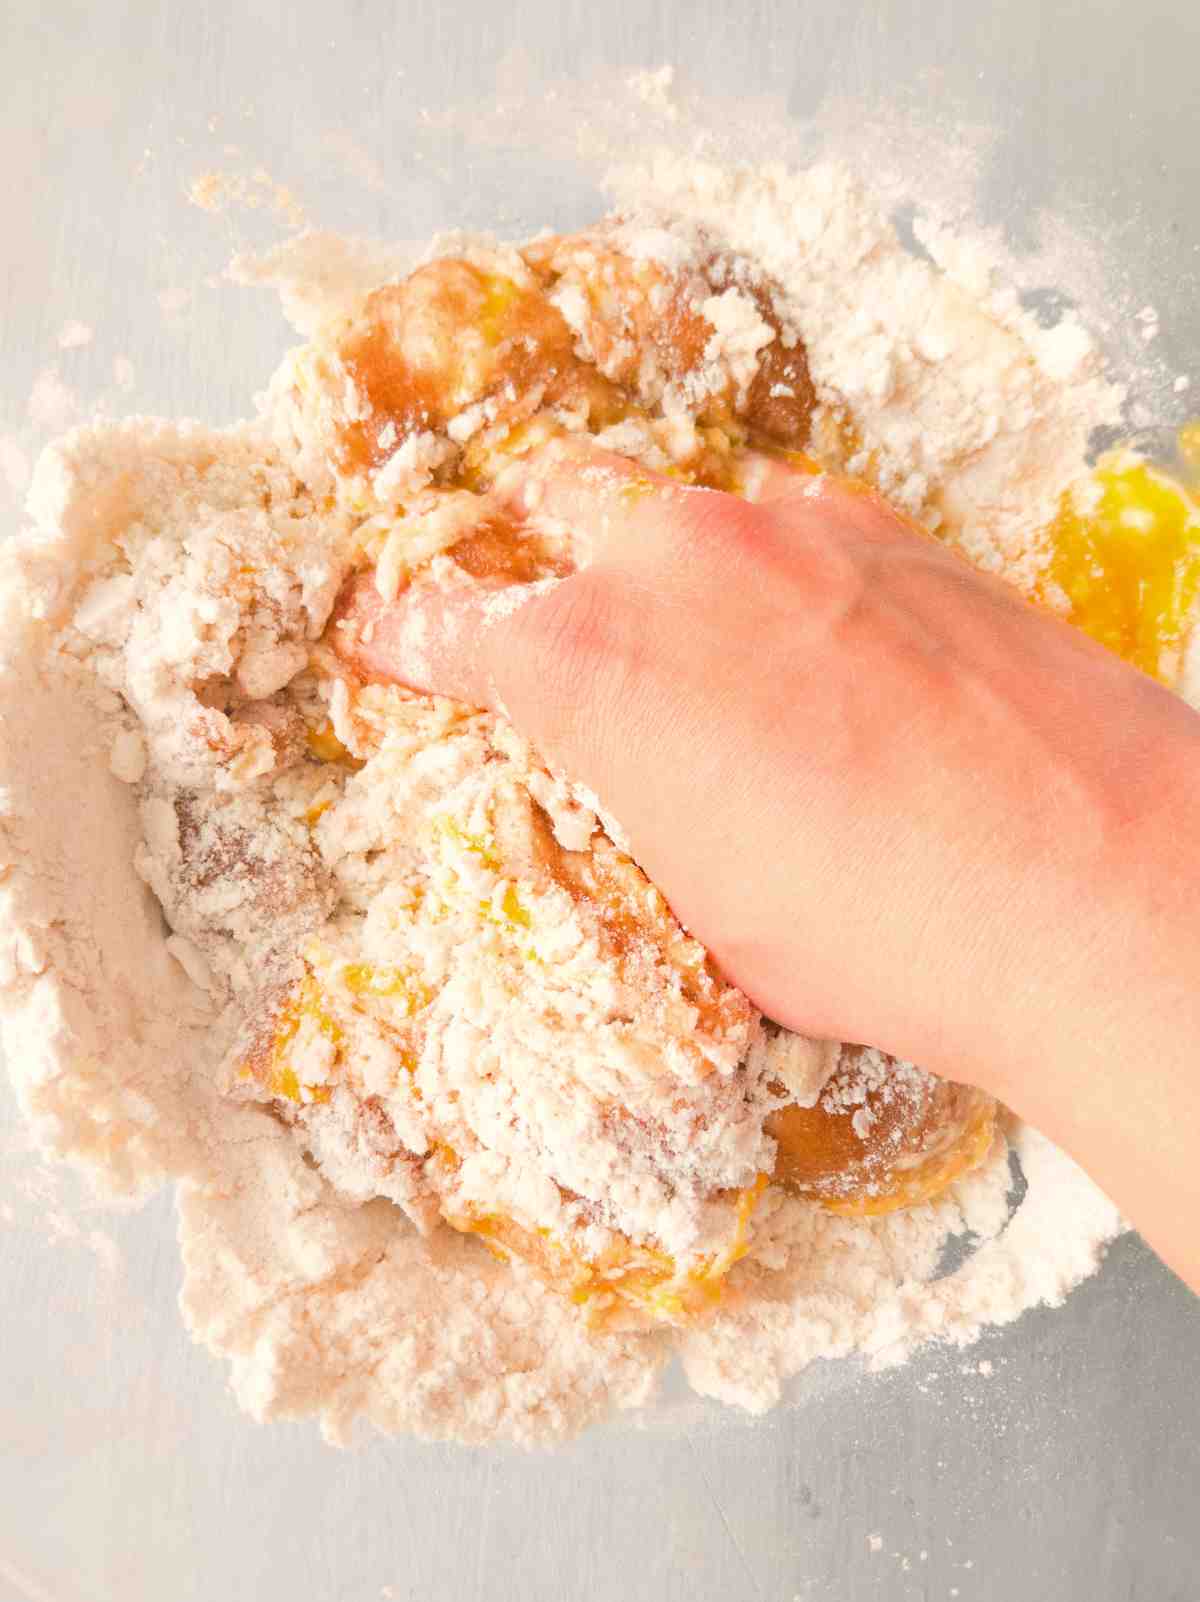
Step 2. Add flour, salt, psyllium gel, and eggs to a large mixing bowl and knead by hand (or using a mixer with dough hooks) until incorporated.
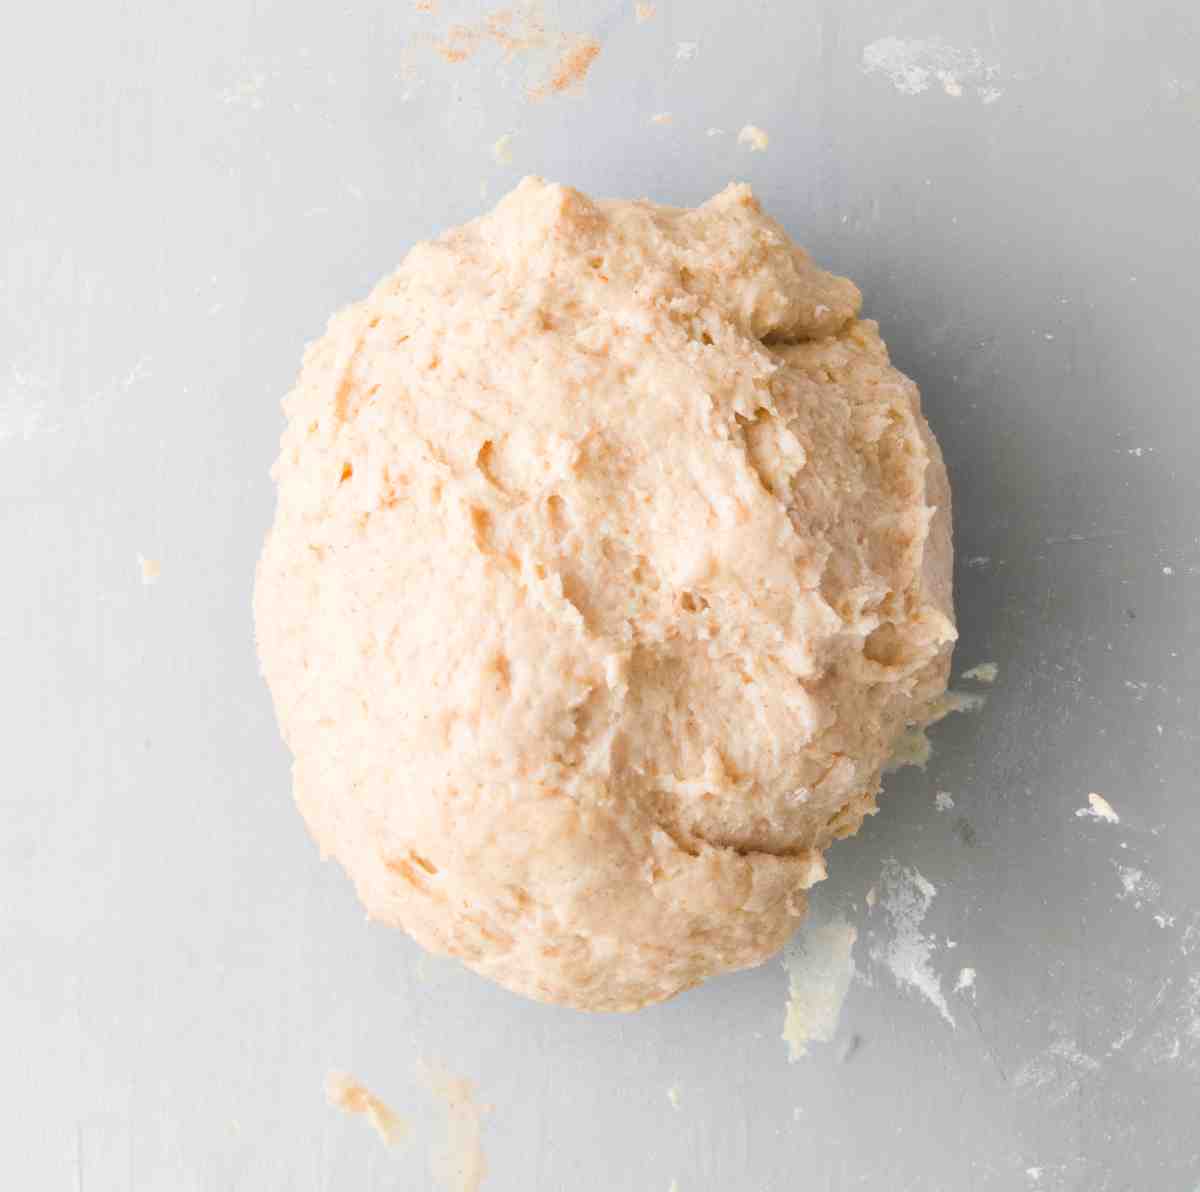
Step 3. Shape the dough into a ball, cover with a kitchen towel, and set aside until ready to use.

Step 4 (Note, you can use any filling you like. It can be sour kraut, sweet potatoes, mashed potatoes, mushrooms, and even meat!).
Preheat a frying pan over low-medium heat. While the pan is preheating, chop the cabbage into small pieces. Add chopped cabbage, salt, and pepper to the frying pan, cover with a lid, and continue frying over medium heat. Stir the cabbage occasionally to prevent burning.

Step 5. Once the cabbage is browned, take it off the heat.
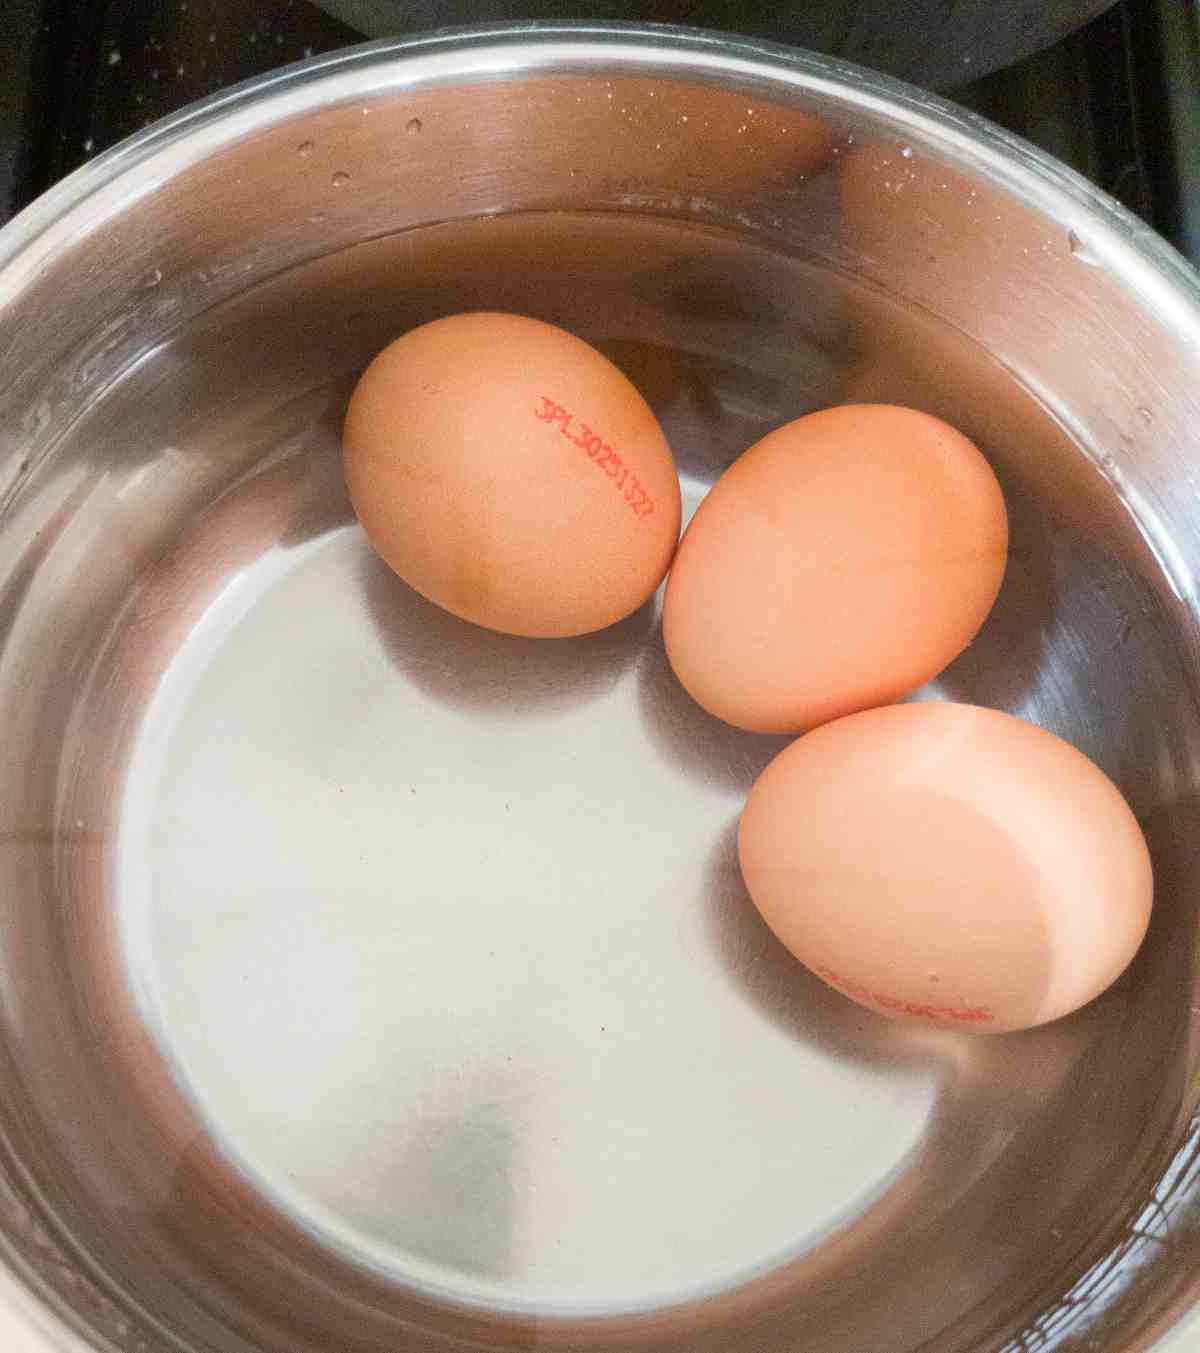
Step 6. Meanwhile, add cold water to a small saucepan together with the eggs. Place the saucepan on high heat and bring to a boil. Once the water starts boiling, turn the heat to the lowest and let the eggs boil for 13 minutes. Then, turn off the heat and place the eggs under cold water for a few minutes to cool them down.

Step 7. Peel and chop the eggs, then add them to the fried cabbage, and mix to incorporate.

Step 8. Turn the dough over onto the working surface and separate into 4 equal parts.
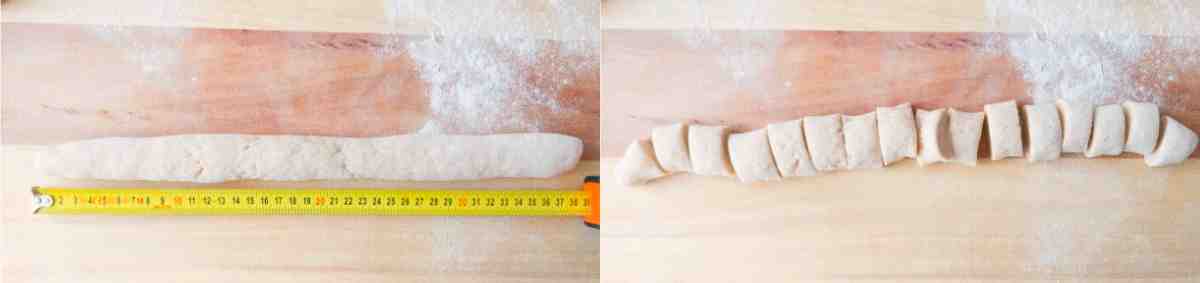
Step 9. Take one part and roll it into a rope. The rope should be about 38cm/15in. Then, slice the rope into about 16 pieces.

Step 10. Roll out each piece into a small circle about 8cm/3in in diameter. Don't roll them out too thin or the dough will break!


Step 11. Place a little bit of the filling in the middle of the dough. Press the edges of the dough together to form a dumpling. Repeat with the rest of the dough.

Step 12. The most common practice is to boil perogies first, then fry them to get that brown crisp to them. However, you can either boil them, fry them, bake them, or even make them in an air fryer. Finally, if you are not planning on eating them all in the next couple of days, it is best to freeze your perogies to cook later.
Boiling Gluten-Free Perogies
Boil water in a middle size pot. Add 1 tablespoon of salt to the water. Place the needed amount of perogies into the pot and boil for 5 minutes. Then, strain the water and serve the pierogies! You can also fry boiled pierogies to add extra flavor and a crunch to them.
Frying
To fry perogies, first, preheat a frying pan over low-medium heat. Add 2 tablespoon spoons of oil (or more) to the pan. If you are frying boiled pierogies, then tap-dry them with a kitchen towel first to prevent excessive sizzling, Add perogies to the frying pan and fry for a couple of minutes on each side until browned.
Baking
You can bake perogies either after boiling them or you can also bake them raw. Preheat your oven to 350F/175C and place perogies onto a large baking sheet lined with parchment paper (or greased). Sprinkle some oil over perogies and bake them for 20 minutes flipping them at the 10-minute point.
Airfryer
Preheat your air fryer to 400F. Place one layer of pierogies in it and fry for 8 minutes. Flip the perogies at 4 min point. Enjoy!
How to Cook Frozen Gluten-Free Pierogies
You can either boil, fry, or bake frozen perogies! To cook frozen perogies, follow one of the methods listed above. Add a few extra minutes to each method if you are cooking perogies from frozen.

How to Serve Gluten-Free Perogies
Sauce
Traditionally, perogies are served with sour cream. However, there are plenty of toppings you can experiment with to find your favorite! In my family, we even ate pierogies with immersion blender mayonnaise and ketchup! Here is a collection of 15 best pierogi sauces for you to try.
Toppings
You can top perogies with fresh dill, green onion, cheese, caramelized onions and bacon, and other delicious ingredients. Here is a list of great pierogi topping ideas!
Expert Tips
- To save time, you can roll out the entire dough and slice it into squares/triangles or cut the dough into circles with the top of a mason jar.
- For the best texture and flavor, I recommend boiling pierogi first, and then frying them until browned.
- You can double/triple the recipe and make a large batch of perogies for the freezer. A great option for a lazy dinner night!
- You can experiment with other filling ideas. You can use potato, sour kraut, mushrooms, chicken in white sauce, or even meat. Dumplings with meat are also called pelmeni and I have a great gluten-free recipe for pelmeni for you to try!
Common Questions
Yes! To freeze, you need to first freeze them separately and then you can place them into a plastic bag. If you place pierogi on top of each other right away, they will stick. So, place perogies on a piece of parchment paper and let them freeze for 30-60 minutes. Then, transfer them to a freezer bag/container and keep for up to 3 months.
Traditionally perogies are not gluten-free. To make perogies gluten-free you need to use a recipe that is specifically designed for it, like this one!
Yes! Freeze it in a plastic wrap/freezer bag/container for up to 3 months. When ready to use, bring it to room temperature first, then proceed.

Easy Gluten-Free Pierogi
Ingredients
Dough
- 1 cup water warm
- 430 gram gluten-free flour I used 25% brown rice flour, 25% white rice flour, and 50% starch of choice (potato, corn, tapioca, arrowroot).
- 4 grams salt
- 3 eggs at room temperature
- 25 grams whole psyllium husk 20g if using psyllium husk powder
Filling
- ½ medium size cabbage
- 3 eggs
- 2 teaspoon salt or more
- black pepper to taste
SAVE THIS RECIPE!💌
Instructions
Make the Dough
- Add the water and psyllium husk to a medium size bowl and whisk to combine. Let the mixture sit for 1-2 minutes until it forms a gel.
- Add flour, salt, psyllium gel, and eggs to a large mixing bowl and knead by hand (or using a mixer with dough hooks) until incorporated.
- Shape the dough into a ball, cover with a kitchen towel, and set aside until ready to use.
Prepare the Filling
- Preheat a frying pan over low-medium heat. While the pan is preheating, chop the cabbage into small pieces. Add chopped cabbage, salt, and pepper to the frying pan, cover with a lid, and continue frying over medium heat. Stir the cabbage occasionally to prevent burning. Once the cabbage is browned, take it off the heat.
- Meanwhile, add cold water to a small saucepan together with the eggs. Place the saucepan on high heat and bring to a boil. Once the water starts boiling, turn the heat to the lowest and let the eggs boil for 13 minutes. Then, turn off the heat and place the eggs under cold water for a few minutes to cool them down.
- Peel and chop the eggs, then add them to the fried cabbage, and mix to incorporate.
Make the Dumplings
- Turn the dough over onto the working surface and separate into 4 equal parts.
- Take one part and roll it into a rope. The rope should be about 38cm/15in. Then, slice the rope into about 16 pieces.
- Roll out each piece into a small circle about 8cm/3in in diameter. Don't roll them out too thin or the dough will break!
- Place a little bit of the filling in the middle of the dough. Press the edges of the dough together to form a dumpling. Repeat with the rest of the dough.
Cook/Fry/Bake/Freeze
- The most common practice is to boil perogies first, then fry them to get that brown crisp to them. However, you can either boil them, fry them, bake them, or even make them in an air fryer. Finally, if you are not planning on eating them all in the next couple of days, it is best to freeze your perogies to cook later.
Boiling Perogies
- Boil water in a middle size pot. Add 1 tablespoon of salt to the water. Place the needed amount of perogies into the pot and boil for 5 minutes. Then, strain the water and serve the pierogies! You can also fry boiled pierogies to add extra flavor and a crunch to them.
Frying Pierogies
- To fry perogies, first, preheat a frying pan over low-medium heat. Add 2 tablespoon spoons of oil (or more) to the pan. If you are frying boiled pierogies, then tap-dry them with a kitchen towel first to prevent excessive sizzling, Add perogies to the frying pan and fry for a couple of minutes on each side until browned.
Baking Perogies
- You can bake perogies either after boiling them or you can also bake them raw. Preheat your oven to 350F/175C and place perogies onto a large baking sheet lined with parchment paper (or greased). Sprinkle some oil over perogies and bake them for 20 minutes flipping them at the 10-minute point.
Airfryer Perogies
- Preheat your air fryer to 400F. Place one layer of pierogies in it and fry for 8 minutes. Flip the perogies at 4 min point. Enjoy!
How to Cook Frozen Gluten-Free Pierogies
- You can either boil, fry, or bake frozen perogies! To cook frozen perogies, follow one of the methods listed above. Add a few extra minutes to each method if you are cooking perogies from frozen.

Natasha Levai says
A great recipe for gluten-free pierogi that don't fall apart!