
I am so excited to share this easy and soft Buckwheat Bread with Yeast! It calls for minimal ingredients and offers a great gluten-free bread experience. Perfect for serving with Ukrainian borscht! If you enjoy baking with naturally gluten-free flours, this pillowy soft corn flour bread recipe is also worth a try.

This hearty buckwheat flour bread is inspired by my popular millet bread. It's made with just one flour without added starches or blends. Buckwheat has a bold flavor, so for a milder option, try my brown rice bread recipe instead!
Jump to:
Why You Will Love This Recipe
- Only calls for 1 flour type just like my rice bread,
- A soft texture and a moist crumb like in the reader-favorite Dutch oven gluten-free bread,
- A hearty and earthy flavor of buckwheat makes this bread stand out from other recipes.
Ingredients for Buckwheat Bread
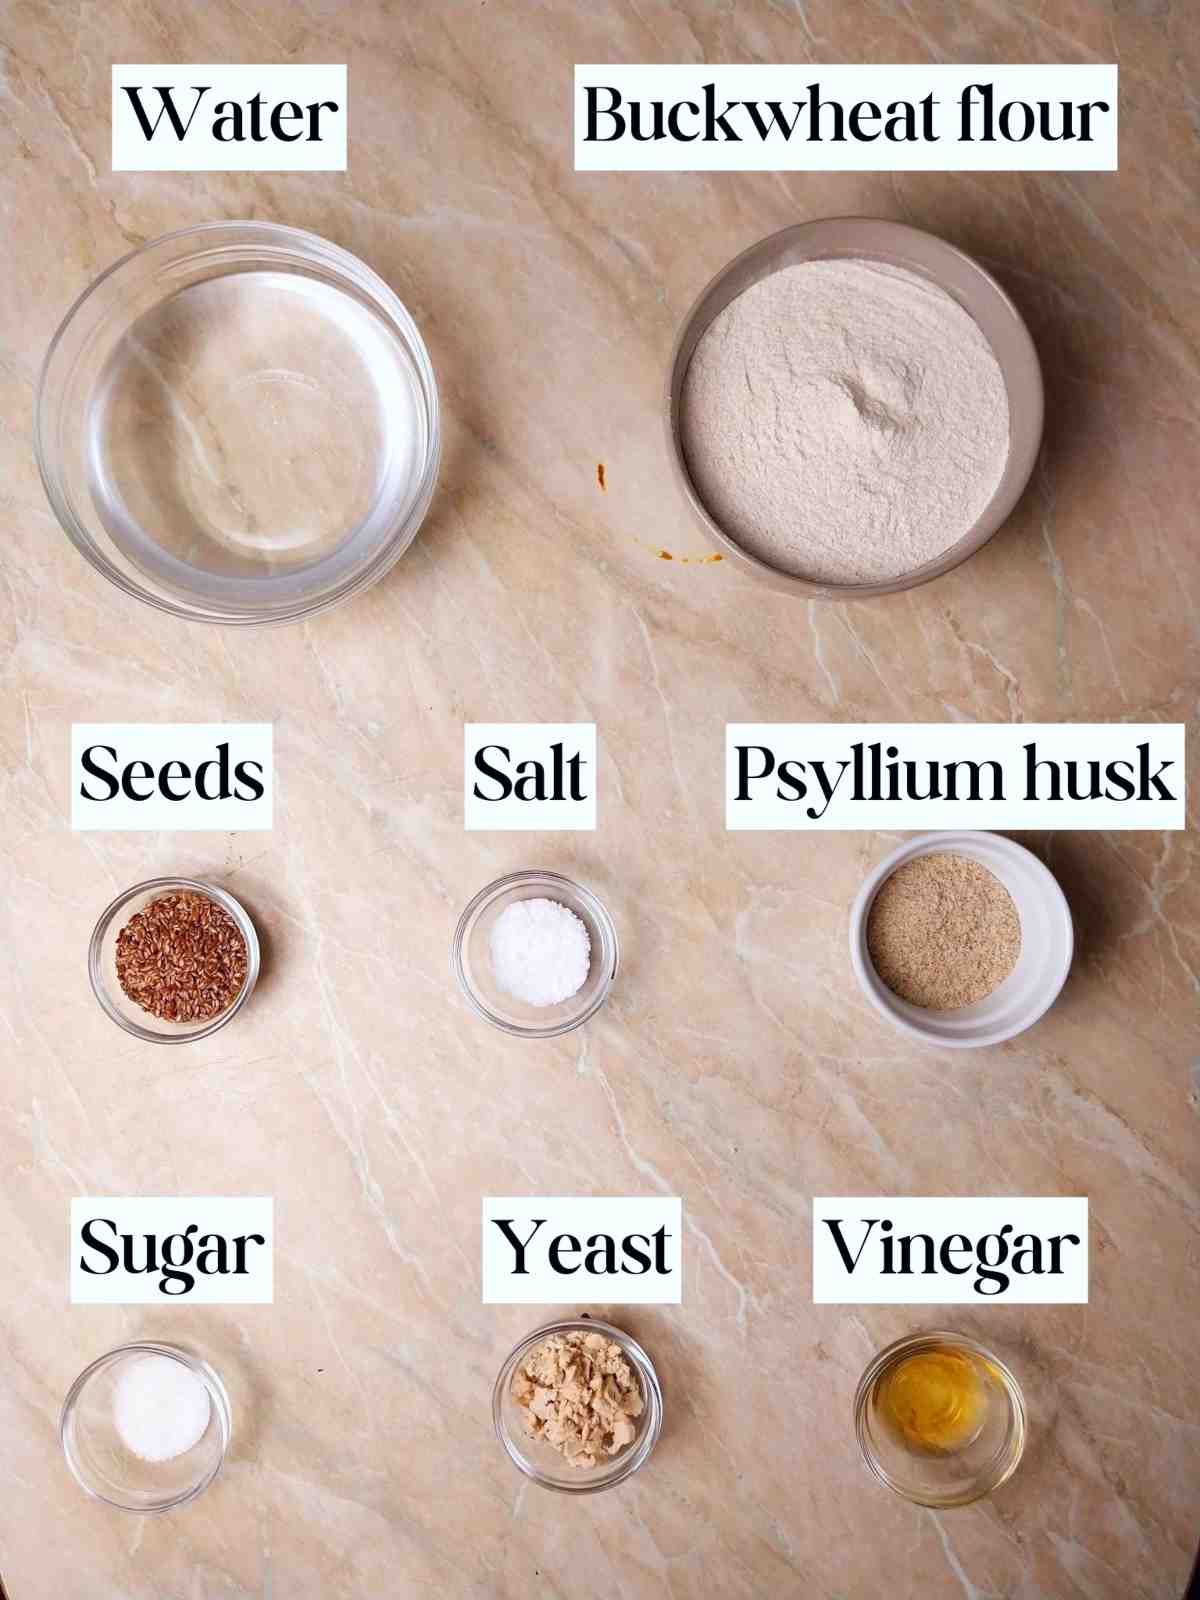
- Buckwheat flour - I recommend light buckwheat flour for a milder flavor. You can grind your own at home and use leftovers to make buckwheat banana pancakes.
- Whole psyllium husks - I recommend whole husks for the ease of use, although psyllium powder can be used as well.
- Vinegar - apple cider, white, or wine vinegar works great.
Substitutes
- Psyllium husk - I don't recommend substituting psyllium husk as there is no equal alternative to it in baking. If you can't have psyllium, check out my bread with Konjac!
How to Make Buckwheat Bread

Step 1. If using active dry yeast:
- Warm 150g of water in a microwave (not hot) and mix in the yeast with the recipe's sugar. Let it sit until frothy.
- Use the remaining water to make the psyllium gel: mix it with psyllium husks and apple cider vinegar.
- Let the mixture sit for a few minutes.
If using instant yeast, just add it directly to the dry ingredients-no activation needed!
Use all of the water, sugar, psyllium, and apple cider vinegar to make psyllium gel.
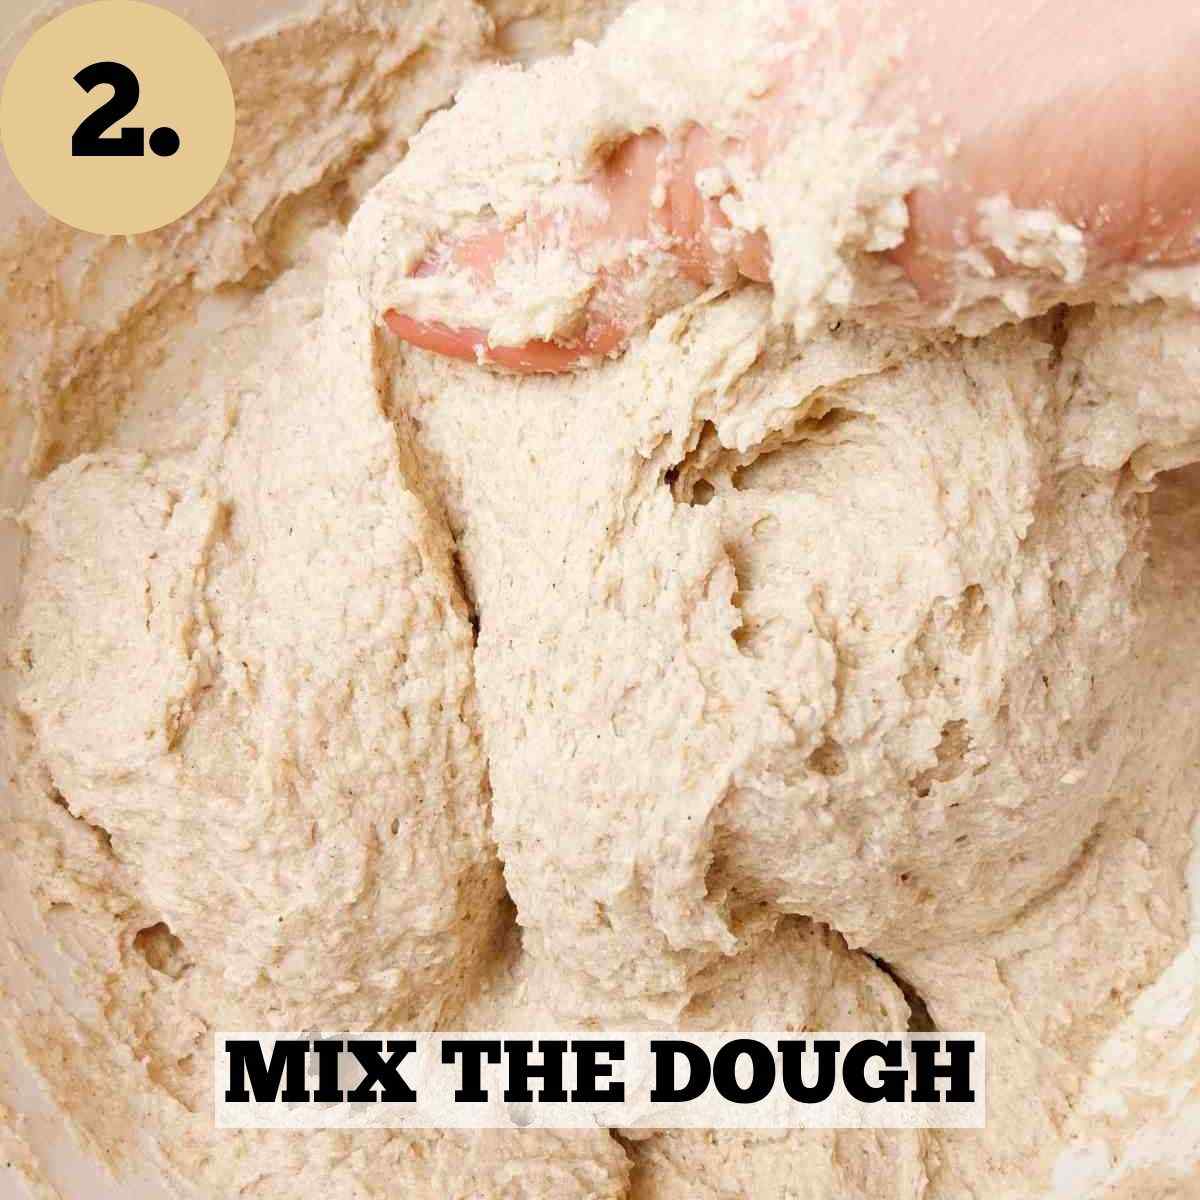
Step 2. Add all of the dry ingredients in a large mixing bowl and stir to combine.
Then, add psyllium gel and yeast to the bowl and mix with your hands, a wooden spoon, or an electric mixer until well combined.
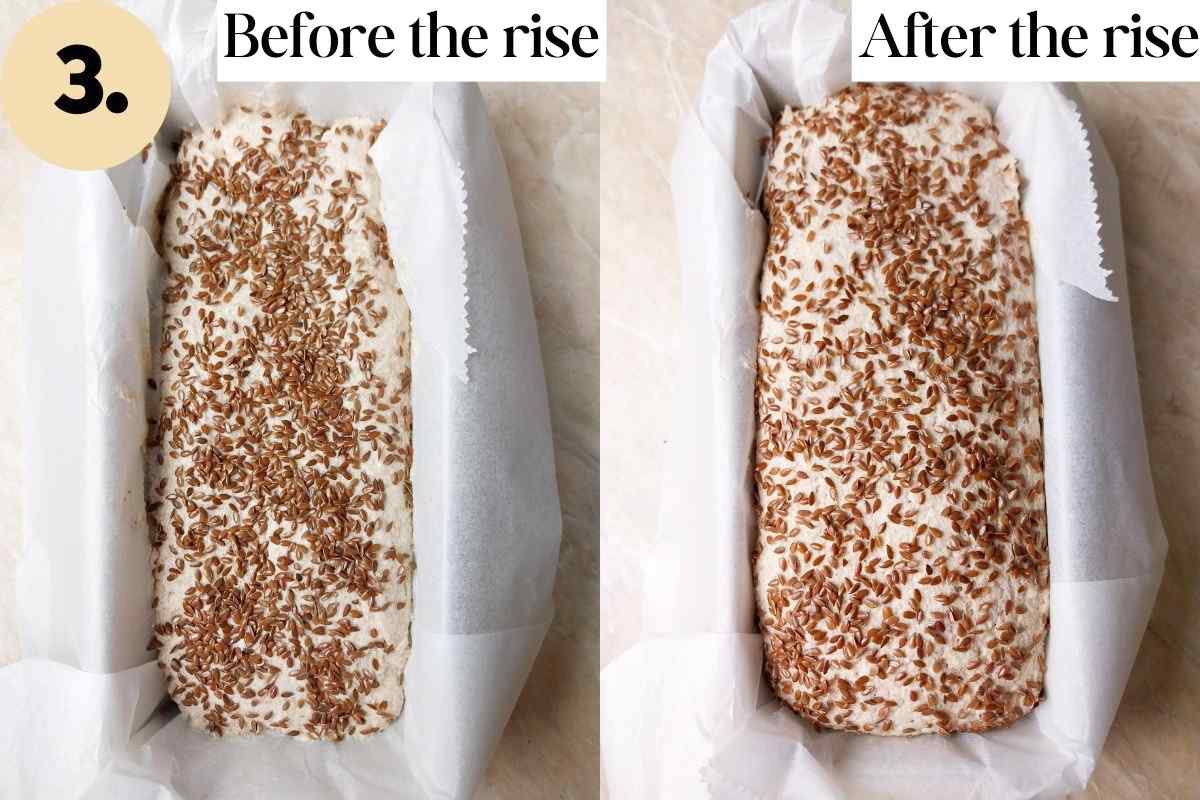
Step 3. Line and/or grease a 9x5 inch (22x12cm) metal baking pan and transfer the dough to it. Smooth the top out with a silicone spatula, top with seeds, then cover the dough with a kitchen towel and leave it to rise.
Place the buckwheat loaf in a warm draft-free area until it comes up to the pan's rim (about 1-1.5 hours). Don't let the dough rise beyond the pan to avoid it collapsing later on.
20 minutes before the bread is done proofing start preheating the oven to 350F/175C and move the oven rack to the middle position. Place an oven-safe dish with water at the bottom of the oven to create some extra steam.
Bake buckwheat bread for 50 minutes, then take it out of the pan, remove the baking paper, and bake on the oven rack for another 30 minutes to let the sides crisp up.
Transfer the loaf to the cooling rack until no longer warm to the touch.
Slice and enjoy!
Expert Tips
- Don't let the dough rise over the rims of the pan or buckwheat bread will deflate.
- Let the bread cool on a cooling rack to prevent the bottom from getting soggy.
- Use a kitchen scale to ensure the best results!
Troubleshooting & FAQs
Overproofing can create a gummy layer on the bottom of the loaf and create a hole between the top crust and the crumb. If your loaf looks fine but is gummy, reduce the amount of water in the recipe.
You can do a 2-rise proofing if you prefer. For that, leave the dough in the mixing bowl covered with a kitchen towel for about 1 hour. Then, deflate the dough, transfer it to the prepared baking tin, and let it rise a second time.
No, I don't recommend using whole buckwheat groats instead of flour. You can grind the groats into flour by using a food processor or a high-speed blender and use leftover flour for buckwheat banana muffins.
Buckwheat adds moisture and deep earthy and nutty flavors to bread. Buckwheat is high in carbs, so it works great with yeast! I especially like this yeasty buckwheat focaccia recipe.
Storage and freezing
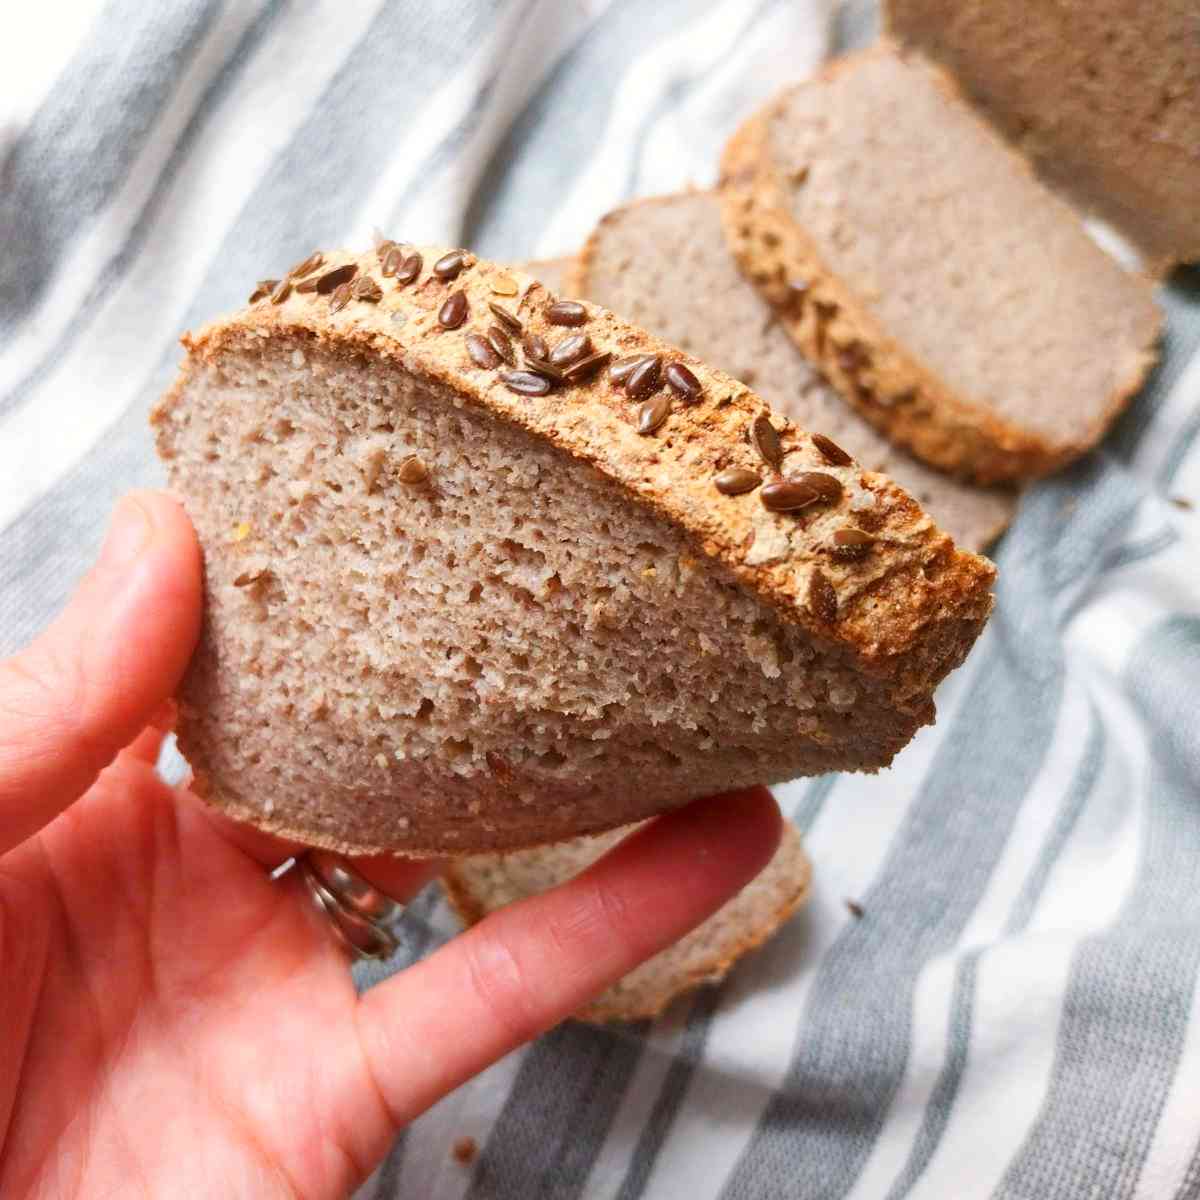
- Store buckwheat bread in a bread box or wrapped in a kitchen towel at room temperature for up to 1 week.
- To freeze, I recommend slicing the loaf first. Arrange the slices on a tray or a piece of parchment paper and let it freeze for about 30 minutes. Then, transfer the slices to a ziplock bag or a freezing container. Keep the bread in the freezer for up to 3 months!
- To defrost, you can either let it thaw at room temperature or simply pop the slices into a toaster or a microwave.
More Buckwheat Recipes You Will Love!


Get my new
Gluten-Free Bread Recipes eBook
The top 26 recipes of 2026! Includes a bonus conversion chart for gluten-free flour.
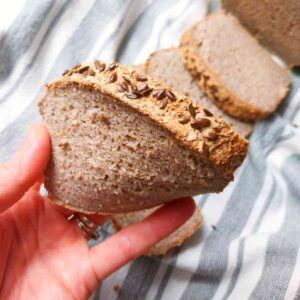
100% Buckwheat Bread (Gluten-Free, Vegan)
Ingredients
- 25 grams whole psyllium husks, I don't recommend using psyllium husk powder, for more details read my psyllium guide
- 560 grams water
- 7 grams instant yeast
- 12 grams apple cider vinegar, optional, might add acidic flavor
- 2 teaspoon sugar, for the yeast
- 400 grams buckwheat flour
- 10-12 grams salt
Topping
- seeds or nuts of choice, linseeds, sunflower seeds, poppy seeds, etc.
SAVE THIS RECIPE!💌
Instructions
Mix the dough
- If you are using active dry yeast, you will need to activate it in warm water. In that case, take part of the water called for in the recipe and use it to activate the yeast.
- Add psyllium husk and water to a medium-size bowl and whisk to combine.
- Add apple cider vinegar and sugar to the psyllium mix and set the bowl aside.
- Add 400g of buckwheat flour, 10-12g of salt, and yeast (if you are using fresh or instant yeast you don't need to activate it in water). Stir to combine.
- Once psyllium gel has formed (1-2 minutes), add it to the bowl with the dry ingredients and mix by hand. You can also use an electric mixer if you prefer.The dough will be wet and sticky but that is ok!
Proofing
- Prepare the baking bread pan by greasing it and/or lining it with parchment paper. Greasing the pan first allows for the paper to stick to it better.
- Transfer the dough to the bread tin with the help of a wet silicone spatula. Smooth the dough with the spatula and add the seeds to the top.
- Cover the bread pan with a kitchen towel and place it in a draft-free area to proof. Proofing will take anywhere from 30-60 minutes, depending on the temperature in your house!
Baking
- About 20 minutes before the bread is done proofing, start preheating the oven to 350F/175C. Place a dish with water in the bottom of the oven to create extra steam.
- Let the bread rise until it barely reaches the top of the baking tin, then transfer it to a preheated oven and bake for 1.5 hours.
- Transfer the bread to a cooling rack and wait until it is no longer warm to the touch. Slice and enjoy!
Notes
- Make sure your bread doesn't rise too high or it will deflate after baking.
- Take the bread out of the bread pan 5-10 minutes after it is done baking, don't leave it in the pan or it will become wet and soggy on the bottom.
- Weigh ingredients using a kitchen scale instead of using measuring cups.


David P. Kouri says
I just made this easy recipe and am so impressed on how well the crumb turned out and the flavor is very tasty. I like the use of apple cider vinegar in the recipe, something I usually only add to my GF sourdough recipes. My wife wants to make some Ukrainian Borscht to go with it. Thank you Natasha for sharing your talents, experiences and recipes!
- David K
Brenda Teshka says
What size pan did you use?